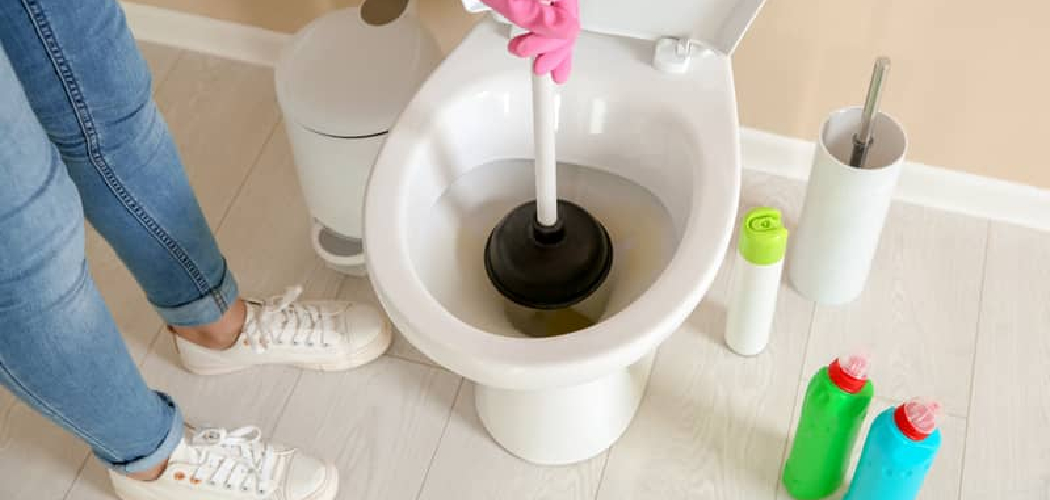
Cleaning a plunger may not be the most glamorous task, but it is an essential part of maintaining a hygienic home. Over time, plungers can accumulate bacteria and unpleasant odors from use, making proper cleaning and disinfecting crucial. By following a few simple steps, you can ensure your plunger remains clean, safe, and ready for use when needed.
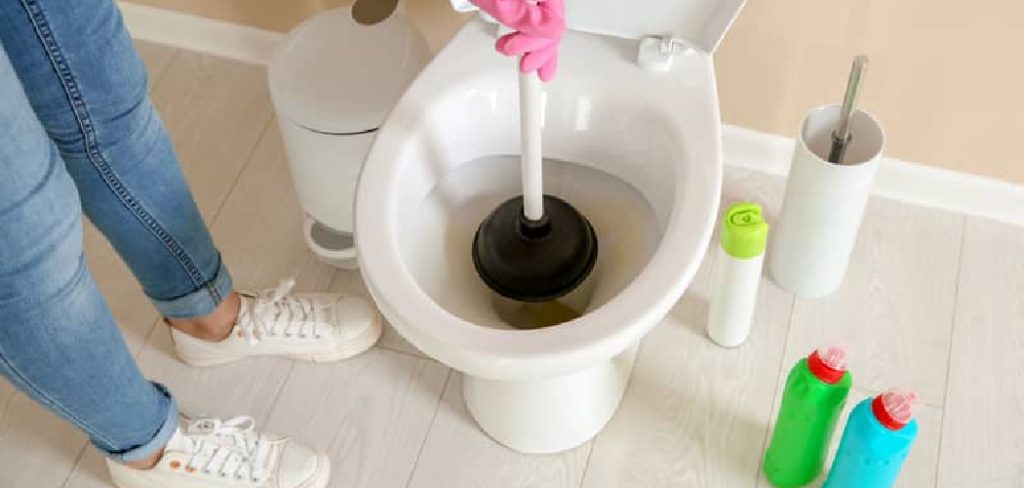
This guide on how to clean a plunger will walk you through an effective and straightforward process to clean your plunger thoroughly.
Why is It Important to Clean Your Plunger Regularly?
A plunger is a tool used to unclog drains and pipes by creating suction and pressure. When plunging, the rubber cup of the plunger comes in direct contact with bacteria and germs present in the clogged drain. If left uncleaned, these bacteria can transfer onto other surfaces and objects, potentially causing illness or contamination.
Additionally, if you have a toilet plunger specifically for use in the bathroom, it is even more crucial to keep it clean as toilets contain harmful fecal bacteria. Properly cleaning your plunger after each use will not only prevent the spread of germs but also help maintain its effectiveness for future use.
Materials You Will Need:
To clean your plunger effectively, you will need the following materials:
Hot Water:
Hot water will help dissolve any residue and bacteria present on the plunger.
Dish Soap:
Dish soap is a gentle yet effective cleaner that can remove dirt, grime, and bacteria from the plunger.
Bleach or Vinegar:
Bleach or vinegar are powerful disinfectants that can kill harmful bacteria and germs.
Bucket or Sink:
A bucket or sink will be used to hold hot water and cleaning solutions while you clean your plunger.
Rubber Gloves:
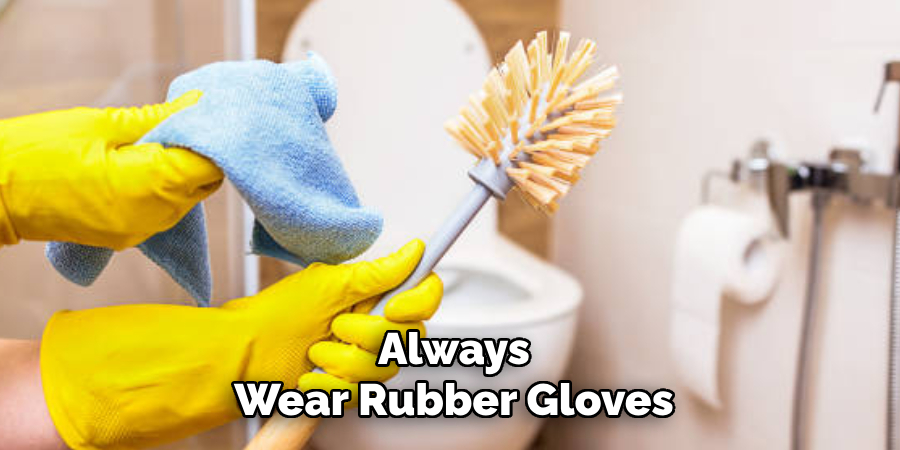
Rubber gloves will protect your hands from coming in direct contact with any bacteria present on the plunger.

8 Step-by-step Guides on How to Clean a Plunger:
Step 1: Prepare Your Cleaning Solution
Begin by filling a bucket or sink with hot water. Add a generous squirt of dish soap to the water, followed by either a cup of bleach or a cup of vinegar, depending on your preference. Stir the solution gently to combine the ingredients.
This cleaning solution will help to break down grime and disinfect the plunger, ensuring it is thoroughly cleaned. Be sure to wear rubber gloves during this step to protect your hands.
Step 2: Disassemble the Plunger (If Applicable)
Some plungers, especially those with extended handles or detachable parts, may need to be disassembled for effective cleaning. Check if your plunger’s handle or other components can be separated from the rubber cup. If so, carefully unscrew or detach these parts.
This will allow you to clean each component individually and ensure no hidden areas are missed. Be cautious while disassembling to avoid damaging the plunger. If your plunger does not have detachable parts, you can proceed to clean it as a whole in the following steps.
Step 3: Soak the Plunger in the Cleaning Solution
Submerge the plunger completely in the prepared cleaning solution. Ensure both the rubber cup and the handle are fully covered by the mixture of hot water, dish soap, and disinfectant. Allow the plunger to soak for at least 20 minutes to loosen any built-up residue and ensure thorough disinfection.
If any parts of the plunger were disassembled, make sure to soak all components separately. This soaking process is crucial as it helps to remove stubborn grime and eliminate bacteria effectively.
Step 4: Scrub the Plunger
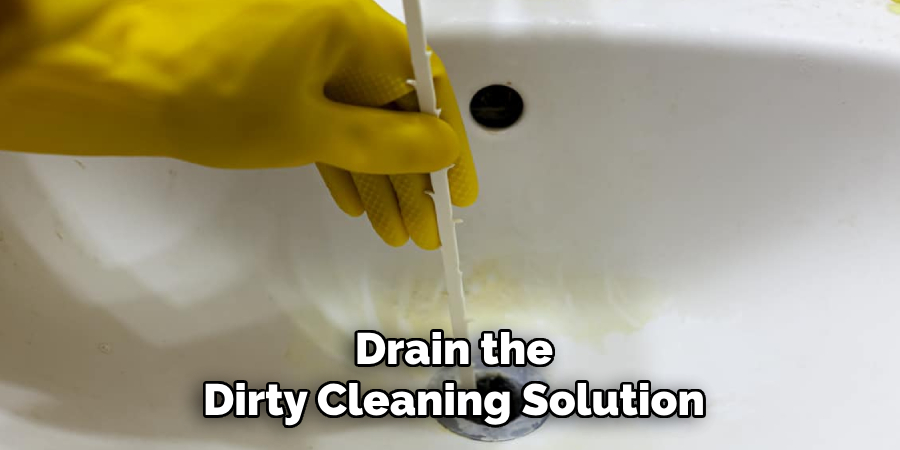
After soaking, drain the dirty cleaning solution and rinse the plunger with clean water. Using a scrub brush or old toothbrush, gently scrub the entire plunger, paying extra attention to the rubber cup’s edges and any hard-to-reach areas.
The scrubbing action will further remove any remaining residue and bacteria from the plunger’s surface. Rinse thoroughly with clean water afterward. If your plunger was disassembled, make sure to scrub each component separately before rinsing.
Step 5: Disinfect With Bleach or Vinegar
For an extra level of disinfection, you can choose to soak your plunger in a separate mixture of hot water and either bleach or vinegar. Fill a bucket or sink with the chosen disinfectant, then submerge the plunger for five minutes.
Both bleach and vinegar have powerful antibacterial properties that will kill any remaining germs on your plunger.
Step 6: Rinse Thoroughly
Once the disinfection step is complete, remove the plunger from the solution and rinse it thoroughly under running hot water. This step is essential to wash away any remaining cleaning solution, bleach, or vinegar, as well as loosened residue.
Make sure to rinse both the rubber cup and handle completely, ensuring no soap or disinfectant is left behind. A proper rinse will leave your plunger clean, odor-free, and safe for future use.
Step 7: Dry the Plunger Completely
After rinsing, gently shake off any excess water from the plunger and carefully dry it with a clean towel. Make sure to dry all parts of the plunger, including the rubber cup and handle. Leave the plunger exposed to air for a few hours or until completely dry before reassembling (if applicable) and storing it.
It is crucial to dry the plunger completely before storing it, as any remaining moisture can lead to mold and bacteria growth.
Step 8: Store Your Plunger in a Clean, Dry Place
Once your plunger is thoroughly cleaned and dried, store it in a clean, dry place. Avoid storing it near the toilet or other areas prone to moisture or bacteria. Ideally, keep your plunger in a cabinet or closet with good ventilation until its next use.
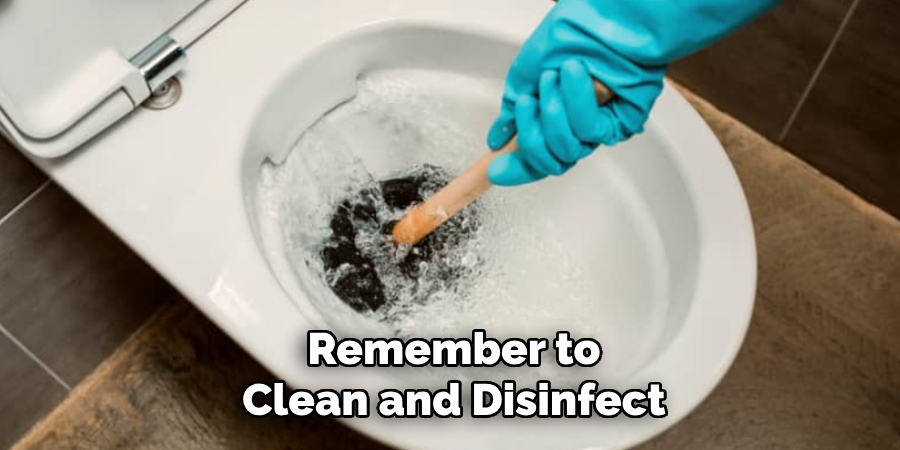
Following these steps on how to clean a plunger regularly after each use will ensure your plunger is clean and free of harmful bacteria, making it safe to use in case of future clogs. Additionally, remember to clean and disinfect any other cleaning tools used during the process, such as scrub brushes or towels, before storing them away.
Do You Need to Use Professionals?
While cleaning a plunger is a straightforward task that most people can handle at home, there may be situations where professional assistance is helpful or necessary. For instance, if you are dealing with severe clogs or sanitation concerns that require more advanced equipment and expertise, hiring a professional plumber might be a better solution.
Professionals are equipped to deal with complex plumbing issues and can ensure that your tools and plumbing system are thoroughly cleaned and maintained. However, for routine plunger cleaning, following the steps outlined above should suffice to keep it hygienic and ready for use.
How Much Does it Cost to Clean a Plunger Professionally?
The cost of having a plunger professionally cleaned is generally minimal, as it is not a common service offered by professionals. Most plumbing services focus on larger tasks such as fixing serious clogs, repairing leaks, or maintaining the overall plumbing system. However, if cleaning a plunger occurs as part of a larger plumbing service, the cost may be bundled into the overall service fee. On average, hiring a professional plumber can range from $100 to $300 per visit, depending on the complexity of the job and location.
That said, cleaning a plunger is a simple task that can be done at home with basic supplies like dish soap, bleach, or vinegar. By following the step-by-step guide in this document, you can save money while ensuring that your plunger is clean and hygienic for future use. Engaging professionals for this specific task is rarely necessary unless tied to broader plumbing concerns.
Frequently Asked Questions:
Q: Do I Need to Clean My Plunger After Every Use?
A: Yes, it is recommended to clean your plunger after each use to prevent the spread of germs and maintain its effectiveness. However, if the plunger was only used to clear a minor clog, you can rinse it with hot water and soap before reusing it.
Q: How Often Should I Deep Clean My Plunger?
A: It is advisable to deep clean your plunger at least once a month or after each use in case of a severe clog. This will ensure proper hygiene and prevent any potential health risks.
Q: Can I Use Other Cleaning Solutions Besides Dish Soap, Bleach, or Vinegar?
A: Yes, there are other cleaning solutions available specifically designed for cleaning plungers. You can also use baking soda or hydrogen peroxide as natural alternatives to bleach or vinegar. Just make sure to follow the instructions carefully and rinse thoroughly afterward. By following these simple steps, you can keep your plunger clean, hygienic, and ready for any clog emergencies that may arise. Remember to always wear gloves and take caution while handling cleaning solutions to protect yourself from harmful chemicals. Happy plunging!
Conclusion:
Cleaning your plunger may seem like a tedious task, but it is crucial for maintaining proper hygiene and preventing the spread of bacteria. Regularly following these eight steps on how to clean a plunger will not only keep your plunger clean and odor-free but also ensure it is safe for future use. Remember to always wear rubber gloves, prepare a good cleaning solution, and thoroughly dry and store your plunger after each use.
By taking these simple steps, you can keep your bathroom clean and healthy for you and your family. However, if you are uncomfortable with the idea of cleaning a plunger yourself, there are professional cleaning services that can assist with this task. Just be sure to regularly clean or replace your plunger to maintain proper hygiene in your home.

