Are you tired of your septic tank making awful noises or overflowing? A clogged or dirty septic tank filter can cause these common problems.

How to clean a septic tank filter is an essential aspect of maintaining a well-functioning septic system. The filter plays a crucial role in preventing solids from escaping into the drain field, which can lead to costly repairs and environmental issues. Over time, filters can become clogged with debris and bacteria, impeding the flow of wastewater and affecting the overall performance of your system. Regular inspection and cleaning of the septic tank filter can enhance its efficiency, prolong the septic system’s lifespan, and ensure that your household waste is processed effectively.
Here, we will walk you through the steps involved in cleaning your septic tank filter safely and efficiently, allowing you to take proactive measures in maintaining your septic system.
What Will You Need?
Before you begin cleaning your septic tank filter, ensure you have all the necessary tools and materials. These include:
- Protective gear such as gloves and safety glasses
- A garden hose
- A long-handled brush or broom
- A bucket for collecting debris
- A shovel (optional)
Once you have gathered all the materials, you can proceed with cleaning.
10 Easy Steps on How to Clean a Septic Tank Filter
Step 1. Turn Off the Power:
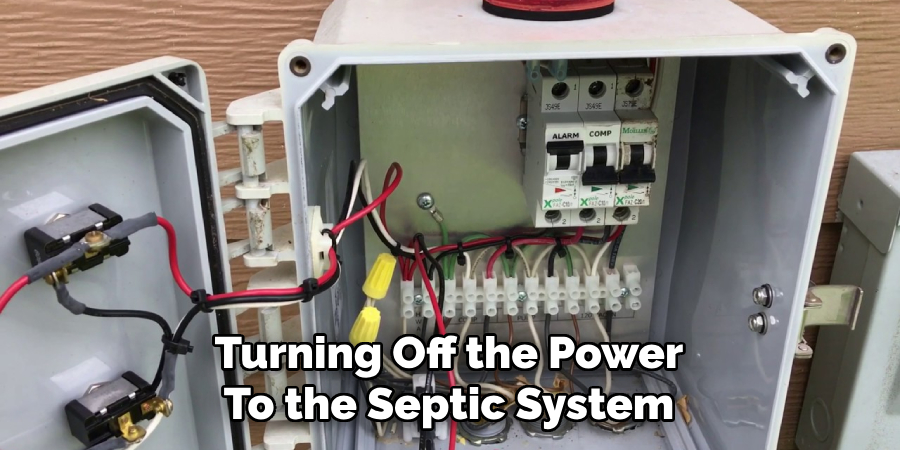
Before beginning the cleaning process, turning off the power to the septic system is vital. This often involves switching off the circuit breaker that supplies electricity to the septic pump and control panel. This precaution protects you from potential electrical hazards and prevents any accidental activation of the system while you’re working on it.

Ensure that all electrical components are completely shut down and that the area around the septic tank is safe to access, as maintaining safety is paramount when dealing with a septic system. Taking the time to equip yourself with protective gear, such as gloves and safety glasses.
Step 2. Locate the Septic Tank Access Lid:
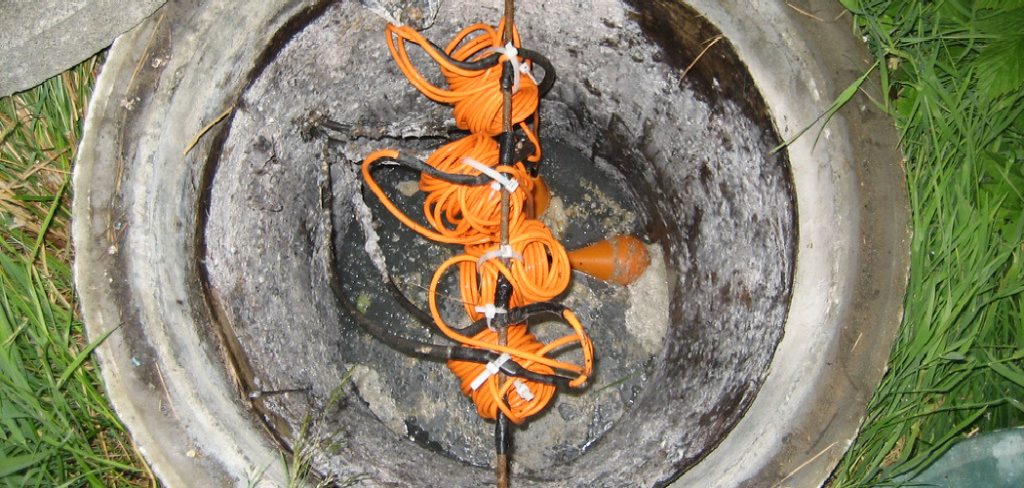
After ensuring the power is turned off, the next step is to locate the access lid of your septic tank. This lid is typically made of concrete or plastic and may be buried under soil or grass. Clear away any debris, dirt, or vegetation covering the lid to make it accessible. If your septic system has multiple access points, identify the one corresponding to the filter compartment, as this is where you will be cleaning. Using a shovel may be necessary if the lid is deeply buried.
Once the area is clear, carefully remove the access lid and set it aside in a safe location. Be cautious, as the surface around the lid may be uneven or damp.
Step 3. Inspect the Filter:
With the access lid removed, the next step is to inspect the septic tank filter for any signs of clogging or buildup. Carefully examine the filter’s condition, looking for debris, grease, or sludge that may have accumulated. If the filter appears dirty or clogged, this indicates that cleaning is necessary. Take note of any damage to the filter, as it may need replacement if cracked or broken. Understanding the filter’s current state will not only guide your cleaning efforts but also help in determining if further maintenance or professional assistance is required.
Step 4. Remove the Filter:
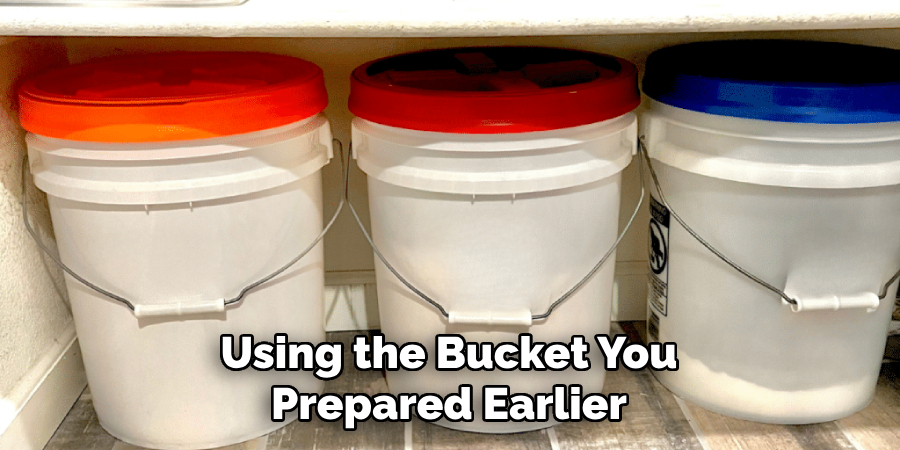
Once you have inspected the filter and determined it requires cleaning, carefully remove it from the septic tank. Depending on the type of filter, this may involve unscrewing it or simply lifting it out of its housing. Be cautious during this process, as the filter may be heavy or covered in sludge. Using the bucket you prepared earlier is advisable to catch any excess water or debris that may spill during removal. Hold the filter over the bucket to contain the mess and prevent any wastewater from draining back into the tank. Once removed, place the filter securely aside for cleaning.

Step 5. Rinse the Filter:
With the filter removed, it’s time to rinse it thoroughly to eliminate any accumulated debris and buildup. Use your garden hose to spray the filter, ensuring that water flows through it in the opposite direction of normal flow to dislodge any trapped particles. Pay particular attention to the crevices and porous areas where grime often collects.
As you rinse, observe how well the water passes through the filter; a clear flow indicates effective cleaning. If the filter remains heavily clogged even after rinsing, consider using a long-handled brush or broom to scrub it gently. After rinsing, allow the filter to drain completely to remove excess water before proceeding to the next step.
Step 6. Clean the Filter:
After rinsing the filter, if you notice any stubborn debris or buildup that hasn’t washed away, it’s time to thoroughly clean it. Use the long-handled brush or broom to gently scrub the filter, particularly to areas that show significant residue. Be careful not to apply too much pressure, which could damage the filter. If necessary, you can soak the filter in a bucket of warm, soapy water for a few minutes to help loosen any remaining dirt before scrubbing.
Once you’ve cleaned all surfaces of the filter, give it another rinse using the garden hose to wash away any soap residue and ensure that it is spotless. Allow the filter to dry before reinstallation, as a dry filter will prevent any excess moisture from entering the septic system.

Step 7. Inspect Other Components:
Before reinstalling the filter, inspect the surrounding components of the septic system. Check for visible signs of wear, damage, or leaks in the tank and associated plumbing. Look for issues such as cracked pipes, loose connections, or signs of corrosion. Addressing any concerns at this stage can prevent future problems and ensure the efficient functioning of your septic system.
Step 8. Reinstall the Filter:
With the filter clean and all components inspected, it’s time to reinstall the filter into the septic tank. Carefully position the filter back into place as per the manufacturer’s specifications, ensuring that it sits securely within its housing. If applicable, reattach any screws or fasteners that were removed during the cleaning process. Don’t force the filter into place, as this could cause damage. Once installed, double-check that everything is tightly secured and correctly aligned.
Step 9. Replace the Access Lid:
After the filter has been reinstalled, the next step is to put the access lid back on the septic tank. Clean any debris or dirt from the lid that may have accumulated during the process, ensuring a proper seal. Carefully lower the lid back into position, providing it fits securely and aligns properly with the tank. This step is vital to prevent contaminants from entering the septic system and to ensure it remain protected.
Step 10. Turn the Power Back On:
Finally, power is restored to the septic system after everything is cleaned, inspected, and securely reassembled. This typically means turning the circuit breaker back on. Monitor the system for a brief period to ensure that everything is functioning correctly. If you notice any unusual sounds, smells, or signs of malfunction, consult a professional to assess the situation further. Regular upkeep and vigilance are essential for maintaining the longevity and efficiency of your septic system.
By following these steps, you can effectively clean and maintain your septic system’s filter. Remember to perform this task regularly, as recommended by your local health department or septic professional, to prevent clogs and ensure the proper functioning of your system.

5 Things You Should Avoid
- Using Harsh Chemicals: Avoid using strong chemicals or bleach, as they can disrupt the balance of beneficial bacteria in the septic system. These chemicals may also damage the filter itself.
- Neglecting Safety Gear: Remember to wear protective gear such as gloves, goggles, and masks. Handling septic components can expose you to harmful bacteria and pathogens, so it’s essential to protect yourself.
- Ignoring Manufacturer Guidelines: Avoid cleaning methods that aren’t recommended by the manufacturer. Each filter may have specific upkeep requirements, and disregarding these can lead to improper maintenance and potential damage.
- Forcing the Filter Out: When removing the filter, avoid using excessive force. If it seems stuck, check for any fasteners that may still be attached or consult the manual to prevent breaking the filter or damaging the tank.
- Failing to Schedule Regular Maintenance: Avoid treating filter cleaning as a one-off task. Regular maintenance is crucial for the longevity and efficiency of your septic system; neglecting it can lead to more significant problems.
Conclusion
How to clean a septic tank filter is an essential maintenance task that ensures the efficient operation of your septic system.
By following the steps outlined above—from initial preparation to regular inspections—you can effectively remove debris and prevent clogs, thus safeguarding your system’s longevity. Always use appropriate cleaning practices, adhere to manufacturer guidelines, and engage in routine maintenance to mitigate potential issues.
With diligent care and attention, you can maintain a healthy septic system that functions optimally for years to come.

