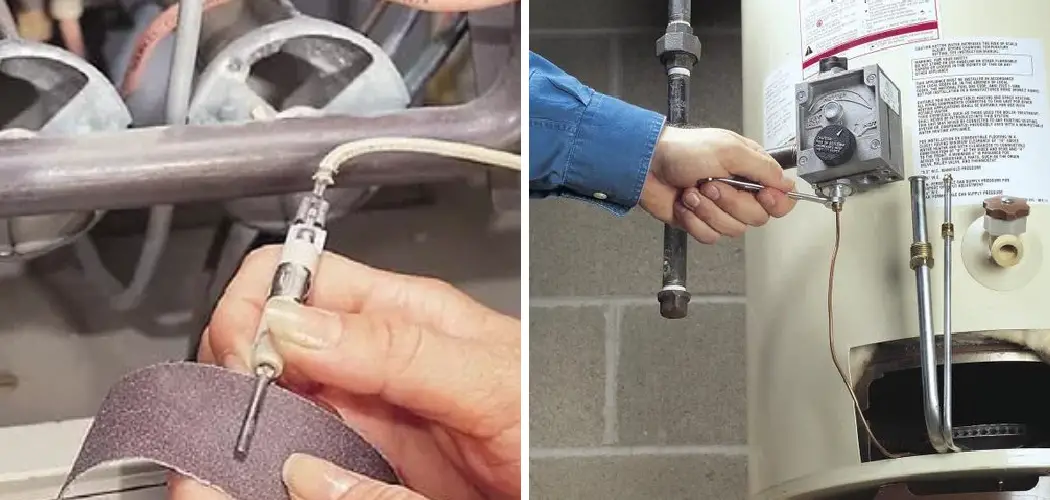
A thermocouple is a safety device that regulates the flow of gas in a water heater. If your water heater is not producing hot water, it may be due to a dirty or malfunctioning thermocouple. Cleaning the thermocouple is a simple process that can help restore your water heater’s functionality. In this guide on how to clean a thermocouple on a water heater, we’ll discuss the steps you need to take to clean it effectively.
What You Will Need
- A screwdriver
- A wire brush or sandpaper
- A clean cloth
12 Steps on How to Clean a Thermocouple on a Water Heater
Step 1: Turn off the Gas Supply
Before you begin cleaning the thermocouple, it is important to turn off the gas supply to your water heater. Look for the gas shut-off valve located near the bottom of your water heater and turn it clockwise to close it.
Step 2: Locate the Thermocouple
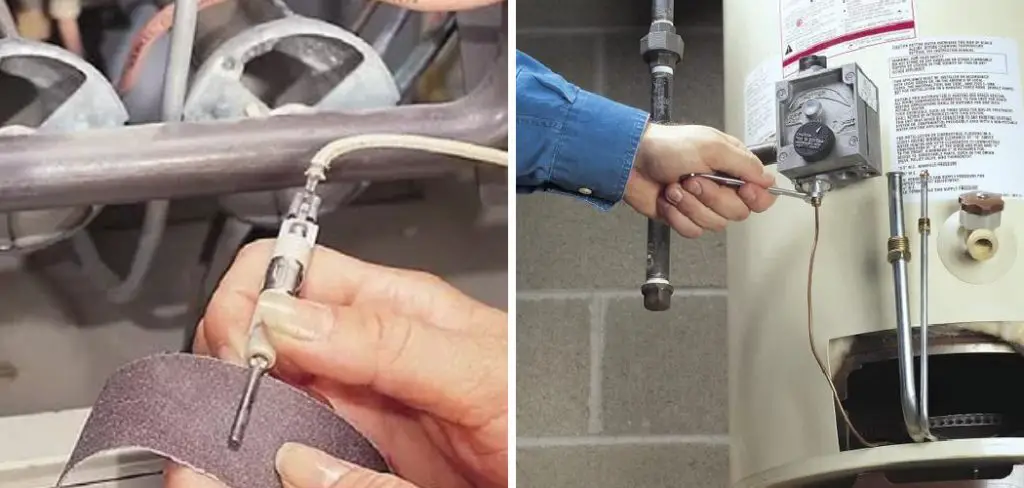
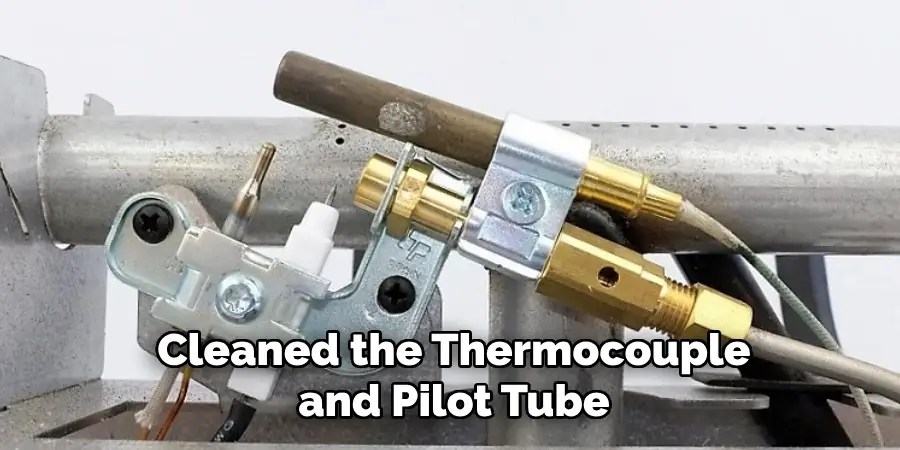
The thermocouple is a small metal rod located near the pilot light of your water heater. It is connected to the gas valve and has a copper tubing attached to it. Then, loosen the screws holding the thermocouple in place and carefully remove it from the water heater.
Step 3: Inspect the Thermocouple
Take a close look at the thermocouple for any signs of dirt or debris buildup. If there is excessive buildup, your water heater can malfunction. Use a wire brush or sandpaper to gently clean the surface of the thermocouple.
Step 4: Clean the Tip of the Thermocouple
The tip of the thermocouple is a vital part that needs to be cleaned properly. Use a clean cloth and gently wipe away any dirt or debris from the tip. Be gentle, as you do not want to damage this sensitive component.
Step 5: Check for Corrosion
Inspect the thermocouple for any signs of corrosion. If there is visible damage or corrosion, it may be necessary to replace the thermocouple altogether. So, be sure to have a replacement thermocouple on hand, just in case.
Step 6: Clean the Pilot Tube
The pilot tube is the small copper tubing that connects the gas valve to the thermocouple. Take some sandpaper and gently clean any buildup or debris from inside the pilot tube. A clean pilot tube is essential for the proper functioning of the water heater.
Step 7: Reattach the Thermocouple
Once you have cleaned the thermocouple and pilot tube, carefully reattach the thermocouple back into place. Make sure it is securely tightened with the screws. When properly connected, the tip of the thermocouple should be positioned directly in front of the pilot light.
Step 8: Turn on the Gas Supply
With the thermocouple securely in place, you can now turn on the gas supply to your water heater. Make sure to double-check that all connections are tight and secure before proceeding. If you notice any gas leakages, turn off the gas supply immediately and seek professional help.
Step 9: Test the Water Heater
With the gas supply turned back on, relight your water heater’s pilot light. Follow the manufacturer’s instructions for relighting if needed. Once lit, turn on the hot water tap to test if your water heater is now functioning properly. If you still do not have hot water, there may be another issue at play.
Step 10: Recheck Connections
If the water heater is still not producing hot water, double-check all connections and make sure everything is securely tightened. Also, ensure that the pilot light is lit and burning a steady blue flame.
Step 11: Consider Professional Help
If you have followed all the steps and your water heater is still not producing hot water, it may be time to call in a professional. They can diagnose and fix any underlying issues with your water heater or thermocouple.
Step 12: Regular Maintenance
To prevent future issues with your thermocouple, it is important to clean and maintain it regularly. Make it a part of your yearly home maintenance routine to check and clean the thermocouple for any buildup or debris. This can help ensure that your water heater is functioning properly and efficiently.
Cleaning a thermocouple is an important maintenance step that can help keep your water heater running smoothly. With just a few simple steps on how to clean a thermocouple on a water heater, you can clean the thermocouple and potentially avoid costly repairs or replacements down the line. Remember to always prioritize safety when working with gas appliances and seek professional help if needed.
8 Things to Avoid When Cleaning a Thermocouple on a Water Heater
1) Using Harsh Chemicals
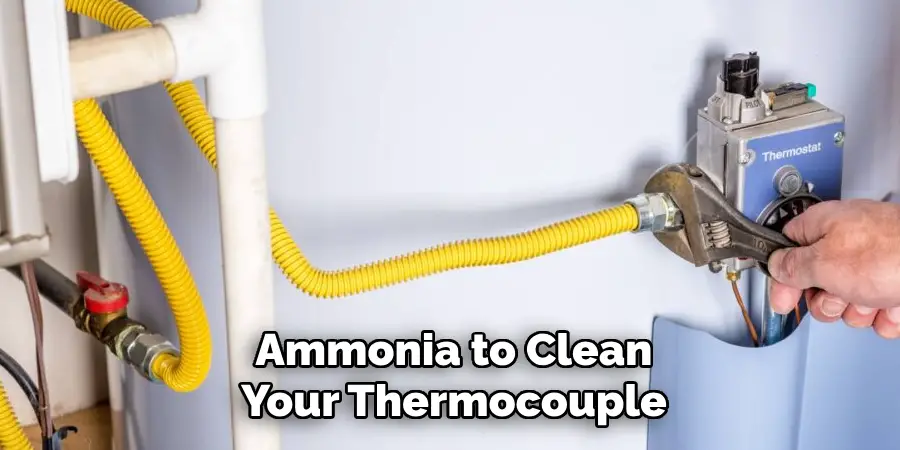
Avoid using harsh chemicals such as bleach or ammonia to clean your thermocouple. These can damage the delicate components and may cause more harm than good. There are many natural and safe cleaning solutions available that can effectively clean the thermocouple without causing any damage.
2) Overly Aggressive Cleaning
Be gentle when cleaning the thermocouple, as it is a sensitive component. Using too much force or aggressive scrubbing can cause damage to the tip or connections, resulting in a malfunctioning thermocouple. A gentle touch is all that is needed to effectively clean it.
3) Ignoring Signs of Damage
If you notice visible damage or excessive corrosion on the thermocouple, do not ignore it. This can lead to bigger problems and may require a replacement of the entire water heater if left untreated. It is important to regularly check for any signs of damage and address them immediately.
4) Not Turning off the Gas Supply
Never attempt to clean the thermocouple without first turning off the gas supply to your water heater. This can be extremely dangerous and may result in gas leaks or explosions. Always prioritize safety when working with gas appliances.
5) Skipping Regular Maintenance
Don’t wait until your water heater is malfunctioning to clean the thermocouple. Regular maintenance and cleaning can prevent issues from arising in the first place. Make sure to include cleaning the thermocouple as part of your yearly home maintenance routine.
6) Using Abrasive Materials
Avoid using abrasive materials such as steel wool or metal brushes to clean the thermocouple. These can cause scratches and damage to the surface, making it more susceptible to debris buildup and corrosion. Stick to soft cloths or gentle cleaning tools.
7) Rushing the Cleaning Process
Take your time when cleaning the thermocouple. Rushing through the process can lead to mistakes and may result in a poorly cleaned thermocouple. Be patient and thorough to ensure proper maintenance of your water heater.
8) Not Seeking Professional Help
If you are unsure about how to properly clean your thermocouple or encounter any issues during the cleaning process, do not hesitate to seek professional help. It is always better to be safe than sorry when it comes to gas appliances and their maintenance.
Overall, proper care and maintenance of your thermocouple can help extend the lifespan of your water heater and ensure it continues to function efficiently. So make sure to give it the attention it needs in order to keep your hot water flowing.
8 Additional Tips for Maintaining Your Water Heater
1) Check the Temperature Setting
Make sure to regularly check the temperature setting on your water heater. A recommended temperature is typically between 120-140 degrees Fahrenheit. This can help prevent scalding and save energy.
2) Flush the Tank Annually
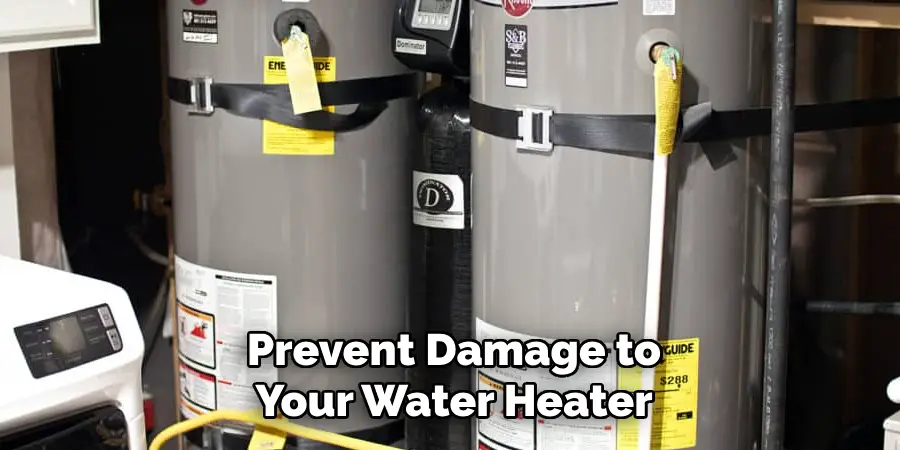
Sediment build-up inside your water heater tank can cause issues with efficiency and lead to a shorter lifespan. To prevent this, make sure to flush your water heater tank at least once a year. So remember to schedule this as part of your maintenance routine.
3) Insulate Your Water Heater
Insulating your water heater can help prevent heat loss and improve efficiency. You can purchase pre-cut insulation blankets specifically made for water heaters or use a DIY solution such as a thick blanket or foam board.
4) Check the Anode Rod
The anode rod is a sacrificial rod inside your water heater that attracts corrosive elements, protecting the tank from rust and corrosion. Make sure to regularly check and replace this rod as needed to prevent damage to your water heater.
5) Don’t Ignore Strange Noises
If you hear any strange noises coming from your water heater, don’t ignore them. It could be a sign of a potential issue that needs to be addressed. Contact a professional if you notice any unusual sounds.
6) Test the Pressure Relief Valve
The pressure relief valve is an important safety feature on your water heater that releases excess pressure inside the tank. Make sure to regularly test this valve to ensure it is functioning properly and replace it if necessary.
7) Keep the Area Around Your Water Heater Clear
Make sure to keep the area around your water heater clear of any clutter or flammable materials. This can help prevent accidents and ensure proper ventilation for the appliance. If you have a gas water heater, it is important to keep the area clear for safety reasons.
8) Know When to Replace Your Water Heater
Despite regular maintenance and care, eventually, your water heater will need to be replaced. Know the signs of an aging or malfunctioning unit, such as inconsistent hot water, leaks, or strange noises, and be prepared to replace your water heater when it’s time.
By following these tips and regularly maintaining your water heater, you can ensure it continues to function efficiently and effectively for years to come. Remember, proper maintenance is key to avoiding costly repairs or replacements in the future. So take the time to care for your water heater and enjoy hot showers for years to come.
8 Safety Measures When Working with Gas Appliances
1) Turn off the Gas Supply
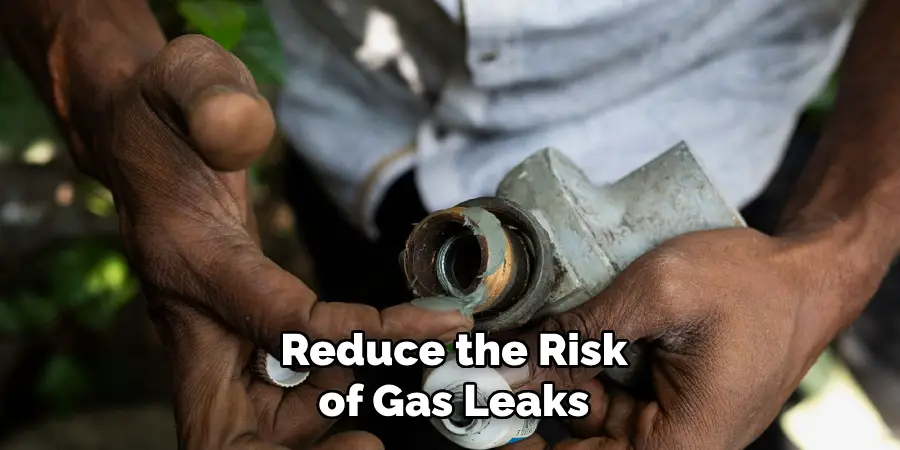
Always turn off the gas supply before working on any gas appliance. This can prevent accidents and reduce the risk of gas leaks. And remember to leave the gas supply off until the work is completed.
2) Use Proper Tools and Equipment
Make sure you have the proper tools and equipment when working with gas appliances. This includes protective gear such as gloves and safety glasses, as well as specific tools designed for gas appliances.
3) Follow Manufacturer Guidelines
Always follow the manufacturer’s guidelines when working with gas appliances. This includes maintenance and cleaning instructions, as well as safety precautions. But remember, if you are unsure or encounter any issues, seek professional help.
4) Proper Ventilation
Proper ventilation is crucial when working with gas appliances. Make sure the area is well-ventilated to prevent a build-up of gas, and always make sure the flue on your water heater is clear of any debris.
5) Check for Gas Leaks
Before starting any work, make sure to check for gas leaks. This can be done with a gas leak detector or by using soap and water to check for bubbles when applied to the gas line connections. As an added precaution, make sure to have a CO2 detector installed near your gas appliances.
6) Keep Flames and Sparks Away
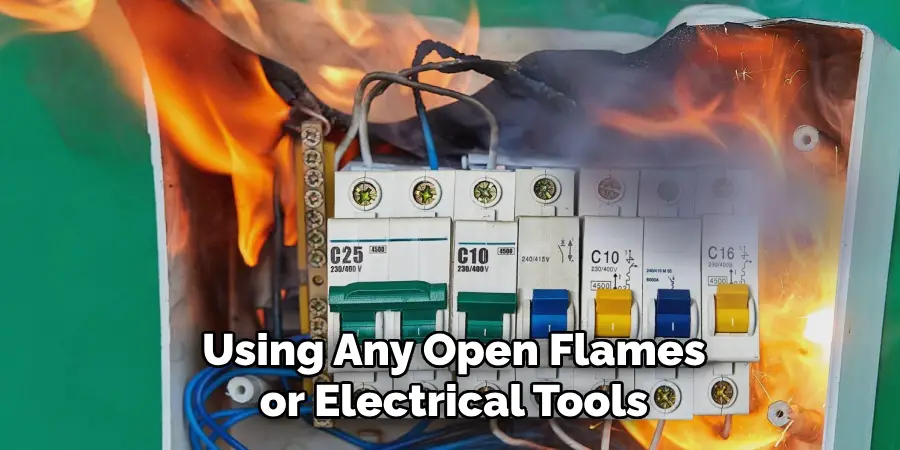
When working with gas appliances, it is important to keep flames and sparks away from the area. This includes smoking or using any open flames or electrical tools that may spark. On the same note, make sure to avoid using any flammable cleaning products near the water heater.
7) Do Not Over Tighten Connections
When reconnecting gas lines, be careful not to over-tighten them. This can cause damage and may lead to leaks. Follow the manufacturer’s guidelines for proper torque on connections. So make sure to use a wrench or other appropriate tool when tightening connections.
8) Know When to Call for Professional Help
If you encounter any issues or are unsure about the safety of your gas appliance, do not hesitate to call for professional help. Gas appliances can be dangerous if not handled properly, so it is always better to be safe than sorry.
By following these safety measures on how to clean a thermocouple on a water heater and using caution when working with gas appliances, you can ensure a safe and successful maintenance experience. Remember to always prioritize your safety and the safety of those around you when dealing with gas appliances.
Frequently Asked Questions
How Often Should I Flush My Water Heater Tank?
It is recommended to flush your water heater tank at least once a year to prevent sediment build-up and prolong the lifespan of your appliance. However, if you notice any decrease in efficiency or strange noises, it may be necessary to flush it more often.
Can I Insulate My Water Heater Myself?
Yes, you can insulate your water heater yourself using a pre-cut insulation blanket or a DIY solution such as a thick blanket or foam board. Just make sure to follow the manufacturer’s instructions and take proper safety precautions when working with your water heater.
When Should I Replace My Water Heater?
It is recommended to replace your water heater every 8-12 years, but this can vary depending on usage and maintenance. If you notice any signs of an aging or malfunctioning unit, it may be time to replace it sooner. Consult with a professional for an accurate assessment.
How Do I Test My Pressure Relief Valve?
To test your pressure relief valve, turn off the power to your water heater and place a bucket under the discharge pipe. Then, lift the valve’s lever and allow water to flow into the bucket. If it does not release hot water or if it continues to drip after releasing the lever, it may need to be replaced. Consult with a professional for assistance.
Are There Any Specific Safety Measures for Gas Water Heaters?
Yes, gas water heaters require extra precautions due to the potential risks of gas leaks and carbon monoxide poisoning. Make sure to follow the eight safety measures listed above when working with gas appliances, and always have a CO2 detector installed near your water heater.
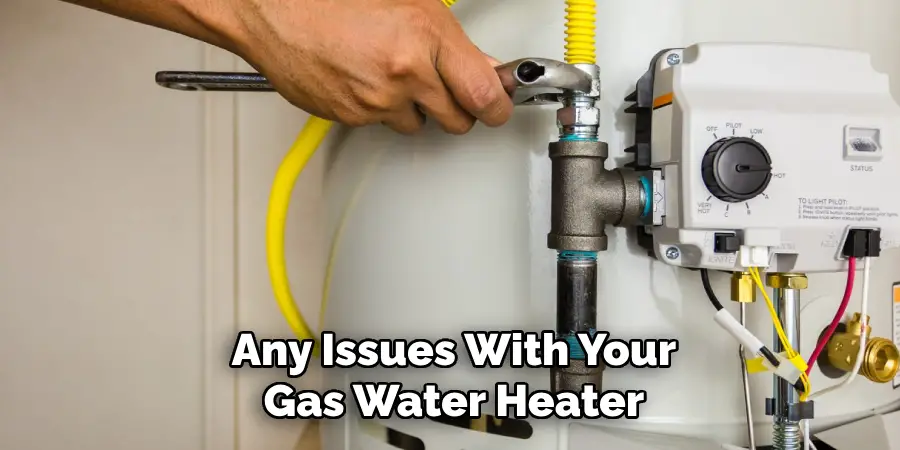
Remember, it is always better to seek professional help if you are unsure or encounter any issues with your gas water heater. Your safety should be the top priority when dealing with gas appliances.
Can I Work on Gas Appliances Myself?
While some maintenance tasks can be done by homeowners, it is always best to seek professional help when working with gas appliances. Gas leaks and other issues can be dangerous and should be handled by trained professionals. So, if you are unsure or encounter any issues, do not hesitate to call for professional help.
Conclusion
Maintaining your water heater is crucial for its efficiency and longevity, as well as the safety of your household. By following these tips and safety measures on how to clean a thermocouple on a water heater, you can ensure that your water heater continues to provide hot water for years to come without any accidents or costly repairs.
Remember to regularly test your relief valve, keep the area around your water heater clear, and know when it’s time to replace your unit. With proper maintenance and care, you can enjoy hot showers and a well-functioning water heater for years to come. So, don’t wait any longer; start implementing these tips today and take the first step towards a safer and more efficient home.

