Cleaning the bathroom sink overflow might not be the most exciting household chore, but it is essential for maintaining hygiene and preventing unpleasant odors. The overflow channel is designed to prevent water from spilling over the sink’s edge, but it can easily become a catchment area for grime, soap scum, and bacteria.
In this guide on how to clean bathroom sink overflow, we will explore effective methods and tools to thoroughly clean this often-overlooked area, ensuring your bathroom remains fresh and inviting. With just a few simple steps, you can keep your sink overflow in pristine condition and enhance the overall cleanliness of your bathroom.
What is a Sink Overflow?
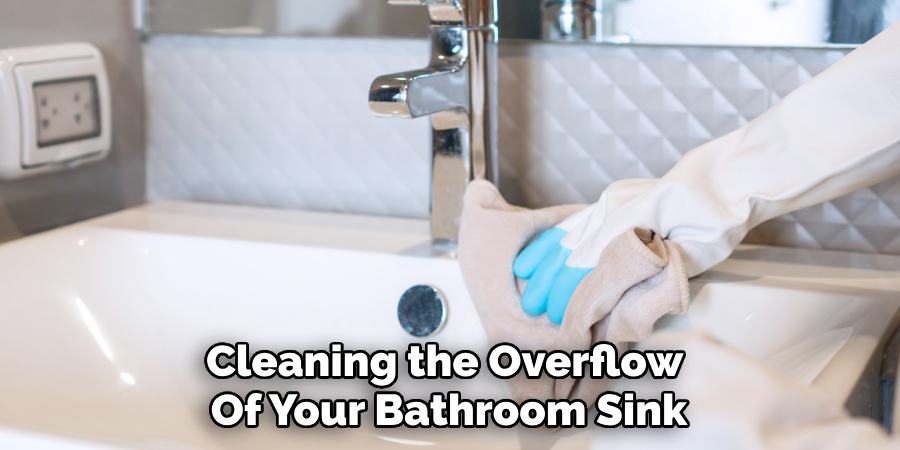
Before we dive into the cleaning process, let’s first understand what a sink overflow is. An overflow in a bathroom sink is a small opening or channel located near the top of the basin. It serves as an emergency outlet that prevents water from spilling over if the drain gets clogged.
The overflow channel connects to another drain pipe that runs parallel to the main drain and leads to the sewer system or septic tank. While it may seem like just another part of your sink, keeping it clean is crucial for proper drainage and preventing any potential health hazards.
Tools and Materials You Will Need
To effectively clean your bathroom sink overflow, you will need some basic tools and materials readily available in most households. These include:
Baking Soda:
This common household ingredient has excellent cleaning properties and is gentle enough not to cause any damage to your sink.
Vinegar:
Another versatile household item, vinegar, has antibacterial properties that make it an effective cleaner for removing grime and bacteria in the overflow channel.
Old Toothbrush or Pipe Cleaner:
These tools are perfect for scrubbing hard-to-reach areas of the overflow channel and dislodging any stubborn build-up.
Now that you have all the necessary supplies let’s move on to the step-by-step process of cleaning the overflow of your bathroom sink.
7 Simple Step-by-step Guidelines on How to Clean Bathroom Sink Overflow
Step 1: Prepare the Cleaning Solution
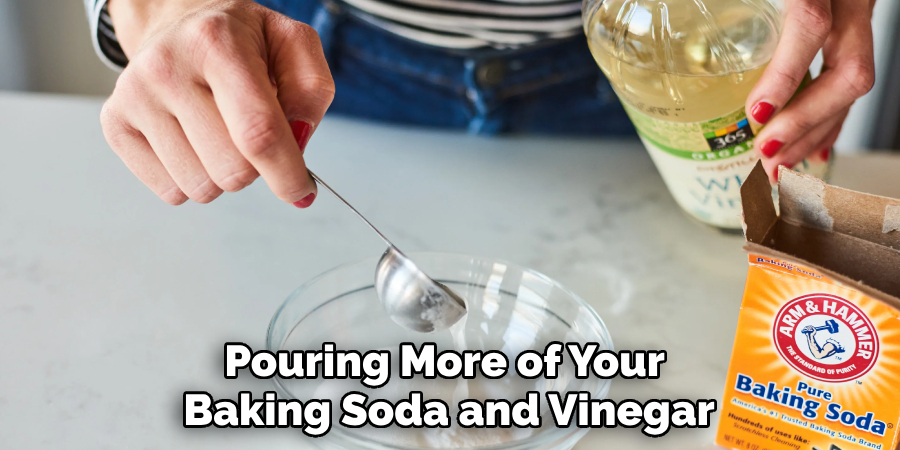
To start the cleaning process, you’ll need to create an effective cleaning solution using the materials mentioned earlier. In a small bowl, mix equal parts of baking soda and vinegar. The combination of these two ingredients will create a fizzy reaction that helps to break down grime and bacteria within the overflow channel.
Allow the mixture to sit for a few minutes to activate before proceeding to the next step. This natural cleaning solution not only targets dirt effectively but is also safe for your plumbing and the environment.
Step 2: Remove any Visible Build-up
Once your cleaning solution is ready, it’s time to address any visible build-up in the overflow channel. Begin by carefully inspecting the area around the overflow opening for any soap scum, hair, or other debris.
Use an old toothbrush or a pipe cleaner to gently dislodge and remove this build-up. Make sure to pay close attention to the crevices and corners, as these areas can often harbor stubborn grime.
If necessary, dip your cleaning tool in the baking soda and vinegar solution for added cleaning power. Once you’ve removed the majority of the visible debris, rinse the area with warm water to wash away any lingering residue. This step will help set the stage for a more thorough cleaning in the next steps.
Step 3: Flush the Overflow Channel
After removing any visible build-up, it’s time to flush the overflow channel to ensure that all remaining debris and the cleaning solution are thoroughly rinsed away. Begin by running warm water from the faucet for a few minutes, allowing it to flow directly into the sink while simultaneously pouring more of your baking soda and vinegar solution into the overflow opening.
This combination will help dislodge any stubborn residue that may be clinging to the sides of the channel. It’s important to let the water run for a sufficient amount of time to ensure the overflow remains clear and that all remnants of the cleaning solution have been effectively washed away. Once completed, you should notice that the water drains swiftly and smoothly, indicating a clean and efficient overflow channel.
Step 4: Repeat if Necessary
In some cases, particularly if the overflow channel has not been cleaned in a long time, you may find that a single cleaning session doesn’t completely remove all grime and build-up. If you notice any remaining debris or if the water isn’t draining as quickly as it should, don’t hesitate to repeat the previous steps.
Reapply the baking soda and vinegar solution, and use your old toothbrush or pipe cleaner to scrub the channel again. Flushing with warm water afterward will help ensure that any dislodged particles are fully washed away. This repetition can make a significant difference in the overall cleanliness of your sink overflow, helping to maintain a fresh and sanitary bathroom environment.
Step 5: Rinse with Hot Water
Once you’ve thoroughly scrubbed the overflow channel and removed any lingering debris, it’s time to give the area a final rinse with hot water. Turn on the hot water tap and allow it to run for a minute or two to ensure that it’s sufficiently heated. Then, carefully direct the warm water into the overflow opening, making sure to flush away any remaining cleaning solution and dislodged particles.
The hot water will help dissolve any stubborn grime that may not have been fully removed during the scrubbing process. After rinsing, check that the water flows freely down the overflow channel—this indicates that it is now clean and ready for use. Regularly rinsing your sink overflow with hot water can also contribute to preventing future build-up, keeping your bathroom fresh and hygienic.
Step 6: Dry and Disinfect
After rinsing the overflow channel with hot water, it’s crucial to dry the area to prevent any moisture buildup, which can lead to mold and bacteria growth. Use a clean, dry cloth or paper towel to wipe down the overflow opening and surrounding areas thoroughly. Ensure that all moisture is removed, particularly from crevices where water may linger.
Once the area is dry, proceed to disinfect the overflow channel to eliminate any remaining germs. You can use a commercial disinfectant spray or a solution of equal parts water and rubbing alcohol. Spray the disinfectant onto the overflow opening and surrounding surfaces, allowing it to sit for a few minutes to effectively kill any bacteria.
Finally, wipe the area again with a clean cloth to remove any excess disinfectant, leaving the sink overflow not only clean but also hygienic and safe for everyday use. Regular maintenance and disinfection will help ensure your bathroom remains a healthy environment.

Step 7: Prevent Future Build-up
Now that your sink overflow is clean and disinfected, it’s essential to take preventive measures to avoid future build-up. After each use of your bathroom sink, run hot water down the drain for a few seconds to help flush away any debris or residue.
You can also periodically repeat the cleaning process outlined above to keep your overflow channel in top condition. Additionally, using a hair catcher over the drain can significantly reduce the amount of hair and other debris that ends up in the overflow channel, making it easier to maintain.
By following these simple steps on how to clean bathroom sink overflow regularly, you can ensure that your bathroom sink overflow remains clean and free from bacteria and grime. With regular maintenance and preventive measures, you can maintain a hygienic and pleasant bathroom environment for you and your family to enjoy.
Remember, a clean overflow channel not only keeps your sink functioning properly but also contributes to the overall cleanliness of your bathroom. So, next time you’re cleaning your bathroom, don’t forget about the often-overlooked sink overflow!
Frequently Asked Questions
Q: How Often Should I Clean My Bathroom Sink Overflow?
A: It’s recommended to clean your sink overflow at least once a month to prevent build-up and maintain a hygienic environment. However, if you notice an unusual odor or slow drainage, it may be necessary to clean more frequently.
Q: Can I Use Other Cleaning Solutions Besides Baking Soda and Vinegar?
A: Yes, there are various commercial cleaners specifically designed for unclogging and cleaning sink overflows. However, using a homemade solution of baking soda and vinegar is an effective and affordable option.
Q: Is It Necessary to Disinfect the Overflow Channel?
A: While not necessary, disinfecting the overflow channel can help eliminate any remaining bacteria or germs. Regular disinfection can also prevent future build-up and maintain a clean and hygienic bathroom environment.
Q: How Do I Clean Hard-to-Reach Areas in the Overflow Channel?
A: For hard-to-reach areas, you can use a small brush or pipe cleaner to scrub the channel thoroughly. A toothbrush can also be effective in reaching crevices and corners. Alternatively, you can use a combination of vinegar and baking soda to create a foaming solution that can reach these areas more easily.

Conclusion
Maintaining a clean bathroom sink overflow is crucial for both hygiene and functionality. By following the straightforward steps outlined in this guide on how to clean bathroom sink overflow, you can effectively eliminate grime and prevent build-up, ensuring that your overflow channel remains in optimal condition.
Regular cleaning and preventive measures not only enhance the aesthetic appeal of your bathroom but also contribute to a healthier environment for your family.
Consistency is key; incorporate these practices into your cleaning routine, and your bathroom will continue to look and feel fresh. Don’t underestimate the importance of this often-overlooked area—making it a priority will pay off in overall cleanliness and peace of mind.

