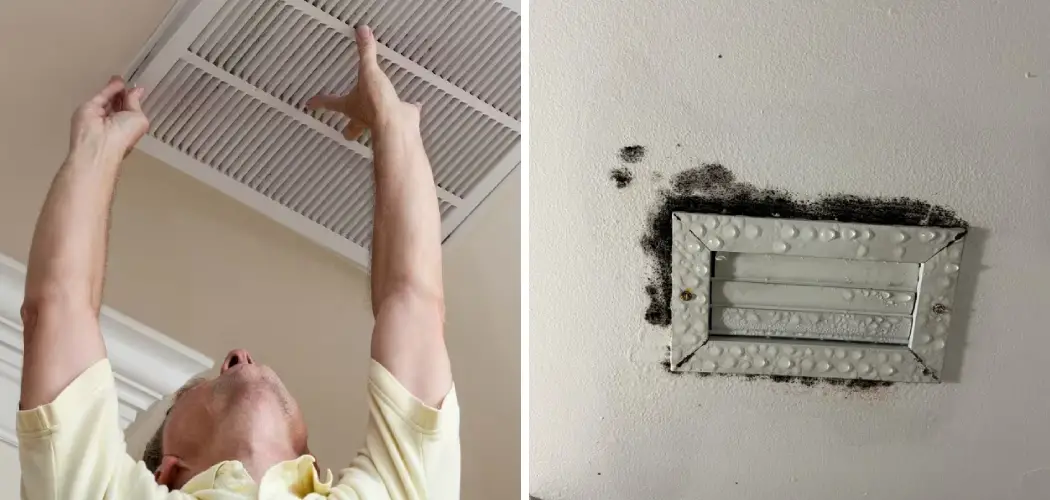
Cleaning the ceiling around vents is an essential task for maintaining a healthy indoor environment. Dust, allergens, and grime can accumulate in these areas over time, potentially affecting air quality and the efficiency of your HVAC system.
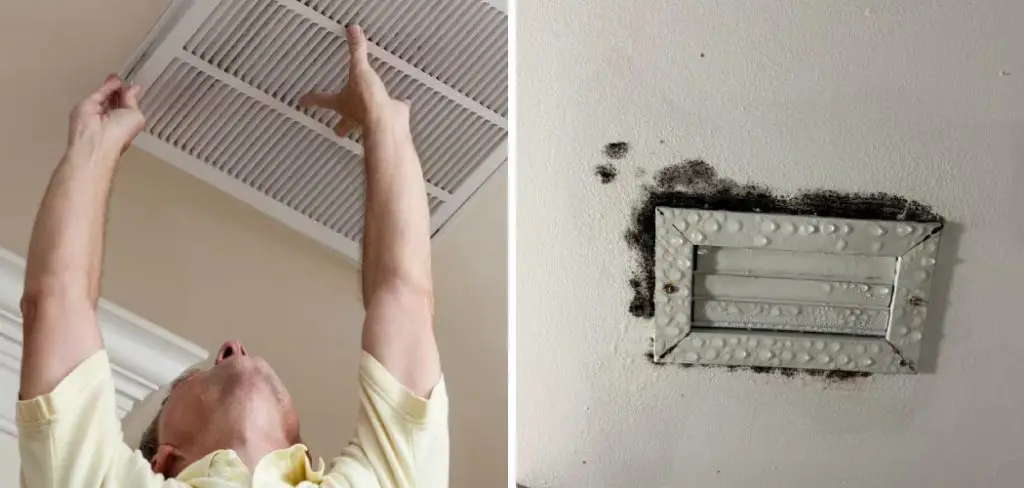
This guide on how to clean ceiling around vents will provide you with step-by-step instructions on how to effectively clean the ceiling around vents, ensuring not only a cleaner space but also improved airflow and comfort in your home. With the right tools and techniques, you can achieve a fresh and inviting atmosphere that contributes to your overall well-being.
Why is It Important to Clean Ceiling Around Vents?
The ceiling serves as a catch-all for airborne particles, including dust, pet dander, and other allergens. Air flowing from your vents can stir up this debris and distribute it throughout your home, leading to respiratory issues and allergies for you and your family.
Furthermore, dirty vents can impede the airflow of your HVAC system, making it harder to maintain a comfortable temperature. This can result in higher energy bills and potential damage to your system over time. By regularly cleaning the ceiling around vents, you can improve air quality and help your HVAC system run more efficiently.
Tools and Materials Needed
Ladder:
Since vents are often located on the ceiling, having a ladder is essential for reaching and cleaning them safely.
Duster or Vacuum:
A duster with an extendable handle or a vacuum cleaner with attachments can effectively remove dust and debris from the vent covers and surrounding area.
Microfiber Cloth:
Using a microfiber cloth can help trap and remove dirt and grime without leaving behind lint or residue.
Cleaning Solution:
Depending on the level of dirt and grime, you may need to use a cleaning solution. A mild all-purpose cleaner or vinegar-water solution can be effective in removing grease and stubborn stains.

7 Step-by-step Guides on How to Clean Ceiling Around Vents
Step 1: Prepare the Area
Before you begin cleaning the ceiling around vents, it’s crucial to prepare the area to ensure a smooth and efficient process. Start by removing any furniture or obstacles that may impede access to the vent locations. This will provide you with ample working space and reduce the risk of accidental damage to your belongings.
Next, lay down a drop cloth or old towels on the floor to catch any falling dust or debris, making cleanup easier. Finally, ensure the area is well-lit so that you can clearly see the surfaces you are cleaning. This preparation will not only enhance your safety while using the ladder but will also contribute to a more effective cleaning session.
Step 2: Remove Vent Covers
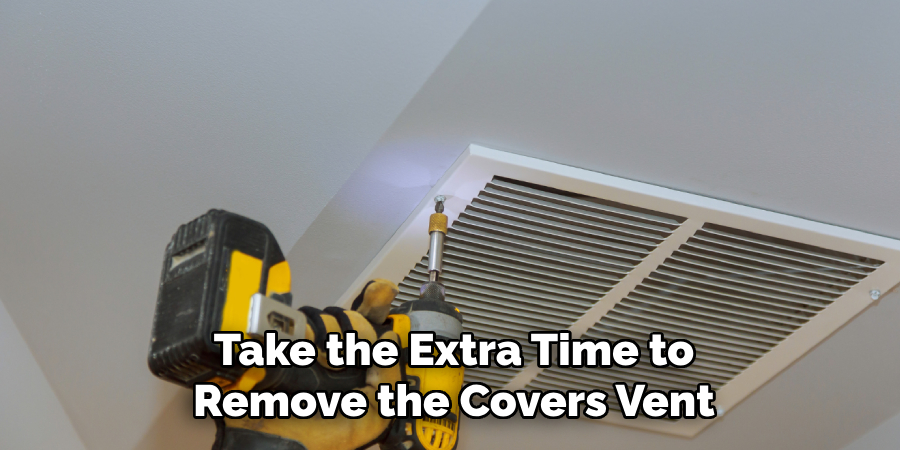
Once the area is prepared, proceed to remove the vent covers carefully. Most vent covers are either held in place by screws or simply snapped into place. If your covers are secured with screws, use a screwdriver to loosen and remove them, taking care to keep the screws in a safe location so they don’t get lost.
For snap-on covers, gently pull the cover away from the ceiling or wall, being cautious not to damage the surrounding area. Once the vent covers are removed, set them aside in a safe place. This step will allow you to clean both the covers and the area around the vents more effectively, ensuring a thorough cleaning process.
Step 3: Dust the Vents and Surrounding Area
With the vent covers removed, it’s time to tackle the dust that has accumulated around the vents and on the covers themselves. Using your duster or vacuum cleaner with the appropriate attachment, start by gently dusting the exposed vent openings and the surrounding ceiling area. Be sure to work from one side of the vent to the other, allowing the dust to fall into your prepared drop cloth or towels below.
If you’re using a duster, consider using a long, extendable handle to reach high areas comfortably. For any stubborn dust or debris that doesn’t easily come off, lightly wet a microfiber cloth with your cleaning solution and gently wipe the surfaces. This not only helps in lifting the dust but also readies the area for a deeper clean in the following steps.

Step 4: Clean the Vent Covers
With the dust removed, it’s time to thoroughly clean the vent covers. Using your preferred cleaning solution and a clean microfiber cloth, wipe down both sides of the cover. Be sure to pay special attention to any caked-on or greasy areas that may require a little more scrubbing.
For metal vent covers, you can also use a mild soap and water solution for added shine. Once clean, rinse the covers with plain water and dry them thoroughly before reattaching them. This step will not only make your vents look new but also contribute to improved air quality in your home.
Step 5: Clean Around Vents
After removing the dust and cleaning the vent covers, it’s time to focus on the surrounding area. Using your preferred cleaning solution and a clean cloth, wipe down the ceiling or wall where the vent covers were attached. Be sure to remove any visible dirt or stains, paying attention to areas that may have been missed during the initial dusting.
For tougher stains or grime buildup, you may need to use a bit of elbow grease and scrub with a clean brush. Once satisfied with the cleanliness of the area, rinse with plain water and dry thoroughly. This step will complete your thorough cleaning of both the vents and surrounding area, ensuring a fresh and inviting space.
Step 6: Inspect and Replace Filters
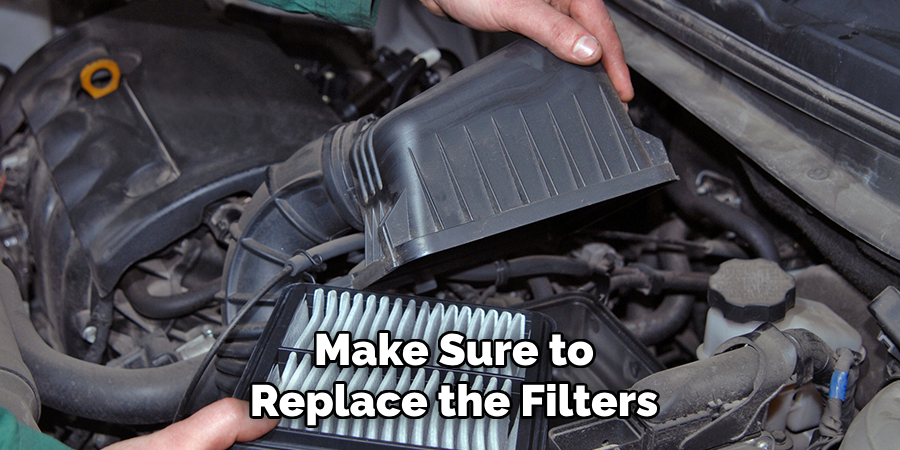
After cleaning the ceiling around your vents and the vent covers, it’s important to check the filters in your HVAC system. Start by locating the filters, which are typically housed in the return air vents or in the HVAC unit itself. Carefully remove the filters to inspect their condition. If they are visibly dirty, clogged, or damaged, it’s time to replace them with new ones.
Clean filters ensure better air quality and allow your HVAC system to operate efficiently, preventing unnecessary strain on the system. Make sure to replace the filters according to the manufacturer’s guidelines regarding size and type. Regularly inspecting and changing filters, ideally every three months, will enhance airflow and maintain a healthy environment in your home.
Step 7: Reattach the Vent Covers
Once the cleaning is complete and the area has dried thoroughly, it’s time to reattach the vent covers. Begin by positioning the vent covers over their respective openings, ensuring that they align correctly with any clips or brackets. If your vent covers were secured with screws, use the screwdriver to carefully fasten them back into place, ensuring a snug fit without overtightening, which could damage the cover.
For snap-on covers, gently push the cover back until it clips securely into place. Double-check that everything is aligned properly and that the covers are secure. This final step on how to clean ceiling around vents will restore the appearance of your vents and contribute to efficient airflow in your home.
Frequently Asked Questions
Q: How Do I Know When It’s Time to Clean My Ceiling Vents?
A: It is recommended to clean your ceiling vents every 6-12 months, depending on the level of dust and debris present in your home. It’s also a good idea to clean them after any home renovations or construction projects that may have caused extra buildup.
Q: Can I Use Any Cleaning Solution for My Vent Covers?
A: It is best to use a mild, all-purpose cleaner or a mixture of dish soap and water for cleaning vent covers. Avoid using harsh chemicals or abrasive cleaners as they can damage the surface of the covers.
Q: How Often Should I Replace My HVAC Filters?
A: It is recommended to change your HVAC filters every 3 months, but this can vary depending on factors such as air quality, pets in the home, and number of residents. It’s important to inspect and replace filters as needed to maintain a healthy and efficient HVAC system.
Q: Can I Clean My Vents Without Removing the Covers?
A: While it is possible to clean vents without removing the covers, it’s not recommended as it may be less effective and could potentially damage the covers or surrounding area. It’s best to take the extra time to remove the covers for a thorough cleaning process.
Q: Is Cleaning My Ceiling Vents Important?
A: Yes, regularly cleaning your ceiling vents is important for maintaining air quality in your home and ensuring proper airflow from your HVAC system. It can also prevent potential issues such as clogged filters or damaging buildup on internal components of your heating and cooling system.
Conclusion
Cleaning the ceiling around vents may seem like a daunting task, but with these simple steps, you can complete the process efficiently and effectively. Remember to prepare the area beforehand, remove and clean the vent covers, dust and clean the surrounding area, inspect and replace filters, and reattach the vent covers.
By following these steps on how to clean ceiling around vents regularly, you can maintain a clean and healthy home while also enhancing the efficiency of your HVAC system. Now that you know how to properly clean your ceiling vents, it’s time to put this knowledge into practice and enjoy a clean and fresh living space.

