Are you having a hard time with your copper plumbing pipes getting clogged or discolored? Over time, mineral deposits and corrosion can build up inside plumbing pipes, causing them to become less efficient. As a result, you may experience reduced water flow, clogs, and leaks.
Cleaning copper plumbing pipes is essential to ensure their longevity and efficiency. Over time, copper pipes can accumulate dirt, grime, and mineral deposits, hindering water flow and impacting their performance. Regular cleaning not only helps maintain the pipes’ functionality but also prevents corrosion, which can lead to costly repairs or replacements.
This guide on how to clean copper plumbing pipes will walk you through the steps and tools needed to effectively clean copper plumbing pipes and keep them in optimal condition. Let’s get started!
What Are the Benefits of Cleaning Copper Plumbing Pipes?
Cleaning copper plumbing pipes offers various benefits beyond just maintaining their appearance. Here are some reasons why regular cleaning is essential:
- Improved Water Flow: With clean pipes, water can flow freely without any obstructions caused by mineral buildup or corrosion.
- Reduced Risk of Clogs: By removing dirt and grime from the pipes’ inner walls, you can prevent clogs and blockages from forming.
- Prevented Corrosion: Regular cleaning helps remove corrosive materials that could damage the pipes over time, avoiding costly repairs or replacements.
- Longer Lifespan: By keeping your copper plumbing pipes clean, you can extend their lifespan and avoid premature replacements.
These are just a few of the benefits that come with regularly cleaning copper plumbing pipes. Now, let’s dive into the steps and tools needed to clean them effectively.
What Will You Need?
Before you start cleaning your copper plumbing pipes, having the right tools and materials on hand is crucial. Here are some items that you’ll need:
- Safety Gear: Make sure to wear protective gear such as gloves, goggles, and a mask to avoid any contact with chemical cleaners or debris.
- Pipe Brush: A pipe brush is specifically designed to reach into the narrow spaces of plumbing pipes and remove dirt and grime effectively.
- White Vinegar: White vinegar is an excellent natural cleaner that can help dissolve mineral deposits and disinfect pipes.
- Baking Soda: Baking soda is a natural cleaner and deodorizer that can effectively remove grime and odors from pipes.
- Lemon Juice: Lemon juice contains citric acid, which helps break down mineral deposits and remove stubborn stains.
Once you have all the necessary items, you can start cleaning your copper plumbing pipes by following these simple steps.
10 Easy Steps on How to Clean Copper Plumbing Pipes
Step 1. Turn Off the Water Supply:
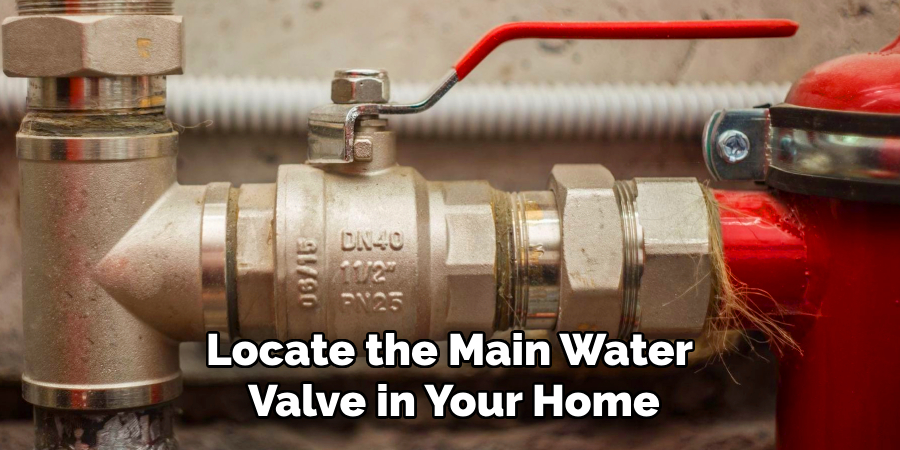
Before beginning the cleaning process, ensure that the water supply to the pipes is completely shut off. Locate the main water valve in your home and turn it clockwise to close it. This step is crucial to prevent any water from flowing through the pipes while you clean, which could make it harder to remove dirt and grime. Additionally, turning off the water supply reduces the risk of water damage in case any pipe connections are loosened during the cleaning process. Once the water is off, open a faucet connected to the pipe to release any remaining water and relieve pressure in the system.
Step 2. Prepare the Cleaning Solution:
Mix a cleaning solution with equal vinegar and water in a bucket or container. You can also add some lemon juice for extra cleaning power. Stir the mixture thoroughly to ensure it is well combined. This solution will help dissolve grime, mineral buildup, and tarnish on the surface of the copper pipes, making them easier to clean. Prepare enough solution to cover all the pipes you plan to clean.
Step 3. Apply the Cleaning Solution:
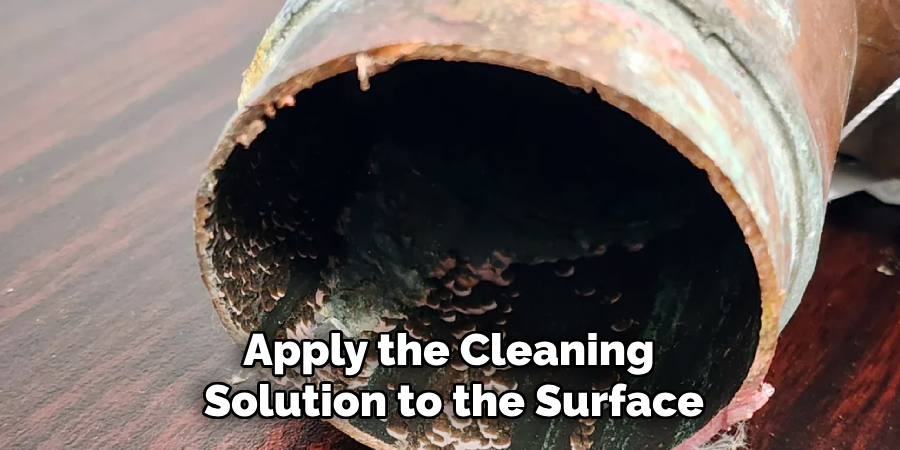
Use a soft cloth, sponge, or brush to apply the cleaning solution to the surface of the copper pipes. Gently scrub the pipes in circular motions, focusing on areas with visible dirt, tarnish, or buildup. Be careful not to use abrasive materials, as these can scratch the surface of the copper. You can use a soft-bristled toothbrush to work the solution into crevices for hard-to-reach areas or stubborn grime. Allow the solution to sit on the pipes for 5 to 10 minutes to break down the grime effectively before rinsing.
Step 4. Rinse and Dry the Pipes:
Once the cleaning solution has had time to break down the grime, use warm water to rinse the copper pipes thoroughly. Ensure all traces of the cleaning solution are removed to prevent any residue from remaining on the surface. After rinsing, dry the pipes entirely with a clean, soft cloth to prevent water spots and oxidation. Proper drying is essential to maintain the shine and prolong the cleanliness of the copper.
Step 5. Polish the Copper Pipes (Optional):
If you desire an extra shine, you can polish the copper pipes after they have been cleaned and dried. Use a specialized copper polish or create a natural polishing paste with equal parts of lemon juice and baking soda. Apply the polish with a soft cloth, working it into the surface in circular motions. Buff the pipes until they achieve the desired luster. Be sure to follow the manufacturer’s instructions if using a commercial polish. Finally, use a clean, dry cloth to wipe away any residue, leaving the copper pipes gleaming.
Step 6. Regular Maintenance for Copper Pipes:
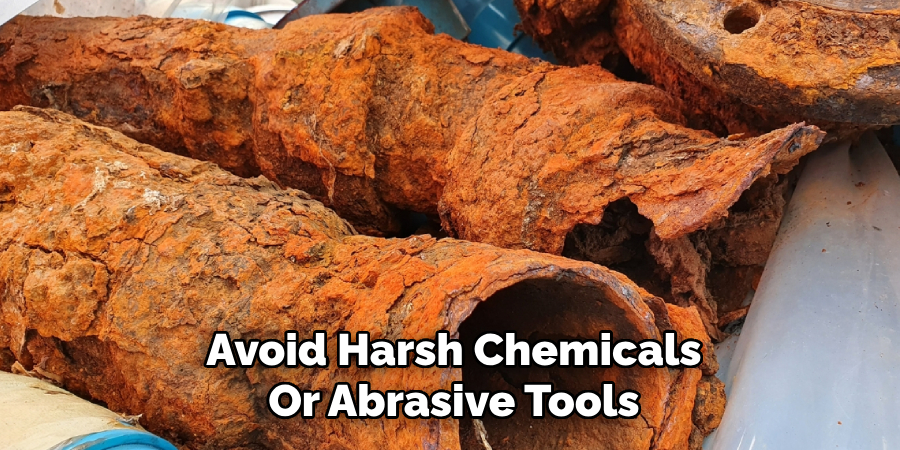
To keep your copper pipes looking their best, it’s essential to establish a regular maintenance routine. Periodically inspect the pipes for any signs of tarnish or buildup. If discoloration appears, promptly clean the affected areas using the earlier cleaning methods. Avoid harsh chemicals or abrasive tools, which can damage the copper’s surface. Additionally, consider applying a protective wax or sealant to help prevent oxidation and slow tarnishing. With consistent care, your copper pipes will maintain their beauty and functionality for years to come.
Step 7. Repairing Minor Damage to Copper Pipes:
Over time, copper pipes may develop minor scratches or dents that need attention. To repair superficial scratches, gently sand the affected area with fine-grit sandpaper, moving toward the grain to avoid further damage. After sanding, polish the area using a soft cloth and a suitable copper polish to restore its shine. For dents or more profound damage, more advanced repair techniques or the assistance of a professional plumber may be required. Regular inspections will help you catch and address issues early, ensuring the longevity and appearance of your copper pipes.
Step 8. Preventing Leaks in Copper Pipes:
Preventing leaks is essential to maintaining copper pipes and ensuring their long-term efficiency. Inspect joints and connections regularly, as these are common areas where leaks can develop. Use pipe clamps or epoxy putty for temporary fixes if minor leaks are found, but it is always advisable to replace worn-out fittings or solder leaks for a permanent solution. To further reduce the risk of leaks, ensure the pipes are properly insulated, especially in areas prone to freezing temperatures, as extreme cold can cause the copper to expand and crack. Proactive maintenance will protect your copper pipes from costly damage and ensure a reliable plumbing system.
Step 9. Cleaning and Maintaining Copper Pipes:
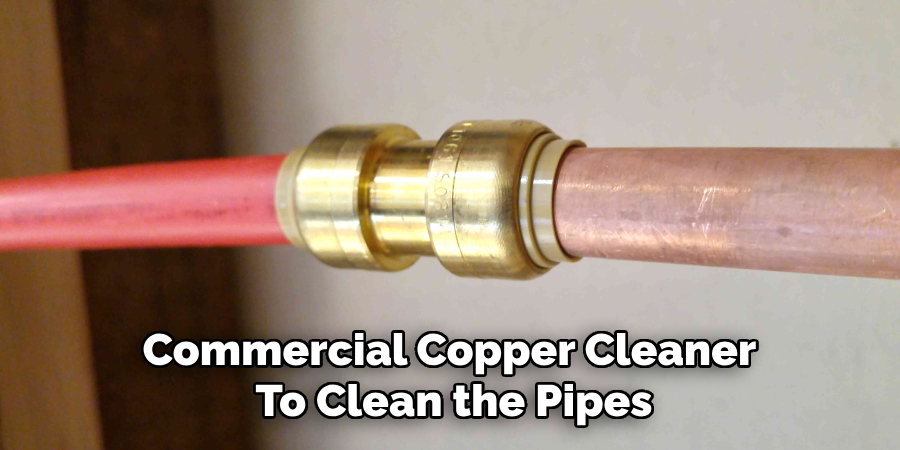
Over time, copper pipes can develop a buildup of mineral deposits, tarnishes, or corrosion, affecting their efficiency and appearance. Use vinegar and salt or a commercial copper cleaner to clean the pipes. Gently scrub the exterior with a soft cloth or sponge to restore their shine. For interior cleaning, consider flushing the pipes with a descaling solution to remove mineral buildup. Regular cleaning not only improves their functionality but also extends their lifespan. Always rinse thoroughly to avoid leaving any residue that could lead to further corrosion. Consistent maintenance ensures that your copper pipes remain in excellent condition for years.
Step 10. Insulating Copper Pipes:
Proper insulation is crucial for maintaining the efficiency and longevity of copper pipes. Insulating your pipes helps to regulate their temperature, reducing the risk of issues like freezing during winter or heat loss in hot water systems. Use foam pipe insulation or rubber tubing, quickly wrapped around the pipes. Secure the insulation with adhesive tape or clamps, ensuring no gaps or exposed sections. This step prevents potential damage and enhances energy efficiency, saving on utility costs.
Following these steps, you can effectively clean and maintain your copper pipes, keeping them in top condition for years.
Conclusion
Cleaning copper plumbing pipes is a straightforward process that can help maintain longevity and functionality.
Ensure the water supply is turned off to avoid unnecessary mess or water damage. Use a fine-grit sandpaper or a cleaning brush specifically designed for copper to remove debris or corrosion from the surface of the pipe. Applying a vinegar and salt solution can be a practical approach for tougher stains or oxidation. After cleaning, rinse the pipes thoroughly with water to remove any residue. Regular maintenance and cleaning will ensure your copper plumbing remains in optimal condition for years.
Hopefully, this guide on how to clean copper plumbing pipes has provided valuable insight and useful tips for keeping your copper pipes clean and well-maintained. Happy cleaning!

