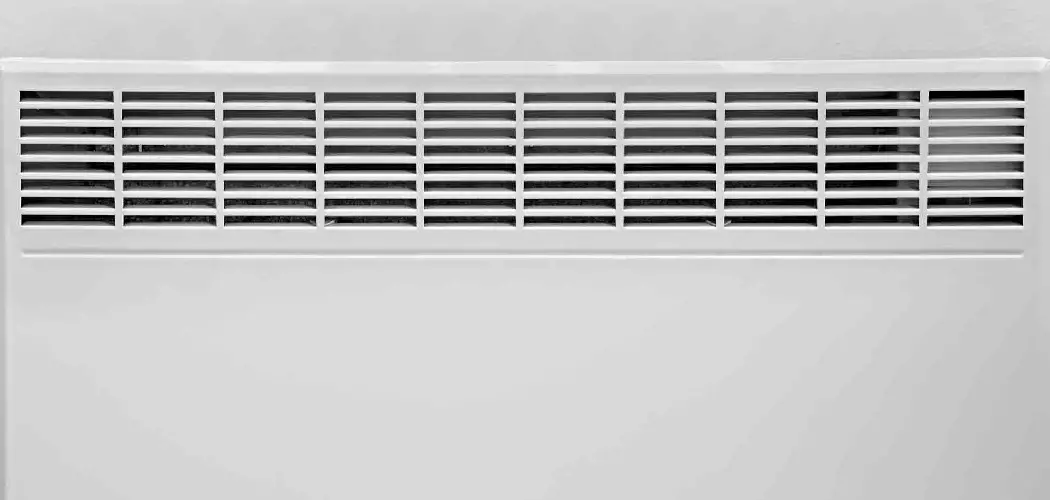
Cleaning an electric wall heater is essential for maintaining its efficiency and prolonging its lifespan. Over time, dust and debris can accumulate within the unit, potentially leading to decreased performance and even safety hazards.
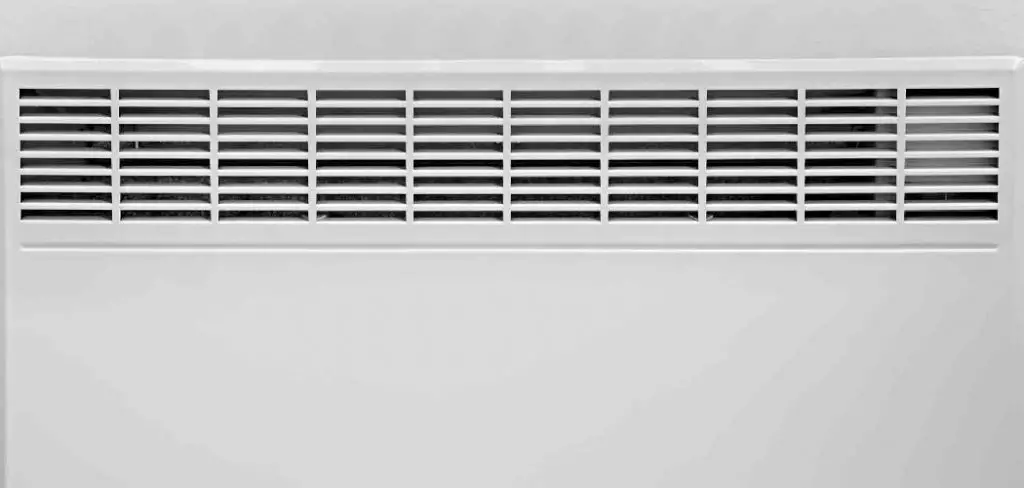
This guide on how to clean electric wall heater will provide you with step-by-step instructions on how to properly clean your electric wall heater, ensuring it operates effectively and helps to maintain a comfortable environment in your home. Whether you’re preparing for the colder months or simply performing routine maintenance, following these guidelines will help keep your heater in optimal condition.
Why Clean Your Electric Wall Heater?
Cleaning your electric wall heater is crucial for several reasons. Firstly, a clean heater operates more efficiently, allowing it to warm your space effectively while reducing energy consumption. Dust and debris can obstruct airflow, causing the heater to work harder and potentially leading to overheating or damage.
Secondly, regular cleaning helps prevent fire hazards; built-up dust can ignite and pose serious safety risks. Furthermore, a clean heater contributes to better indoor air quality by minimizing the circulation of allergens and pollutants. By taking the time to clean your electric wall heater, you ensure a safer, more comfortable, and energy-efficient home.
8 Step-by-step Guides on How to Clean Electric Wall Heater
Step 1: Safety First
Before you begin cleaning your electric wall heater, it is vital to prioritize safety. Start by turning off the heater and unplugging it from the electrical outlet to avoid any risk of electric shock. If the heater is hardwired, ensure that the circuit breaker is turned off. Allow the heater to cool completely, as it can be hot to the touch after use.
It’s also a good idea to wear gloves and a dust mask to protect yourself from any dust and debris that may be released during the cleaning process. By taking these precautions, you can ensure a safe and effective cleaning experience.
Step 2: Remove the Cover
Once you have ensured your safety by turning off and unplugging the electric wall heater, the next step is to remove the cover. Depending on the model of your heater, this may involve either unscrewing the cover or releasing clips that hold it in place. Use a screwdriver to carefully remove any screws, taking care to keep them in a safe location for reassembly. If your heater uses clips, gently pull them away to detach the cover without damaging it.
After the cover is removed, you can access the internal components of the heater for a thorough cleaning. Be mindful of any dust or debris that may fall out during this process, and always refer to your heater’s manual for specific instructions related to your model.
Step 3: Vacuum the Interior
Once the cover is off, use a vacuum cleaner with a brush attachment to remove any dust or debris from the interior of the heater. Pay close attention to corners and crevices where dirt may accumulate, and gently clean around any delicate parts such as heating elements. If your vacuum has a detachable hose, you can also use it for more precise cleaning in hard-to-reach areas.
This step may take some time depending on how dirty your electric wall heater is; make sure to be thorough but gentle to avoid damaging any components. Once all visible dust and debris are removed, move on to the next step.
Step 4: Clean the Cover
While it may seem like a small component, the cover of your electric wall heater can accumulate a significant amount of dust and grime. Use a damp cloth or sponge with mild soap to wipe down the cover, paying attention to any vents or openings where air passes through. Avoid using harsh chemicals as they may damage the cover’s finish. Once clean, use a dry cloth to remove any excess water and allow the cover to air dry completely before reattaching.
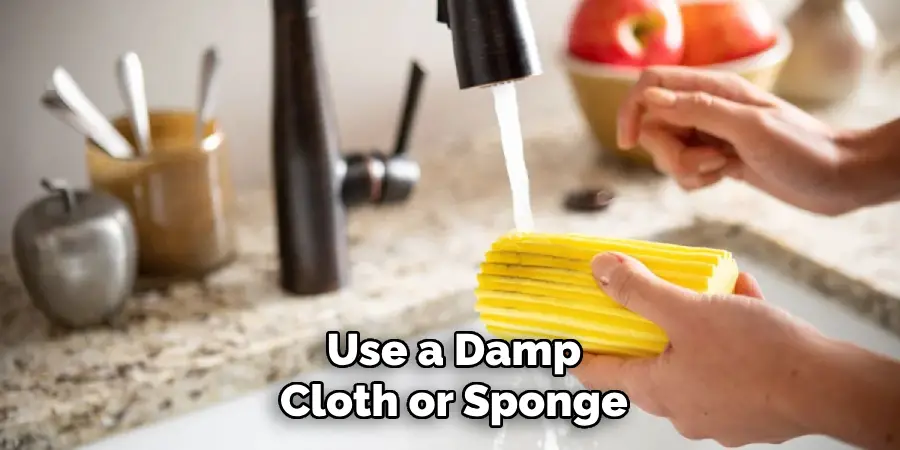
It’s also a good idea to check for any cracks or damage on the cover and replace it if needed. A damaged cover can decrease the heater’s efficiency and potentially pose safety hazards.
Step 5: Wipe Down Heating Elements
With the cover removed and the interior vacuumed, it’s time to clean the heating elements of your electric wall heater. Using a soft, dry cloth, gently wipe the surfaces of the heating elements to remove any dust and debris buildup. Take care not to apply too much pressure or disturb any wiring, as the heating elements can be delicate.
If necessary, you can slightly dampen the cloth with water, but ensure that no moisture seeps into any electrical components. Keeping the heating elements clean is essential for maintaining optimal functionality and efficiency, as this allows for better heat transfer and ensures the heater operates safely. Once you have finished cleaning the heating elements, allow them to dry completely before moving on to the next step.
Step 6: Clean the Fan & Vents
The fan and vents of your electric wall heater are critical for proper airflow, which is essential for optimal performance. Use a vacuum or a damp cloth to remove any dirt or debris from these components. Be careful not to damage the fan blades while cleaning, as they can be delicate. If necessary, you can use a small brush or cotton swab to reach tight spaces and ensure all dust is removed.
Cleaning the fan and vents will also help prevent any potential fire hazards by removing any blockages that may hinder airflow.
Step 7: Check Electrical Connections
While you have access to the internal components of your electric wall heater, it’s a good idea to check all electrical connections. Ensure that all wires are securely connected and there are no signs of damage or wear. If you notice any issues, it’s best to consult a professional electrician for repair or replacement.
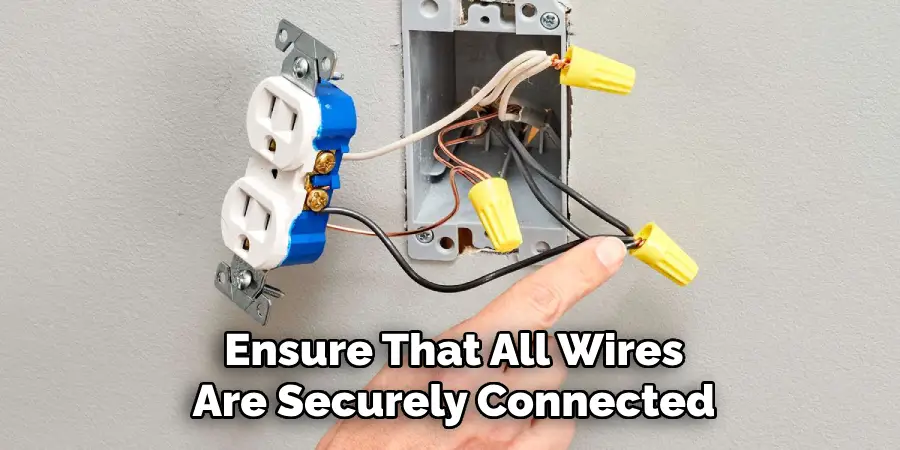
It’s also important to check for any signs of pests or rodents that may have entered the heater and caused damage. If you notice any evidence, it’s crucial to address the issue before using the heater again.
Step 8: Reassemble & Test
After completing all cleaning steps, carefully reassemble the cover onto your electric wall heater following the reverse order of removal. Make sure all screws are securely tightened or clips are properly attached. Plug in or turn on the circuit breaker and test the heater to ensure it is functioning correctly.
Congratulations, you have successfully cleaned your electric wall heater! By following these eight simple steps on how to clean electric wall heater regularly, you can keep your heater running efficiently and safely for years to come.
Do You Need to Use a Professional?
While cleaning your electric wall heater can often be accomplished as a DIY task, there are circumstances where enlisting a professional may be advisable. If you encounter any signs of significant damage, such as frayed wires, unusual noises during operation, or persistent heating issues, it’s best to consult a licensed electrician.
Professionals have the expertise to safely handle complex electrical systems and can provide a thorough inspection to identify underlying problems that might not be evident during routine cleaning. Additionally, for those who are uncomfortable working with electrical components or lack the necessary tools, hiring a specialist ensures the job is done safely and effectively, ultimately prolonging the life of your heater.
Frequently Asked Questions
Q: How Often Should I Clean My Electric Wall Heater?
A: It is recommended to clean your electric wall heater at least once a year or more frequently if it is heavily used. It’s also a good idea to clean it before the start of the heating season for optimal performance.
Q: Are There Any Precautions I Should Take When Cleaning My Electric Wall Heater?
A: Yes, make sure to turn off and unplug the heater before starting any cleaning. It’s also essential to wear protective gear such as gloves and a dust mask to avoid inhaling any dust or debris.

Q: Can I Use Cleaning Products on My Electric Wall Heater?
A: Yes, you can use mild soap and water to clean the cover and a damp cloth for removing dirt from other components. However, avoid using harsh chemicals as they may damage the heater’s finish or affect its operation.
Q: What Should I Do If My Heater Is Not Functioning Correctly After Cleaning?
A: If you notice any issues with your heater’s performance after cleaning, it’s best to consult a professional for further inspection and repairs. It’s crucial to address any potential safety hazards or damage before using the heater again.
Conclusion
Regular maintenance of your electric wall heater is vital for ensuring its efficiency and longevity. By following the outlined steps on how to clean electric wall heater, you can significantly reduce the risk of malfunctions and improve the overall performance of your heating unit.
Remember to clean your heater at least once a year, pay attention to safety precautions, and address any concerns promptly. By investing time in maintenance, you not only create a safer environment but also enjoy consistent warmth and comfort in your home throughout the colder months.
Check it out to Drain a Tub with Standing Water

