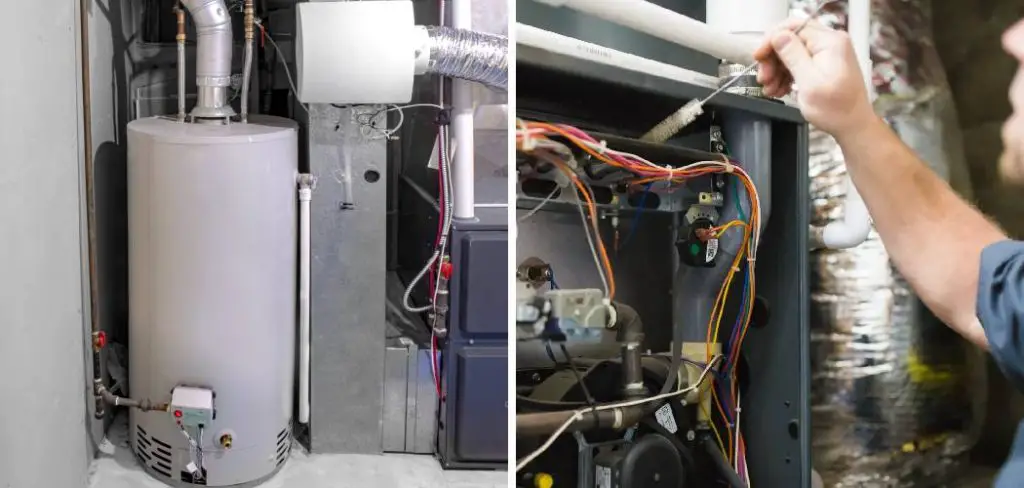
Cleaning the pilot light of a gas heater is an essential maintenance task that can ensure your heater operates efficiently and safely. Over time, dust, dirt, or debris can accumulate and obstruct the pilot light, leading to inconsistent heating or complete malfunction.

In this guide on how to clean gas heater pilot light, we will outline the steps necessary to clean your gas heater’s pilot light, helping you to maintain a reliable source of warmth in your home during the colder months. Regular care not only enhances performance but also extends the lifespan of your heating system, contributing to a comfortable living environment.
Why is It Important to Clean the Pilot Light?
The pilot light serves as an ignition source for your gas heater, providing a small flame that ignites the fuel and creates heat. If the pilot light is dirty or clogged, it may not produce a strong enough flame to ignite the fuel, resulting in an unreliable heating system. Additionally, buildup on the pilot light can cause it to overheat and potentially become a fire hazard.
What You Will Need
- Protective Gear (Gloves and Goggles)
- A Soft-bristled Brush
- Compressed Air
- White Vinegar
- Water
8 Simple Step-by-step Guidelines on How to Clean Gas Heater Pilot Light
Step 1: Preparation
Before you begin cleaning the pilot light of your gas heater, it’s crucial to ensure that you take the necessary safety precautions. Start by turning off the gas supply to your heater to avoid any accidents. Once the gas is off, unplug the heater or switch off its electrical components if applicable.
Allow the unit to cool down completely to prevent burns or injuries during the cleaning process. Finally, wear your protective gear—gloves and goggles—to safeguard against dust and debris that may be released during cleaning. This preparation will help ensure a safe and effective cleaning experience.
Step 2: Locate the Pilot Light
Once you’ve ensured that the gas supply is turned off and the heater is cool, the next step is to locate the pilot light. Typically, the pilot light is found at the base of the gas heater near the burner assembly. You may need to remove a cover or access panel to reach it, which is usually secured with screws.

Carefully follow the manufacturer’s instructions for removing any components, as this will vary between models. Once exposed, you should see a small flame assembly, which is the pilot light. Take a moment to check for any visible buildup or obstructions around the pilot light area before proceeding to the next step.
Step 3: Brush Away Debris
With the pilot light located and accessible, it’s time to clean the area. Using a soft-bristled brush, gently sweep away any visible dust, dirt, or debris that may have accumulated around the pilot light and its surrounding components. Be careful not to disturb any internal parts or force the brush into tight spaces, as this could cause damage.
The goal is to clear away enough buildup to allow for effective airflow and ignition. If you notice any stubborn debris that isn’t easily removed with the brush, you can lightly dampen it with a mixture of white vinegar and water to assist in loosening it. Make sure to let everything dry completely before proceeding to the next step.
Step 4: Use Compressed Air
After brushing away any visible debris, you can use compressed air to clean the pilot light further. This step will help remove any dirt or grime that may be stuck in small crevices and is difficult to reach with a brush. Simply aim the nozzle of the compressed air at the pilot light and surrounding area, releasing short bursts of air to dislodge any remaining buildup.
Be sure to hold the canister upright and follow all safety precautions when using compressed air, as it can be hazardous if used improperly. Once finished, wipe down any excess dust or debris that may have accumulated with a dry cloth before moving on to the next step.
Step 5: Clean the Pilot Light Assembly
With the external components of the pilot light area clean, it’s time to focus on the flame assembly itself. Using a soft cloth or cotton swab, gently wipe away any dirt or grime from around and inside the pilot light assembly. Be careful not to damage any delicate parts, as this could affect its performance during ignition.
If there is significant buildup that cannot be removed with a cloth, you can use white vinegar and water to create a mixture and apply it with a brush or cloth to help loosen and remove stubborn debris. Once complete, let everything dry completely before moving on to the next step.

Step 6: Reassemble the Cover or Access Panel
After ensuring that the pilot light assembly and surrounding area are completely clean and dry, it’s time to reassemble the cover or access panel. Align the cover with the heater, making sure that all screws or fasteners are in place. Carefully secure the cover, tightening the screws but taking care not to overtighten, as this can lead to damage.
Once the panel is reattached, perform a final check to ensure everything is properly aligned and secured, as this will help prevent any air leaks. With the cover back in place, you can now proceed to the next step of reconnecting the gas supply and testing the heater.
Step 7: Reconnect the Gas Supply and Test
Now that the pilot light is clean, it’s time to reconnect the gas supply and test the heater. Start by carefully turning on the gas valve or opening the gas supply line. Give it a few seconds for the fuel to flow through before attempting to ignite the pilot light.
Turn on your heater’s electrical components or plug it back in, following manufacturer instructions. Once everything is connected, turn up your thermostat to call for heat and then use your heater’s ignition switch to try igniting the pilot light. If everything was cleaned correctly, you should see a strong blue flame.
Step 8: Perform Regular Maintenance
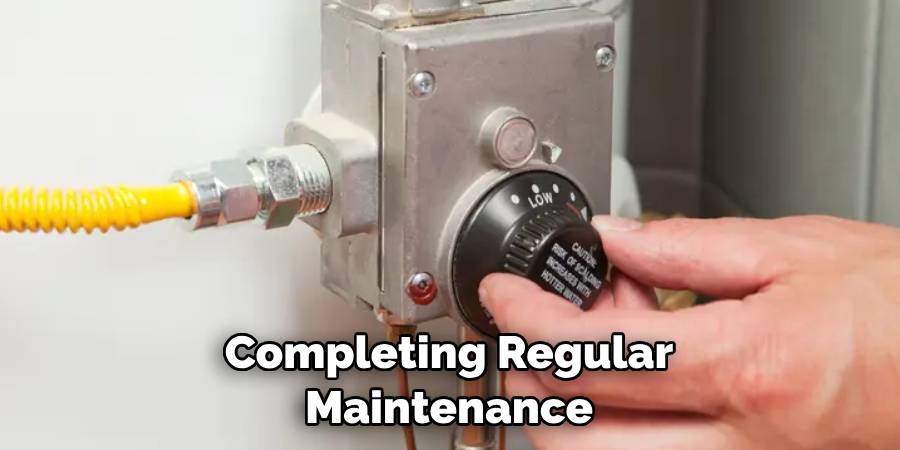
Congratulations, you’ve successfully cleaned your gas heater’s pilot light! To ensure its continued performance and safety, it’s essential to perform regular maintenance. This includes checking for any signs of buildup or debris around the pilot light and addressing them promptly. It’s also crucial to have your heating system professionally serviced at least once a year to keep it running efficiently and safely.
Following these steps on how to clean gas heater pilot light and completing regular maintenance will not only extend the life of your gas heater but also help keep you and your loved ones safe and warm during the colder months.

Additional Tips
- While cleaning the pilot light can help improve its performance and prevent potential hazards, if you notice any significant damage or issues with the assembly, it’s best to contact a professional for repairs.
- When using compressed air, make sure to wear protective gear and follow all safety precautions outlined by the manufacturer.
- If you’re unsure about any steps or procedures while cleaning your pilot light, refer to the manufacturer’s instructions or contact a professional for assistance.
- Regularly checking and maintaining your gas heater can also help save on energy costs and prevent costly repairs in the long run.
- Consider investing in a carbon monoxide detector as an added safety precaution when using gas-powered appliances.
- If your pilot light continues to go out frequently or has trouble staying lit, it may be a sign of a larger issue with your heating system and should be addressed by a professional.
Frequently Asked Questions
Q: How Often Should I Clean My Pilot Light?
A: It’s recommended to clean your gas heater’s pilot light at least once a year as part of regular maintenance. However, if you notice any buildup or performance issues, it’s best to clean it more frequently.
Q: Can I Use Other Cleaning Solutions Besides Vinegar and Water?
A: While vinegar and water are safe and effective for cleaning your pilot light, you can also use a mild detergent or specifically formulated gas appliance cleaner. Avoid using harsh chemicals that could potentially damage your heater components.
Q: My Pilot Light Still Won’t Stay Lit After Cleaning, What Should I Do?
A: If the issue persists after following these steps, it may be due to a faulty component in your heating system. It’s best to contact a professional for further assistance.
Although cleaning the pilot light can help improve its performance and prevent potential hazards, it is important to regularly check for any signs of buildup or damage and address them promptly. It is also crucial to have your heating system professionally serviced at least once a year to ensure its efficiency and safety.

Conclusion
Maintaining your gas heater’s pilot light is essential for ensuring safe and efficient operation throughout the heating season. By following the steps on how to clean gas heater pilot light outlined above, you can effectively clean the pilot light and enhance its performance.
Regular maintenance not only extends the life of your heater but also reduces the risk of potential hazards and can lead to energy savings.
Always prioritize safety by using appropriate tools and protective gear, and don’t hesitate to seek professional help if you’re unsure about any processes. With these practices in place, you can enjoy a warm and comfortable environment while ensuring peace of mind regarding your home’s heating system.
