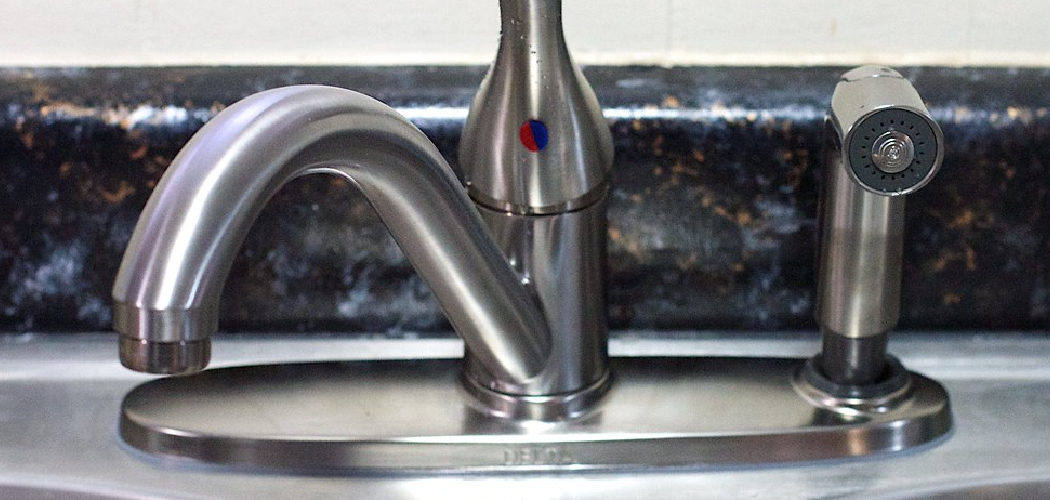
A kitchen faucet aerator is a small yet essential component that helps regulate water flow and improve efficiency. Over time, it can accumulate debris, mineral deposits, and sediment, which may reduce water pressure or cause uneven spraying. Regular cleaning is necessary to maintain optimal performance and ensure clean, smooth water flow. This guide will walk you through how to clean kitchen faucet aerator effectively and with minimal effort.
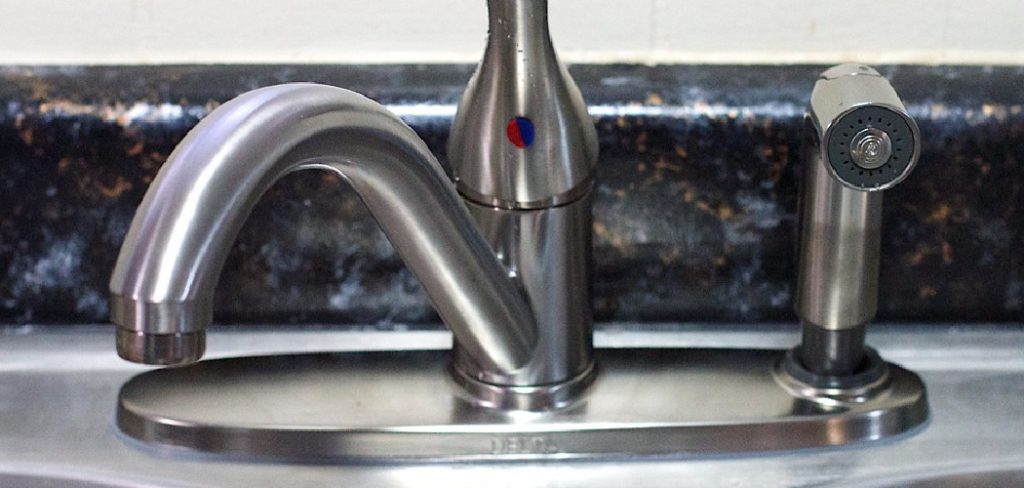
What Is a Kitchen Faucet Aerator?
A kitchen faucet aerator is a small device, typically located at the tip of the faucet spout, that mixes air with water as it flows out. It usually consists of a screen or series of small mesh layers that help break the water stream into smaller droplets.
This process not only conserves water by reducing flow but also improves water pressure, reduces splash, and creates a smoother, more controlled stream. Aerators are common in most modern faucets and are designed to be removable, making them easy to clean or replace when needed.
Importance of Cleaning the Aerator Regularly
Cleaning the aerator regularly is crucial for maintaining both the functionality and hygiene of your kitchen faucet. A clogged aerator can lead to reduced water pressure, uneven flow, and potential contamination due to trapped debris and bacteria. Regular upkeep prevents the buildup of harmful substances such as lime scale and mold, ensuring your water remains safe for everyday use.
Additionally, a clean aerator contributes to water efficiency, minimizing waste while maintaining optimal flow. By incorporating this simple maintenance task into your routine, you can extend the lifespan of your faucet and avoid costly repairs or replacements in the long run.
Tools and Materials You’ll Need
- Adjustable wrench or pliers
- Soft cloth or towel
- Small bowl or container for soaking
- White vinegar or a descaling solution
- Old toothbrush or soft-bristle brush
- Teflon tape (optional, for reassembly)
10 Methods How to Clean Kitchen Faucet Aerator
1. Manual Unscrewing and Rinse
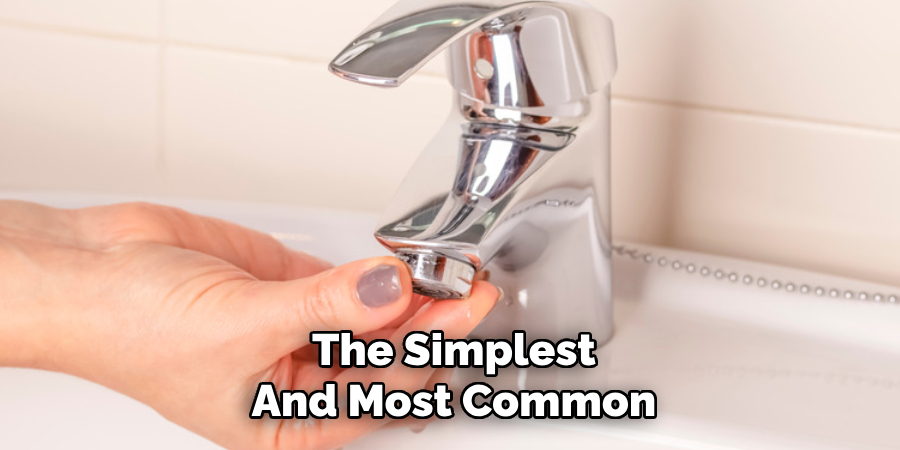
One of the simplest and most common methods is to manually remove the aerator and rinse it under running water. Begin by locating the aerator at the tip of your faucet. Most aerators unscrew easily by hand, though you may need a rubber jar grip or dry cloth to help with traction.
Once removed, separate the screen and parts if possible, and rinse each under warm water. Gently rub with your fingers to dislodge loose sediment. For basic buildup, this method is often sufficient and doesn’t require tools or chemicals.
2. Vinegar Soak
White vinegar is a powerful natural cleaner, especially for dissolving mineral buildup. After removing the aerator, place all its parts in a small bowl or cup of white vinegar.
Let it soak for at least 30 minutes, or overnight for heavy scaling. The acidity of the vinegar breaks down lime and calcium deposits effectively. After soaking, scrub the parts gently with an old toothbrush and rinse thoroughly. This method is eco-friendly and safe for metal and plastic components alike.
3. Use of a Toothbrush and Pin
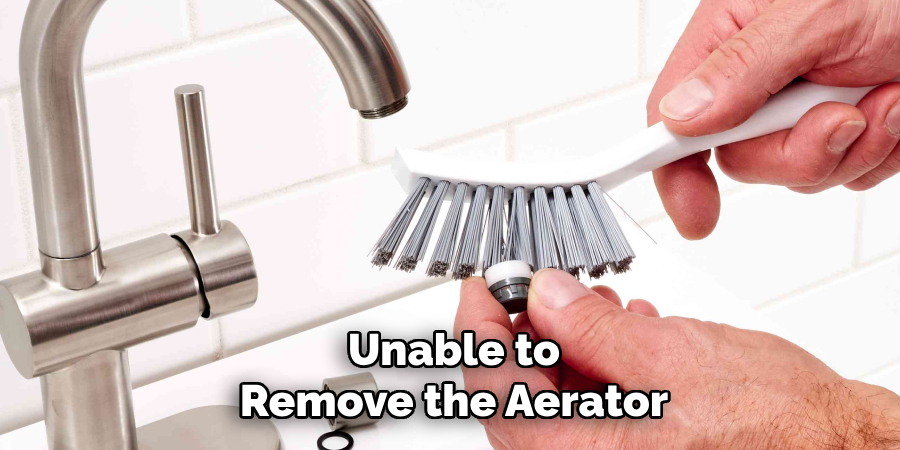
For clogs caused by fine sediment or rust, mechanical cleaning is often the most effective. After soaking the aerator or if you skip soaking, use an old toothbrush to scrub away deposits, especially around the mesh screen. For stubborn clogs in the tiny holes, gently poke them with a straight pin, needle, or safety pin. Be careful not to bend or warp the mesh. This precise cleaning method ensures that every water outlet is cleared and improves water flow significantly.
4. Cleaning Without Removal
If you’re unable to remove the aerator—either because it’s stuck, stripped, or integrated—you can still clean it in place. Fill a plastic bag with vinegar and attach it around the faucet spout using a rubber band or twist tie. Make sure the aerator is submerged in the vinegar. Leave the bag in place for a few hours or overnight. The acidic action will help dissolve buildup without requiring disassembly. After removing the bag, run the water to flush out loosened debris.
5. Aerator Cleaning with Baking Soda Paste
For a deeper clean or persistent staining, combine baking soda with a small amount of water or vinegar to make a paste. Apply the paste to the aerator and surrounding areas, especially if mineral buildup has also affected the faucet spout. Let it sit for 15–30 minutes, then scrub gently with a soft brush or sponge. Baking soda acts as a mild abrasive and deodorizer, making it excellent for kitchens with hard water residue.
6. Soak in Lemon Juice for Natural Shine
For those preferring a more fragrant or gentler alternative to vinegar, lemon juice is a good choice. The citric acid in lemons is effective at breaking down mineral deposits. Simply place the aerator components in a bowl of lemon juice and soak them for an hour. Afterward, scrub them lightly and rinse with warm water. This method not only cleans but leaves a fresh scent and can brighten the metal surface naturally.
7. Use a Commercial Lime and Scale Remover
When natural solutions don’t fully do the job, especially with severe hard water buildup, a commercial descaling product like CLR (Calcium, Lime, Rust remover) can be highly effective. Remove the aerator and place it in a container of the cleaner, following the manufacturer’s safety instructions. These products work quickly—often within minutes—but be cautious with prolonged exposure, especially with plastic parts. Always rinse thoroughly and wear gloves to protect your skin.
8. Boiling for Deep Mineral Removal
For metal aerators with extreme buildup, boiling can help loosen hardened deposits. After removing the aerator, boil a small pot of water and submerge the aerator for about 10 minutes. Once cooled, use a toothbrush to scrub the loosened scale. You can follow this with a vinegar soak for further cleaning. Avoid this method with plastic components, as boiling water may warp or damage them.
9. Replacing the Aerator Screen
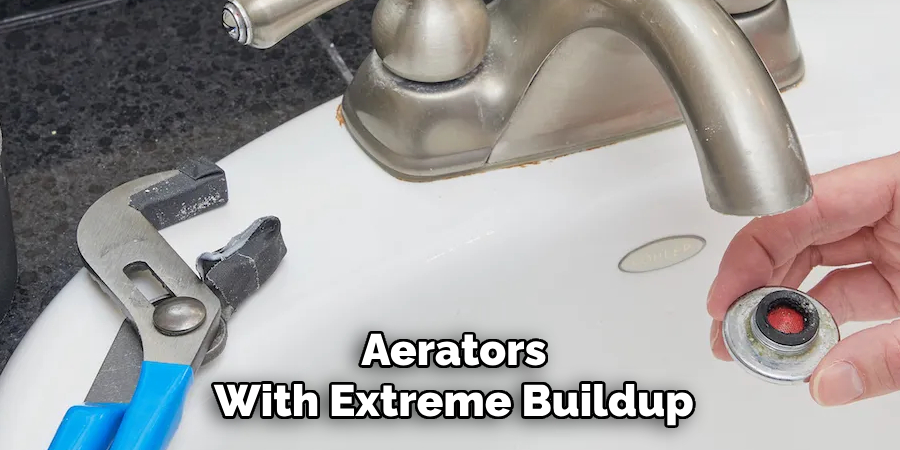
Sometimes cleaning just isn’t enough, especially if the screen is torn or heavily corroded. Fortunately, aerator screens are inexpensive and available at most hardware stores. If you’ve cleaned the housing but water still sputters or sprays unevenly, it may be time to replace the screen. Bring the old screen or the entire aerator to the store to match sizes. Simply insert the new screen into the housing and reinstall the aerator onto the faucet.
10. Routine Maintenance Schedule
Rather than wait for buildup to affect your water flow, adopt a routine cleaning schedule. Every one to three months, remove and inspect the aerator. Even a quick rinse or vinegar soak can prevent larger issues from forming. In areas with hard water, monthly cleaning may be necessary. Mark your calendar or tie it to another routine task, like cleaning your dishwasher filter or replacing your fridge water filter, to keep everything flowing smoothly.
Things to Consider When Maintaining Your Faucet
Water Quality
The quality of your water plays a significant role in how often maintenance will be required. Hard water, which contains high levels of minerals, can lead to quicker buildup and require more frequent cleaning of your faucet aerator.
Type of Faucet
Different faucet designs and materials may have varying maintenance needs. For example, touchless or sensor-based faucets might require additional care to ensure the sensors remain functional, while brass or chrome finishes may need specific cleaning products to prevent damage.
Cleaning Products
Always use non-abrasive cleaners that are safe for your faucet’s finish. Harsh chemicals or abrasive sponges can scratch or wear down the surface, reducing the lifespan of your faucet.
Signs of Wear or Damage
Regularly inspect your faucet for any signs of leaks, corrosion, or loose parts. Catching these issues early can help you avoid costly repairs or replacements down the line.
Environmental Factors
If you live in an area with extreme weather conditions, such as freezing winters, ensure outdoor faucets are properly insulated to prevent freezing and potential damage to the pipes during colder months.
Taking these factors into account when maintaining your faucet will not only ensure optimal functionality but also extend its lifespan. Remember, consistent care pays off in long-term durability and performance.
Maintenance and Upkeep
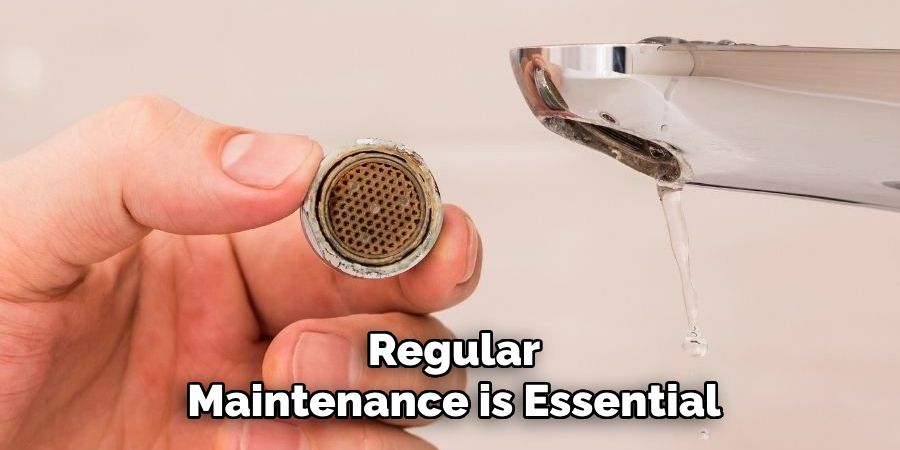
Regular maintenance is essential to keep your faucet operating efficiently and to prevent issues before they arise. Start by routinely checking for drips or leaks, as these can indicate worn-out seals or washers that need replacing. Clean the faucet aerator periodically to remove sediment build-up, which can affect water flow and pressure.
For outdoor faucets, ensure they are properly shut off and drained before freezing temperatures set in to avoid damage. Additionally, use a mild cleaning solution to keep the faucet surface free of grime and mineral deposits, preserving its appearance and functionality. By following these simple steps, you can ensure your faucet remains in excellent condition for years to come.
Conclusion
Cleaning a kitchen faucet aerator is a simple yet essential household task that ensures efficient water flow and prolongs the life of your faucet. With these ten detailed methods, you can choose the one best suited to your situation—from basic rinsing to deep descaling treatments.
Whether you prefer natural cleaning agents like vinegar and lemon juice or need a heavy-duty chemical remover for stubborn buildup, each technique provides a clear path to a cleaner, more functional faucet. Thanks for reading our blog post on how to clean kitchen faucet aerator! We hope you found it helpful and informative.

