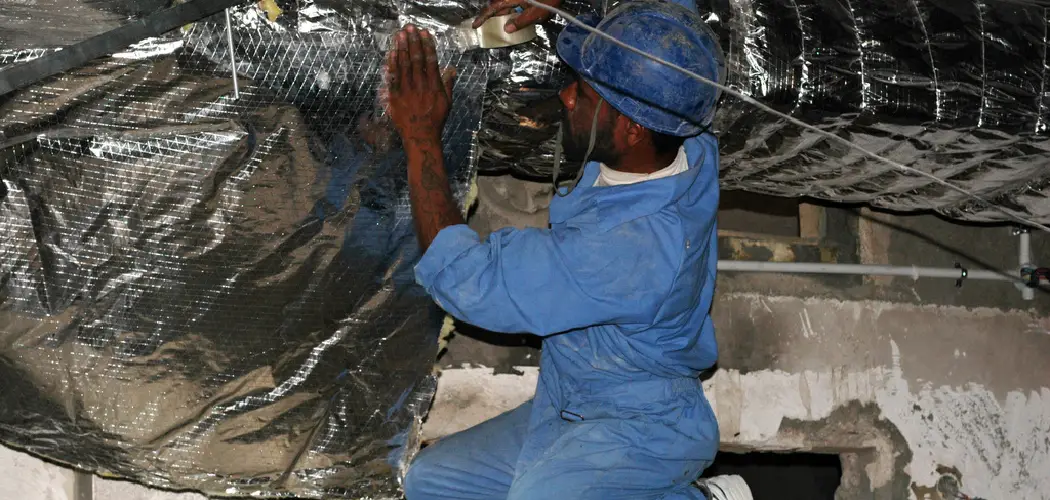
Maintaining clean HVAC ducts is essential for ensuring the optimal performance of your heating, ventilation, and air conditioning system. Clean ducts enhance air quality by reducing the presence of dust, allergens, and other contaminants in your home. This is particularly beneficial for individuals with allergies or respiratory issues. Additionally, clean ducts improve the overall efficiency of your HVAC system, which can lead to lower energy bills and a longer lifespan for your equipment. The build-up of debris can obstruct airflow and force your system to work harder, thereby consuming more energy.
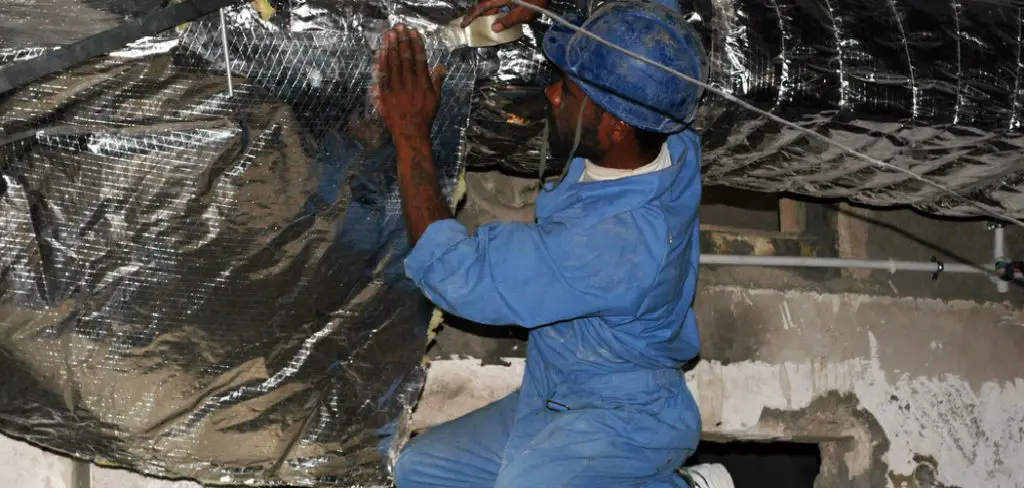
The purpose of this guide is to provide homeowners with a comprehensive, step-by-step process on how to clean out HVAC ducts effectively. By following these instructions, you will be able to ensure your system operates smoothly, promoting a healthier indoor environment and optimal energy efficiency. This guide aims to equip you with the knowledge and tools necessary to perform this task confidently and efficiently.
Understanding Your HVAC System
Components of an HVAC System:
An HVAC system is composed of several key components, each playing an essential role in maintaining indoor comfort. The primary components include the furnace or air handler, which heats or cools the air; the ductwork, which distributes the air throughout the home; vents and registers, which release the treated air into rooms; and filters, which trap dust, dirt, and other particulates to keep the air clean.
Role of Ducts:
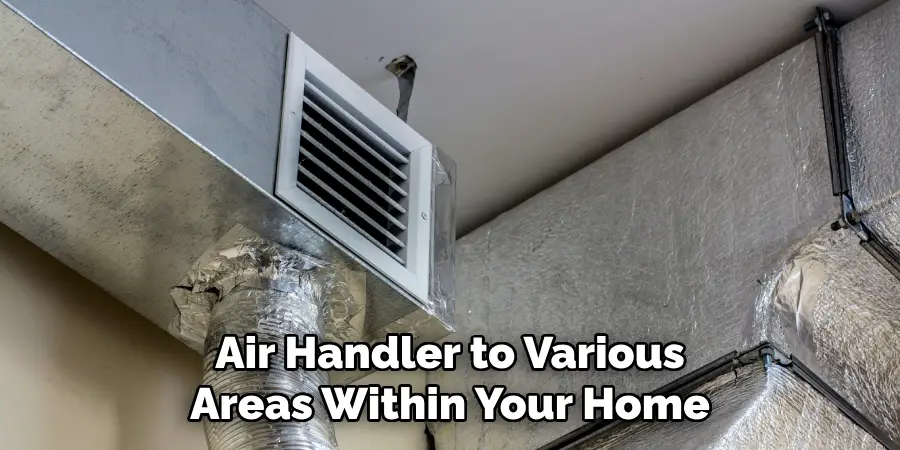
The ducts in an HVAC system are vital for distributing heated or cooled air from the furnace or air handler to various areas within your home. Acting as the system’s arteries, the ducts ensure that every room maintains consistent temperatures, contributing to your living space’s overall comfort and efficiency. The system cannot effectively regulate indoor climate without clean and well-functioning ducts, leading to uneven temperatures and higher energy costs.
Common Contaminants:
Over time, HVAC ducts can accumulate a variety of contaminants that compromise air quality and system performance. Common contaminants include dust, pet dander, pollen, mold spores, and other debris. These particles can reduce airflow, leading to inefficient heating or cooling and potentially causing respiratory problems for occupants. Regular cleaning helps to minimize these issues and maintain a healthier indoor environment.
Signs Your Ducts Need Cleaning
Visible Dust and Debris:
One of the most apparent signs that your HVAC ducts need cleaning is the accumulation of dust and debris on vents and registers. If you notice layers of dust forming on or around your vent covers, it indicates that your ducts are likely filled with similar debris. This obstructs airflow and reintroduces dust into your living spaces every time the system runs.
Poor Air Quality:
Another telltale sign is deteriorating air quality in your home. If your ducts are contaminated, increased dust accumulation on surfaces, frequent allergies, and respiratory issues among household members may occur. When ducts are full of dust, pollen, and other allergens, these particles continually circulate through the air, contributing to a less healthy indoor environment.
Unpleasant Odors:
Persistent musty or stale smells are often a result of built-up mold, mildew, or debris within your ducts. If you detect unusual odors emanating from your HVAC system, it could be a sign that your ducts need thorough cleaning. These smells can permeate your entire home, causing discomfort and potential health concerns.
Increased Energy Bills:
Higher energy costs may also indicate dirty ducts. As contaminants accumulate, they restrict airflow, causing your HVAC system to work harder to maintain the desired temperature. This increased strain on the system results in higher energy consumption and, consequently, elevated utility bills.
Inconsistent Airflow:
Finally, uneven heating or cooling across different rooms suggests that your ducts may be clogged. Reduced airflow from debris buildup can cause some areas of your home to receive less heated or cooled air, leading to noticeable temperature disparities. Regular duct cleaning ensures consistent and efficient airflow throughout your home.
Safety Precautions
Turning Off the HVAC System:
Before you begin cleaning your HVAC ducts, ensuring safety by turning off the system is crucial. This prevents the risk of electric shock and prevents the system from accidentally turning on while you are working. Locate the appropriate switch or circuit breaker and turn off the power to the entire HVAC system.
Protective Gear:
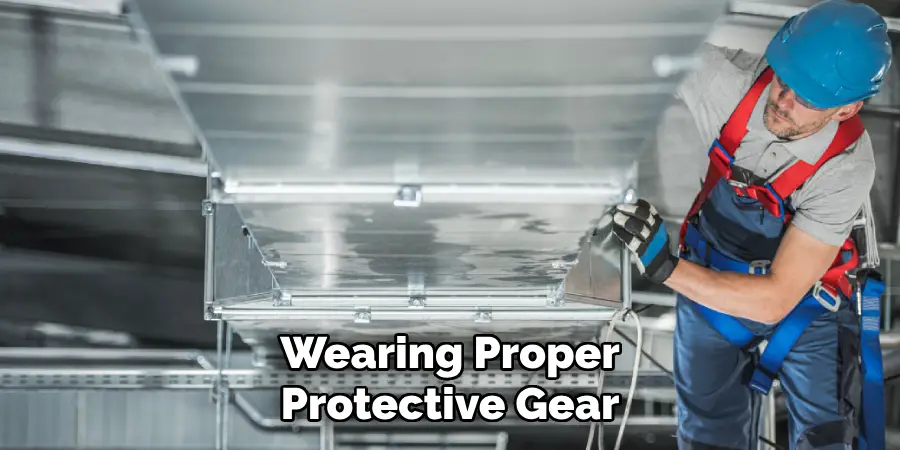
Wearing proper protective gear is essential to safeguard yourself from dust, debris, and any contaminants that may be present in the ducts. Equip yourself with gloves to protect your hands, masks to prevent inhalation of dust and allergens, and goggles to shield your eyes from particles that could irritate or cause injury. This gear will help you conduct the cleaning process safely and efficiently.
Ladder Safety:
When reaching high vents or accessing ductwork located in elevated areas, using a sturdy ladder is imperative. Ensure that the ladder is placed on a stable, flat surface and that it is secure before climbing. Always follow the manufacturer’s instructions regarding the ladder’s weight capacity and proper use to prevent accidents or injuries. Proper ladder safety practices will help you complete your duct cleaning task without unnecessary risks.
Tools and Materials Needed
Basic Tools:
When preparing to clean your HVAC ducts, it is essential to gather the necessary basic tools to perform the task effectively. Some of the key tools include:
- Screwdriver: To remove vent covers and access the ductwork.
- Vacuum with Hose Attachment: For removing dust and debris from within the ducts.
- Brush: For scrubbing off stubborn dirt and particles.
- Cleaning Cloths: For wiping down surfaces and components of the system.
Specialized Equipment:
In addition to basic tools, certain specialized equipment can significantly enhance the thoroughness of your cleaning:
- Duct Cleaning Brush: A flexible brush designed to reach deep into the ducts.
- HEPA Vacuum: High-Efficiency Particulate Air (HEPA) vacuum to capture fine particles and allergens.
- Air Duct Cleaning Kit: A comprehensive kit that includes various accessories for effective duct cleaning.
Cleaning Solutions:
Using appropriate cleaning solutions ensures the ducts are not only clean but also disinfected:
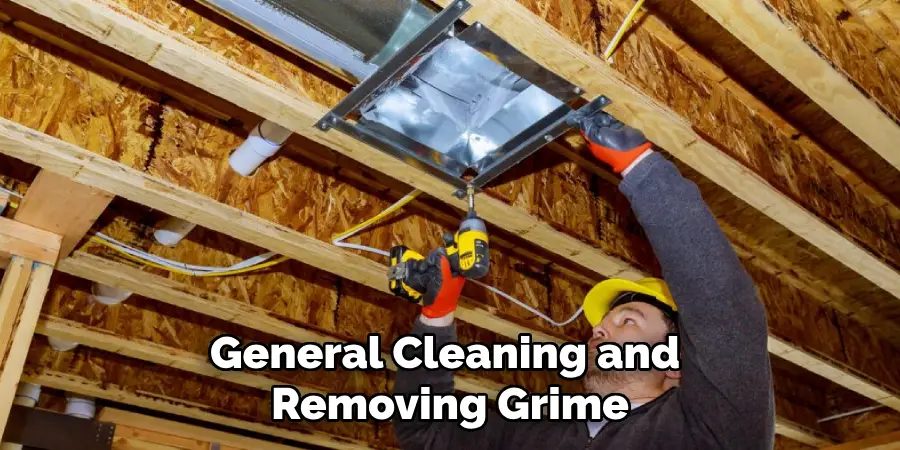
- Mild Detergent: For general cleaning and removing grime.
- Disinfectant: To eliminate bacteria, mold, and other harmful microorganisms in your ducts, promoting a healthier indoor environment.
Preparation Steps
Inspecting Ducts:
Before diving into the cleaning process, it’s crucial to conduct a thorough inspection of your HVAC ducts. Begin by checking for signs of mold, which can appear as black or green spots, often accompanied by a musty odor. Pay attention to potential pest infestations as well, such as the presence of droppings, nests, or rodent tracks.
Additionally, examine the ducts for severe dirt buildup, noticeable as thick layers of dust or debris clinging to the duct walls. Identifying these issues early on will help you determine the level of cleaning required and whether professional intervention might be necessary.
Covering Furniture and Flooring:
It is essential to cover your furniture and flooring to protect your home interiors from dust and debris that may escape during cleaning. Use sheets or plastic coverings to safeguard these areas effectively. Drape the coverings over all furniture pieces nearby, ensuring they are tucked in to avoid any gaps where dust can settle. Likewise, spread protective coverings across the floors in your working rooms. This preventive measure will make clean-up easier and prevent any potential damage to your home’s interior surfaces during the duct cleaning process.
Removing Vent Covers:
Finally, you will need to remove the vent covers to access the ductwork. Start by using a screwdriver to carefully unscrew the vent covers from the walls or floors. Typically, there are screws located at the corners holding the cover in place. Once the screws are removed, gently lift the vent covers away, being cautious not to damage any surrounding surfaces or the cover itself. Place the screws in a safe location for easy reinstallation after the cleaning is completed. Removing vent covers properly is essential for accessing the interior of the ducts and ensuring a thorough cleaning job.
How to Clean out HVAC Ducts: Cleaning the Ducts
1. Vacuuming Loose Debris:
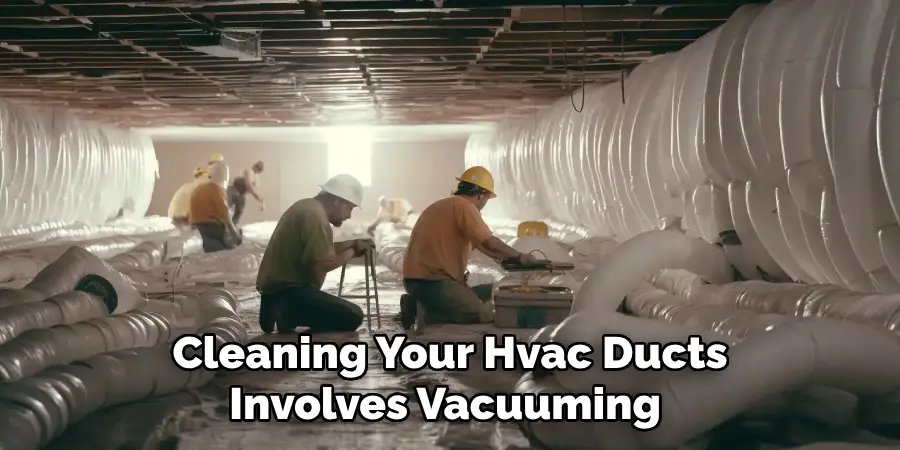
The initial step in cleaning your HVAC ducts involves vacuuming to remove surface dust and dirt. Begin by inserting a vacuum with a hose attachment into the open ducts. Gently maneuver the hose throughout the visible areas to suck up loose debris, dust, and dirt that have accumulated over time. Ensure the vacuum’s suction power is sufficient to capture fine particles without causing damage to the ducts. Move the hose slowly to maximize the amount of dirt removed and avoid dislodging any components within the ducts.
2. Brushing Interior Surfaces:
After vacuuming, it’s essential to scrub the interior surfaces of the ducts to dislodge any stubborn dirt and accumulated grime. Use a duct cleaning brush, which is typically flexible and long enough to reach deep inside the ducts. Insert the brush and methodically scrub all accessible areas, making sure to reach corners and bends where dirt is likely to collect. Employ a gentle but firm brushing motion to effectively remove particles without harming the duct material. This scrubbing process will further loosen dirt, making it easier to remove during subsequent cleaning steps.
3. Disinfecting Ducts:
Sanitizing the HVAC ducts is a vital step to ensure a clean and healthy indoor environment. Prepare a cleaning solution using a mild detergent or a recommended disinfectant. Apply this solution by spraying or wiping it onto the interior surfaces of the ducts. Take special care to cover all areas uniformly to kill bacteria, mold, and other contaminants.
Allow the detergent or disinfectant to sit for a few minutes in accordance with the product instructions before rinsing or wiping it off. This step is crucial for maintaining air quality and preventing the spread of harmful microorganisms through your HVAC system.
4. Cleaning Return Air Registers:
Cleaning both supply and return air registers is an often overlooked but important part of duct maintenance. Start by removing the air registers using a screwdriver if necessary. Once removed, soak them in warm, soapy water to loosen dust and grime. You can use a brush to scrub away any tough dirt or residue. Rinse the registers thoroughly with clean water and allow them to dry completely before reattaching them.
For the return air registers, take special care to clean both the front grill and the louvers to ensure unobstructed airflow. Reinstall the air registers securely, ensuring they are properly aligned and fastened. Regularly cleaning these registers not only improves air quality but also enhances the efficiency of your HVAC system.
Cleaning Other HVAC Components
Blower and Coils:
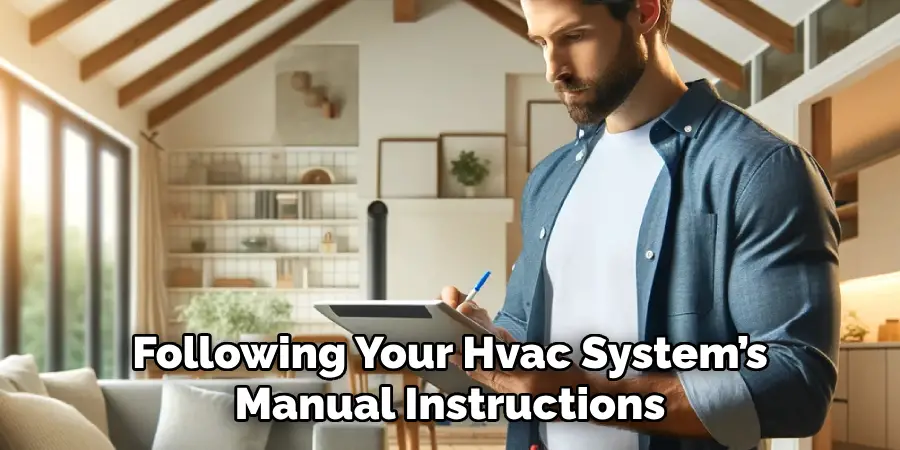
Maintaining the cleanliness of the blower fan and coils is crucial for the overall efficiency and longevity of your HVAC system. The blower fan, responsible for circulating air throughout the system, can accumulate dust and debris over time, reducing its effectiveness. To clean the blower fan, first, ensure the power is off. Carefully remove the fan assembly following your HVAC system’s manual instructions and use a soft brush or cloth to gently wipe away dust and buildup.
Similarly, the coils, specifically the evaporator and condenser coils, play a significant role in heat exchange. Dirty coils can result in reduced cooling efficiency and increased energy consumption. Use a coil cleaner or a mixture of mild detergent and water to clean the coils, ensuring that they are thoroughly rinsed and dried before reassembling the components. Regularly cleaning these parts ensures optimal system performance and prevents potential breakdowns.
Replacing Filters:
Regularly replacing HVAC filters is one of the simplest yet most effective maintenance tasks to ensure clean and efficient operation. Filters trap dust, dirt, and other particles, preventing them from circulating through your home. Over time, these filters can become clogged, hindering airflow and forcing the system to work harder.
This can lead to increased energy usage and reduced lifespan of the HVAC unit. Check the filters monthly and replace them every 1-3 months, depending on usage and the manufacturer’s recommendations. When replacing the filter, ensure you choose the correct size and type for your system. A clean filter promotes better air quality and enhances the HVAC system’s overall efficiency.
Checking for Leaks:
Inspecting the ductwork for leaks or damage is essential to maintain an efficient HVAC system. Leaks in the ducts can lead to significant energy loss and uneven cooling or heating throughout your home. To check for leaks, visually inspect the ducts for any visible damage, such as holes, cracks, or disconnected sections. Use your hands to feel for air escaping from the ducts while the system is running. If you detect any leaks, seal them with high-quality duct tape or mastic sealant. For more significant damage, it may be best to consult a professional. Regular inspections and prompt repairs of leaks ensure that your HVAC system operates efficiently and effectively.
Reassembling and Testing
Reinstalling Vent Covers:
After thoroughly cleaning and inspecting your HVAC system, the next step is to reassemble it by reinstalling the vent covers. Ensuring that vent covers are securely reattached is crucial for maintaining proper airflow and system efficiency. Begin by aligning the vent covers with the duct openings and correctly positioning them. Use a screwdriver to tighten any screws and secure the covers in place. Double-check that each vent cover is properly fastened and sits flush against the wall or floor surface. Properly secured vent covers help to prevent any future air leaks and ensure that the cleaned ducts remain undisturbed.
Powering On the HVAC System:
Once the vent covers are reinstalled, it is time to safely power on the HVAC system. Start by ensuring all components have been correctly reassembled and no tools or materials are left inside the ductwork or the HVAC unit itself. Restore the power supply to the system by switching on the circuit breaker or plugging it into the unit. Proceed cautiously and listen for any unusual noises that might indicate a problem. Allow the system to run for a few minutes to ensure everything operates as expected. Safety is paramount, so immediately turn off the system and consult a professional technician if any issues arise.
Testing Airflow:
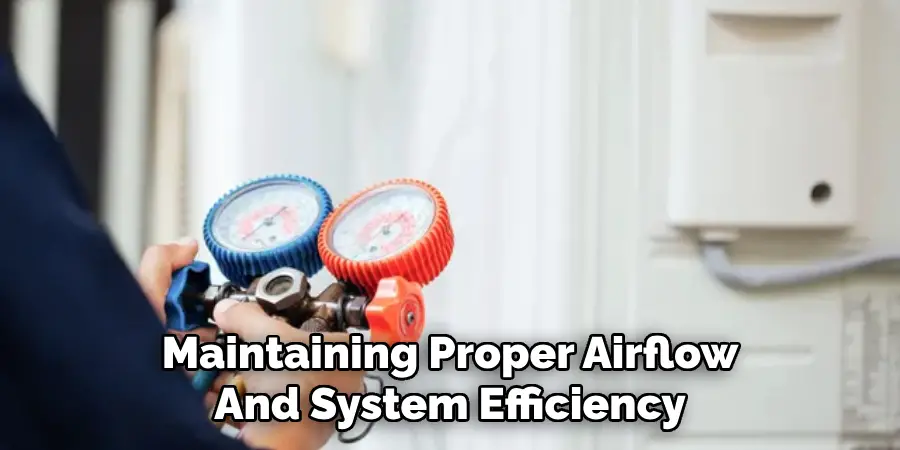
With the HVAC system powered on, the final step involves testing the airflow to verify that it is even and consistent throughout your home. Check the airflow at each vent by feeling the temperature and strength of the air being emitted. Use a thermometer to measure the air temperature in different rooms and confirm that it aligns with the system’s settings. Ensure there are no significant variations in airflow or temperature between rooms, as this could indicate an issue such as blockages, leaks, or unbalanced ductwork. Consistent airflow and temperature indicate that your HVAC system is functioning correctly and efficiently, providing a comfortable indoor environment.

Conclusion
Maintaining clean HVAC ducts provides several key benefits, including significantly improved air quality, enhanced energy efficiency, and optimized overall HVAC performance. Cleaner ducts mean fewer airborne contaminants, which contributes to a healthier living environment and can reduce potential allergic reactions.
Adhering to regular maintenance schedules and timely cleaning is crucial to ensuring these benefits. Routine tasks, such as periodic inspections, frequent filter changes, and understanding how to clean out HVAC ducts properly, are essential for sustaining a well-functioning system.
Homeowners are encouraged to prioritize the upkeep of their HVAC system. Comprehensive maintenance promotes health and comfort, extends the unit’s lifespan, and can result in cost savings through improved efficiency. Keeping your HVAC system clean is a proactive step towards ensuring a comfortable and healthy home environment.

