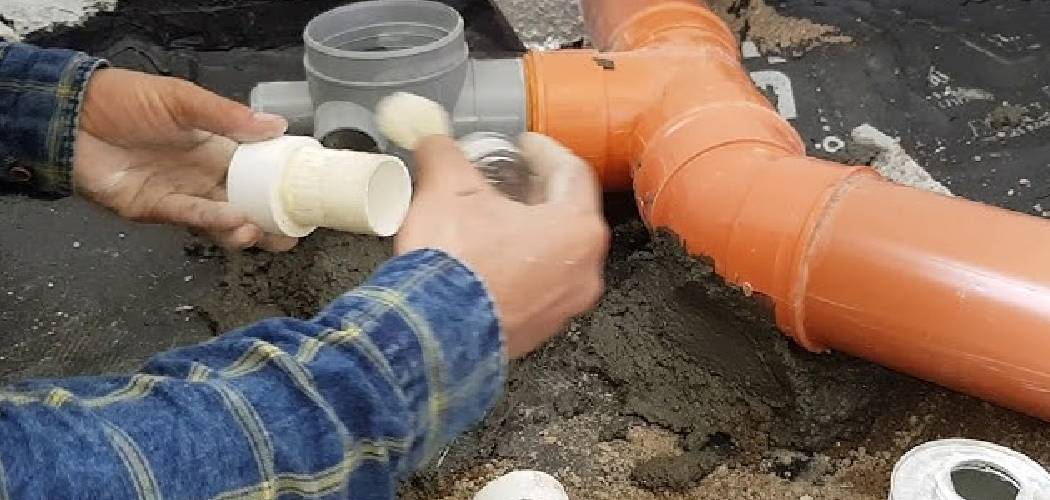
Cleaning the inside of PVC pipes is essential to maintain proper water flow and prevent blockages caused by debris, mineral buildup, or mold. Whether you are preparing the pipe for a new installation or addressing a clog, using the right tools and techniques can ensure effective results without damaging the pipe. This guide will walk you through the steps of how to clean pvc pipe inside safely and efficiently.
Why Cleaning the Inside of PVC Pipes is Important
Regularly cleaning the inside of PVC pipes is crucial for maintaining their efficiency and longevity. Over time, debris, grease, and mineral deposits can accumulate inside the pipes, restricting water flow and increasing the risk of blockages. Additionally, stagnant water in unclean pipes can lead to the growth of mold and bacteria, which may cause unpleasant odors and potential health hazards.
By keeping PVC pipes clean, you ensure optimal performance, reduce the chances of costly repairs, and promote a healthier, more hygienic environment. Proper maintenance also extends the life of the pipes, making it a cost-effective practice.
Tools and Materials You’ll Need
To effectively clean and maintain your PVC pipes, gather the following tools and materials beforehand:
- Protective Gloves – to safeguard your hands from dirt and chemicals.
- Safety Goggles – to protect your eyes from splashes.
- Pipe-cleaning Brush – to scrub the interior of the pipes.
- Bucket – for mixing cleaning solutions or collecting water.
- Cleaning Solution – such as a mild detergent, vinegar, or a specialized pipe cleaning agent.
- Plunger or Drain snake – to address stubborn clogs.
- Old towels or Rags – for wiping and drying the pipes.
- Warm Water – for rinsing the pipes after cleaning.
Having these tools and materials ready will ensure a smoother and more effective cleaning process.
10 Methods How to Clean Pvc Pipe inside
1. Flush the Pipe with High-Pressure Water
One of the simplest yet effective cleaning techniques involves using high-pressure water to flush out internal debris and buildup. This method works particularly well for longer PVC pipes that are part of an irrigation or drainage system. By connecting a garden hose or pressure washer to the open end of the pipe, water pressure dislodges sediment and pushes it out the other side.
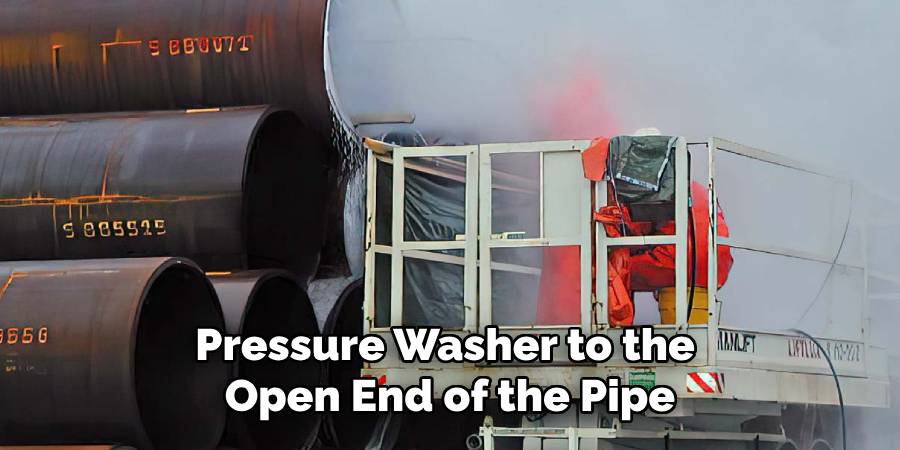
For better results, you can insert a hose nozzle or a sewer jet attachment that propels itself through the pipe while spraying water in all directions. High-pressure flushing is chemical-free and ideal for environmentally sensitive systems.
2. Use a Long Flexible Brush or Bottle Brush
For smaller PVC pipes or those with heavy buildup, a long flexible brush — such as a bottle brush or drain cleaning brush — can be inserted manually to scrub the inner walls. This mechanical approach removes slime, residue, and minor clogs. Choose a brush that fits snugly but not tightly within the pipe diameter to ensure effective scrubbing without damaging the plastic.
Slowly twist and push the brush through the pipe, rinsing frequently to wash away dislodged material. This method is especially helpful for cleaning short PVC segments or pipes that are easily accessible.
3. Soak in a Vinegar Solution for Mineral Deposit Removal
If you’re dealing with mineral scale or calcium buildup, soaking the PVC pipe in a vinegar solution is a gentle and non-toxic option. Fill the pipe or system with white vinegar and allow it to sit for several hours — or overnight for more stubborn deposits. Vinegar’s natural acidity dissolves mineral layers without compromising the pipe’s integrity. After soaking, flush the pipe thoroughly with clean water to remove both vinegar and loosened debris. This method is ideal for residential plumbing and irrigation systems where food-safe or chemical-free approaches are preferred.
4. Use Commercial Pipe Cleaners for Stubborn Buildup
When basic methods fail to remove sticky residue, algae, or organic growth, commercial PVC-safe pipe cleaners can be used. These solutions are formulated to clean the inside of plastic pipes without degrading the material. Always follow the manufacturer’s directions, and be sure to wear gloves and use the cleaner in a well-ventilated area.
Let the chemical cleaner circulate or sit inside the pipe for the prescribed amount of time before flushing it thoroughly. This method is more aggressive but useful for pipes exposed to soap scum, grease, or biological matter like mold or mildew.
5. Use a Wet-Dry Vacuum to Extract Loose Debris
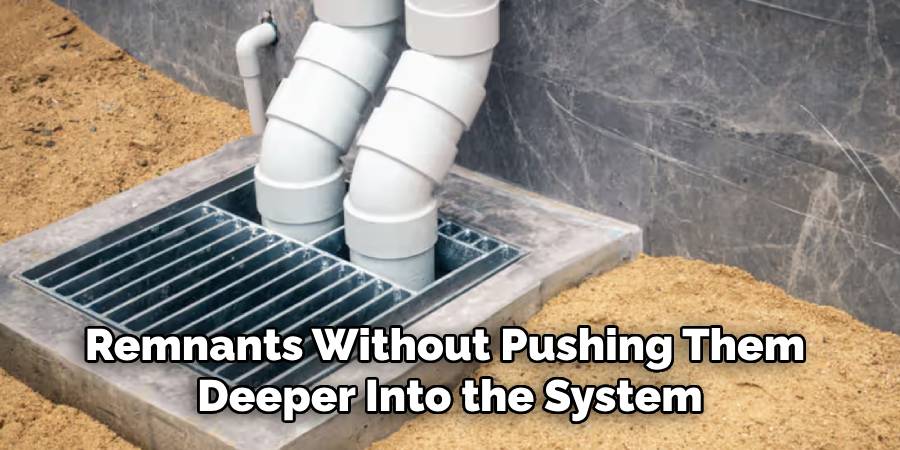
After flushing or scrubbing, loose debris can remain inside the pipe. A wet-dry vacuum provides an efficient way to remove these remnants without pushing them deeper into the system. Attach a narrow nozzle or hose to the vacuum and insert it into the pipe to suck out particles, dirty water, or residue. This technique is ideal for maintenance before reassembly or when trying to unclog small sections of pipe. Ensure that your vacuum is suitable for wet use if you’re cleaning out fluid-laden pipes.
6. Try a Baking Soda and Vinegar Foam Reaction
For organic blockages or internal odor, a baking soda and vinegar reaction inside the pipe can help loosen residue and sanitize the interior. Pour a generous amount of baking soda into the pipe, followed by vinegar. The chemical reaction creates a foaming action that expands to scrub the walls gently. Let it fizz for about 15–30 minutes, then flush the pipe with hot water. This method is excellent for kitchen drain pipes, bathroom piping, and systems that benefit from deodorizing without harsh chemicals.
7. Feed a Drain Snake or Auger through the Pipe
If buildup inside the pipe is partially or fully obstructing flow, using a drain snake or plumbing auger can mechanically clear the passage. These tools are long, flexible cables with a rotating tip designed to break through clogs. Carefully insert the snake and turn the handle to work it through the debris. This method not only cleans but also restores function to severely blocked pipes. Always use plastic or rubber-coated snake tips for PVC to prevent gouging or scratching the inner walls of the pipe.
8. Use Pipe Cleaning Balls or Foam Pigs
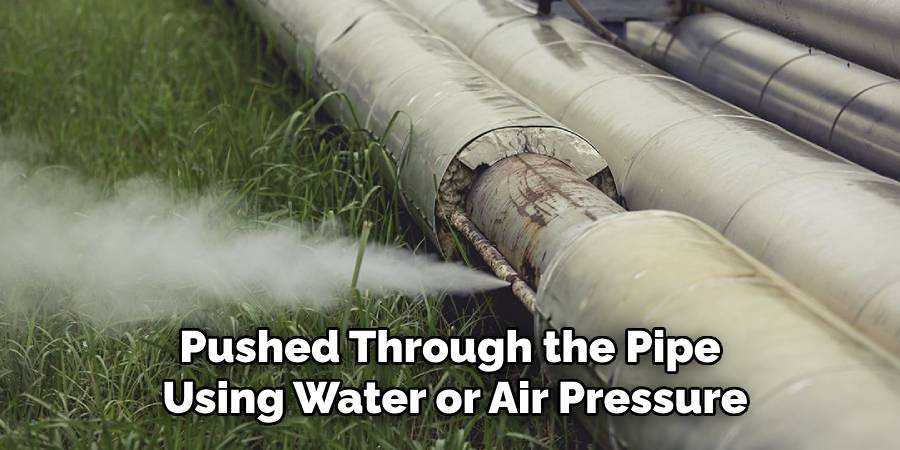
For long or complex PVC pipelines, pipe cleaning balls (also called foam pigs) offer a professional cleaning option. These foam-based devices are pushed through the pipe using water or air pressure, and as they travel through, they scrub the interior clean. Foam pigs come in various densities and sizes and are commonly used in agricultural irrigation and large-scale plumbing systems. This technique is efficient for cleaning hundreds of feet of pipe in a single pass, especially when manual access is limited.
9. Apply a Hydrogen Peroxide Rinse for Sanitization
To clean and sanitize PVC pipes used in food service, aquaponics, or potable water systems, hydrogen peroxide can be used as a mild disinfectant. Dilute hydrogen peroxide (typically 3% household grade) with water in a 1:1 ratio and allow it to sit in the pipe for 15–30 minutes. It will help kill bacteria, remove slime, and sanitize the inner pipe wall. After soaking, flush the pipe with clean water to remove the solution and any remaining contaminants. Hydrogen peroxide is safe for most PVC applications and leaves no harmful residue.
10. Disassemble and Manually Clean Sections of Pipe
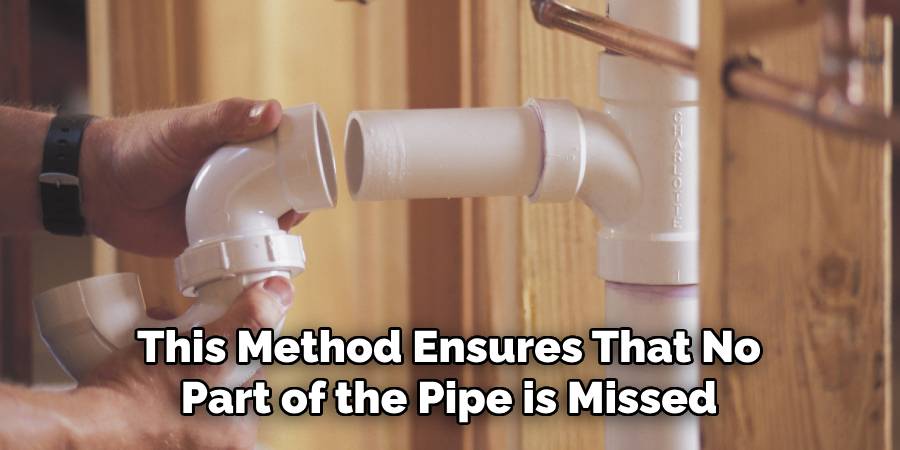
When accessible and practical, disassembling your PVC system can allow for more thorough interior cleaning. Unscrew or cut out the problem section, then manually scrub and rinse it using a brush, solution, or even by soaking it in a cleaning bucket. This method ensures that no part of the pipe is missed and is ideal for systems where hygiene and cleanliness are critical. Always ensure proper reassembly with primer and solvent cement if cutting into glued joints. Though more labor-intensive, disassembly gives full visual access and deep cleaning capability.
Things to Consider When Disassembling Pipes for Cleaning
- Type of Pipe Material: Different materials, such as PVC, copper, or stainless steel, require specific tools and handling techniques. Ensure you use the appropriate methods to avoid causing damage during disassembly or cleaning.
- System Layout: Before starting, review the plumbing system layout to identify critical sections and ensure you know how to reassemble the components correctly. Taking photos during disassembly can be helpful.
- Tools and Safety Equipment: Gather all necessary tools, such as wrenches, saws, or pipe cutters, as well as safety gear like gloves and goggles. This preparation reduces delays and minimizes the risk of accidents.
- Water Supply Turn-Off: Always turn off the water supply to prevent leaks or accidents during the process. Draining residual water from the system is also critical.
- Seals and Joints: Check for any worn-out seals, gaskets, or joint fittings while disassembling. Replacing these components improves the system’s integrity upon reassembly.
- Cleaning Agents: Choose cleaning solutions that are non-corrosive and safe for the specific pipe material. Harsh chemicals can damage certain pipes or leave harmful residues.
Taking these factors into account ensures a smooth and efficient cleaning process while maintaining the integrity and longevity of your plumbing system.
Conclusion
Cleaning the inside of PVC pipe doesn’t have to be a frustrating or risky process. By using the appropriate tools and methods — from high-pressure flushing and flexible brushes to natural solutions like vinegar or baking soda — you can keep your pipe systems clean, efficient, and long-lasting. Selecting the right method depends on the length, diameter, and type of buildup inside the pipe.
Whether you’re maintaining a residential drainage line, an irrigation setup, or an aquaponics system, consistent internal cleaning extends the life and performance of PVC piping. Thanks for reading our blog post on how to clean pvc pipe inside! We hope you found it helpful and informative.

