Cleaning sand mound pipes is an essential task that should be regularly performed to maintain the proper functioning of your septic system. If left neglected, these pipes can become clogged with debris and start to overflow, causing potential health hazards and expensive repairs.

In this guide, we will discuss the importance of cleaning sand mound pipes and provide you with a step-by-step process on how to effectively clean them.
The main advantage of cleaning sand mound pipes is that it can save you money and prevent costly repairs. Sand mounds are a common type of septic system used in areas with high water tables or poor soil absorption. These systems rely on sand and gravel layers to filter and treat waste before it reaches the groundwater. In this blog post, You will learn in detail how to clean sand mound pipes.
Step-by-step Instructions for How to Clean Sand Mound Pipes
Step 1: Inspect the Sand Mound Pipes
Before starting the cleaning process, it is important to inspect the sand mound pipes to determine their current condition. This will help you understand what type of cleaning method will be most effective and whether any repairs are needed. Look for any visible signs of damage or clogging such as cracks, leaks, or standing water around the pipes.
Step 2: Gather Necessary Tools and Materials
To properly clean sand mound pipes, you will need a few essential tools and materials such as a plumbing snake, pressure washer, garden hose, and septic-safe cleaning solution. It is important to use specific tools and cleaners that are safe for septic systems to avoid causing any harm or damage.
Before starting any cleaning process, it is important to disconnect the power supply to the septic system. This will prevent any accidents or electrical hazards from occurring while you are working on the pipes. Make sure to turn off the power supply completely and double check that it is disconnected before proceeding.

Step 3: Remove the Access Lids
The access lids on your sand mound pipes are usually located near the outlet of the septic tank. Use a tool or your hands to carefully remove these lids, taking caution not to damage them. This will provide you with direct access to the pipes for cleaning.
A plumbing snake is a useful tool for removing any clogs or blockages in the pipes. Insert it into the pipe opening and rotate it to break up any debris or buildup inside. Continue doing this until you feel that the pipes are clear.
Step 4: Clean the Pipes with a Pressure Washer
Using a pressure washer is an effective way to clean the pipes and remove any stubborn debris or buildup. Point the nozzle of the pressure washer towards the pipe opening and spray in a back-and-forth motion. This will help dislodge any remaining clogs or blockages.
Once you have used the plumbing snake and pressure washer to clean the pipes, it is important to flush them with water. Use a garden hose to pour water into the pipes and rinse out any remaining debris. Repeat this process until the water runs clear.
Step 5: Apply a Septic-Safe Cleaning Solution
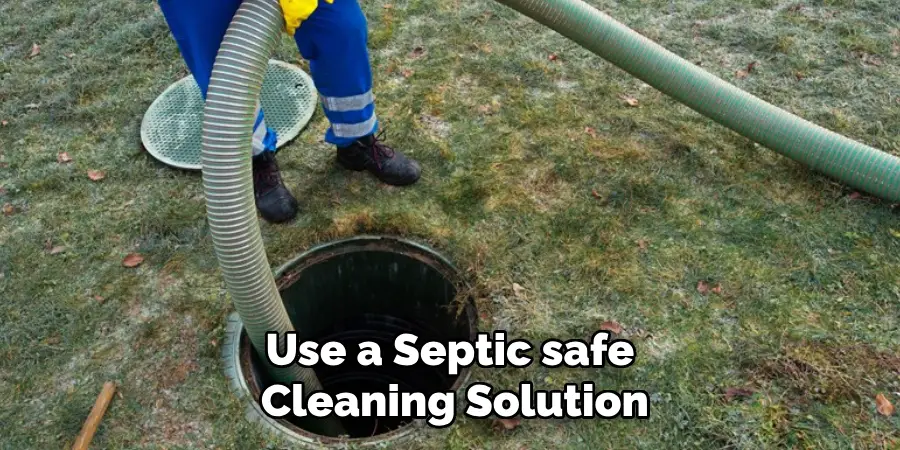
To ensure that your sand mound pipes are thoroughly cleaned and disinfected, it is recommended to use a septic-safe cleaning solution. Follow the instructions on the product label and pour it into the pipes. This will help eliminate any bacteria or odors that may be present. After cleaning and disinfecting the pipes, carefully reinstall the access lids. Make sure they are securely in place to prevent any debris or pests from entering.

Finally, you can restore the power supply to your septic system and monitor it for any issues. If you notice any recurring clogs or blockages, it may be time to call a professional for further inspection and repairs. Regular maintenance and cleaning of your sand mound pipes can help prevent these issues from occurring in the future.
Tips for How to Clean Sand Mound Pipes
- While cleaning sand mound pipes, it is important to wear the proper safety gear such as gloves, goggles, and a face mask. This will protect you from any harmful substances that may be present in the pipes.
- Before starting the cleaning process, make sure to turn off the water supply and disconnect any electrical connections if present near the pipes. This will prevent any accidents or electrocution while cleaning.
- Always use a sturdy ladder or scaffolding when accessing the pipes. Avoid standing on unstable surfaces such as sand or rocks.
- If you are using any cleaning products, make sure to read and follow the instructions carefully. Wear protective gear and avoid mixing different chemicals as it may create harmful fumes.
- Use a high-pressure water hose to clean the pipes thoroughly. This will help remove any hardened or stubborn debris from the pipes.
- Avoid using sharp objects or tools to clean the pipes as it may cause damage and lead to costly repairs. Instead, use a plumbing snake or a brush specifically designed for cleaning pipes.
- Once the cleaning process is complete, make sure to properly dispose of any waste materials and thoroughly rinse the pipes with clean water.

Remember to always prioritize safety and take necessary precautions while cleaning sand mound pipes. Regular maintenance and cleaning of these pipes will not only ensure their longevity but also help prevent any potential health hazards.
What Kind of Maintenance Should Be Done After Cleaning Sand Mound Pipes?
After cleaning sand mound pipes, there are several maintenance tasks that should be done to ensure optimal functioning of the septic system. Here are some important steps to follow:
1. Inspect and Repair Any Damaged Pipes
After cleaning the sand mound pipes, it is crucial to inspect all the pipes for any signs of damage or wear and tear. This includes looking for cracks, leaks, or loose connections that may have been caused during the cleaning process. If any issues are found, they should be repaired immediately to prevent further damage.
2. Test the Drainfield
Once the pipes have been cleaned and inspected, it is important to test the drainfield to make sure it is functioning properly. This can be done by flushing a large amount of water down the drains and monitoring how quickly it drains out into the soil. If there are any issues with drainage, it may indicate a problem with the sand mound pipes that need to be addressed.
3. Check the Distribution Box
The distribution box is an important component of the septic system that helps evenly distribute wastewater into the drainfield. After cleaning the sand mound pipes, it is a good idea to check the distribution box for any clogs or damage. If necessary, clean out any debris and make sure the box is in good working condition.

4. Monitor the Tank Levels
It is important to monitor the levels of the septic tank after cleaning the sand mound pipes. If the levels are significantly higher than normal, it may indicate a clog or issue with the pipes that need to be addressed.
5. Schedule Regular Maintenance
Cleaning sand mound pipes should be done regularly as part of routine septic system maintenance. It is recommended to schedule a professional inspection and cleaning every 3-5 years, or more frequently if there are larger households using the system. Regular maintenance can help prevent costly repairs in the future and keep the septic system functioning properly.
By following these steps, you can ensure that your sand mound pipes are clean and well-maintained for optimal functioning of your septic system. Remember, proper maintenance is key to avoiding any potential issues and ensuring the longevity of your septic system.
Are There Any Environmental Considerations When Cleaning Sand Mound Pipes?
Sand mound pipes are an integral part of a septic system. They serve as the main means of disposing and treating wastewater from residential and commercial properties in areas without access to public sewer systems. However, just like any other plumbing system, sand mound pipes require regular maintenance to prevent clogs and ensure proper functioning. In this guide, we will discuss the steps on cleaning sand mound pipes and also touch upon any environmental considerations that need to be taken into account during the process.
Cleaning sand mound pipes is a simple process that can be done by homeowners or with the help of a professional plumber. The first step in cleaning sand mound pipes is locating the septic tank and uncovering the access ports. The access ports are typically found near the house, and they provide entry points for cleaning and inspecting the tank.
Once the access ports are uncovered, the tank needs to be pumped out to remove any accumulated solids and scum. Regular pumping is essential to prevent these materials from entering the sand mound pipes and potentially causing clogs. After the tank has been pumped, the sand mound pipes are ready to be cleaned.
Conclusion
In conclusion, cleaning sand mound pipes is a necessary maintenance task for any homeowner with a septic system. These pipes are responsible for transporting wastewater from the home to the septic tank, and when clogged or damaged, they can lead to costly repairs and potential health hazards. In this blog, we have discussed the importance of regularly cleaning sand mound pipes and the steps involved in doing so.
Furthermore, we discussed some tips for preventing clogs in sand mound pipes. These include being mindful of what you flush down the toilet and avoiding pouring grease or chemicals down drains.
Regularly pumping and inspecting your septic tank can also help prevent clogs in sand mound pipes. Additionally, being aware of the location of your sand mound system and avoiding parking or driving over it can also help prevent damage to the pipes. I hope this article has been beneficial for learning how to clean sand mound pipes. Make Sure the precautionary measures are followed chronologically.

