Cleaning a shower can often feel like a daunting task, especially when dealing with hard water stains and soap scum. When your shower head is not detachable, the challenge increases as access to certain areas becomes limited.
However, with the right techniques and tools, you can effectively clean every nook and cranny of your shower, ensuring it remains a welcoming and hygienic space.
This guide on how to clean shower without detachable shower head will provide you with practical steps to tackle the cleaning process easily and efficiently, allowing you to enjoy a sparkling clean shower without the hassle of removing the shower head.
Why is It Important to Clean Your Shower Regularly?
Regularly cleaning your shower is essential for maintaining hygiene and overall health. Showers are often breeding grounds for mildew, mold, and bacteria, which can thrive in warm, damp environments. By cleaning your shower consistently, you help prevent the buildup of soap scum and hard water stains, ensuring a fresh and inviting space.
Additionally, a clean shower can enhance the longevity of your fixtures and tiles, preventing costly repairs or replacements. Furthermore, a clean environment contributes to mental well-being, as a sparkling shower can transform your daily routine into a more pleasant experience. Taking the time to clean your shower not only protects your health but also elevates your home’s aesthetics.
Needed Materials
Baking Soda:
This versatile household item is perfect for cleaning your shower without a detachable shower head. Its natural abrasive properties make it effective in removing tough stains and soap scum.
White Vinegar:
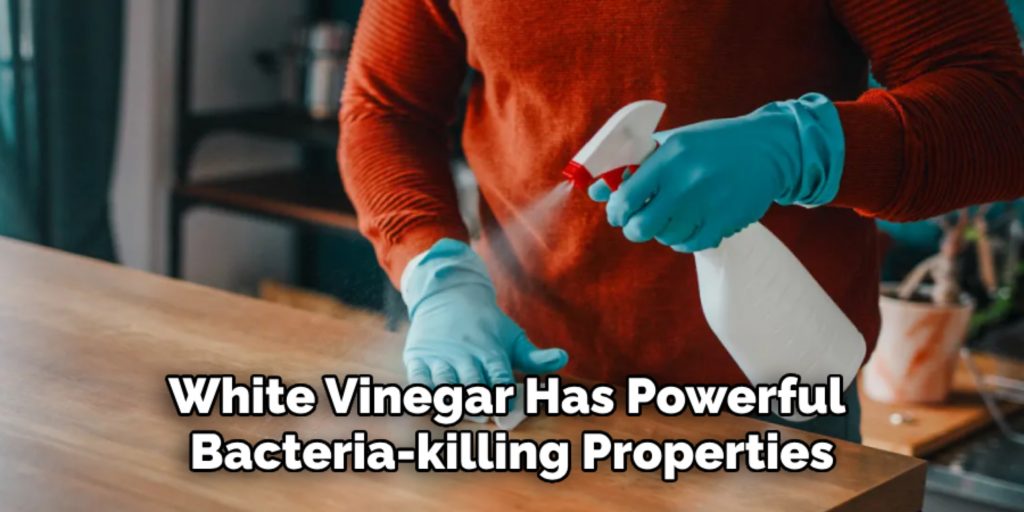
White vinegar has powerful bacteria-killing properties, making it an excellent disinfectant for your shower. Its acidity helps break down mineral deposits and soap buildup, leaving your shower sparkling clean.
Spray Bottle:
A spray bottle makes it easier to apply the cleaning solution evenly onto surfaces, ensuring maximum coverage.
Old Toothbrush or Scrub Brush:
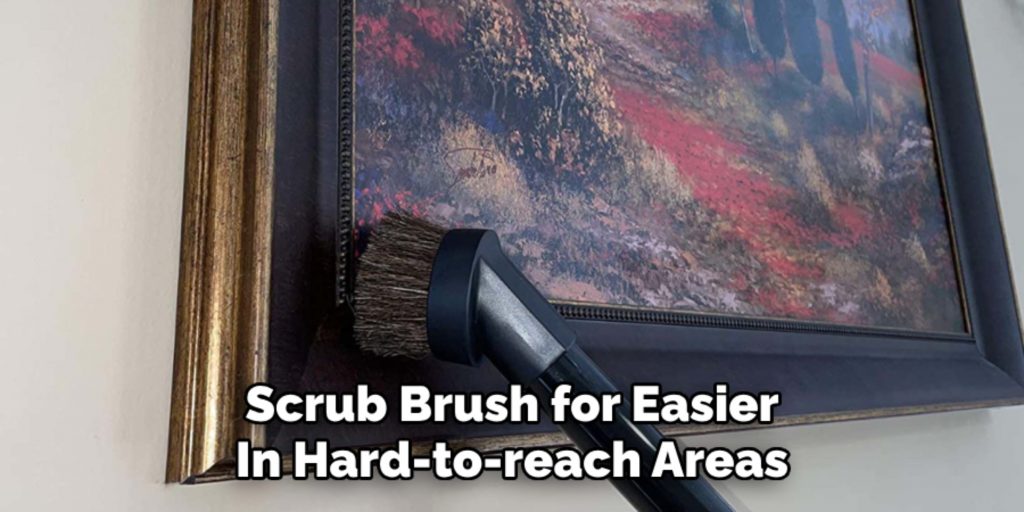
These are essential tools for scrubbing hard-to-reach areas, such as grout lines and corners.
8 Step-by-step Guides on How to Clean Shower Without Detachable Shower Head
Step 1: Create a Cleaning Solution
To kick off your shower cleaning process, start by creating an effective cleaning solution. In a spray bottle, combine equal parts of white vinegar and water.
This mixture harnesses the powerful cleaning properties of vinegar while diluting its strength for safe use on your shower surfaces. For an added cleaning boost, mix in a couple of tablespoons of baking soda.
This combination not only helps to tackle soap scum and mineral deposits but also creates a foaming action that can lift stubborn dirt. Shake the bottle gently to ensure everything is well combined before moving on to the next step.
Step 2: Wet the Shower Walls and Floor
Before applying your cleaning solution, it’s essential to dampen the shower walls and floor. Turn on the shower and let warm water run for a few moments to thoroughly wet the surfaces. The warm water will help soften any soap scum and mineral deposits, making them easier to clean.
Once the walls and floor are adequately moistened, turn off the water and allow the excess to drain. This step preps the area for the cleaning solution, ensuring maximum effectiveness in breaking down grime and buildup.
Step 3: Apply the Cleaning Solution
Using your spray bottle, generously apply the cleaning solution to all surfaces of your shower walls and floor. Make sure to cover every inch for an even clean. For tougher stains or buildup, you can let the solution sit for a few minutes before moving on to the next step.
You can also use this time to spray the cleaning solution onto your old toothbrush or scrub brush for easier application in hard-to-reach areas.
Step 4: Scrub and Rinse
Using your toothbrush or scrub brush, start gently scrubbing the surfaces of your shower. Concentrate on areas with tough stains or buildup, such as grout lines and corners. The combination of the cleaning solution and gentle scrubbing will help remove dirt and grime effectively.
Once you’ve thoroughly scrubbed the walls and floor, rinse off the cleaning solution with warm water. Make sure to rinse all surfaces thoroughly to prevent any residue from remaining.
Step 5: Focus on Shower Fixtures
After rinsing the walls and floor, it’s time to turn your attention to the shower fixtures, such as the faucet and any exposed plumbing.
Begin by applying the cleaning solution directly onto these fixtures, ensuring you cover all areas, including handles and knobs. For optimal cleaning, allow the solution to sit for a few minutes to break down any mineral deposits and soap scum.
Using your old toothbrush or a soft cloth, gently scrub the fixtures, paying close attention to areas that may be prone to buildup. Once the fixtures are clean, rinse them thoroughly with warm water to remove any cleaning solution and restore their shine. This step will help maintain the functionality of your shower fixtures while enhancing their appearance.
Step 6: Tackle the Shower Door or Curtain
If your shower has a glass door, use the cleaning solution to spray and wipe it down with a soft cloth. For stubborn water stains, you can also use undiluted white vinegar on a clean cloth to help remove them.
For a shower curtain, remove it from the rod and soak it in warm water mixed with baking soda for about an hour before washing it as usual.
Step 7: Rinse Everything Thoroughly
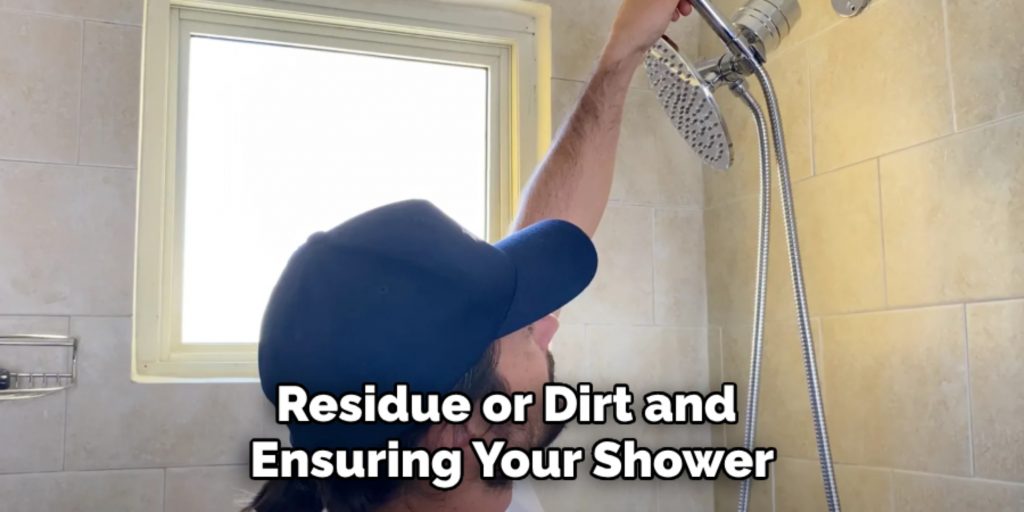
After completing all the necessary steps of scrubbing and cleaning, make sure to rinse everything thoroughly with warm water. This step is crucial in removing any remaining residue or dirt and ensuring your shower is left sparkling clean.
It’s also essential to rinse all surfaces thoroughly to prevent any potential skin irritation from the cleaning solution.
Step 8: Dry and Enjoy Your Clean Shower
Lastly, use a dry cloth or towel to wipe down all surfaces of the shower. This step will help remove excess water and
Now that your shower is clean take a moment to appreciate the fresh and inviting space you’ve created. Regularly following these steps on how to clean shower without detachable shower head will not only maintain a clean and hygienic shower but also prolong its lifespan.
Tips
- For tougher stains or buildup, you can use a paste of baking soda and water to scrub the surfaces before applying the cleaning solution.
- For an even deeper clean, you can also add a few drops of your favorite essential oils into the cleaning solution for a refreshing scent.
- Remember to regularly clean your shower to prevent tough stains and buildup from becoming too difficult to remove. A weekly deep clean using this method will help keep your shower in top condition.
- After each shower, it’s helpful to squeeze any excess water off the walls and floor to prevent water spots and mineral buildup. This simple step will also save you time in your next deep cleaning session.
Frequently Asked Questions
Q: How Often Should I Clean My Shower?
A: It is recommended to clean your shower at least once a week to prevent the buildup of dirt, grime, and bacteria. However, the frequency may vary depending on usage and personal preference.
Q: Can I Use Any Other Cleaning Solutions?
A: Yes, you can use other cleaning solutions such as store-bought cleaners or homemade mixtures. Just make sure to follow the instructions and test on a small area first to ensure it is safe for your shower surfaces.
Q: How Do I Prevent Mildew Growth in My Shower?
A: To prevent mildew growth, make sure to regularly clean and dry your shower after each use. You can also open a window or turn on the exhaust fan to reduce moisture levels in the bathroom. Additionally, using a squeegee or towel to remove excess water from surfaces can also help prevent mildew growth. Finally, make sure to regularly wash any shower mats or curtains and replace them when necessary. These steps will help prevent moisture buildup and keep your shower mildew-free.
Q: Can I Use This Method for Cleaning Other Bathroom Surfaces?
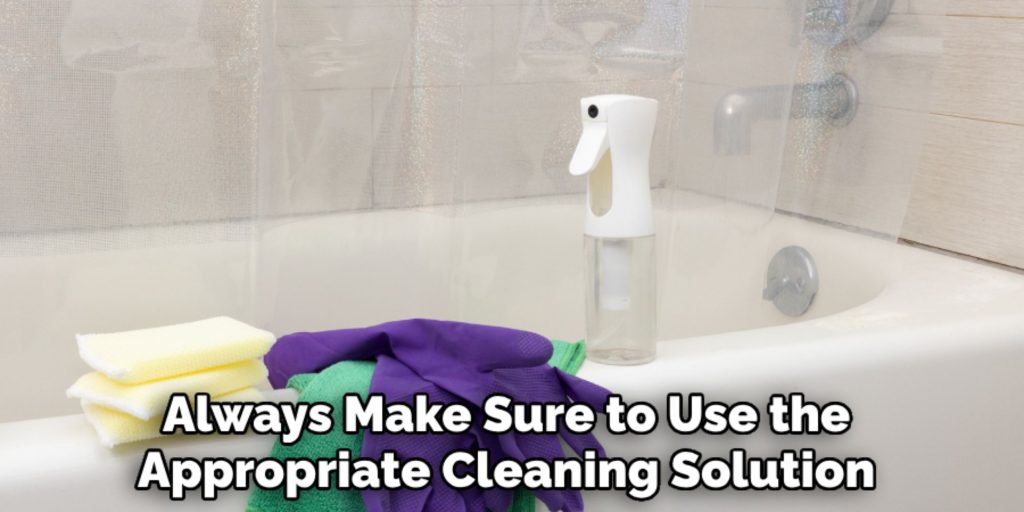
A: Yes, this cleaning method can be used on other bathroom surfaces such as countertops, sinks, and toilets. However, always make sure to use the appropriate cleaning solution for each surface and rinse thoroughly with water afterward. Additionally, make sure to regularly replace sponges or cloths used for cleaning to prevent cross-contamination between surfaces.
Conclusion
Maintaining a clean shower is essential not only for aesthetic appeal but also for health and hygiene. By following the outlined steps on how to clean shower without detachable shower head, you can effortlessly eliminate dirt, grime, and mildew, ensuring your shower remains a fresh and inviting space.
Regular cleaning will help extend the life of your shower surfaces and fixtures while providing a safe, enjoyable experience every time you use it. Make cleaning a part of your routine, and you’ll appreciate the benefits of a sparkling clean shower for years to come.
Check it out to Delta In2ition Shower Head

