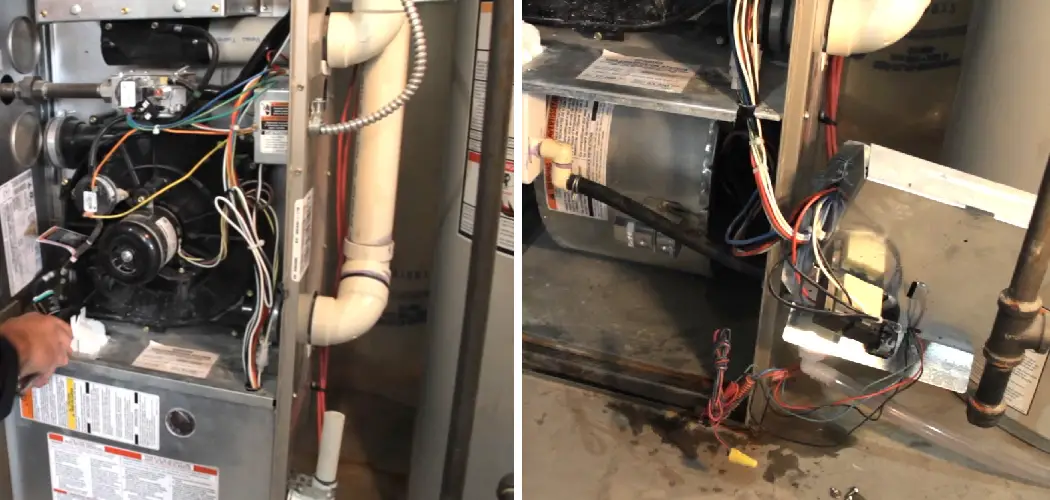
Cleaning the heat exchanger in a furnace is crucial for maintaining the efficiency and safety of your heating system. A clean heat exchanger ensures optimal heat transfer, reduces energy consumption, and prevents the buildup of potentially dangerous gases within the furnace.
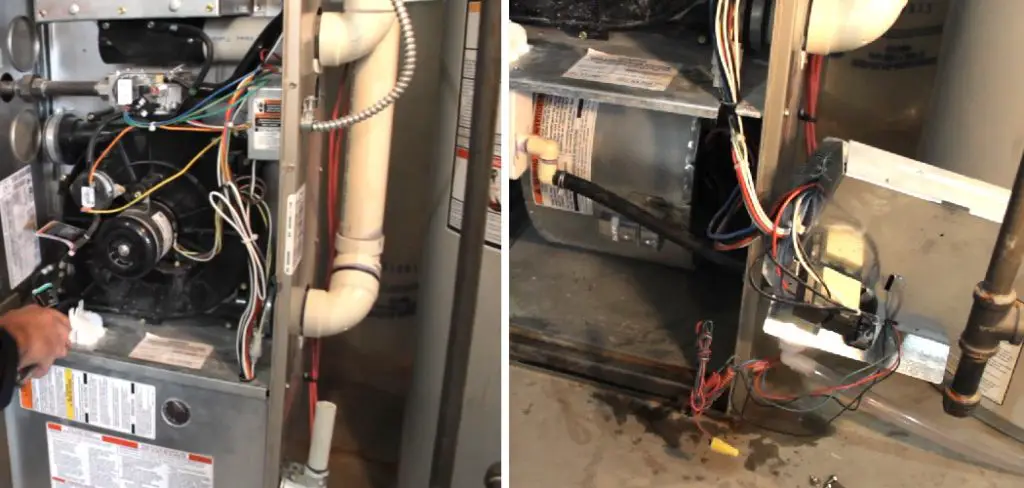
The heat exchanger is a vital component of your furnace, responsible for transferring heat from the combustion gases into the air circulating within your home without mixing the two. This process is essential for the efficient operation of your furnace and the comfort of your living space.
This article provides a comprehensive guide on how to clean the heat exchanger on a furnace, covering the necessary steps, tools, and safety precautions to efficiently and safely perform the task.
Whether you’re a homeowner looking to undertake this maintenance task yourself or simply seeking to understand the process, this guide is designed to equip you with the knowledge needed to ensure your furnace remains in optimal working condition.
Understanding the Heat Exchanger
A. Explanation of the Heat Exchanger’s Role in Furnace Operation
The heart of any furnace, the heat exchanger, plays a pivotal role in ensuring the safety and efficiency of your home’s heating system. It is essentially a set of tubes or coils that efficiently transfers heat from the combustion gases produced by the furnace to the air blown across the heat exchanger by the furnace’s fan.
This process heats the air, which is then distributed throughout your home, without allowing the combustion gases, which can contain harmful carbon monoxide, to mix with the breathable air inside your living space.
B. Types of Heat Exchangers
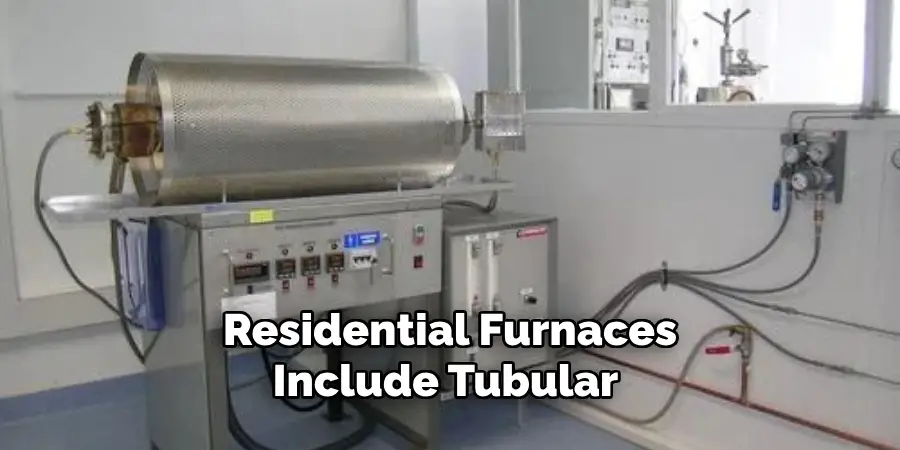
Common types of heat exchangers found in residential furnaces include tubular and plate designs. Tubular heat exchangers consist of a series of tubes through which combustion gases flow.
The tubes’ external surface heats the air blown over them. Plate heat exchangers, on the other hand, use metal plates to transfer heat between two fluids – in the case of a furnace, between combustion gases and the air to be heated. Each type has its efficiencies and is chosen based on the specific furnace design and application.
C. Signs of a Dirty or Clogged Heat Exchanger
Recognizing the signs of a dirty or clogged heat exchanger is crucial for maintaining furnace efficiency and safety. Indicators include a noticeable decrease in heating efficiency, unusual odors emanating from the furnace, and visible soot or debris around the furnace area.
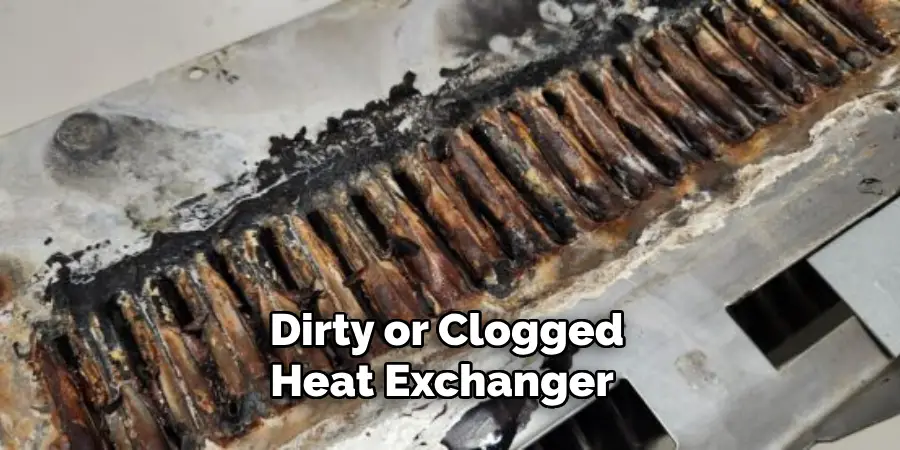
Additionally, any presence of water pooling near the furnace could suggest condensation issues often associated with a clogged heat exchanger. Ignoring these signs can lead to decreased furnace efficiency, potential carbon monoxide leaks, and increased wear on the furnace, necessitating prompt and thorough cleaning.
Safety Precautions
Safety must always be the priority when undertaking any maintenance tasks on your furnace, especially when cleaning the heat exchanger. Taking the appropriate safety measures can prevent accidents and ensure a smooth cleaning process. Here’s what you need to know:
A. Importance of Safety Gear
Before beginning the cleaning process, it is essential to equip yourself with the proper safety gear. Wearing heavy-duty gloves will protect your hands from sharp edges and potential chemical irritants found in cleaning solutions. Safety glasses are crucial for shielding your eyes from dust, debris, and any chemical splashes that may occur.
Depending on the cleaning agents used, a face mask or respirator may also be necessary to avoid inhaling fumes or fine particulates.
B. Turning Off Power to the Furnace
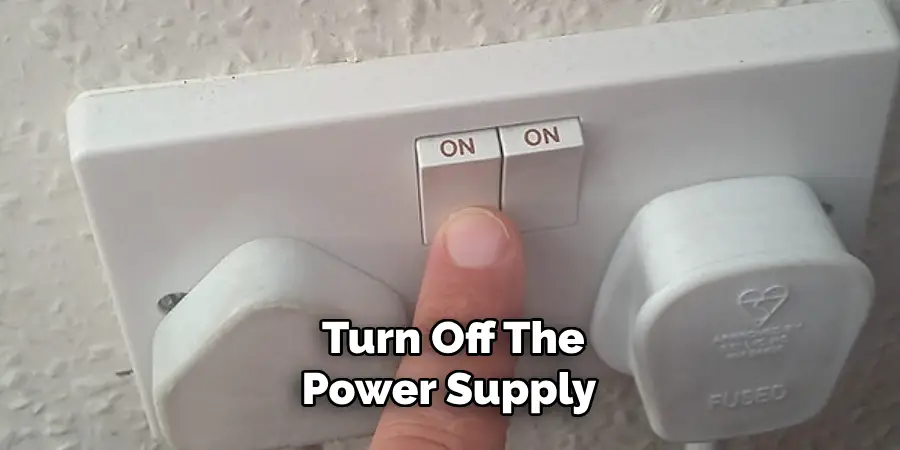
To ensure your safety and prevent the furnace from accidentally starting while you’re working, it’s critical to turn off the power supply to the unit. This can usually be done at the main electrical panel by switching off the circuit breaker linked to the furnace.
If your furnace is gas-powered, you should also shut off the gas supply to eliminate any risk of gas leaks or exposure.
C. Allowing Sufficient Cooling Time Before Cleaning
After turning off the power and before you start cleaning, it’s important to allow the furnace, and particularly the heat exchanger, ample time to cool down completely. This can take several hours, depending on the last time the furnace was used.
Attempting to clean the heat exchanger while it’s still hot can lead to burns and other injuries. Patience during this cooling-off period is a key step in maintaining your safety throughout the cleaning process.
By adhering to these safety precautions, including wearing the right protective gear, ensuring the furnace is turned off, and allowing the system to cool down, you can safely proceed with cleaning the heat exchanger on your furnace.
Gathering Tools and Materials
Before initiating the cleaning process of your furnace’s heat exchanger, it is essential to assemble the right tools and materials.
This preparation ensures the cleaning task can be performed efficiently and safely. Here are the necessary tools, cleaning solutions, and preparation steps to consider.
A. List of Necessary Tools
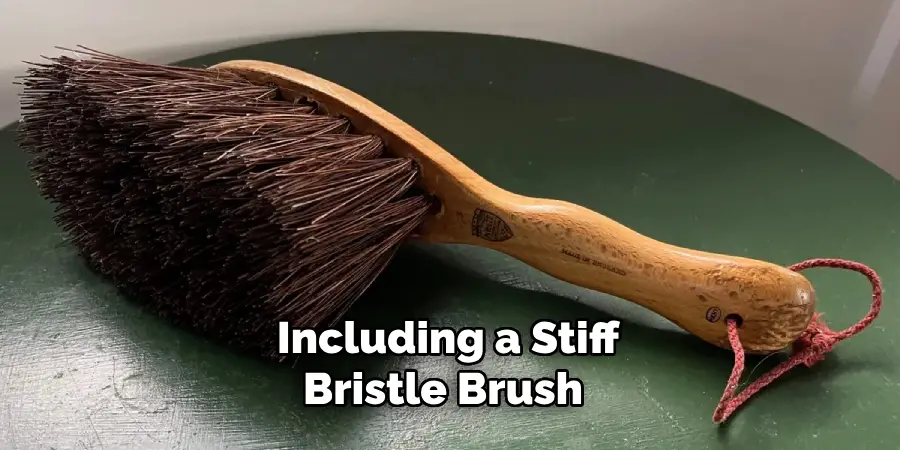
- Brushes: To remove debris and buildup from the heat exchanger surfaces, a variety of brushes, including a stiff-bristle brush and a softer brush, are needed. A wire brush may also be useful for tackling more stubborn deposits.
- Vacuum: A vacuum with a long hose attachment facilitates the removal of loosened dirt and debris. A vacuum equipped with a HEPA filter is preferable to ensure fine particulates are adequately captured.
- Screwdrivers and Wrenches: These are required to open the furnace casing and access the heat exchanger. Ensure you have both flat-head and Phillips-head screwdrivers, as well as a set of wrenches to match your furnace’s specifications.
- Inspection Camera: An optional but highly recommended tool is a small inspection camera or endoscope. This device can help you inspect hard-to-reach areas of the heat exchanger for signs of dirt or damage.
B. Selecting Proper Cleaning Solutions
When choosing cleaning solutions, opt for non-corrosive formulas specifically designed for use with furnace components. Avoid harsh chemicals that can damage the heat exchanger or create harmful fumes when the furnace runs.

- Mild Detergent Solution: A gentle detergent mixed with warm water can effectively clean accessible parts of the heat exchanger.
- Commercial Furnace Cleaner: Consider using a commercial furnace cleaner for more thorough cleaning. Ensure it’s suitable for your furnace’s specific make and model.
- Compressed Air: Compressed air cans can be used to blow out dust and debris from tight spaces within the heat exchanger.
C. Ensuring Accessibility to Heat Exchanger Components
Accessing the heat exchanger may require moving the furnace or opening rarely disturbed panels. Here are steps to ensure you can reach all necessary components:
- Consult the Furnace Manual: This will provide information on how to safely access the heat exchanger for cleaning without causing damage to the furnace.
- Remove Obstructions: Ensure there’s adequate space around the furnace for you to work comfortably. Remove any items or obstacles that could hinder accessibility or pose a safety risk.
- Proper Lighting: Good lighting is essential for effective cleaning. Use a portable light source to illuminate the furnace’s interior and heat exchanger if the ambient lighting is insufficient.

Equipped with the appropriate tools and cleaning solutions and ensuring unobstructed access to your furnace’s heat exchanger, you’re now ready to proceed with the cleaning process safely and effectively.
Accessing the Heat Exchanger
Proper access to the heat exchanger is imperative for thorough cleaning. Here’s a step-by-step guide to ensure you can locate and access the heat exchanger components efficiently.
A. Locating the Heat Exchanger within the Furnace
The heat exchanger is one of the central components of your furnace, often located near the middle or bottom of the unit, depending on the furnace model. It is designed to transfer heat from the combustion gases to the air inside your home without mixing the two.
Identifying the heat exchanger visually can be challenging for those unfamiliar with furnace anatomy. Typically, it looks like a series of tubes or coils made of metal; these are what the hot combustion gases pass through to heat your home.
B. Removing Panels or Covers for Access
Gaining access to the heat exchanger usually involves removing the furnace’s outer panels or covers. These can be secured with screws or fasteners, depending on the furnace model.
You’ll need a screwdriver or a wrench, as specified in the “Gathering Tools and Materials” section, to remove these fasteners.
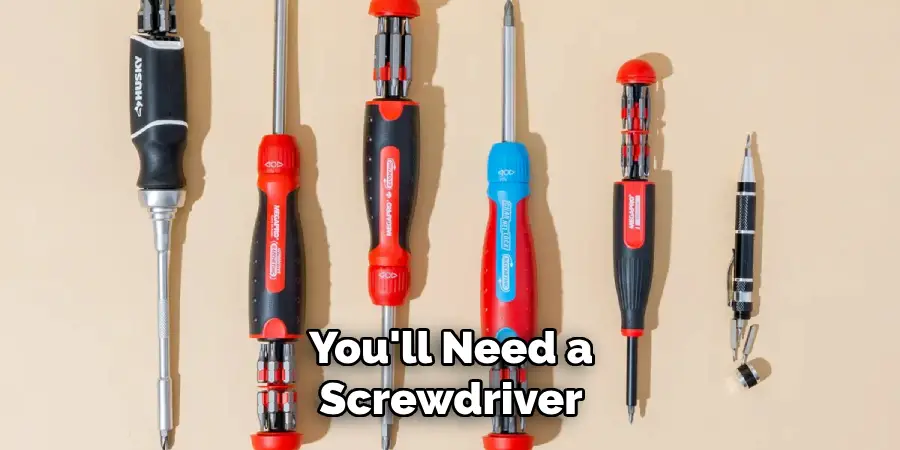
Remember to organize the screws or fasteners as you remove them to ensure easy reassembly. Once the panels are removed, visually inspect the interior to locate the heat exchanger.
C. Identifying and Locating the Heat Exchanger Tubes or Plates
The structure of the heat exchanger can vary significantly depending on the furnace model and manufacturer. Some common types include tubular heat exchangers and plate heat exchangers. Tubular heat exchangers consist of a series of tubes through which the combustion gases pass; they can be straight or curved, depending on the design.
On the other hand, plate heat exchangers consist of layers of flat plates. Each type has distinctive cleaning requirements and challenges due to its structure.
How to Clean the Heat Exchanger on A Furnace: Cleaning Process
The cleaning of the heat exchanger is a meticulous process that directly influences the efficiency and safety of your furnace. Following a systematic approach ensures that the cleaning is thorough and effective.
A. Inspecting for Debris or Build-Up on the Heat Exchanger
Begin by closely inspecting the heat exchanger for any visible signs of debris, dust, or build-up that could impede performance or pose a safety hazard. Utilizing an inspection camera or endoscope at this stage can be particularly useful, allowing for a comprehensive examination of areas that are not directly visible.
Look for any signs of corrosion or damage, as these areas may require special attention or professional inspection.
B. Using a Soft Brush or Vacuum to Remove Loose Debris
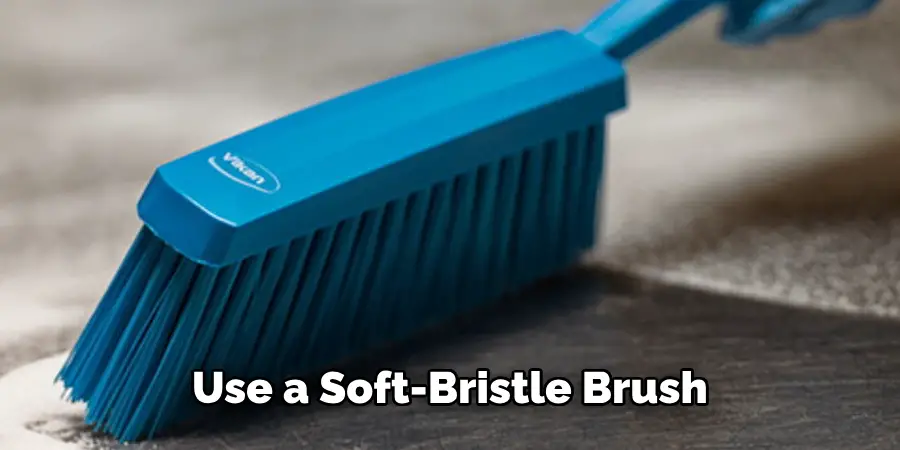
Once the preliminary inspection is complete, use a soft-bristle brush to gently remove surface dust and debris from the heat exchanger. This should be done with careful strokes to avoid damaging any components.
Following the brushing, employ a vacuum with a HEPA filter to suck up the loosened debris. The combination of brushing and vacuuming effectively removes most surface material without introducing moisture into the system.
C. Applying Cleaning Solution and Allowing Dwell Time
For more stubborn grime, a mild detergent solution or a commercial furnace cleaner should be applied for your specific furnace type.
When using any liquid cleaner, applying the solution sparingly with a spray bottle or cloth is critical to avoid excessive moisture, which could lead to corrosion or other issues.
After application, allow the cleaning solution to dwell on the surfaces for the recommended amount of time as specified by the product’s instructions. This dwell time is essential for breaking down tough deposits.
How to Clean the Heat Exchanger on A Furnace: Mechanical Cleaning
Mechanical cleaning forms an integral part of maintaining your furnace’s heat exchanger. This step is pivotal for dislodging and removing stubborn build-up that cannot be effectively removed with vacuuming and brushing alone.
By following a precise and careful methodology, you can ensure that the heat exchanger is cleaned thoroughly, maintaining the efficiency and safety of your furnace.
A. Using a Cleaning Brush or Rod to Reach Inside Tubes
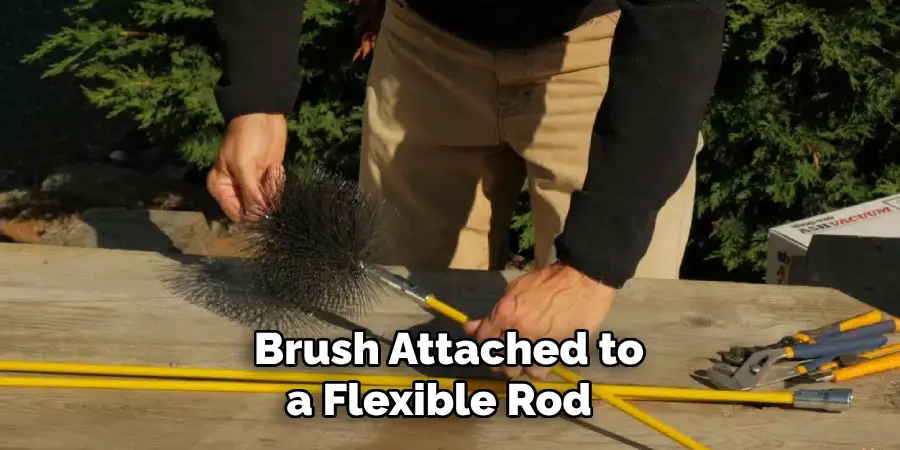
For tubular heat exchangers, employing a cleaning brush attached to a flexible rod is essential for reaching inside the tubes. Choose a brush size that fits snugly within the tubes to ensure maximal contact with the internal surfaces.
Gently insert the brush into the tube, using a back-and-forth motion to scrub the sides. This action helps dislodge soot, debris, and buildup that accumulates over time. Patience and careful manipulation of the brush will ensure comprehensive cleaning without damaging the delicate interior of the tubes.
B. Removing Stubborn Build-Up with Gentle Scrubbing
In instances where the buildup is particularly stubborn, a more intensive scrubbing may be required. Utilize a brush with slightly stiffer bristles for this purpose, but proceed with caution to avoid scratching or damaging the heat exchanger surfaces.
For plate heat exchangers, gentle scrubbing with a handheld brush allows for the removal of buildup between the plates. Always ensure that the chosen tool is appropriate for the heat exchanger material to prevent inadvertent damage.
C. Repeating Process as Necessary for Thorough Cleaning
Thorough cleaning may necessitate repeating the mechanical brushing process multiple times. After each round of cleaning, inspect the heat exchanger closely to identify any remaining areas of buildup. Pay special attention to corners, crevices, and junctions where debris accumulates.
The goal is to achieve a level of cleanliness that restores the heat exchanger’s efficiency without compromising its integrity.
Persistence in repeating the cleaning process as necessary will result in a heat exchanger that operates at optimal performance levels, ultimately extending its service life and ensuring the safety of your home’s heating system.
Rinsing and Drying
A. Rinsing Heat Exchanger with Clean Water
After thorough mechanical and chemical cleaning, the next vital step is to rinse the heat exchanger with clean water.
This step ensures that all traces of cleaning solutions and dislodged debris are entirely removed from the heat exchanger surfaces. Use a low-pressure water spray to gently rinse the interior surfaces of tubular or plate heat exchangers. Care should be taken to cover all areas, reaching into the tubes and between plates while avoiding introducing excessive water into the furnace system.
B. Ensuring Removal of Cleaning Solution Residue
It is crucial to ensure that all cleaning solution residues are fully rinsed off the heat exchanger surfaces. Residual chemicals can lead to corrosion or degradation of the heat exchanger material over time, thereby reducing the furnace’s efficiency and lifespan.
After rinsing, inspect the heat exchanger thoroughly to confirm that no foam, suds, or visible traces of the cleaning solution remain. A second rinse may be necessary for areas with stubborn residue build-up.
C. Allowing the Heat Exchanger to Air Dry Completely
Once the heat exchanger has been effectively rinsed, allow it to air dry completely before reassembling the furnace. Providing ample drying time is essential to prevent any moisture-related issues, such as corrosion or the development of mold within the furnace system.
Positioning fans or utilizing a dry, well-ventilated space can accelerate the drying process, but natural air drying is preferred to ensure no moisture remains. Ensuring that the heat exchanger is completely dry before reassembly helps maintain the optimal functionality and safety of your furnace.
Reassembling and Testing
The final stage in maintaining your furnace’s heat exchanger involves careful reassembly and testing to ensure everything is in perfect working order. Following these steps will guarantee the safety and efficiency of your furnace’s operation.
A. Reassembling Furnace Panels or Covers
Start by meticulously reattaching all panels or covers that were removed during the cleaning process. Ensure that every screw, bolt, and fastener is securely tightened to prevent any loose components.
Verify that all access panels are properly sealed to maintain the efficiency of the furnace and to prevent any hazardous exhaust gases from escaping into the home environment.
B. Turning Power Back On to the Furnace
Once the furnace is reassembled, you can safely restore power to the unit. Switch on the circuit breaker dedicated to the furnace or plug the unit back into its power source. Observe the initial startup to ensure there are no unusual noises or smells indicating a problem.
This step is crucial for verifying that the furnace components function correctly after maintenance.
C. Testing Furnace Operation and Heat Exchanger Functionality
The final step is to test the furnace operation and, specifically, the performance of the heat exchanger. Turn on the furnace using the thermostat and allow it to complete a full heating cycle. Monitor the furnace’s response, ensuring it ignites appropriately and reaches the set temperature without any issues. Pay close attention to the system’s performance, listen for any irregular sounds, and observe for proper airflow.
Using a carbon monoxide detector near the furnace can help identify any leaks or malfunctions in the heat exchanger. If the furnace operates smoothly and efficiently without triggering any safety alarms, you can be confident that the heat exchanger maintenance was successful.
Maintenance Tips
Maintaining your furnace’s heat exchanger is crucial for the safety and efficiency of your home’s heating system. By adhering to these straightforward tips, you can ensure your heat exchanger remains in top condition year after year.
A. Scheduling Regular Inspections and Cleanings
Regular inspections and cleanings are the first line of defense in maintaining the health of your heat exchanger.
It’s recommended to schedule professional inspections at least once a year, preferably before the heating season begins. These inspections can identify potential issues early on, preventing them from escalating into more significant problems.
In addition to professional inspections, consider cleaning the heat exchanger at least once every heating season or more frequently if advised by a professional. Regular cleanings ensure that buildup and debris do not compromise the efficiency and safety of your heat exchanger.
B. Using Proper Cleaning Techniques and Solutions
Utilize the appropriate cleaning techniques and solutions tailored to your heat exchanger type to avoid causing any damage during the cleaning process. Always opt for gentle, non-corrosive cleaning agents specifically designed for use on heat exchangers. Avoid harsh chemicals that can degrade the heat exchanger materials.
When brushing or scrubbing the surfaces, use tools that are effective yet gentle enough not to scratch or damage the surfaces. Following the manufacturer’s guidelines for cleaning and maintenance can provide specific recommendations on the best practices for your particular model.
C. Addressing Any Issues Promptly to Prevent Damage
Vigilance in identifying and addressing any issues with your heat exchanger promptly can prevent minor problems from turning into expensive repairs. Look out for signs of wear, such as cracks, holes, or leaks, which can significantly compromise the efficiency of your furnace and, more critically, pose a risk of carbon monoxide poisoning.
Should you detect any irregularities during regular inspections or cleaning, seek professional assistance immediately to assess and rectify the problem. Delaying repair can damage the heat exchanger and other furnace components, increase your energy bills, and endanger your household’s safety.
Conclusion
This guide has walked you through the detailed steps of how to clean the heat exchanger on a furnace, starting from the preparation and disassembly, moving through the cleaning process itself, and concluding with reassembly, testing, and maintaining your system. Each stage is designed to ensure that your heat exchanger remains free of debris and buildup, enhancing your furnace’s performance and safety.
The significance of safety, routine maintenance, and operational efficiency cannot be overstated. By adhering to the outlined procedures, you preserve the integrity of your heat exchanger and safeguard the health of your home environment.
Regular maintenance mitigates the risks of carbon monoxide poisoning and ensures the furnace operates at peak efficiency, reducing energy consumption and costs.
Understanding how to clean the heat exchanger on a furnace is pivotal in extending the lifespan of your heating system and ensuring its proper functionality.
You can maintain the furnace’s efficiency and longevity through diligent care, routine inspection, and promptly addressing issues. This proactive approach guarantees that your heat exchanger, and in turn, your entire furnace system, operates safely, efficiently, and reliably for years to come.

