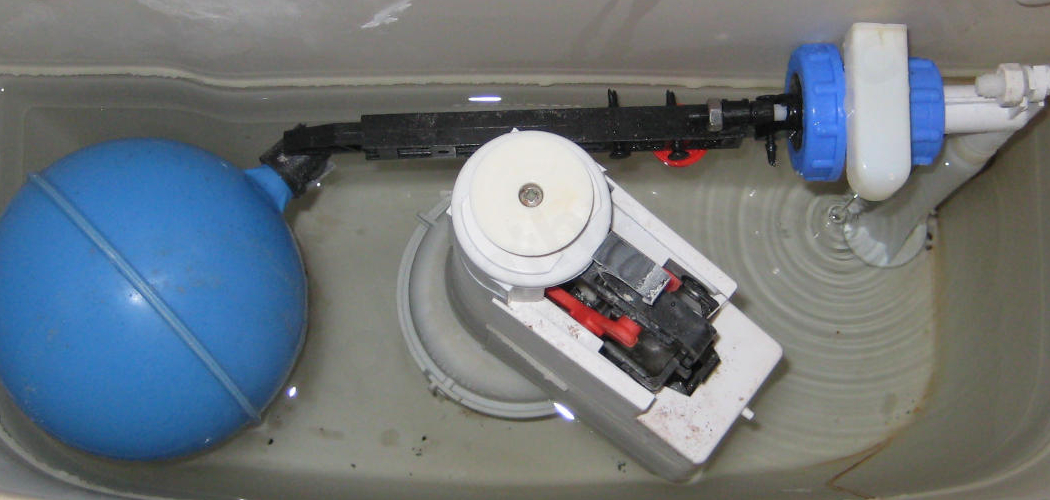
The toilet fill valve plays a crucial role in maintaining the proper function of your bathroom’s plumbing system. It controls the flow of water into the toilet tank after each flush, ensuring that the tank refills efficiently and quietly.
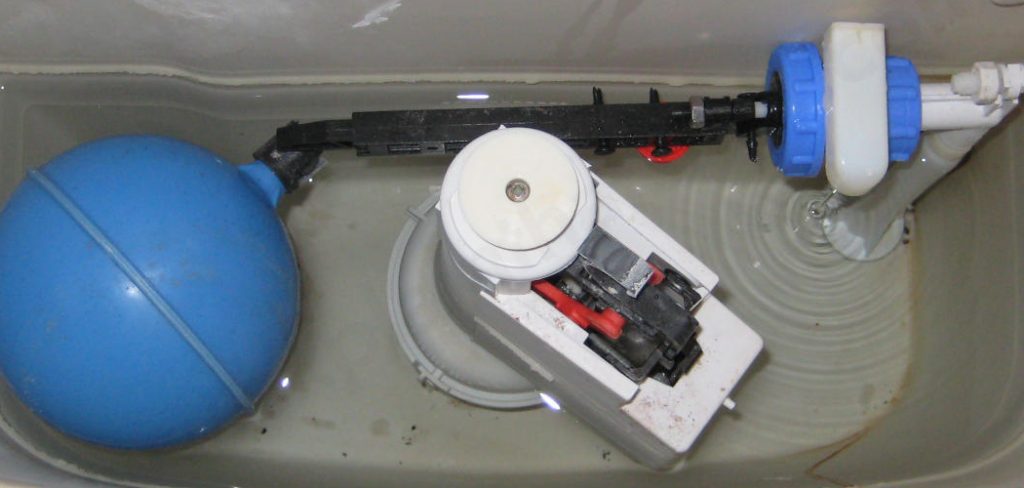
Over time, however, mineral buildup, debris, and wear can cause the fill valve to malfunction, leading to issues such as inadequate tank filling, running toilets, or water leaks.
In this guide on how to clean toilet fill valve, we will explore the steps to clean and maintain your toilet fill valve, helping you restore its functionality and prolong its lifespan.
Why Clean Your Toilet Fill Valve?
Cleaning your toilet fill valve is an essential maintenance task that should be done regularly to prevent potential plumbing problems and maintain the efficiency of your toilet. Some of the reasons why you should clean your fill valve include:
Preventing Water Waste:
A malfunctioning fill valve can lead to a running toilet, causing water wastage and increasing your utility bills. By regularly cleaning and maintaining your fill valve, you can prevent such water wastage and save money in the long run.
Avoiding Costly Repairs:
If left unattended, a dirty or clogged fill valve can lead to more significant plumbing issues such as tank leaks, damaged valves or flapper, or even a complete toilet replacement. Regular maintenance can help you detect and fix any minor issues before they escalate into costly repairs.

Improving Toilet Performance:
A clean and well-maintained fill valve ensures that the toilet tank fills up quickly and adequately after each flush. This helps to prevent flushing problems, reduce noise levels, and extend the lifespan of your toilet’s internal components.
8 Simple Step-by-step Guidelines on How to Clean Toilet Fill Valve
Step 1: Shut off Water Supply
Before beginning the cleaning process, it’s essential to shut off the water supply to your toilet. Locate the shut-off valve, which is typically found on the wall behind the toilet. Turn the valve clockwise until it is fully closed.
This step will prevent any water from flowing into the tank while you work, ensuring a dry and safe environment for cleaning the fill valve. Additionally, it minimizes the risk of accidental flooding or leaks during the maintenance process.
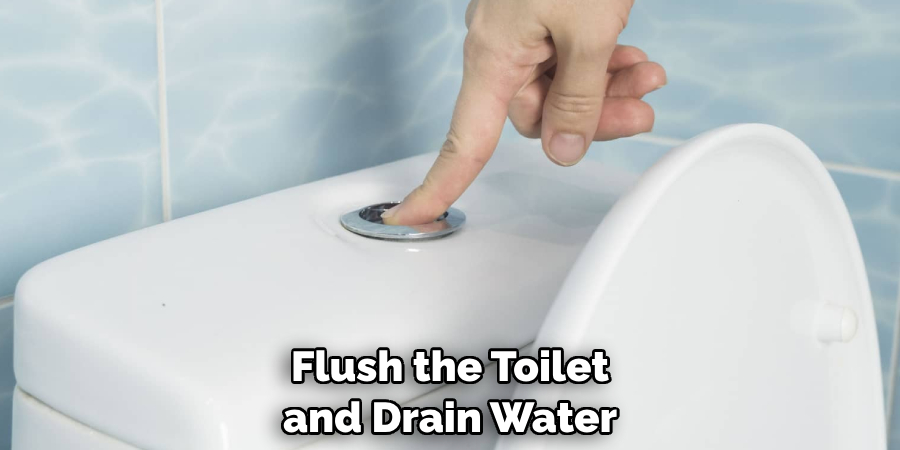
Step 2: Flush the Toilet and Drain Water
After shutting off the water supply, the next step is to flush the toilet to drain as much water from the tank as possible. This will help to create a clean working environment. Press the flush handle to allow the remaining water in the tank to empty into the bowl. Once the tank has drained, you may notice a small amount of water left at the bottom.
If necessary, use a sponge or towel to soak up the remaining water, ensuring that the tank is as dry as possible before proceeding with the cleaning of the fill valve. Removing excess water will also make it easier to access the components you need to clean.
Step 3: Remove the Valve Cap
Once the tank is drained and dry, the next step is to remove the valve cap from the fill valve. This cap is typically located at the top of the valve and may be secured with screws or simply snapped into place. If screws are present, use a screwdriver to carefully remove them.
If the cap is a snap fit, gently twist or pull to release it without applying too much force, as excessive pressure may break the cap. Once the valve cap is removed, you will gain access to the internal components of the fill valve, making it easier to clean and inspect for any signs of mineral buildup or debris.
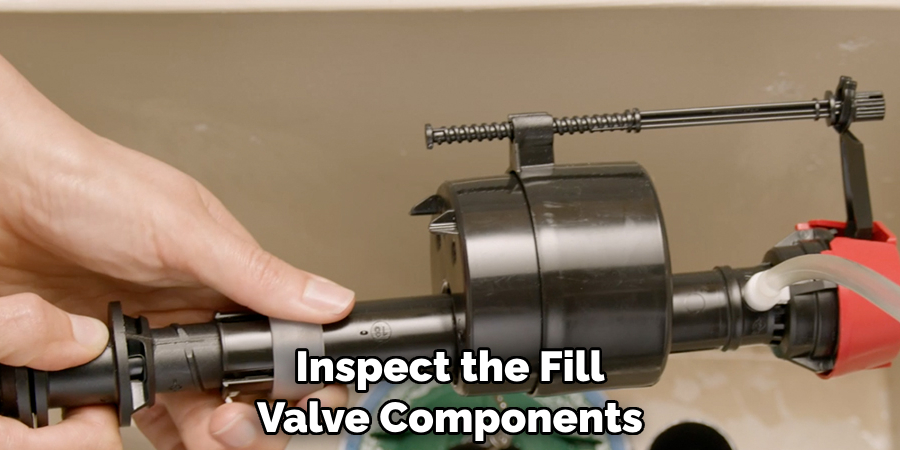
Step 4: Inspect the Fill Valve Components
With the valve cap removed, take a moment to inspect the internal components of the fill valve for any signs of damage or buildup. Check the float arm, refill tube, and diaphragm for any cracks or wear. If you notice any damaged parts, it’s best to replace them before proceeding with cleaning.
Next, use a flashlight to check for any mineral deposits or debris that may be clogging up the fill valve. If there is significant buildup, it’s important to remove it thoroughly as it can affect the proper functioning of the valve.
Step 5: Clean the Fill Valve Parts
To clean the internal parts of the fill valve, use a mixture of warm water and vinegar. This solution is effective in breaking down mineral deposits and removing any debris that may be present. Soak the parts in the solution for at least 30 minutes to loosen any buildup.
After soaking, use an old toothbrush or scrub brush to gently scrub away any remaining residue or debris from the components. Make sure to rinse off all parts thoroughly with clean water before reassembling.
Step 6: Clean the Valve Cap
While the internal components are soaking, take this opportunity to also clean the valve cap. Use a cloth or sponge dipped in warm soapy water to wipe away any dirt or grime on both sides of the cap. Make sure to rinse it well and dry it before reassembling.
It’s important to keep the valve cap clean as it provides a seal for the fill valve, preventing any water from spilling out of the tank.
Step 7: Reassemble and Test
After all parts are thoroughly cleaned and dried, it’s time to reassemble the fill valve. Place all components back in their original positions and secure the valve cap. Check that all parts fit snugly together without any leaks or loose connections.
Next, turn on the water supply and allow the tank to refill. Watch for any signs of leakage or unusual noises while the tank is filling up. If everything seems to be working correctly, flush the toilet a few times to ensure proper functioning.
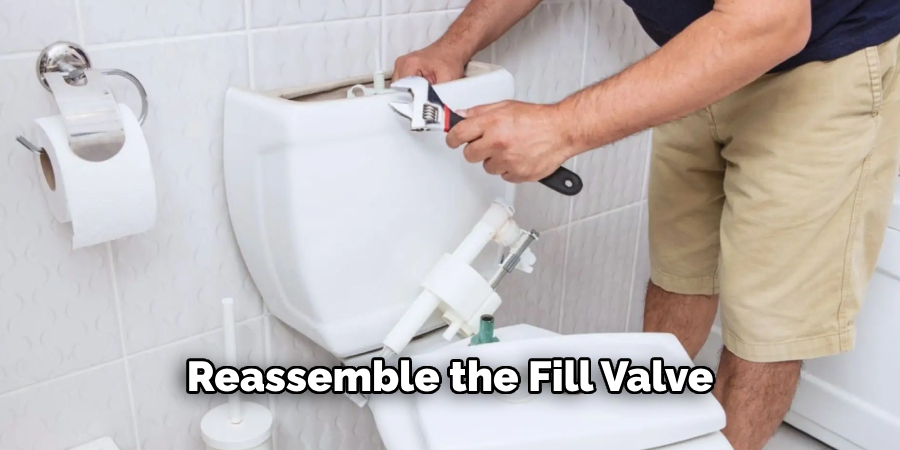
Step 8: Repeat Regularly
To maintain a clean and efficient fill valve, it’s important to repeat this cleaning process at least once every six months. However, if you notice any issues with your toilet’s performance, such as a running tank or slow filling, it may be necessary to clean the fill valve more frequently.
By following these simple steps on how to clean toilet fill valve and incorporating regular maintenance into your plumbing routine, you can ensure that your toilet remains in good working condition and avoid potential problems down the line. Remember, prevention is key to saving time and money on costly repairs. Happy cleaning!
Do You Need to Use Professionals?
While many toilet maintenance tasks, such as cleaning the fill valve, can be performed as a DIY project, there are situations where hiring a professional may be beneficial. If you encounter persistent issues like constant leaks, irregular noises, or if your toilet does not flush properly even after maintenance, it could indicate underlying plumbing problems that require expert assessment.
Moreover, if you are uncomfortable tackling complex repairs or lack the necessary tools, a plumber can ensure the job is done correctly and safely. Ultimately, balancing your level of expertise with the specific requirements of the job will guide your decision on whether to seek professional help.
How Much Will It Cost?
The cost of hiring a professional plumber for toilet fill valve maintenance or repairs can vary significantly based on several factors, including your location, the complexity of the issue, and the plumber’s rates. On average, you might expect to pay between $75 to $150 for a basic service call, which often includes inspection and minor repairs. If the fill valve needs to be replaced entirely, costs can rise, with new fill valves ranging from $20 to $50, plus labor fees that can add another $100 to $200 to the total.
If you decide to tackle the cleaning yourself, the overall cost will primarily involve the purchase of cleaning supplies, which are relatively inexpensive—usually under $20. However, investing in tools like a screwdriver set or plunger may increase your upfront costs, but these are useful for various maintenance tasks in the future. Ultimately, the choice between DIY cleaning and hiring a professional will depend on your comfort level with plumbing work and your assessment of the problem at hand.
Frequently Asked Questions
Q1: How Often Should I Clean My Toilet Fill Valve?
A: It is recommended to clean the fill valve at least once every six months. However, if you notice any issues with your toilet’s performance, it may be necessary to clean it more frequently.
Q2: Can I Use Other Cleaning Solutions Besides Vinegar and Water?
A: Yes, there are commercial cleaning products specifically designed for toilet fill valves. However, vinegar and water are a natural and cost-effective alternative that is gentle on the components. Avoid using harsh chemicals as they may damage the valve’s parts.
Q3: Why Do I Need to Shut off the Water Supply Before Cleaning the Fill Valve?
A: Shutting off the water supply ensures that no water flows into the tank while you work, preventing any potential flooding or leaks. It also allows for a dry and safe environment in which to clean and maintain the valve without interference from running water.
Conclusion
Maintaining your toilet’s fill valve is a crucial aspect of home plumbing that should not be overlooked. By following the outlined step-by-step guidelines on how to clean toilet fill valve, you can ensure optimal performance and longevity of your toilet, preventing minor issues from escalating into costly repairs. Regular cleaning and inspections help to identify any potential problems early, allowing for prompt action and maintenance.
Remember, a well-maintained toilet contributes to a more efficient plumbing system and adds to the overall comfort of your home. With diligence and a little effort, you can keep your toilet functioning smoothly for years to come.

