Are you tired of seeing unsightly buildup on your urinals? Over time, mineral deposits and bacteria can accumulate in urinals, causing unpleasant odors and stains. Not only is this unhygienic, but it can also create a negative impression on guests or customers.

How to clean urinal buildup is an essential task for maintaining hygiene and preventing unpleasant odors in restrooms. Over time, urinals can accumulate mineral deposits, soap scum, and biological waste, which not only detract from the cleanliness of the facility but can also affect its functionality. Regular maintenance is vital to ensuring that urinals remain in good working order and provide a pleasant experience for users.
This guide will outline effective methods and recommended products to tackle urinal buildup, ensuring a clean and fresh-smelling environment.
What Will You Need?
Before starting, gather the necessary materials and tools for cleaning urinal buildup. This will make the process more efficient and ensure a thorough cleaning.
- Protective gloves
- Cleaning brush or scrub pad
- Urinal cleaner or vinegar solution
- Bucket of water
- Paper towels or cloth for wiping surfaces
It is also important to read and follow the instructions on any cleaning products used. Some may require dilution or have specific application methods.
10 Easy Steps on How to Clean Urinal Buildup
Step 1. Put on Protective Gear:
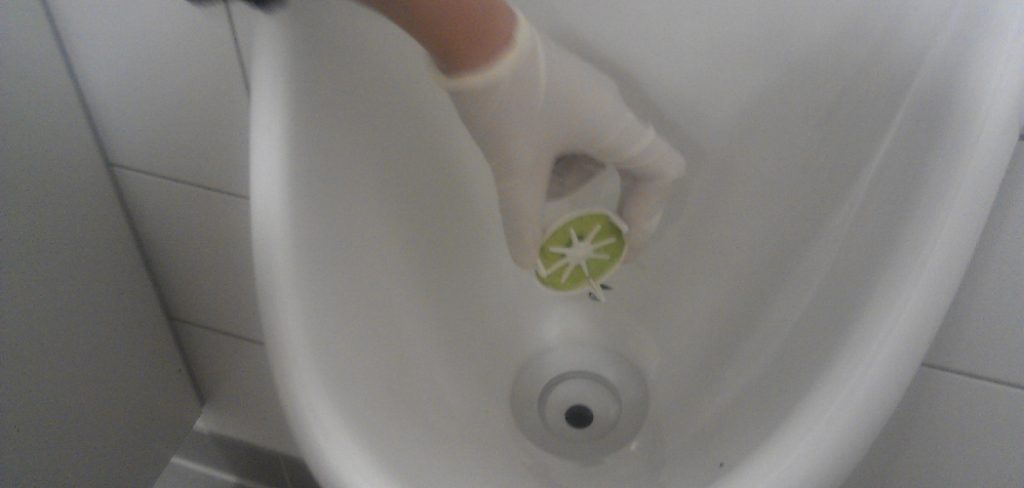
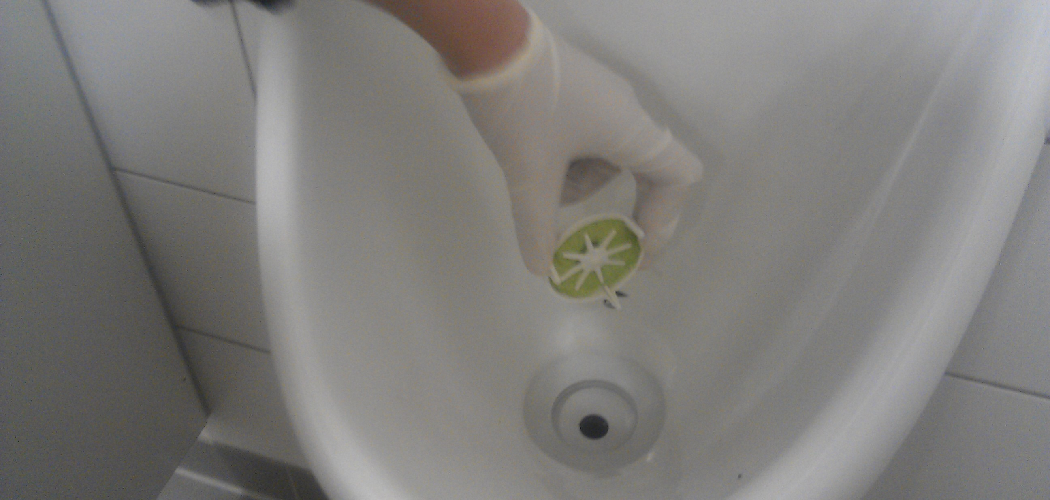
Before you begin the cleaning process, you must protect yourself from any harmful chemicals or bacteria in the urinal. Put on disposable or reusable rubber gloves to shield your hands from harsh cleaners and contaminants. Additionally, consider wearing safety goggles to protect your eyes from splashes, especially if using a robust cleaning solution. This initial step ensures your safety and helps maintain hygiene throughout the cleaning process. These precautions will allow you to work confidently, knowing you are protected from potential irritants or pathogens.

Step 2. Apply the Cleaner:
Once you are suited up in your protective gear, it’s time to apply the cleaning solution. Pour the urinal cleaner or vinegar solution directly onto the areas with visible buildup, ensuring that you cover all affected surfaces. Allow the cleaner to sit for a recommended duration—usually about 5 to 10 minutes—to penetrate the stains and mineral deposits. This dwell time is crucial, as it enables the cleaner to break down stubborn grime and bacteria effectively, making the subsequent scrubbing process easier and more efficient.
Step 3. Scrub the Surfaces:
After allowing the cleaner to sit, take your cleaning brush or scrub pad and scrub the urinal surfaces. Focus on areas with heavy buildup, using firm, circular motions to dislodge mineral deposits and grime. Pay special attention to the rim, drain, and any corners where debris may accumulate. If you encounter particularly stubborn stains, apply a little cleaner directly to those spots and continue scrubbing. This step is essential for breaking up the buildup and restoring the urinal’s cleanliness, ensuring that all surfaces are thoroughly cleaned and free from contaminants.
Step 4. Rinse Thoroughly:
After scrubbing the surfaces, it’s essential to rinse the urinal to remove any remaining cleaning solution and loosened debris. Using your bucket of water, pour a generous amount over the cleaned areas. If your cleaning supplies allow, you can also flush the urinal to aid in rinsing. Ensure that all traces of the cleaner are washed away, as any residue can lead to unpleasant odors or surface deterioration. This step not only helps to achieve a spotless finish but also reinforces the hygiene of the urinal, leaving it fresh and ready for use.
Step 5. Wipe Down the Surfaces:
After rinsing, take your paper towels or cloth and thoroughly wipe down all urinal surfaces. This step is essential for removing any remaining moisture, debris, or cleaner residue that may have been left behind. Focus on high-touch areas such as the handle and any touchpoints where users are likely to make contact. Ensure that the urinal is completely dry to help prevent the build-up of bacteria and keep the surface looking immaculate.
This final wipe will not only enhance the appearance but also contribute to the overall hygiene of the restroom, creating a more pleasant environment for users.
Step 6. Disinfect the Urinal:
Once the urinal is clean and dry, it’s time to disinfect to eliminate any remaining germs and bacteria. Apply a disinfectant spray or solution that is suitable for restroom surfaces. Be sure to follow the manufacturer’s instructions for the proper application and dwell time—usually around 10 minutes. Focus on high-contact areas such as the handle and the rim, as these are common touchpoints. This crucial step not only enhances hygiene but also helps in preventing the growth of bacteria and odour-causing agents, ensuring a safer and fresher environment for all users.

Step 7. Inspect for Remaining Buildup:
After disinfecting, take a moment to visually inspect the urinal for any areas that may still show signs of buildup. Carefully look for any remaining stains, mineral deposits, or places that require additional attention. If you notice any trouble spots, repeat the application of the cleaner and scrubbing process as needed. This thorough evaluation ensures that no contaminants are overlooked, contributing to the overall cleanliness and functionality of the urinal and ensuring a consistently pleasant experience for users.
Step 8. Maintain Regular Cleaning:
Establish a regular cleaning schedule to prevent future buildup and maintain the cleanliness of the urinal. Depending on the restroom’s usage frequency, aim to clean urinals at least once a week or more frequently in high-traffic areas. Regular maintenance not only keeps urinals looking pristine but also helps prevent the accumulation of stubborn deposits, ensuring that the restroom remains inviting and hygienic for all users.
Step 9. Educate Staff and Users:
Informing staff about the importance of maintaining clean restrooms is crucial to upholding hygiene standards. Additionally, consider placing signage in the restroom to educate users about the proper use of facilities, including reminders to flush and to be mindful of cleanliness. This collaborative effort helps foster responsibility and respect for shared spaces, ultimately contributing to a more pleasant and sanitary environment.
Step 10. Review Cleaning Supplies:
Finally, periodically assess the effectiveness of your cleaning products and tools. Monitor for any signs of ineffectiveness or dissatisfaction among users regarding cleanliness. Be open to trying new, eco-friendly cleaning solutions or more efficient tools to enhance your cleaning processes. Regularly updating your supplies ensures optimal cleanliness and reflects a commitment to maintaining high hygiene standards in your facility.

By following these simple steps, you can effectively clean and maintain urinals in your facility, promoting a safe and hygienic environment for all users.
5 Things You Should Avoid
1. Using Abrasive Cleaners: Avoid cleaners that contain harsh abrasives or corrosive chemicals, as they can scratch the surface of the urinal and decrease its lifespan. Opt for non-abrasive cleaning solutions specifically designed for use on restroom fixtures.
2. Neglecting Safety Gear: Always wear appropriate personal protective equipment (PPE), such as gloves and goggles. Skipping this step can expose you to harmful chemicals and bacteria, risking your health during the cleaning process.
3. Skipping the Dwell Time: Take your time with cleaning by skipping the recommended dwell time for cleaners. Allowing the product to sit for the appropriate amount of time is vital for effectively breaking down stubborn stains and sanitation.
4. Overlooking Hard-to-Reach Areas: Avoid neglecting corners and hidden areas where buildup may accumulate. Ensure you thoroughly clean all surfaces, including the rim and drain, to achieve comprehensive cleanliness.
5. Forgetting to Flush Regularly: Remember to flush the urinal after cleaning and during regular maintenance. Flushing not only helps remove residue but also prevents the development of odors and keeps the plumbing system clear.
You can maintain cleanliness and hygiene in your restroom facility by avoiding these common mistakes.
What is a Home Remedy for Strong Urine?
Some people may experience strong-smelling urine due to factors such as dehydration, consuming certain foods or medications, or underlying health conditions. In some cases, a home remedy may help improve urine smell. Here are a few options to try:
- Drink Plenty of Water: Staying hydrated can dilute urine concentration and reduce its odor.
- Consume Cranberry Juice: Some studies suggest that cranberry juice may help prevent urinary tract infections (UTIs) and improve urine smell.
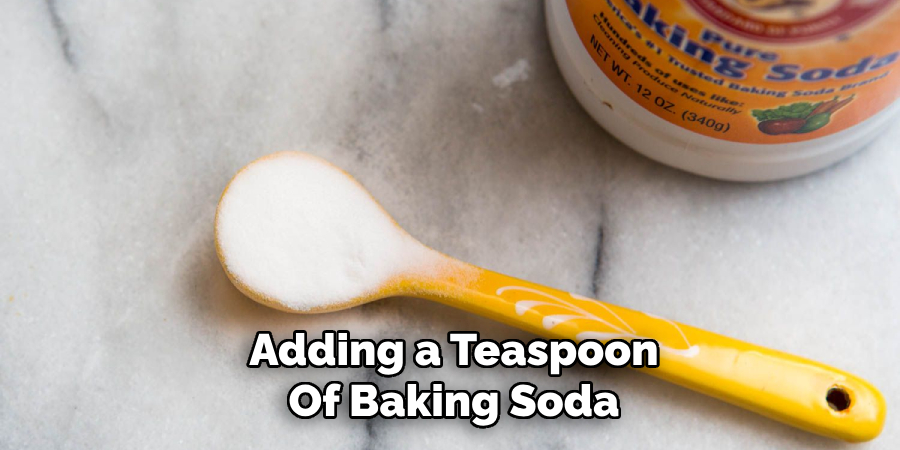
- Try Baking Soda: Adding a teaspoon of baking soda to a glass of water and drinking it daily may help balance pH levels in the body and reduce strong-smelling urine.
- Drink Herbal Teas: Certain herbal teas, such as green or peppermint, may have diuretic properties to help flush out excess toxins and improve urine smell.

Conclusion
In conclusion, maintaining the cleanliness of urinals is essential for ensuring a hygienic and pleasant restroom experience for all users.
By following the thorough steps outlined on how to clean urinal buildup—ranging from proper cleaning techniques and regular maintenance schedules to staff education and the careful selection of cleaning supplies—you can effectively prevent the buildup of stains and bacteria. Additionally, being mindful of the common mistakes to avoid will enhance the effectiveness of your cleaning practices. Consistent diligence in these areas promotes a fresh and sanitary environment and reflects a commitment to health and safety standards within your facility.
Adopting these practices will help create a more positive impression for users, encourage respect for shared spaces, and foster a culture of cleanliness.

