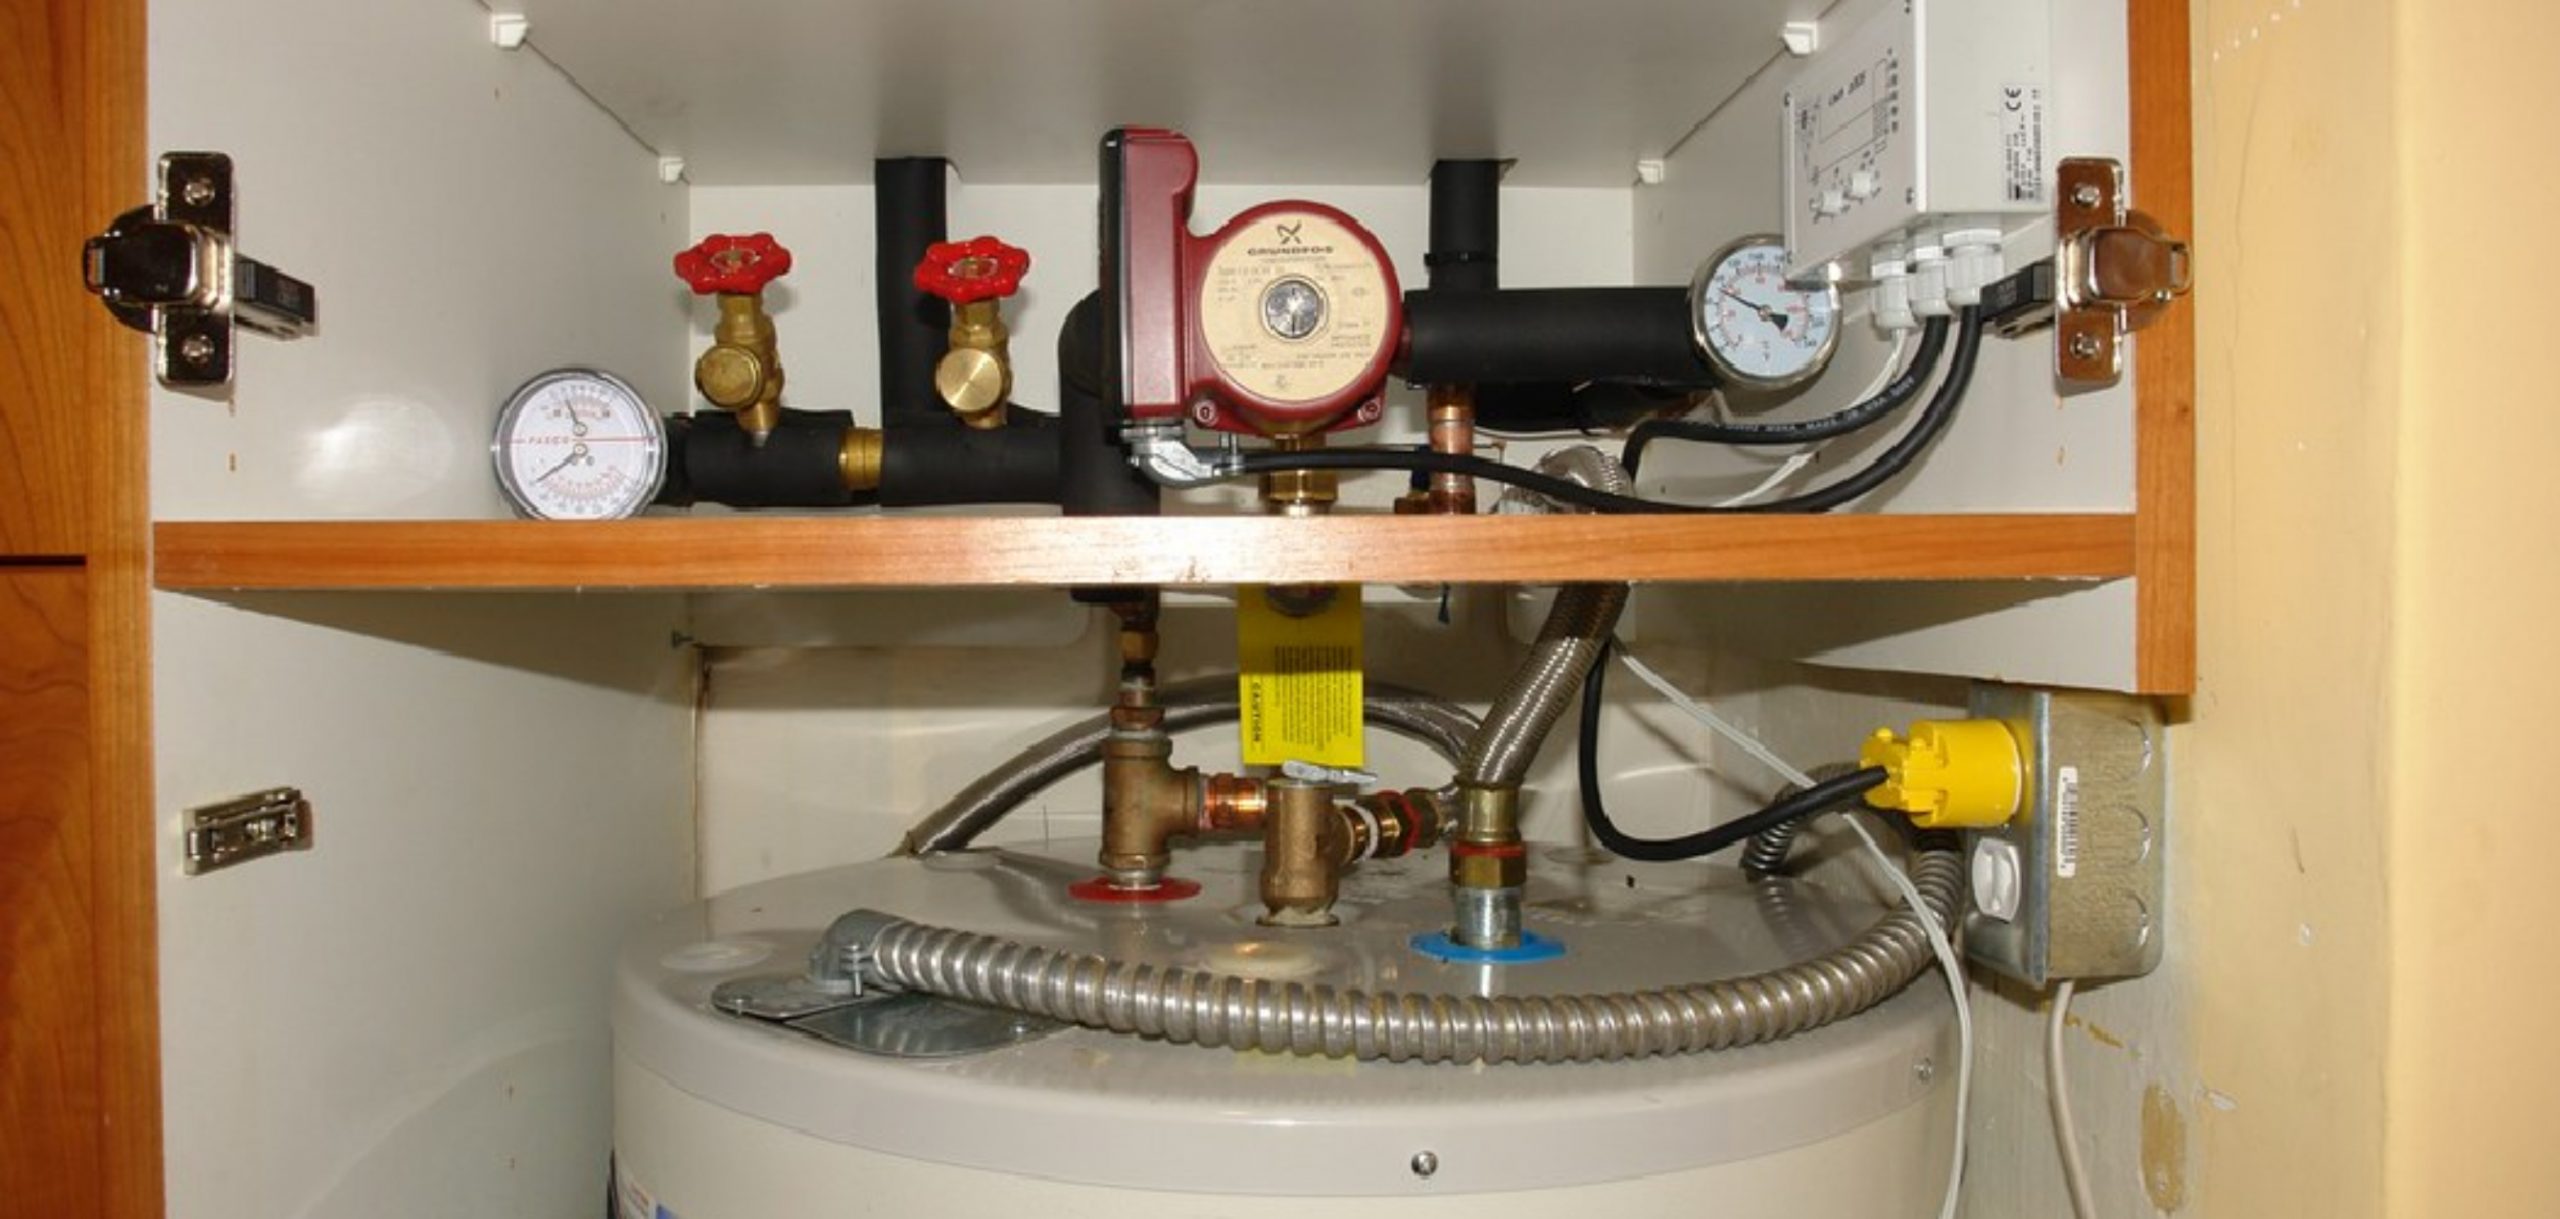
In modern plumbing systems, understanding how to connect pex pipe to shut off valve is crucial for both repairs and new installations. Shut-off valves are essential components that allow homeowners to control water flow, making it easier to manage plumbing issues without shutting off the main water supply.
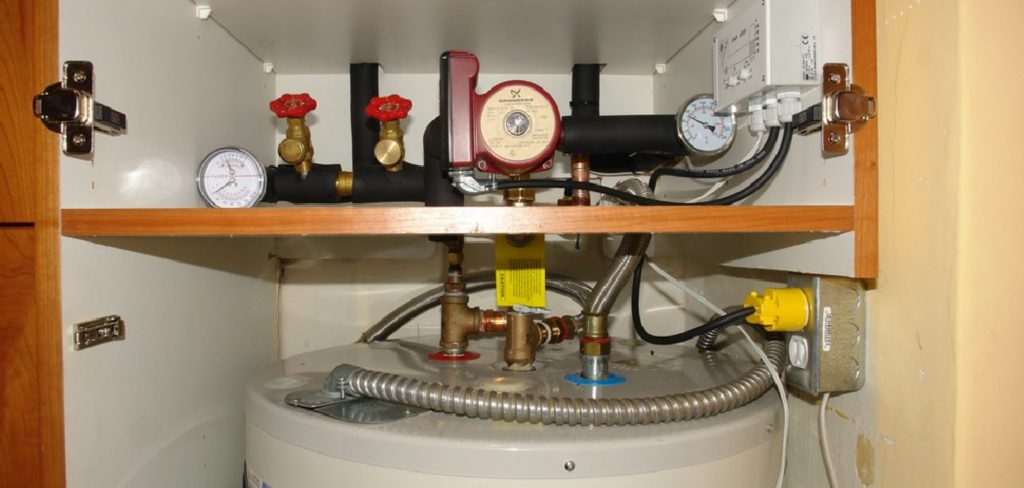
PEX, or cross-linked polyethylene, is a popular material in plumbing due to its superior flexibility, ease of installation, and resistance to freezing temperatures, making it ideal for various climates.
This article will guide you through the process of connecting a PEX pipe to a shut-off valve, detailing the necessary tools and the types of connections available and providing step-by-step instructions to ensure a secure and efficient installation. Whether you are a seasoned plumber or a DIY enthusiast, mastering this task can enhance your plumbing skills and help maintain the integrity of your home’s water system.
Tools and Materials Needed
Essential Tools
To successfully connect a PEX pipe to a shut-off valve, you’ll need a few essential tools. A PEX cutter is critical for making clean, precise cuts in the pipe. A crimping tool is necessary for securing crimp rings around the pipes and fittings. Additionally, a pipe wrench or adjustable wrench will help you tighten or loosen fittings to ensure a secure connection without damaging the components.
Materials
Gathering the right materials is equally important for a successful installation. You will need a PEX pipe that suits your plumbing system alongside the appropriate shut-off valve.
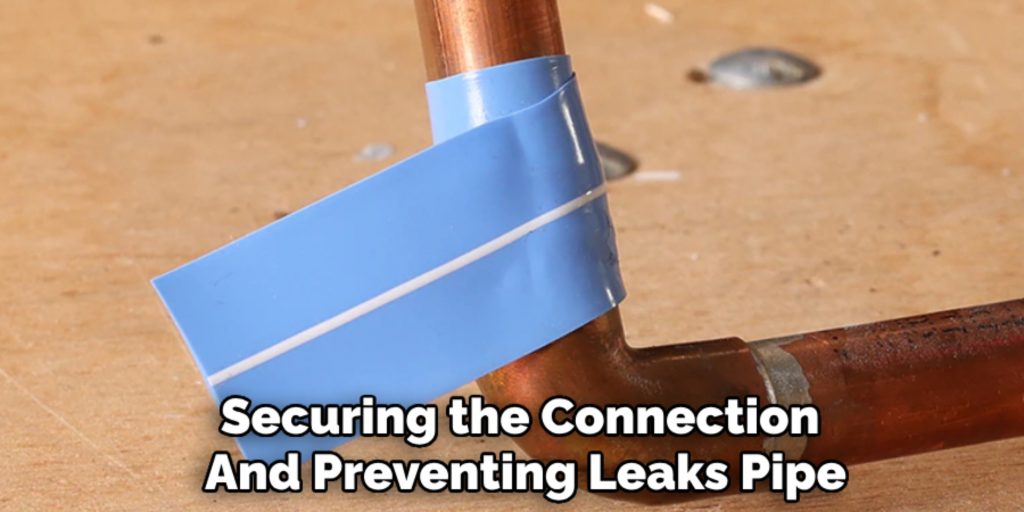
Various PEX fittings, such as crimp rings, push-fit connectors, or compression fittings, are essential for making the connections. Lastly, Teflon tape is recommended for sealing threaded connections, preventing leaks, and ensuring a durable installation.
Types of Shut-Off Valves and Connections
Ball Valve vs. Gate Valve
Two common types of shut-off valves used in plumbing systems are ball valves and gate valves. Ball valves feature a spherical disc that provides a tight seal to prevent water flow and are known for their quick operation—they can be opened or closed with just a quarter turn.
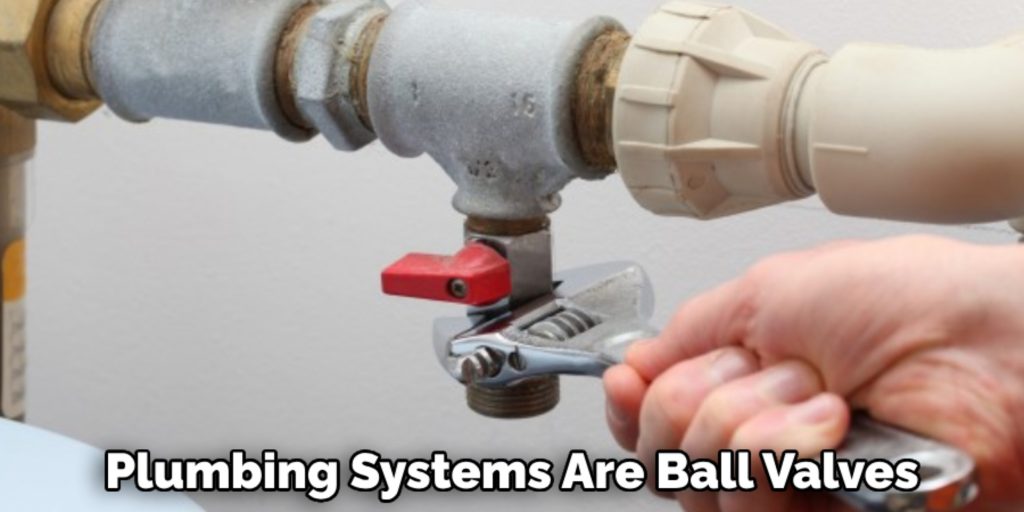
This makes them an excellent choice for applications where rapid shut-off is crucial. Gate valves, on the other hand, use a sliding gate mechanism to control flow and are ideal for full-flow applications but tend to be slower to operate and provide less effective sealing when partially open. Ball valves are generally more suitable for PEX pipe connections due to their reliability and ease of operation.
Connection Methods
Several methods are available when connecting PEX to a shut-off valve, including crimp fittings, push-fit fittings, and compression fittings. Crimp fittings involve using a crimping tool to secure a metal ring around the PEX pipe and fitting, providing a strong, leak-free connection.
Push-fit fittings, like those offered by SharkBite, allow for easy installation without special tools—simply push the pipe into the fitting, making them convenient for DIY enthusiasts. Compression fittings require tightening a nut against the PEX pipe for a secure seal, offering flexibility in installation.
While crimp fittings are highly reliable, push-fit fittings excel in simplicity and speed, making them a popular choice among both professionals and home users.
Preparing the PEX Pipe
Measure and Cut the PEX Pipe
Before connecting your PEX pipe to a shut-off valve, measuring the appropriate length needed for a secure fit is crucial. Use a measuring tape to determine the exact length and mark your cut.
A PEX cutter should be employed to make a clean, straight cut. This is vital because a jagged or uneven edge can hinder a proper connection. Ensure the pipe end is smooth and free of burrs, as this will facilitate a better seal and reduce the risk of leaks.
Deburr and Clean the Pipe End
After cutting, it’s important to deburr the end of the PEX pipe to eliminate any sharp edges that could affect the fitting. Use a deburring tool to gently remove any rough spots.
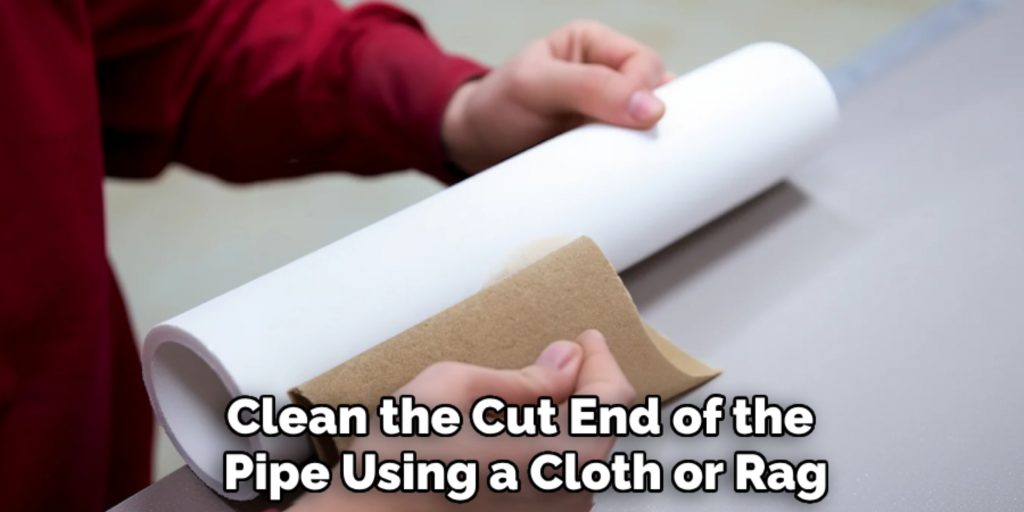
Following this, clean the cut end of the pipe using a cloth or rag to remove any debris or dust. This step ensures a clean surface for making a proper seal with the fitting or valve, thus enhancing the integrity of your connection.
How to Connect Pex Pipe to Shut Off Valve: Using Crimp Fittings
Step 1: Slide the Crimp Ring onto the PEX Pipe
To begin the connection process, slide the crimp ring onto the PEX pipe, ensuring it is positioned appropriately. The crimp ring should move freely along the pipe but remain close to the end. Ensure that no obstructions prevent the crimp ring from sliding smoothly and that the pipe is correctly oriented for the fitting that will be used.
Step 2: Insert the PEX Fitting
Next, insert the PEX fitting into the pipe. Depending on your installation needs, this could be the barbed end of the shut-off valve or a connector. Push the fitting into the pipe until it is fully seated, which typically means that there are no visible gaps between the pipe and the fitting. A snug fit is crucial for creating a proper seal, so ensure you’ve pushed it in as far as it will go.
Step 3: Position the Crimp Ring
Once the fitting is in place, it’s time to position the crimp ring correctly. Slide the crimp ring to be approximately 1/8 inch from the edge of the fitting. This small gap is essential as it allows for the crimping tool to create adequate compression without damaging the pipe or fitting. Ensure the ring is evenly aligned around the circumference of the pipe to ensure uniform crimping.
Step 4: Crimp the Ring with a Crimping Tool
Using a crimping tool, compress the crimp ring evenly around the PEX pipe. Position the tool over the crimp ring and squeeze the handles firmly until the tool fully compresses the ring.
Applying even pressure all around ensures a secure and leak-free connection. After crimping, use a go/no-go gauge to check the crimp; this tool will help you verify that the ring has been crimped to the correct diameter, ensuring a proper fit.
Step 5: Test the Connection
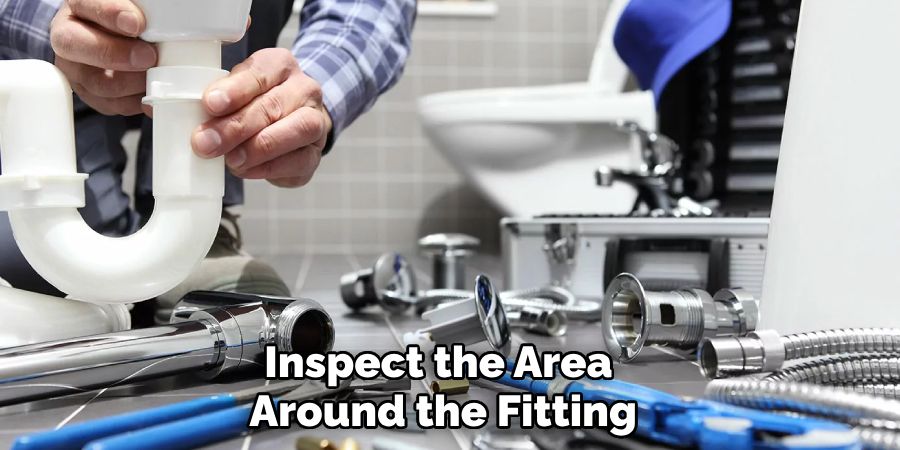
Finally, once the crimping is complete, it’s vital to test the connection for leaks. Turn on the water supply gradually, monitoring the connection closely as the water flows. Inspect the area around the fitting for any signs of leakage or drips. This step is crucial to ensure that the connection has been made securely and that your plumbing setup will function effectively without issues.
Alternative Connection Methods (Push-Fit and Compression Fittings)
Push-Fit Fittings (e.g., SharkBite)
Push-fit fittings, like those manufactured by SharkBite, present a user-friendly solution for connecting PEX pipes to shut-off valves. To use these fittings, simply push the PEX pipe into the fitting until you hear an audible click, indicating a secure connection.
This design eliminates the need for special tools, making it an excellent option for quick repairs or installations in tight or hard-to-reach spaces. The ease of installation allows professionals and DIY enthusiasts to complete projects efficiently, ensuring a reliable connection that accommodates pipe sizes and configuration variations.
Additionally, push-fit fittings can be easily removed and reattached, further enhancing their versatility in plumbing applications.
Compression Fittings
Compression fittings offer another reliable method for connecting PEX pipe to shut-off valves, though they require a bit more effort than push-fit varieties. Start by sliding the compression nut and ring onto the PEX pipe, ensuring they are positioned a few inches from the end.
Next, insert the pipe into the valve fitting, pushing it in until the pipe meets the valve. Ensuring that the pipe is fully seated without any gaps is essential. After that, slide the compression ring up to the valve fitting and thread the compression nut onto it.
Finally, use a wrench to tighten the nut, taking care not to over-tighten, as this could damage the pipe. The compression mechanism creates a tight seal, securing the connection and preventing leaks, making it a trustworthy choice for many plumbing installations.
Conclusion
In conclusion, connecting PEX pipe to a shut-off valve involves several essential steps that ensure a secure and leak-free installation. First, measure and cut your PEX pipe to the desired length, followed by deburring and cleaning the edges for a smooth connection.
Next, whether using crimp or push-fit fittings, ensure that the fittings are properly inserted and the crimp rings or compression nuts are securely in place. Always test your connection for leaks after installation to guarantee its integrity.
Remember, proper technique is crucial in achieving a reliable connection. By following these detailed steps on how to connect pex pipe to shut off valve, you can approach this DIY project with confidence. With careful attention to detail, you’ll achieve a successful and efficient plumbing solution that stands the test of time.

