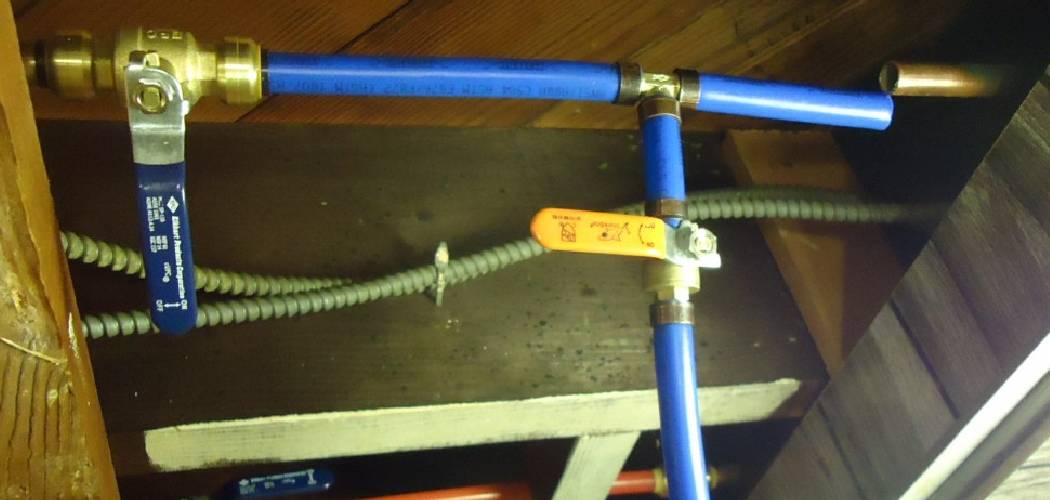
Connecting PEX piping is a straightforward and efficient process that has gained popularity in plumbing projects due to its flexibility, durability, and ease of installation. Whether you’re working on a renovation or a new construction project, PEX offers a reliable alternative to traditional copper or PVC pipes. This guide will walk you through the basics of how to connect pex piping, helping you ensure a secure and leak-free system for your plumbing needs.
What is PEX Piping?
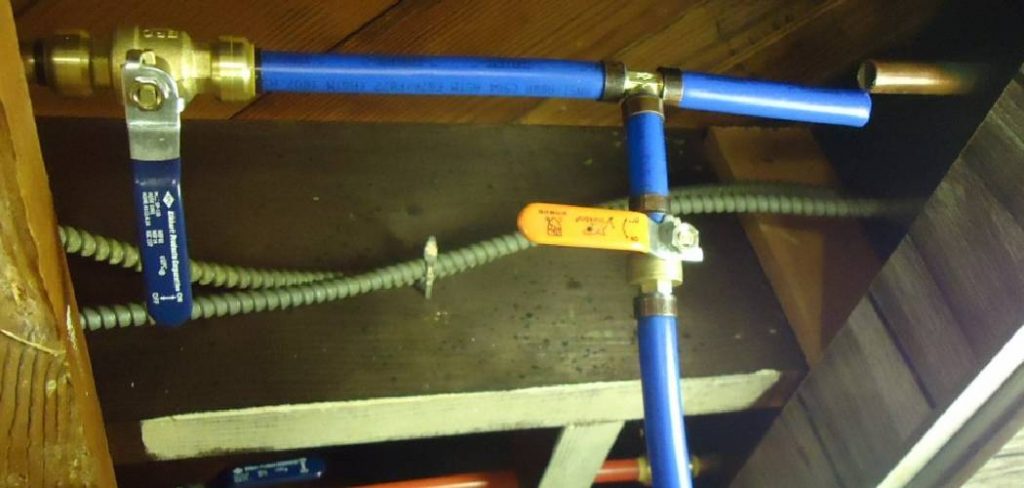
PEX, or cross-linked polyethylene, is a type of plastic tubing commonly used in residential and commercial plumbing systems. It is known for its flexibility, resistance to corrosion, and long-lasting durability. Unlike traditional metal or rigid PVC pipes, PEX can bend around corners without the need for multiple fittings, making it easier to install and reducing the chances of leaks. Additionally, PEX piping is resistant to freezing and can withstand high temperatures, which makes it suitable for both hot and cold water applications. Its affordability and versatility have made it a popular choice for modern plumbing projects.
Why PEX is a Popular Choice for Modern Plumbing
PEX piping has become a preferred option for modern plumbing systems due to its numerous advantages over traditional materials. One of the key benefits of PEX is its flexibility, which allows it to bend around corners and reduce the need for multiple fittings. This not only simplifies the installation process but also minimizes potential points of leakage. Additionally, PEX is highly durable and resistant to corrosion, scaling, and freezing, ensuring a long-lasting performance even in challenging conditions.
Its cost-effectiveness is another major factor, as PEX piping is generally more affordable than copper and requires less labor-intensive installation. Furthermore, PEX is compatible with various connection methods, such as crimp, clamp, or push-fit, giving homeowners and professionals versatile options based on their specific needs. These qualities make PEX an ideal choice for both residential and commercial plumbing applications.
10 Methods How to Connect Pex Piping
1. Crimp Ring Method (Copper Crimp Rings and Crimp Tool)
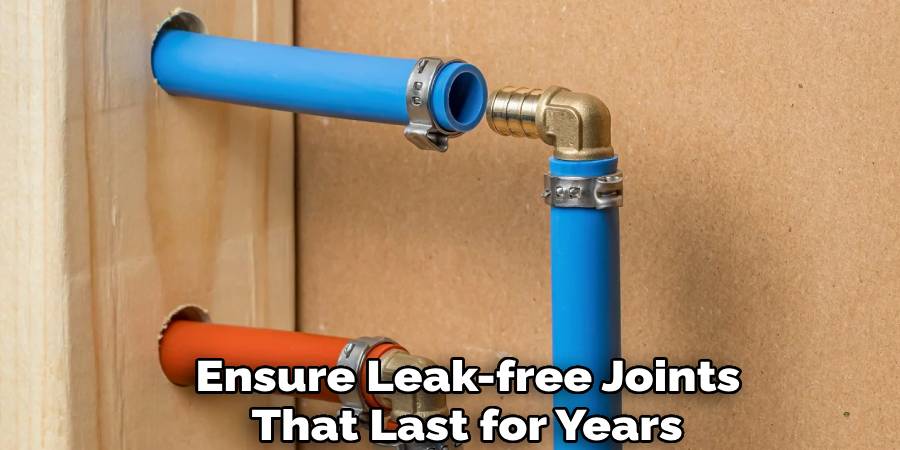
Among the most commonly used techniques to connect PEX piping is the crimp ring method. This approach involves sliding a copper crimp ring over the PEX pipe, inserting a brass or poly fitting into the pipe, and using a specialized crimping tool to compress the ring around both the pipe and the fitting. Once crimped, a go/no-go gauge is used to verify the connection’s integrity. This method is favored for its affordability and widespread acceptance in residential plumbing. Proper tool calibration and consistent technique ensure leak-free joints that last for years.
2. Clamp Ring Method (Stainless Steel Clamps and Clamp Tool)
An alternative to the crimp method is the use of stainless steel clamp rings with a ratcheting clamp tool. This method is similar in concept but uses a slightly different mechanism. The clamp ring is positioned over the pipe, the fitting is inserted, and then the clamp tool tightens the band until it compresses evenly. The advantage of this method is that a single tool can be used for multiple sizes of PEX, and the clamp rings are corrosion-resistant, making them ideal for locations with high humidity or potential water exposure.
3. Push-to-Connect Fittings (SharkBite-Style)
For those seeking a tool-free option, push-to-connect fittings, often known by the brand name SharkBite, offer a fast and convenient way to connect PEX pipes. These fittings contain internal teeth that grip the pipe when inserted and a rubber O-ring that creates a watertight seal. Ideal for tight spots or temporary connections, this method requires no crimping, clamping, or gluing. However, it’s essential to deburr and mark the pipe to ensure a proper seat and full engagement. While they are more expensive per fitting, their ease and speed often justify the cost.
4. Expansion Method (Expansion Rings and Expansion Tool)
For high-performance installations, particularly with PEX-A tubing, the expansion method is often the preferred choice. This method uses an expansion tool to stretch the PEX pipe and an expansion ring simultaneously. Once expanded, a fitting is quickly inserted before the pipe contracts and seals itself around the fitting. This technique creates an incredibly strong and secure connection without crimping or clamping. It’s especially beneficial in cold climates where expansion joints help prevent cracking due to freezing. Mastering this method requires practice and quick handling, but the result is superior.
5. PEX Press Fittings (Press Tools with Sleeves)
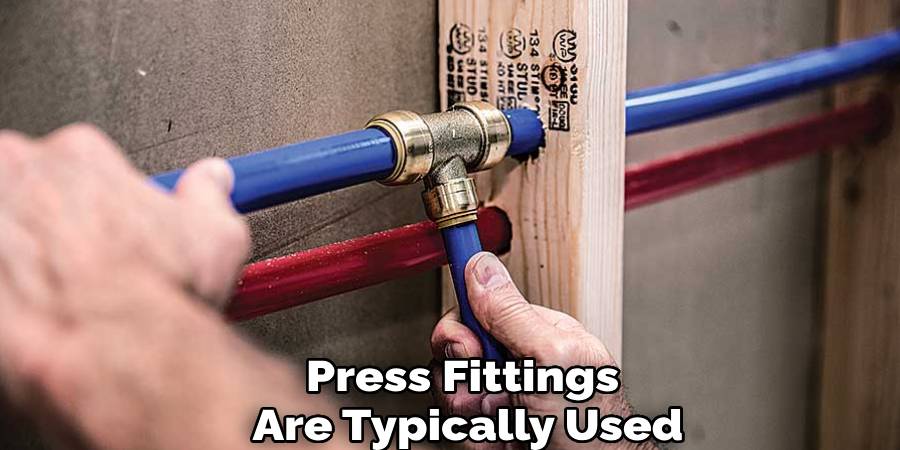
PEX press fittings offer another mechanical connection option. These fittings work by placing a press sleeve over the PEX and then inserting a barbed fitting. A special pressing tool compresses the sleeve onto the pipe, forming a permanent seal. While less common in DIY applications due to the cost of press tools, this method is widely used by professionals for its uniformity and strength. Press fittings are typically used in larger residential systems or commercial installations where reliability is paramount and precision is required.
6. Threaded Adapters for PEX-to-Metal Transitions
When connecting PEX to existing metal plumbing—such as copper, brass, or galvanized steel—threaded adapter fittings are essential. These fittings have one end that accepts the PEX via crimp, clamp, or push fitting, and another end with male or female threads. This dual-purpose fitting allows seamless transitions between modern and legacy piping systems. Threaded connections should always be sealed with Teflon tape or thread compound to prevent leaks. Ensuring proper alignment and avoiding cross-threading is critical for a durable, leak-free result.
7. Manifold Systems with PEX Connectors
For whole-house plumbing systems, manifold-based designs simplify installation and improve water delivery. A PEX manifold typically includes multiple outlets, each supplying a different fixture. PEX tubing is connected from the manifold to each fixture using one of the basic methods such as crimping or expansion. This approach reduces fittings in walls, allows centralized shutoff of individual lines, and minimizes pressure drops. It’s especially effective in new construction or major renovations where routing can be optimized for efficiency.
8. Transition Fittings for PVC or CPVC Integration
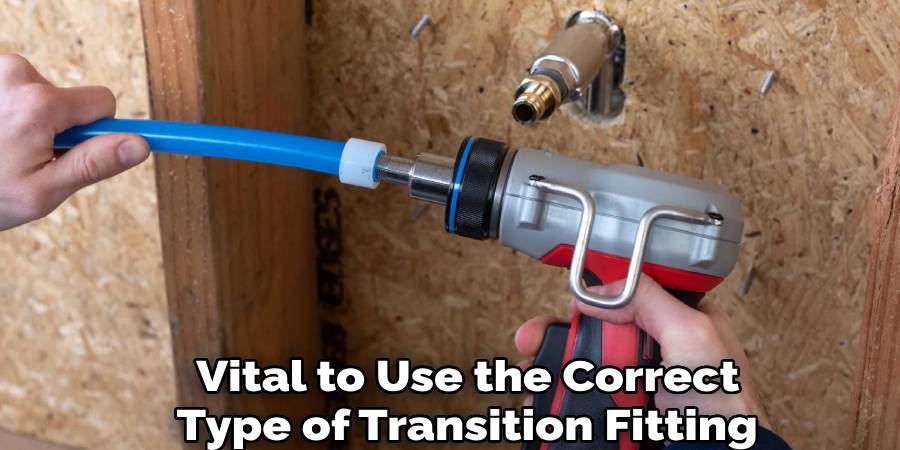
If your plumbing includes PVC or CPVC piping, PEX transition fittings allow for cross-material connections. These fittings feature a barbed or push-to-connect end for the PEX side and a solvent-weld or threaded end for the plastic piping. It is vital to use the correct type of transition fitting designed specifically for these materials to avoid incompatibility or leakage. This method is ideal for adapting newer PEX lines into older homes with existing PVC infrastructure and allows for gradual system upgrades.
9. PEX Stub-Out Elbows and Brackets for Fixtures
When running PEX piping to faucets, toilets, or wall-mounted fixtures, stub-out elbows provide a clean and secure endpoint. These are mounted to a bracket and terminated with a short piece of PEX pipe or copper stub-out. The PEX is connected using your preferred method (e.g., crimp or expansion), and the exposed stub is later connected to the shutoff valve or fixture. Stub-outs are essential for maintaining a neat and code-compliant installation, especially where visible finishes matter.
10. Cold Weather and UV-Protected Connections
Finally, when installing PEX piping outdoors or in unconditioned spaces like crawl spaces or attics, environmental protection is crucial. UV exposure degrades PEX over time, so it must be shielded or enclosed. In freezing climates, insulation sleeves or heat tape should be applied around PEX connections and fittings. Furthermore, expansion fittings are preferred in cold regions due to their resistance to cracking under pressure. Always consult local codes for temperature ratings and approved fittings to ensure your installation withstands weather extremes.
Maintenance and Upkeep
Proper maintenance and upkeep of PEX plumbing systems are critical for ensuring long-term performance and reliability. Regularly inspect connections and fittings for signs of wear, leaks, or damage, especially in areas prone to temperature fluctuations. If discoloration, brittleness, or cracking is observed, consider replacing the affected sections promptly to prevent further issues.
Periodic flushing of the system can help remove sediment and mineral buildup, preserving water quality and flow efficiency. Additionally, ensure that any insulation or protective covers remain intact, as exposure to elements like UV radiation or moisture can compromise the integrity of the system. Staying proactive with routine maintenance will extend the lifespan of your PEX plumbing and reduce the likelihood of costly repairs.
Conclusion
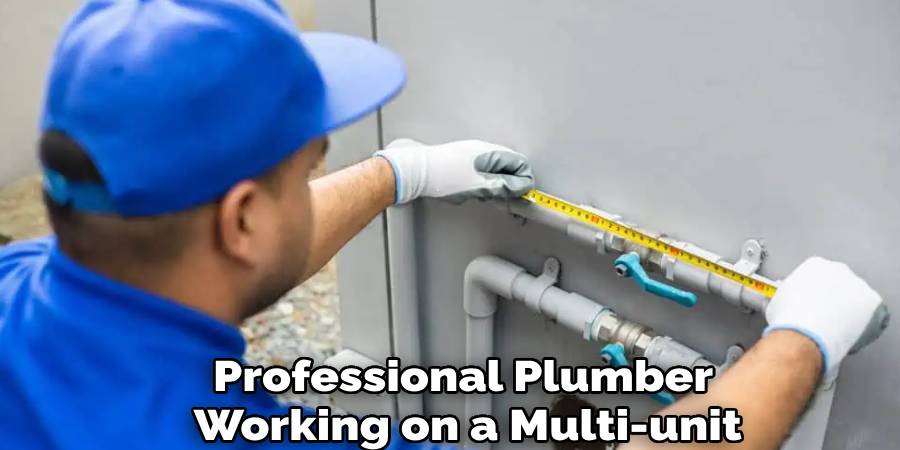
Whether you’re a homeowner tackling a bathroom renovation or a professional plumber working on a multi-unit installation, understanding the diverse methods of connecting PEX piping equips you with the flexibility to handle any situation. Each method—whether crimping, clamping, expanding, or pushing—has its specific advantages depending on the project scope, pipe type, and environment. By mastering these techniques and using the right tools and materials, you can build or repair a plumbing system that performs reliably and stands the test of time. Thanks for reading, and we hope this has given you some inspiration on how to connect pex piping!

