Do you need to know how to connect plastic culvert pipes? If so, then you have come to the right place! In this detailed blog post, we’ll teach you all the steps you need to take in order for your project to run smoothly.
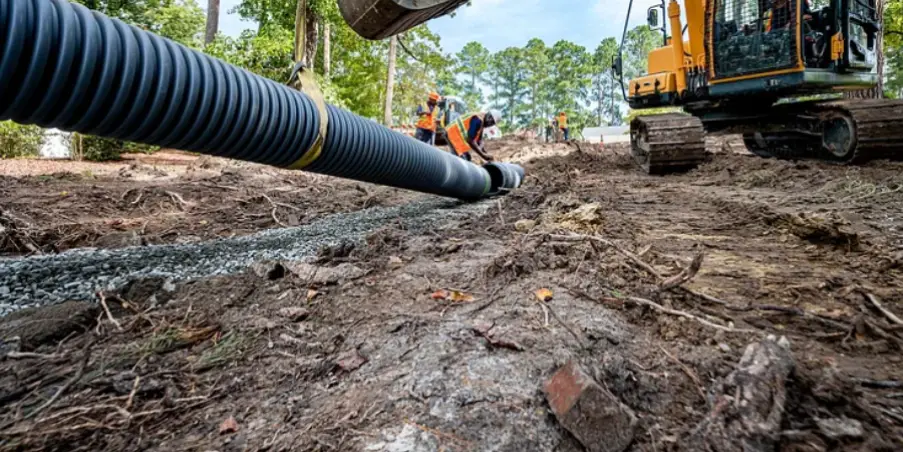
We’ll cover everything from choosing a size and type of pipe that best fits your needs, preparing the area for installation, properly securing each connection joint using necessary tools and materials, and more! So whether you’re an experienced DIYer or a newbie looking for guidance on completing this task; we’ve got all the info needed for success guaranteed. Keep reading and get ready because before long your projects will be finished with ease.
Supplies You Will Need to Connect Plastic Culvert Pipe
- Protective gear (gloves, safety glasses)
- Tape Measure
- PVC Pipe Cutter or Hacksaw
- File or Sandpaper for smoothing rough edges
- Solvent cleaner & primer (if using solvent-weld fittings)
- Adhesive or sealant (if using push-fit fittings)
- Rags or cleaning cloth
Step-by-step Guidelines on How to Connect Plastic Culvert Pipe
Step 1: Choose the Right Size and Type of Pipe
The first step to connecting plastic culvert pipes is choosing the right size and type for your project. Common sizes include 12, 15, 18, 24, 30, and 36 inches in diameter with varying lengths available as well.
Make sure to measure the area where you will be installing the pipe before making a purchase to ensure you have enough length. Additionally, consider factors such as soil conditions and water flow when deciding on the type of pipe that best fits your needs.
Step 2: Prepare the Area for Installation
Before you begin connecting your plastic culvert pipe, it is crucial to prepare the area where it will be installed. This includes clearing any debris, rocks, or sharp objects from the ground and ensuring that the surface is level and compacted. It’s also recommended to dig a trench slightly wider than the diameter of your pipe to make installation easier.
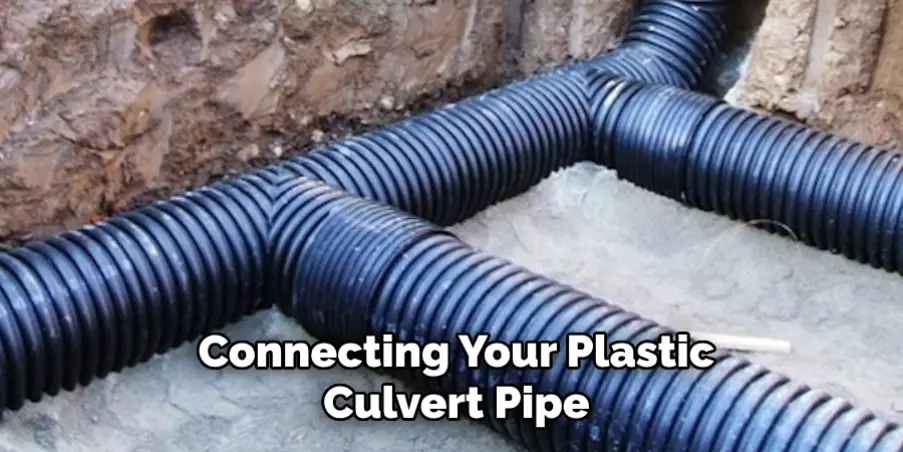
Step 3: Cut the Pipe to Size
Using your PVC pipe cutter or hacksaw, cut the pipe to the desired length if necessary. Be sure to make a clean and straight cut for proper fitting. Use a file or sandpaper to smooth any rough edges for a secure connection later on. While cutting, always wear protective gear to avoid any accidents. Make sure to also keep the pipe clean and dry before connecting.
Step 4: Clean and Prepare the Pipe and Fittings
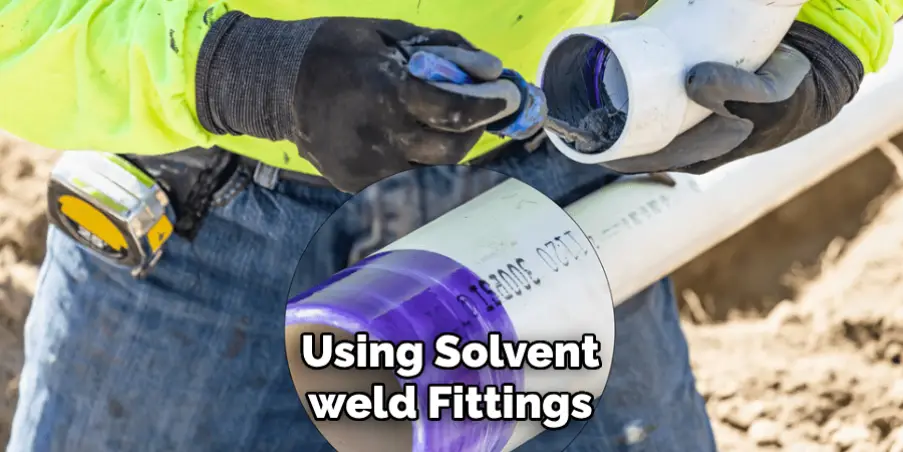
If using solvent-weld fittings, make sure to clean both the inside of the fitting and the outside of the pipe with a rag or cleaning cloth and a solvent cleaner. Next, apply primer to both surfaces and allow it to dry completely before proceeding. If using push-fit fittings, ensure that all debris is removed from the pipe’s surface before connecting.
Step 5: Connect the Pipe and Fittings
For solvent-weld fittings, apply adhesive to both surfaces before pushing them together. Hold in place for a few seconds until the joint is secure. For push-fit fittings, simply push the pipe into the fitting until it clicks into place. Be sure to check for proper alignment and make any necessary adjustments before the adhesive dries or backfilling begins.
Step 6: Repeat for All Connections
Repeat the process of cleaning, priming (if using solvent-weld fittings), and connecting each joint until all connections have been made. It’s crucial to check for alignment and make any adjustments before the adhesive dries or backfilling begins. Make sure to also follow any manufacturer instructions for proper curing time before backfilling begins.
Step 7: Backfill and Compact
Once all connections have been made, backfill the trench around the pipe using gravel or compacted soil. This will provide stability and support for your newly connected plastic culvert pipe. Be sure to compact the backfilled material in layers to avoid uneven settling.
Step 8: Test for Leaks and Proper Water Flow
Before fully completing your project, it’s essential to test for leaks and ensure proper water flow. If using solvent-weld fittings, wait for the adhesive to dry completely before testing. If using push-fit fittings, make sure all connections are secure and no visible gaps are present. Slowly run water through the pipe to check for any leaks or blockages. If necessary, make any adjustments until everything is working correctly.
Congratulations, you now know how to connect plastic culvert pipes! With these step-by-step guidelines, your project should be ready for completion in no time. Remember to always exercise caution and wear protective gear throughout the process for a safe and successful outcome. Happy connecting!
Additional Tips and Tricks to Connect Plastic Culvert Pipe
1. When using plastic culvert pipes, make sure to use a proper adhesive or sealant designed specifically for plastic materials. This will ensure a strong and secure connection between pipes.
2. Before connecting the pipes, it is important to clean both ends thoroughly with a cleaning solution or soap and water. Any dirt or debris on the surface of the pipe can hinder the adhesive from bonding properly.
3. Consider using a pipe cutter or saw to ensure a clean and precise cut on the ends of the pipes. This will make it easier to fit the pieces together.
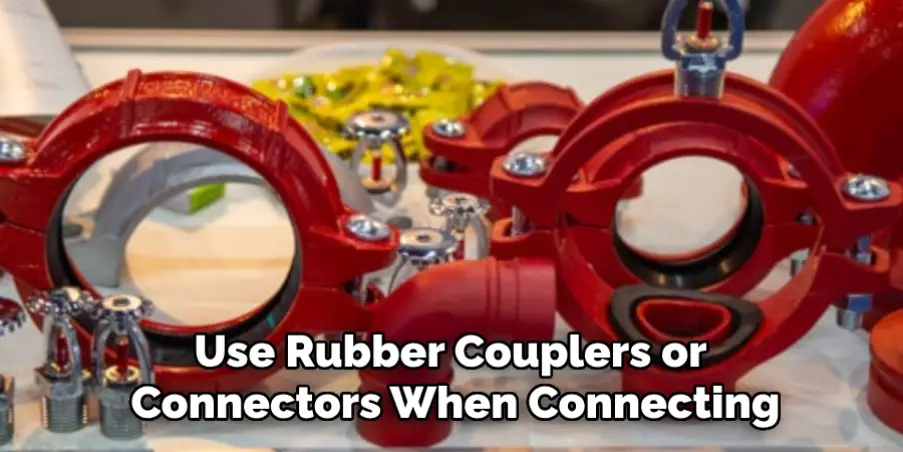
4. It is recommended to use rubber couplers or connectors when connecting plastic culvert pipes. These provide flexibility and allow for slight movement of the pipes, preventing any potential breakage due to ground shifting or settling.
5. If you are connecting pipes that have different diameters, use a reducer to ensure a proper fit and prevent any leaks.
6. When joining two pieces of pipe together, make sure to apply the adhesive or sealant evenly around the entire circumference of the pipe. This will create a strong bond and prevent any weak spots.
7. For longer pipes or pipes that will be exposed to high levels of pressure, consider using a reinforcement band or mesh to add extra strength and prevent any potential cracks or breakage.
8. It is important to follow the instructions provided by the manufacturer for the specific type of plastic culvert pipe you are using. Different materials may require different techniques for connecting them properly.
9. Before burying the connected pipes, it is important to perform a pressure test to ensure there are no leaks or weak spots in the connection. This will save you time and effort in the long run by avoiding potential issues that may arise after installation.
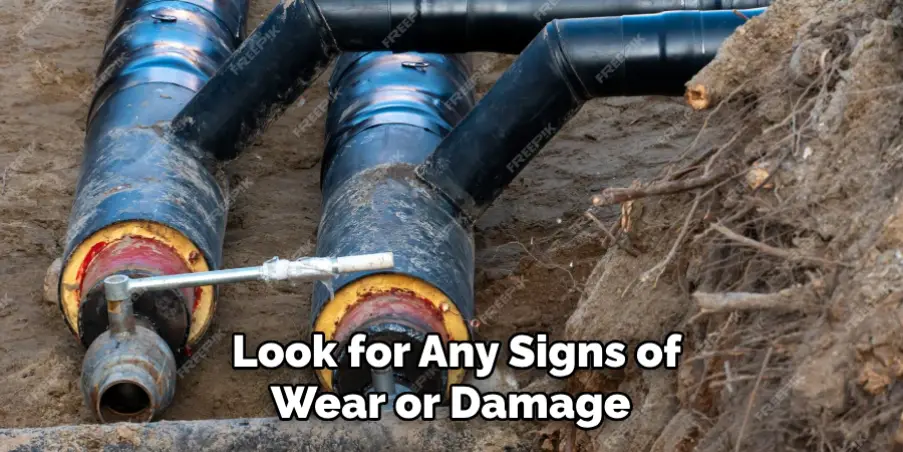
10. Regular maintenance and inspections of your plastic culvert pipes are crucial to ensure they remain in good condition. Look for any signs of wear or damage and address them promptly to prevent any major issues.
By following these additional tips and tricks, you can ensure a successful connection between plastic culvert pipes and create a strong and reliable drainage system for your property. Remember to always prioritize safety precautions when working with pipes, such as wearing protective gear and using proper tools, to avoid any accidents or injuries. With proper installation and maintenance, your plastic culvert pipe system can last for many years to come. So, it is integral to pay attention while connecting the plastic culvert pipe properly without skipping steps. Happy piping!
Frequently Asked Questions
What is a Plastic Culvert Pipe?
A plastic culvert pipe is a type of piping that is commonly used in construction for drainage and irrigation purposes. It is made from high-density polyethylene (HDPE) material, making it lightweight, durable and corrosion-resistant. It is also a more cost-effective option compared to traditional culvert materials such as concrete or metal.
Are There Any Precautions I Need to Take When Installing a Plastic Culvert Pipe?
Yes, there are a few precautions you need to take when installing a plastic culvert pipe. Firstly, make sure that the pipe is properly supported and not in contact with any sharp objects or edges that may cause damage. Additionally, it is important to ensure that the pipe is installed at the correct slope for proper water flow and to prevent clogging. It is also recommended to use proper safety equipment, such as gloves and eye protection when handling the pipe.
Can I Connect Plastic Culvert Pipes Without Using any Adhesive or Sealant?
In most cases, it is not necessary to use adhesive or sealant when connecting plastic culvert pipes. These pipes typically have a built-in joint system that allows for easy connection without the need for additional materials. However, in some instances where there may be a slight gap between pipes, a small amount of sealant can be used to ensure a tight fit. It is important to follow the manufacturer’s instructions when connecting plastic culvert pipes.
Conclusion
All in all, knowing how to connect plastic culvert pipe is an important skill to have, especially for construction and agricultural purposes. By following the proper precautions and using the right techniques, you can successfully install a plastic culvert pipe without any issues.
However, if you are unsure about the installation process, it is always best to consult a professional for assistance. So don’t hesitate to ask for help from experts! Also, remember to adhere to safety guidelines when working with plastic culvert pipes to prevent accidents or injuries. Stay safe and happy constructing!

