Do you have a plumbing project in your house that requires connecting a sewer line to the main line? If so, it can be an intimidating and difficult task.

But don’t worry—with the right preparation, tools, and materials, this job doesn’t have to be overwhelming! In this blog post, we’ll explore all of the steps needed to properly connect your sewer line to the main line in your home. You’ll learn about safety considerations while working with sewage lines which is key before beginning any work.
We’ll also cover essential elements such as preparing materials needed for installation and how to seal everything correctly; plus much more! So get ready to dive into this helpful guide on how to connect sewer line to main line today!
Necessary Tools and Materials
Before you start connecting your sewer line to the main line, it’s important to gather all necessary tools and materials. This includes:
- A Sewer Line
- Pvc Pipe and Fittings
- Rubber Couplings
- Wrenches
- Hacksaw
- Primer and Glue for Pvc Pipes
- Utility Knife
- Safety Gear (Gloves, Goggles, and Mask)
10 Step-by-step Guides on How to Connect Sewer Line to Main Line
Step 1: Prepare the Work Area
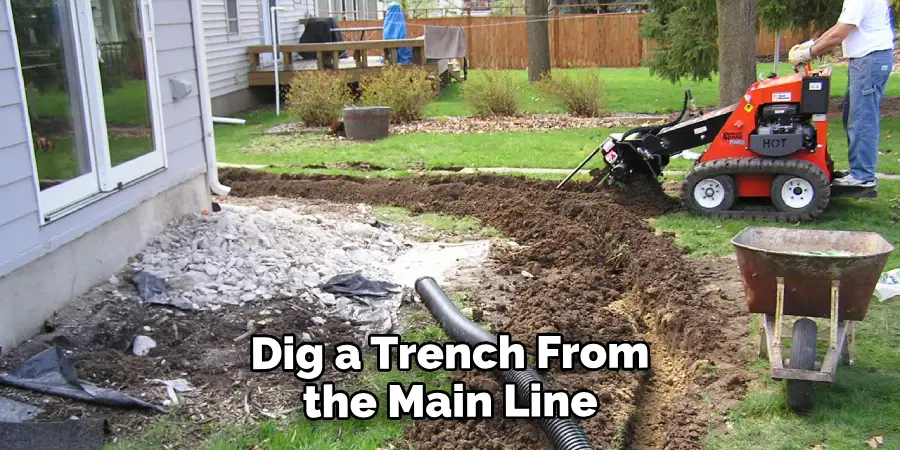
First, you need to locate your main line. This should be a vertical pipe that leads from the house to the street. Once you have located it, clear away any debris or obstructions from around the area.
You want to have enough space to work comfortably. The next step is to dig a trench from the main line to where your sewer line will connect. This should be about 2 feet deep and wide enough for you to work comfortably in.

Step 2: Measure and Cut Your Sewer Line
Measure the distance between your main line and where your sewer line will connect. Use this measurement to cut your new sewer line to the appropriate length. Use a marker to indicate where you need to make your cuts and use a hacksaw or pipe cutter to cut through the sewer line.
This is a good time to check and make sure your sewer line is sloping downwards towards the main line. It’s important that your sewer line has a downhill slope to ensure proper drainage.
Step 3: Install Rubber Couplings on Both Ends
To connect your sewer line to the main line, you’ll need to use rubber couplings. These are flexible connectors that allow for movement between two pipes. Slide one end of the coupling onto the end of your sewer line and the other end onto the main line. Make sure to push the couplings all the way down to ensure a tight seal. Otherwise, you may encounter leaks later on.
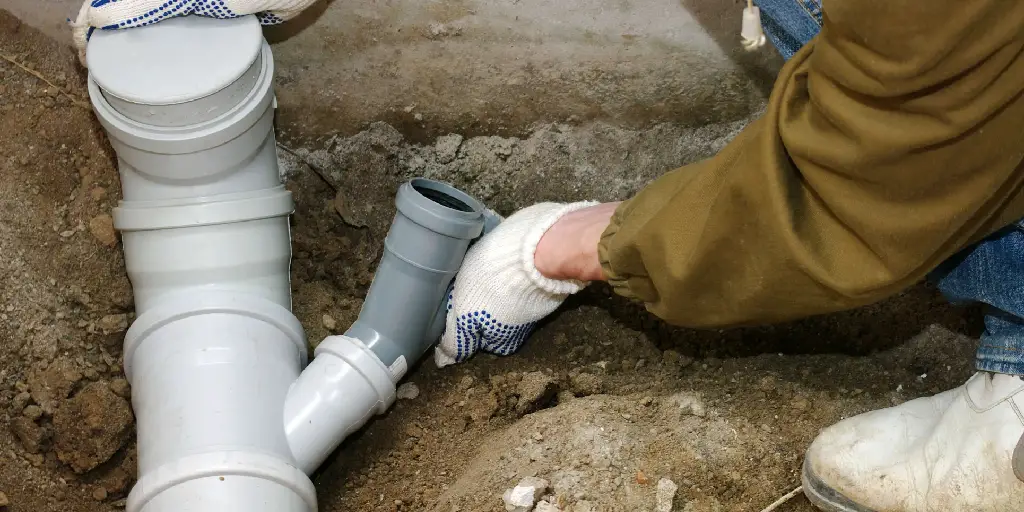
Step 4: Install Pvc Pipe and Fittings
Now it’s time to install your PVC pipe and fittings. These will help connect your sewer line to the main line. Start by gluing a fitting onto one end of your sewer line, making sure it lines up with the rubber coupling. Then, glue a fitting onto the other end of your sewer line to connect to the main line. Use primer and glue to securely attach all fittings.
Step 5: Connect to the Main Line
Slide the sewer line into the main line until it meets the other end of your PVC fitting. Make sure everything is lined up correctly and use your utility knife to trim any excess rubber coupling that may be sticking out. Once everything is properly aligned, push the sewer line into the fitting until it can’t go any further. You should feel the pipe lock into place.

Step 6: Repeat Steps for All Other Connections
If you have more than one connection to make, follow steps 3-5 for each one. Make sure to use rubber couplings and PVC fittings for every connection point. It’s important to ensure a secure and tight seal for each connection. Otherwise, you may encounter problems with your sewer line in the future.
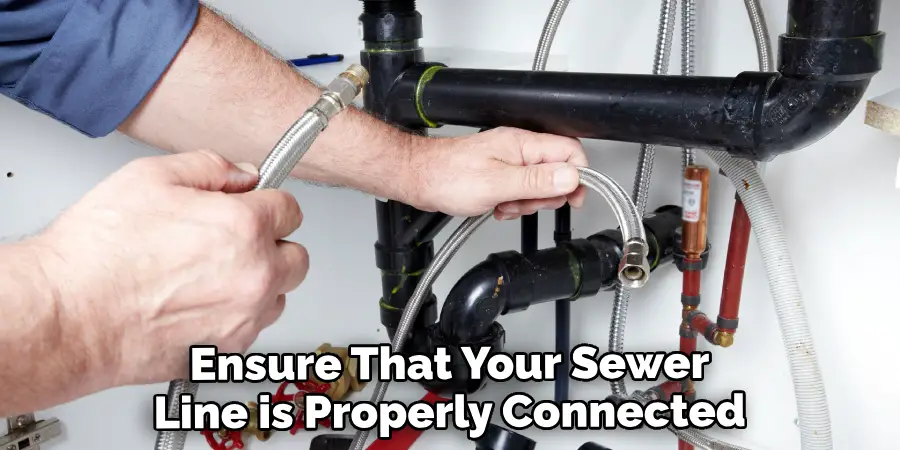
Step 7: Test Your Connections
Before finalizing everything, it’s important to test your connections. This will ensure that there are no leaks and everything is working properly. Use a garden hose to pour water into your new sewer line and check for any leaks or drainage issues. If you do encounter any problems, you may need to go back and make adjustments.
Step 8: Fill in the Trench
Once everything has been tested and confirmed to be working properly, it’s time to fill in the trench. Make sure all connections are secure before filling the trench with dirt. You want to pack the dirt down firmly but not too tightly. But make sure the dirt is high enough to allow for proper drainage. It’s also a good idea to avoid heavy machinery over the trench area for at least 24 hours.
Step 9: Clean Up
Now that your sewer line is properly connected to the main line, it’s time to clean up. Make sure to dispose of any excess materials and tools properly. You may also want to wash off any lingering dirt or debris from around the work area. Although it may not be a glamorous job, proper disposal and cleanup are important for safety and sanitation reasons. You can now enjoy a clean and properly functioning sewer line!
Step 10: Schedule Regular Maintenance
Once your sewer line is connected to the main line, it’s important to schedule regular maintenance checks. This will ensure that everything is functioning properly and any issues can be addressed before they become bigger problems. It’s also a good idea to keep the area around the main line and connections clear of any obstructions or debris. That way, if any issues do arise, they can be easily identified and fixed.
Step 10: Maintenance
To make sure your sewer line continues to function properly, it’s important to perform regular maintenance. This includes inspecting the connections and clearing any blockages or debris that may have built up over time. It’s also a good idea to have a professional plumber come in for an annual inspection to catch any potential issues before they become major problems.
Following these steps on how to connect sewer line to main line will ensure that your sewer line is properly connected to the main line, providing safe and efficient drainage for your home. Remember to always prioritize safety and take necessary precautions when working with any sewage lines.

With the right tools, materials, and knowledge, you can successfully connect your sewer line to the main line without any hassle! So go ahead and confidently tackle this project today. Happy plumbing!
Do You Need to Use Professionals?
While connecting a sewer line to the main line may seem like a straightforward task, it can also be labor-intensive and time-consuming. It’s important to consider your own level of experience and comfort with sewage lines before attempting this project on your own.
If you are unsure or uncomfortable with any aspect of the process, it’s best to hire a professional plumber. They have the necessary skills, experience, and tools to ensure the job is done correctly and safely. Plus, they can also provide valuable advice and tips for maintaining your sewer line in the future.
Frequently Asked Questions
Q: How Long Does It Take to Connect a Sewer Line to the Main Line?
A: The time it takes to complete this project can vary depending on factors such as the length of your sewer line and the number of connections you have. On average, it can take anywhere from 1-3 days. However, this can also depend on your level of experience and if you encounter any unexpected issues.
Q: Can I Use Any Type of Pipe for My Sewer Line?
A: It’s important to use PVC or ABS pipes specifically designed for sewer lines. These are durable and made to withstand the pressure and flow of sewage. Using other types of pipe can result in leaks, clogs, and other issues. Always consult with a professional plumber if you are unsure about the type of pipe to use.
Q: Is It Safe to Connect My Own Sewer Line?

A: If you have experience working with sewage lines and feel comfortable tackling this project on your own, it can be safe. However, it’s important to prioritize safety and take necessary precautions when working with sewage. If you are unsure or uncomfortable, it’s best to hire a professional.
Conclusion
In conclusion, understanding how to correctly join a sewer line to the main line is crucial for homeowners and DIY-ers alike. Not only to ensure the proper functioning of your plumbing system but also to mitigate health risks such as chronic blackouts and harmful bacteria. Taking the time to research instructions online and take necessary precautions when connecting will make certain that you have a watertight connection.
Utilizing caution when working with sewer lines is key. So if you’re ready with the necessary supplies on hand, this process can be completed relatively quickly and efficiently.
Now all that’s left is to call in an experienced plumber who can double-check your connections and ensure that everything is installed in line with local codes and ordinances – don’t forget this important step on how to connect sewer line to main line! Now, it’s time for you to get started on making your water source safe from contamination, so don’t wait another minute!

