Are you looking to harvest more rainwater? Do you have two rain barrels but don’t know how to connect them?
Connecting two rain barrels is an effective way to maximize rainwater collection and storage for your garden or household use. By linking the barrels, you can increase capacity without the need for additional downspouts or space. This setup allows water to flow efficiently between barrels, ensuring both are utilized fully. Additionally, connecting rain barrels decreases the chances of overflow during heavy rainfall and helps prevent contamination from debris and insects.

Whether you’re looking to save water, reduce runoff, or create a sustainable watering system, learning how to connect two rain barrels together is a simple and practical step toward better water management.
What Are the Benefits of Connecting Rain Barrels?
There are several benefits to connecting rain barrels:
- Increased Water Storage: When connected, two or more rain barrels can provide a larger storage capacity for collected rainwater. This means you will have more water available for use in your garden or lawn during dry periods.
- Improved Water Flow: By connecting the overflow spout of one barrel to the inlet spout of another, you create a continuous flow system that allows water to fill both barrels simultaneously. This ensures that each barrel is filled evenly and prevents one from overflowing while the other remains empty.
- Reduced Risk of Contamination: Connecting rain barrels can help prevent contamination from debris and insects by providing a closed system. This is especially important if you plan to use the water for drinking or cooking purposes.
- Increased Water Storage: By connecting multiple rain barrels, you can significantly improve your overall water storage capacity. This is particularly beneficial during extended dry periods when a single barrel may not provide enough water for all your gardening needs.
- Easier Maintenance: Connecting rain barrels can also make maintenance easier, as you only need to clean and maintain one inlet spout rather than multiple individual barrels.
By implementing a connected system of rain barrels in your garden, you can effectively collect and store rainwater for all your gardening needs.
What Will You Need?
To create a connected rain barrel system, you will need the following supplies:
- Multiple rain barrels (the number will depend on your specific needs)
- PVC pipes and connectors
- Teflon tape
- Spigots or valves
- Overflow hose
- Diverter kit (if not already included with your rain barrel)
Once you have gathered all your supplies, you can begin the process of connecting your rain barrels.

10 Easy Steps on How to Connect Two Rain Barrels Together
Step 1: Choose a Location
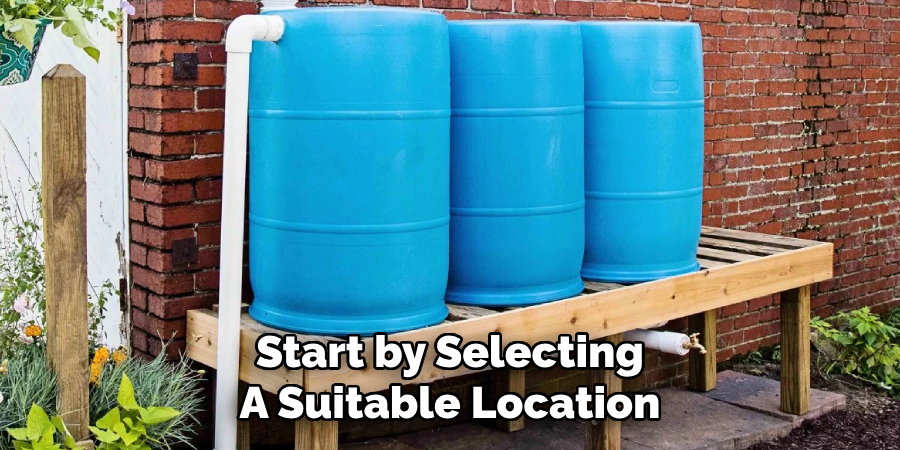
Start by selecting a suitable location for your rain barrels. Ideally, place them near a downspout from your roof to maximize rainwater collection. Ensure the spot is level and stable to safely support the barrels, especially when they are full and heavy. You may need to clear debris or level the ground by adding a sturdy base, such as concrete blocks or a wooden platform, to keep the barrels stable and elevated.
This will also make it easier to access the spigots for water retrieval and to connect additional barrels if needed. Take into account accessibility for maintenance and proximity to the areas where you plan to use the collected water, such as your garden or lawn.
Step 2: Prepare the Rain Barrels
Once the rain barrels are in place, it’s essential to ensure they are secure and properly fitted to prevent leaks or contamination. Check the connections between the gutters and the barrel to confirm that water flows directly into the collection unit. Seal any gaps or openings with waterproof materials to keep insects, debris, and unwanted animals out.
To improve water quality, consider installing a fine mesh screen or filter at the inlet to catch leaves and dirt. Additionally, ensure that the overflow mechanism, such as a diverting pipe or overflow valve, is functioning correctly to handle excess water during heavy rainfall without overwhelming the barrels or causing flooding around the foundation of your property.
Step 3: Install the Spigots
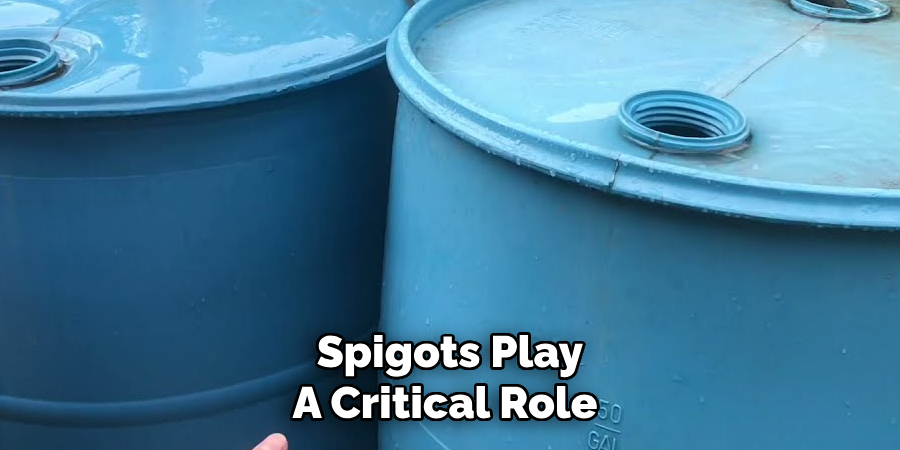
Spigots play a critical role in allowing you to control the flow of water from your rain barrel. When installing the spigot, ensure that it is placed at a convenient height for filling watering cans or attaching a garden hose. To prevent leaks, use a durable rubber washer or plumber’s tape when connecting the spigot to the barrel. It is also essential to install the spigot securely and keep it tightly closed when not in use to conserve water and maintain pressure.
If you have multiple barrels connected in a system, consider installing spigots on each barrel to allow individual access and greater flexibility in managing water distribution. For added convenience, you can attach a timer or a drip irrigation system to the spigot, optimizing water usage in your garden or landscaping.

Step 4: Connect the Barrels with PVC Pipes
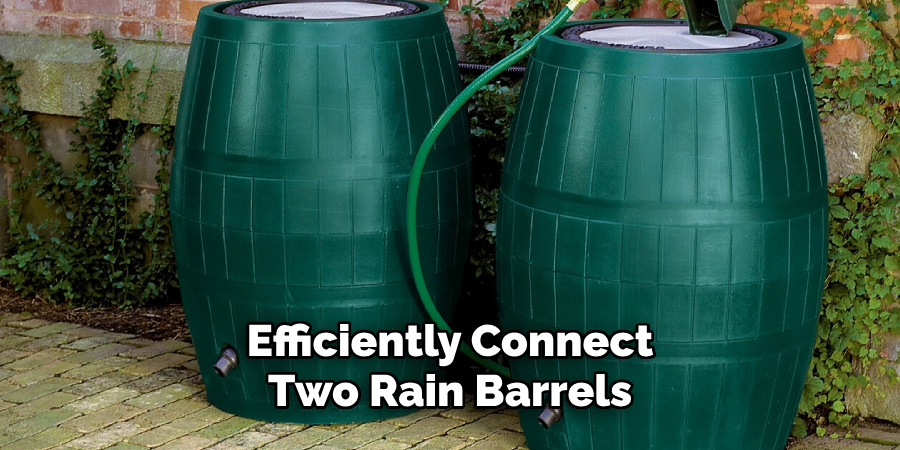
To connect multiple barrels with PVC pipes, begin by determining the layout and spacing of the barrels in your system. Ensure the barrels are placed on a stable surface and are leveled to prevent water flow inconsistencies. Use PVC piping of appropriate diameter to link the barrels together, allowing water to flow freely between them. It is recommended to use connectors such as couplings, elbows, or tees to achieve the desired configuration while maintaining a secure and leak-proof connection.
Drill holes near the top of each barrel for overflow connections and near the bottom for water transfer, ensuring the pipes are sealed with waterproof gaskets or silicone caulk to prevent leaks. Test the system after assembly to identify any weak points or areas that may require additional sealing.
Step 5: Secure the Overflow Hose
To ensure the proper operation of the overflow system, it is essential to securely attach the overflow hose to the designated outlet hole located near the top of the barrel. Use a durable hose clamp or threaded fitting to secure the hose in place and prevent it from detaching under the pressure of the water flow. The overflow hose should be directed away from structures, such as the foundation of your house, to avoid potential water damage.
Position the hose to redirect excess water to a garden, a drainage area, or another suitable location. Depending on your setup, you may choose to use a flexible hose or rigid piping for the overflow, ensuring it is both sturdy and suitable for the volume of water the system can handle during heavy rainfall. Regularly inspect the hose for blockages, cracks, or signs of wear to maintain effective overflow management.
Step 6: Use a Diverter for Downspout Connection
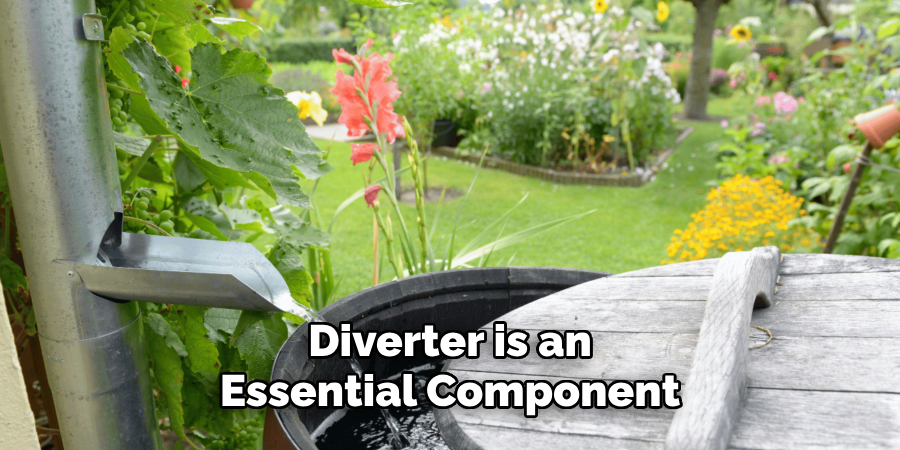
A diverter is an essential component for effectively and efficiently integrating your rain barrel with your downspout. It helps channel rainwater from the downspout into the barrel while preventing overflow by redirecting excess water back through the downspout once the barrel is full. Diverters come in various designs, including manual, automatic, and seasonal models, allowing you to choose one that best suits your system’s needs. When installing a diverter, ensure it is securely attached and properly aligned with the downspout to prevent any leaks or misdirected water.

Step 7: Test for Leaks
Once your rain barrel system is fully assembled, it’s crucial to test for leaks to ensure optimal performance. Begin by running water through your downspout or waiting for a rainfall to check if water flows smoothly into the barrel without any obstructions.
Inspect the connection points, particularly between the diverter and the downspout, as well as between the barrel lid and its openings. Look for any drips, gaps, or misalignments that could cause water to escape. Silicone sealant or waterproof tape can be used to fix minor leaks, while larger issues might require adjustments to the fittings or additional hardware.
Step 8: Elevate the Barrels
Elevating the barrels is an essential step to ensure an efficient and practical rainwater harvesting system. By placing the barrels on a sturdy platform, such as cinder blocks, wooden crates, or a purpose-built stand, you can improve water pressure through gravity.
This elevation makes it easier to connect the barrel’s spigot to hoses, watering cans, or irrigation systems. Ensure that the platform is level and strong enough to support the full weight of the barrel when it is filled with water, as a standard 55-gallon barrel can weigh over 400 pounds.
Step 9: Check the Alignment
After placing your rain barrel on the platform, verify that it is properly aligned. The spigot should be easily accessible, and the barrel should sit securely on the platform without wobbling. Misalignment can lead to water leakage or even cause the barrel to tip over when full. Use a level to ensure the platform is level, and adjust the barrel’s positioning as needed. This step ensures the system is safe, efficient, and ready for use.
Step 10: Maintain and Monitor Your Rain Barrel System
Once your rain barrel system is properly installed and aligned, regular maintenance is essential to ensure its efficiency and longevity. Begin by checking the barrel and its components for any debris buildup, such as leaves or dirt, which can clog the system or contaminate the water. Clean the screen or mesh filter on your barrel regularly.
By following these steps, you can efficiently connect two rain barrels together and increase your water collection capacity for sustainable gardening or other outdoor needs.

Conclusion
By implementing the techniques discussed, connecting two rain barrels becomes a straightforward and effective way to maximize your water storage.
This setup not only conserves water but also promotes environmental sustainability by reducing reliance on municipal water supplies. Regular maintenance and proper installation are key to ensuring the system operates efficiently, allowing you to make the most of rainwater collection for your gardening and outdoor needs.
Hopefully, the article on how to connect two rain barrels together has provided you with valuable information and inspiration for your own setup.

