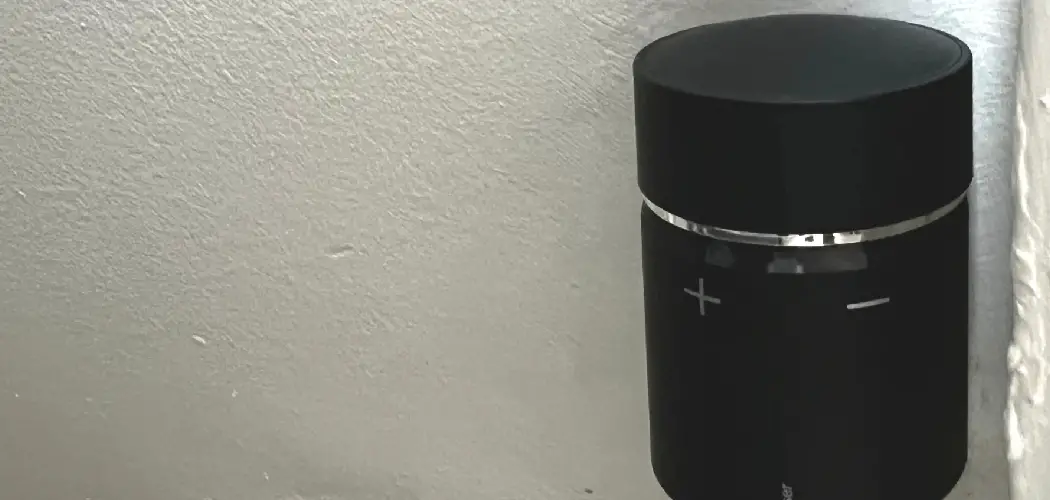
A wireless thermostat is an innovative device that allows you to remotely control the temperature of your home or office. This convenience can save you time and energy while providing you with comfort and flexibility. In this guide, we will discuss how to connect wireless thermostat to boiler.
Necessary Items
Before starting the process of connecting your wireless thermostat to your boiler, make sure you have the following items:
- Wireless thermostat
- Boiler
- Screwdriver
- Power drill (if needed)
- Electrical tape (if needed)
8 Things to Know Before You Start
1. Choose the Right Wireless Thermostat
The first step in connecting a wireless thermostat to your boiler is selecting the right one for your needs. There are various types of wireless thermostats available in the market, including programmable, non-programmable, and smart thermostats. Consider your budget, home or office size, and heating needs before making a decision.
2. Check Compatibility
Before purchasing a wireless thermostat, ensure that it is compatible with your boiler. Many manufacturers provide a list of compatible boilers on their websites or product packaging. You can also contact the manufacturer directly to confirm compatibility.
3. Location is Key
The location of your wireless thermostat plays a crucial role in its performance. It should be installed away from direct sunlight, drafty areas, and electronic devices that emit heat. Ideally, it should be placed in a central location that represents the average temperature of your home or office.
4. Familiarize Yourself with Your Boiler
Before attempting to connect your wireless thermostat, it is essential to have a basic understanding of how your boiler works. Ensure you know its make and model, as well as any specific instructions for connecting thermostats.
5. Turn Off Power
Before any installation or wiring work, be sure to switch off the power supply from the main circuit breaker to your boiler. Also, the boiler’s gas supply should be turned off to avoid any potential hazards.
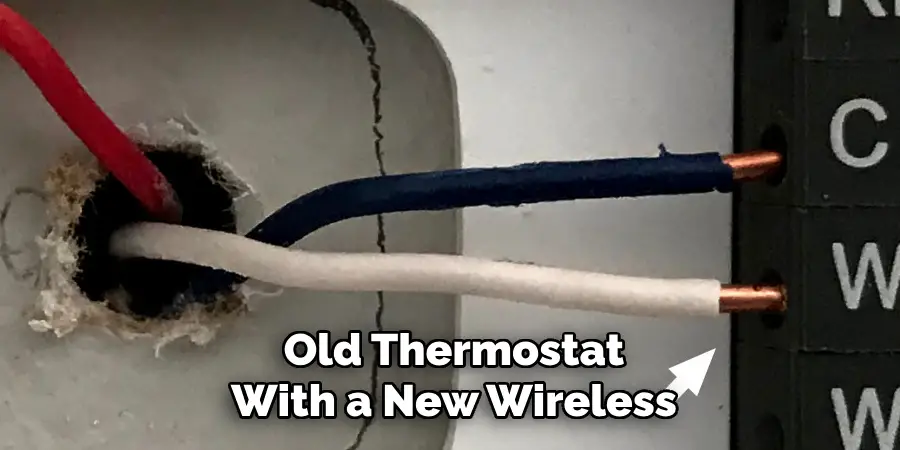
6. Check Your Wiring
If you are replacing an old thermostat with a new wireless one, ensure that your current wiring is compatible. It is recommended to consult a professional electrician if you are unsure or need assistance with wiring.
7. Install Batteries
Wireless thermostats usually require batteries for power. Ensure that you have enough batteries on hand before starting the installation process.
8. Read the Manual
Before beginning the installation process, make sure to read the manufacturer’s manual. It contains essential information and instructions specific to your wireless thermostat model.
Connecting a wireless thermostat to your boiler is a relatively simple process that can provide you with convenient temperature control. Before starting, make sure to choose the right thermostat, check compatibility, and familiarize yourself with your boiler. As always, if you are unsure or need assistance, consult a professional. Now, you can enjoy the comfort and flexibility of controlling your heating system from anywhere.
12 Steps on How to Connect Wireless Thermostat to Boiler
Step 1: Turn Off the Power to the Boiler
The first step is to turn off the power supply to your boiler. This is crucial for your safety and to avoid any potential hazards. You can do this by switching off the main circuit breaker and turning off the gas supply to the boiler.
Step 2: Remove Old Thermostat
If you are replacing an old thermostat with a new wireless one, carefully remove the old thermostat from its base. This may require unscrewing or gently prying it off the wall. Also, note the wires’ colors and their corresponding letters or numbers on the thermostat’s back.
Step 3: Mount the Base of the Wireless Thermostat
Using a screwdriver (or power drill if needed), mount the base of your wireless thermostat on the wall where you want it to be. Ensure that it is securely attached and leveled. But be careful not to damage any wires behind the wall.
Step 4: Connect Wires
Follow the instructions in your wireless thermostat’s manual to connect the wires from your boiler to the corresponding terminals on the base. Some thermostats may require you to strip and twist the wire ends or use wire nuts for a secure connection.
Step 5: Install Batteries
Insert the required batteries into your wireless thermostat and make sure they are placed correctly. Double-check that you have enough batteries to power your thermostat. If the thermostat doesn’t turn on, check the batteries’ placement or replace them.
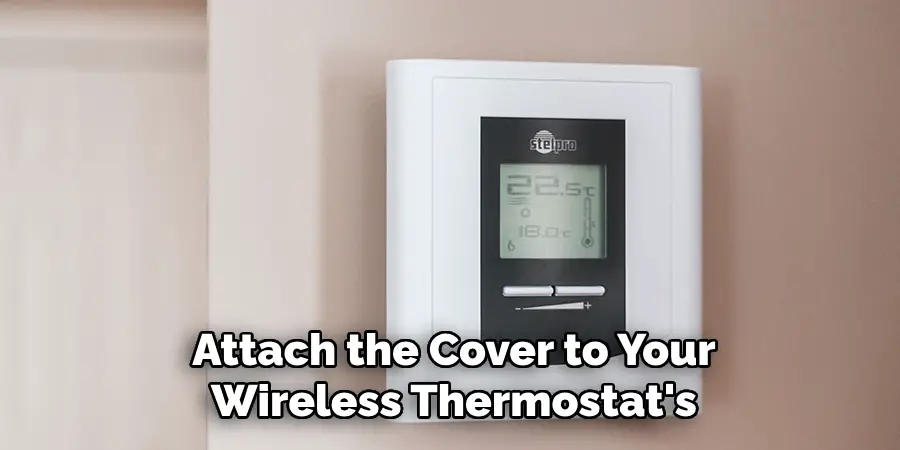
Step 6: Attach Cover
Once you have connected the wires and installed the batteries, attach the cover to your wireless thermostat’s base. Ensure that it is properly secured to avoid any potential damage or interference with its performance.
Step 7: Turn on Power
Before proceeding, switch on the power supply to your boiler from the main circuit breaker. This will provide power to your wireless thermostat and allow it to communicate with your boiler. As always, be cautious when handling electricity.
Step 8: Set Up Wireless Connection
Refer to your wireless thermostat’s manual on how to set up a wireless connection with your boiler. This may involve pressing certain buttons or entering a code for pairing the devices. Once successfully connected, your thermostat will display the current temperature and allow you to control it wirelessly.
Step 9: Set Up Schedule
If your wireless thermostat is programmable, you can set up a schedule for when you want your heating to turn on or off. This allows for more efficient and cost-effective use of energy. Therefore, take some time to plan and set up a schedule that suits your needs.
Step 10: Test the Thermostat
To ensure that everything is working correctly, test your wireless thermostat by adjusting the temperature settings and observing if it reflects on your boiler’s display. You can also check if the heating turns on or off according to your programmed schedule.
Step 11: Troubleshoot if Needed
If you encounter any issues or your wireless thermostat is not functioning correctly, refer to the troubleshooting section in the manual. It may provide solutions for common problems and how to fix them.
Step 12: Enjoy Your Wireless Thermostat
Congratulations! You have successfully connected your wireless thermostat to your boiler. Now, you can enjoy the convenience of controlling your heating system from anywhere using your smartphone or other devices. Always ensure to maintain and update your thermostat as needed for optimal performance.
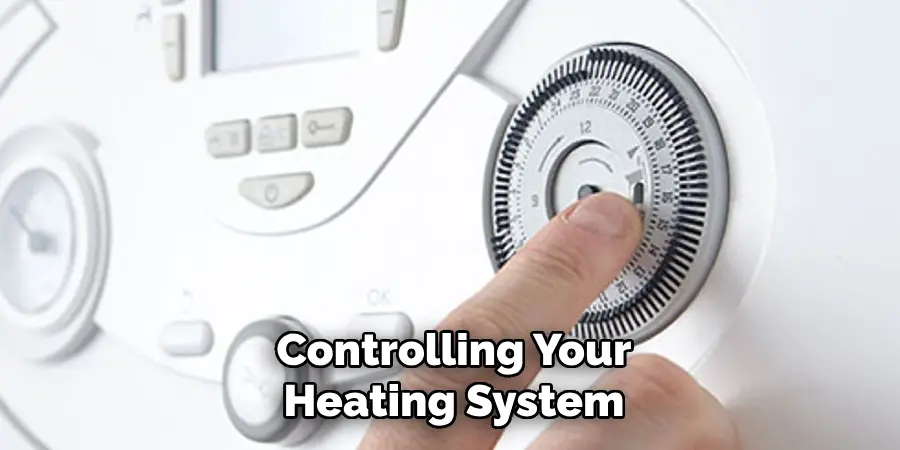
Connecting a wireless thermostat to your boiler is not as complicated as it may seem. With these 12 simple steps on how to connect wireless thermostat to boiler, you can easily set up and enjoy the benefits of wireless temperature control in your home. Just remember to choose the right thermostat, turn off power before installation, check compatibility, read the manual, and follow safety precautions.
8 Things to Avoid When Connecting Wireless Thermostat to Boiler
1) Choosing the Wrong Thermostat
Make sure to choose a wireless thermostat that is compatible with your boiler and meets your needs. Installing the wrong thermostat can result in malfunctions, reduced performance, or damage to your heating system. It is always best to refer to the manufacturer’s recommendations and seek professional advice if needed.
2) Skipping the Manual
Reading the manual may seem tedious, but it contains crucial information specific to your wireless thermostat model. Skipping it can result in mistakes or damage during installation, leading to additional costs and inconvenience.
3) Forgetting Safety Precautions
Always prioritize safety when handling electricity and gas. Turn off power to the boiler before installation, follow instructions carefully, and wear protective gear if necessary because safety should always come first.
4) Not Checking Compatibility
Before purchasing a wireless thermostat, make sure it is compatible with your boiler’s system. This includes checking the type of heating system (e.g., gas, electric, or oil), voltage requirements, and wiring compatibility. A wrong match can lead to improper functioning or even damage to your boiler.
5) Not Labeling Wires
When removing an old thermostat, make sure to label the wires and their corresponding letters or numbers. This will make it easier to connect them correctly to the new thermostat’s base since mismatched wiring can cause malfunctions or damage.
6) Not Testing Before Installation
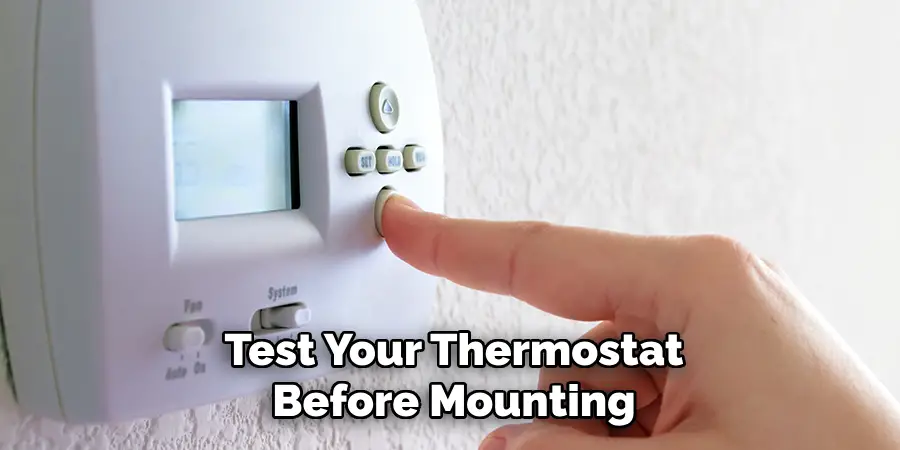
It is always a good idea to test your thermostat before mounting it on the wall. This allows you to ensure that it is functioning correctly and avoid any potential issues after installation. The same goes for testing the heating system before and after installation to ensure everything is working properly.
7) Installing in a Poor Location
It is essential to choose the right location for your wireless thermostat. Avoid placing it near windows, doors, or heat sources, as this can affect temperature readings and cause it to turn on or off unnecessarily. Ensure it is away from any obstructions and in a central location for optimal communication with the boiler.
8) Not Updating or Maintaining
Like any other technology, wireless thermostats require regular updates and maintenance to function correctly. Make sure to check for updates from the manufacturer and perform routine maintenance tasks such as changing batteries and cleaning the unit. Neglecting these can result in malfunctions or reduced performance.
Connecting a wireless thermostat to your boiler is a simple process that can bring numerous benefits, such as remote control, energy efficiency, and convenience. However, it is essential to follow the correct steps and avoid common mistakes to ensure a successful installation.
Remember to choose the right thermostat, turn off the power before installation, check compatibility, read the manual, and follow safety precautions. With these tips in mind, you can enjoy the comfort and control of a wireless thermostat in your home.
8 Additional Tips for Using a Wireless Thermostat
1) Utilize the App
Most wireless thermostats come with a companion app that allows you to control your heating remotely. Take advantage of this feature by setting up temperature schedules, adjusting settings, and monitoring energy usage from your smartphone or tablet.
2) Enable Geofencing
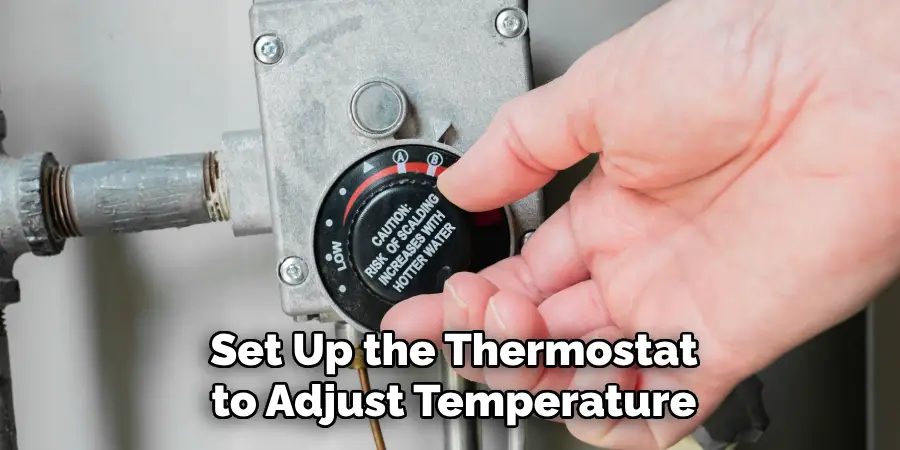
Some smart thermostats have geofencing capabilities, meaning they can detect when you are near or away from your home using your smartphone’s location. You can set up the thermostat to adjust temperature settings accordingly, saving energy and money.
3) Use Smart Features
Explore smart features like learning algorithms and adaptive technology that can analyze your heating habits and make adjustments for optimal comfort and efficiency automatically. These features can save you time and effort while reducing energy consumption.
4) Take Advantage of Vacation Mode
If you are going away for an extended period, remember to activate vacation mode on your thermostat. This will ensure your heating system operates at minimum settings to maintain a safe temperature while saving energy.
5) Consider Supplemental Devices
Some wireless thermostats are compatible with additional devices, such as smart vents or sensors, that can further optimize your heating system. These can provide targeted heating in specific areas of your home, saving energy and increasing comfort.
6) Use Energy Reports
Check if your thermostat has the option for energy reports. This feature provides you with data on your energy usage, allowing you to adjust settings accordingly and potentially save money on your utility bills.
7) Sync with Other Smart Devices
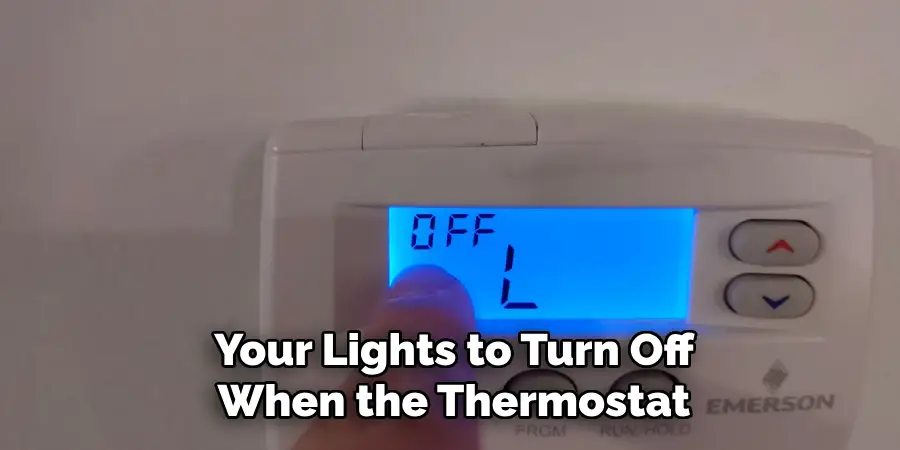
If you have other smart devices in your home, consider integrating them with your wireless thermostat. For example, you can set up a routine for your lights to turn off when the thermostat is set to away mode, saving energy and adding convenience.
8) Consult a Professional
If you are unsure about the installation process or have any technical questions, it is always best to consult a professional. They can ensure proper installation, provide helpful tips, and answer any questions you may have about using your wireless thermostat effectively.
By following these additional tips on how to connect wireless thermostat to boiler, you can make the most out of your wireless thermostat and enjoy its full range of benefits. Remember to keep up with maintenance and updates to ensure optimal performance and energy efficiency. With a wireless thermostat in your home, you can enjoy comfort, convenience, and cost savings all year round.
Frequently Asked Questions About Wireless Thermostats
Can I Install a Wireless Thermostat Myself?
Yes, most wireless thermostats come with installation instructions and can be installed by carefully following the steps. However, if you are not comfortable with DIY installations or have any doubts, it is best to consult a professional.
Do I Need Wi-Fi for a Wireless Thermostat to Work?
Yes, a wireless thermostat requires a stable Wi-Fi connection to communicate with your heating system and any companion apps or devices. Without Wi-Fi, it will not be able to function properly.
Are Wireless Thermostats Compatible with All Heating Systems?
No, it is essential to check compatibility before purchasing a wireless thermostat. Some thermostats may not be compatible with certain heating systems, such as electric baseboard or line voltage systems.
Do Wireless Thermostats Save Energy?
Yes, wireless thermostats can save energy by allowing you to set schedules and adjust settings remotely. They also have features like geofencing and learning algorithms that optimize your heating system for energy efficiency. However, the effectiveness of energy savings will depend on individual usage habits and settings.
What Happens if I Lose Power or Wi-Fi Connection?
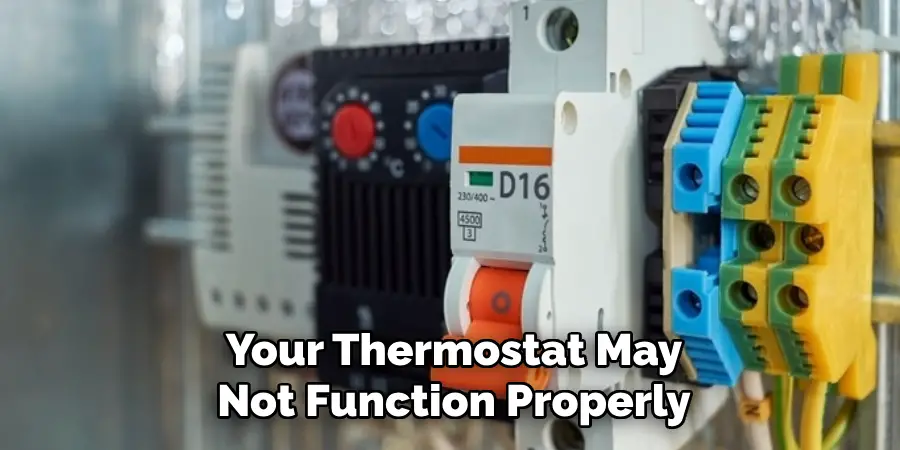
If you lose power or Wi-Fi connection, your thermostat may not function properly until it is restored. Some thermostats have battery backups to maintain basic functions during a power outage, but it is essential to have a stable power and Wi-Fi connection for optimal performance. So, make sure to regularly check your Wi-Fi router and replace thermostat batteries as needed.
Can I Still Use My Boiler Manually with a Wireless Thermostat?
Yes, most wireless thermostats still allow manual control of your boiler if needed. You can override settings or turn off the thermostat completely, giving you flexibility and control over your heating system.
Is it Expensive to Use a Wireless Thermostat?
The initial cost of a wireless thermostat may be higher than a traditional one, but the potential energy savings can make up for the difference in the long run. Additionally, some utility companies offer rebates or incentives for using energy-efficient thermostats, making it a more affordable option. So, do some research and compare costs to find the best option for your home and budget.
Are There Any Safety Concerns with Wireless Thermostats?
Like any electronic device, there may be potential safety concerns with wireless thermostats if not used properly. It is essential to follow manufacturer instructions and precautions to avoid any safety hazards. Additionally, regular maintenance and updates can help ensure safe usage of your wireless thermostat. If you have any concerns or notice any malfunctions, contact a professional for assistance.
Can I Use Multiple Wireless Thermostats in My Home?
Yes, it is possible to use multiple wireless thermostats in larger homes with zoned heating systems or different temperature needs in various areas. Some thermostats even have the option to link multiple devices for seamless control and monitoring. However, you may need to consult a professional for proper installation and setup.
Conclusion
Wireless thermostats offer a range of benefits, including convenience, energy savings, and increased comfort. By properly installing and utilizing your wireless thermostat, you can enjoy these benefits and optimize your heating system for efficiency.
Be sure to keep up with maintenance and updates to ensure optimal performance and consider additional tips on how to connect wireless thermostat to boiler, like using energy reports or consulting a professional for assistance.
With the right wireless thermostat, you can take control of your home’s heating and enjoy a more comfortable and cost-effective living environment. So, go ahead and switch to a wireless thermostat for a smarter, more efficient home.

