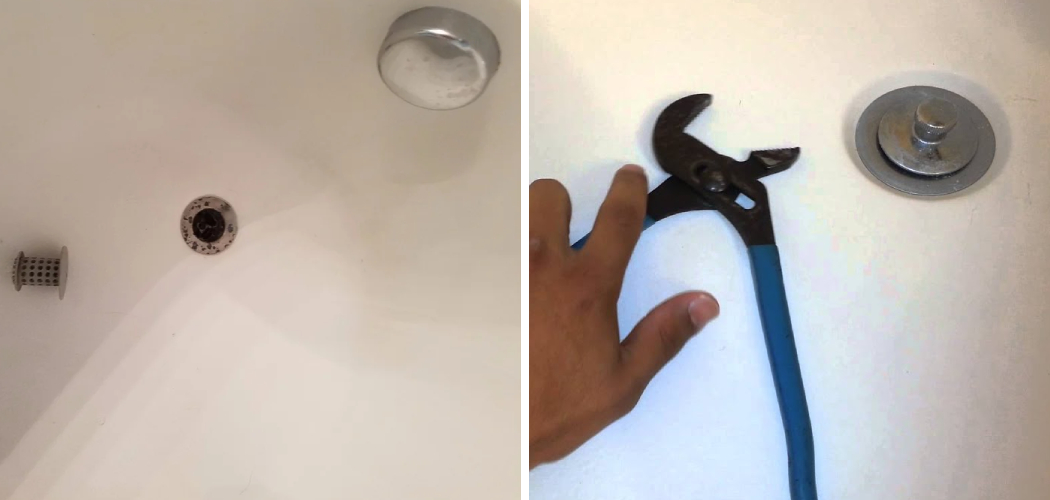
If you’re looking for a way to give your bathtub a facelift without spending too much time or money, consider converting your existing tub’s drain lever to a lift-and-turn type. Not only is this task easy to complete using hardware and tools found around the house, but it can make all the difference in the appearance of your bathroom. You’ll be amazed at the transformation when you see how sleek and modern this single action will have on your tub! Let’s explore exactly how to convert bathtub drain lever to a lift-and-turn drain so that you can get started right away on upgrading your bathroom oasis.
What Is a Trip Lever for a Bathtub?
A trip lever for a bathtub is a control mechanism used to operate the drain of a tub. The trip lever allows you to easily open and close the drain without having to manually lift or pull on the stopper, as is necessary with some other types of drains.
It consists of an arm attached to a stem that comes up from the bottom of the tub. When the arm is lifted, it pulls on the stem and opens the drain. Some trip levers also feature a stopper that can be moved up and down to regulate how much water drains out of the tub at once.
Trip levers are generally easy to remove and replace, making them a popular choice for those looking to upgrade their bathtub without having to make major renovations. However, if you want to change from a trip lever to a lift-and-turn drain, you will need to purchase an adapter kit specifically designed for this purpose.
The adapter kit includes all the necessary hardware for converting your existing trip lever into a lift-and-turn drain. With some basic tools and a little patience, you can easily install the adapter and have a brand-new lift-and-turn drain in no time.
Now that you know what a trip lever for a bathtub is and how to convert it, you can get started on your upgrade project. With some patience and attention to detail, you can easily complete the conversion process, giving your tub a whole new look without all of the hassle of major renovations.
10 Methods How to Convert Bathtub Drain Lever to a Lift-and-Turn Drain
1. Remove the Old Drain Lever:
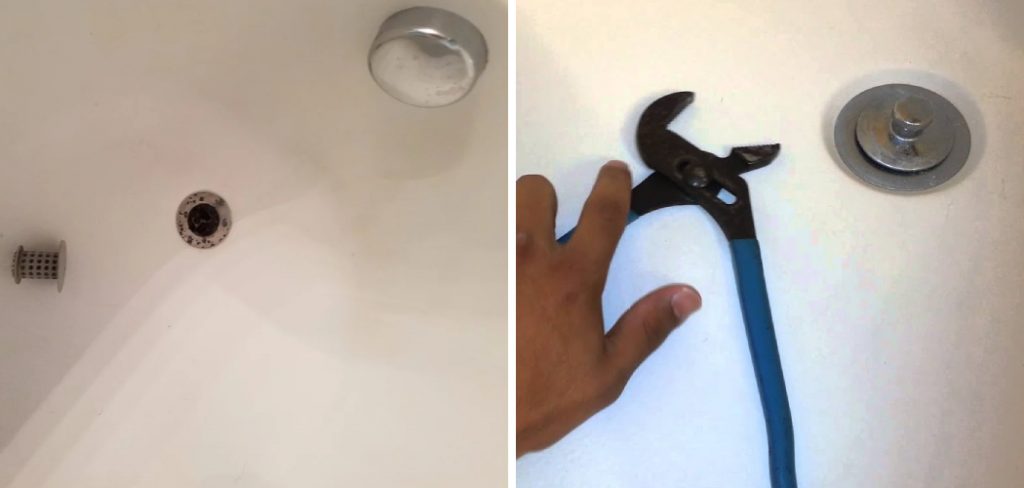
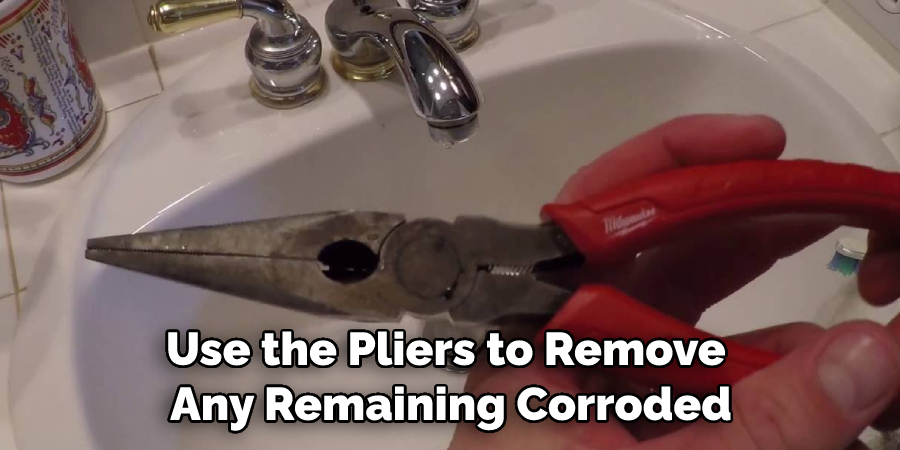
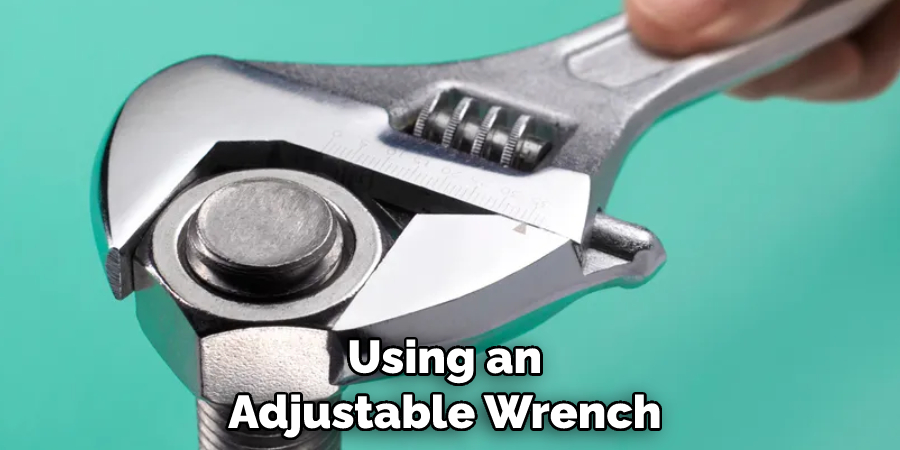
Shut off the water supply, and remove the stopper with channel-type pliers. Use an adjustable wrench to unscrew the old lever from the drain pipe. If the lever is corroded, use a wire brush to remove the corrosion. Though it may be difficult, use the pliers to remove any remaining corroded parts from the pipe. Make sure to wear gloves and safety glasses during this process.
2. Clean Out the Drain Pipe:
Remove any remaining sealant around the drain pipe before replacing it with a new one. Check for obstructions in the trap below and clean out as necessary. If the existing drain pipe is in good condition and does not need to be replaced, proceed to the next step. Try to loosen any bolts or screws that are holding it in place. Although this step is optional, it will help ensure a smooth installation of the new drain.
3. Install New Lift-and-Turn Drain Assembly:
Install a plastic lift-and-turn assembly over the existing drain pipe, making sure to securely fasten it into place with the plumber’s tape or silicone sealant. Make sure the lift-and-turn cap is properly aligned over the drain pipe, and tightens it with a pair of slip joint pliers. Connect the lift-and-turn stopper chain to the new drain cap using an adjustable wrench and a pair of pliers.
Finally, attach the new lift-and-turn drain cap to the bathtub floor by screwing it in place with provided screws. Once all the components are securely connected, you can now test your newly installed lift-and-turn drain assembly. Fill the bathtub with water and check that the drain operates correctly without any leaks or obstructions.
If the lift-and-turn stopper is not working properly, make sure all connections are secure and double-check that there are no blockages in the drain pipe. Once everything is installed and tested, you now have a reliable lift-and-turn drain assembly that you can enjoy for years.
4. Attach New Stopper With Screws:
Attach a new stopper to the bottom of your new lift-and-turn drain assembly using the screws provided. Make sure to align the drain hole on the stopper with the opening of your drain flange. Tighten each screw securely to ensure a tight fit. If you’re having trouble tightening the screws, try using a screwdriver with a longer handle for more leverage. Try to get the screws as tight as possible without stripping them.
5. Secure New Lever in Place:
Screw the new lever into place on top of your lift-and-turn drain assembly, making sure to secure it tightly with a wrench. If you have purchased a drain lever with an adapter, you can screw the adapter onto the top of the assembly and then attach your new lever. Once the new lever is secured in place, your new lift-and-turn drain should be ready to use.
Although the process can be a bit time-consuming, it is relatively easy to convert a bathtub drain lever to a lift-and-turn drain. With the right tools and some patience, you will be able to replace your old lever with a modern lift-and-turn drain in no time.
6. Connect Drain Pipe to Bathtub:
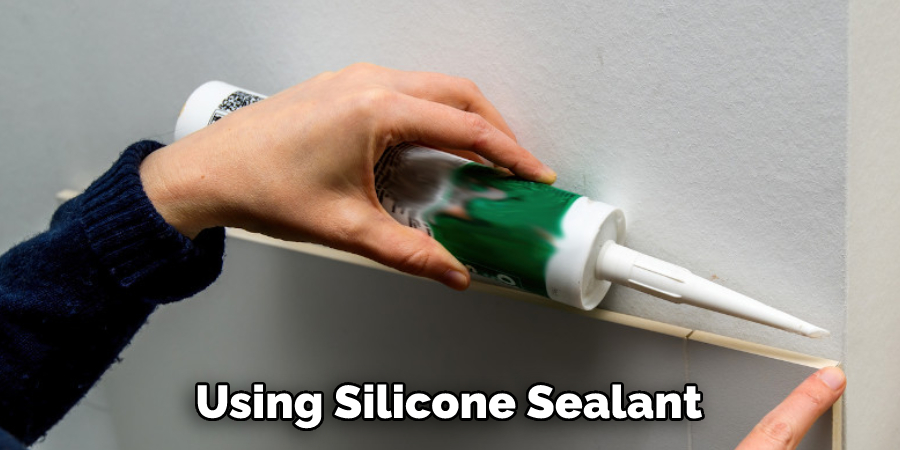
Connect the bottom of your lift-and-turn assembly to the bathtub’s drainage pipe using silicone sealant or plumber’s tape for added security. Make sure to attach the tubing securely and follow the manufacturer’s instructions for installation. Once secure, test the drain by pouring a few inches of water into the bathtub and allowing it to drain out.
If the water is draining properly, you have successfully converted your bathtub’s drain lever to a lift-and-turn drain. If there are any leaks, make sure to address them before using the bathtub or shower. Enjoy your newly converted drain!
7. Attach Lever Handle to Lift Arm:
Attach the new lever handle to the lift arm that comes with your new lift-and-turn drain assembly, and fasten it securely with a screwdriver or wrench. Ensure the handle is facing in the right direction, so it will be easy to operate. If necessary, adjust the length of the arm up or down as needed to fit your specific bathtub. Try to install the arm at a height that is comfortable for users of different heights.
8. Test Out Your New Drain:
Test out your new drain by closing the stopper and filling your bathtub with water to ensure that it is properly draining. If your drain is working properly, you should be able to open and close the stopper without any difficulty. If there are any issues with the drain not draining or clogging, you may need to adjust the linkage on the drain lever assembly or use a plunger to unclog it.
You may also need to check the washers and gaskets to ensure that they are in good condition and not causing any leaks. After testing out your new drain, you can enjoy a worry-free bath time experience!

9. Secure the Water Supply Line Back Into Place:
Reattach the water supply line back into place, making sure to tighten all connections with a wrench. Check for any leaks in the water supply line by running water in the bathtub. If there are any leaks, try tightening the connection more and re-check. Once the water supply line is all secured, you are finished with your installation of a lift-and-turn bathtub drain and can enjoy your new plumbing setup.
10. Enjoy Your Updated Bathroom:
Once everything is in place, you can now enjoy your updated bathroom and newly installed lift-and-turn drain! Although the installation process may seem daunting at first, following these steps will guarantee a successful conversion of your bathtub drain lever to a lift-and-turn drain. Make sure to give yourself enough time and be patient in order to get the best results!
This is a comprehensive guide for converting a bathtub drain lever to a lift-and-turn drain assembly. Following these ten steps will help ensure that you get the job done correctly and safely, so you can enjoy your updated bathroom for years to come!
Conclusion
The conversion process is not as difficult as it may seem at first glance. With a few tools and some elbow grease, you can replace your old bathtub drain lever with a new lift-and-turn drain in no time. Be sure to test the new drain before use to ensure that it is properly installed and functioning.
With these easy steps, you can enjoy your updated bathroom fixtures without having to call a plumber or replace your entire tub. We hope this guide on how to convert bathtub drain lever to a lift-and-turn drain was helpful. Please share it with your friends on social media if you find it useful. And be sure to check back here soon for more informative guides like this one.
You Can Check It Out to Stop a Gurgling Bathroom Sink

