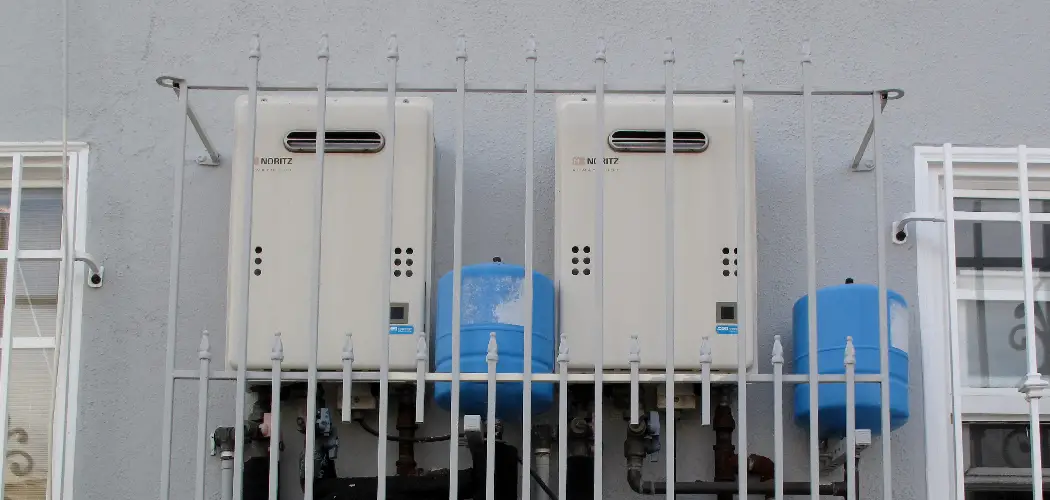
Tankless water heaters, also known as on-demand or instant water heaters, heat water only when it is needed, eliminating the need for a storage tank. These compact units can be mounted on walls, offering a space-saving alternative to traditional tank water heaters. They provide a continuous hot water supply, making them ideal for households with high hot water demands.
This guide aims to provide a comprehensive, step-by-step process on how to convert hot water heater to tankless. Whether you’re a seasoned DIY enthusiast or a homeowner looking to upgrade, this manual will walk you through each stage, ensuring a smooth transition from a traditional tank water heater to an efficient tankless system.
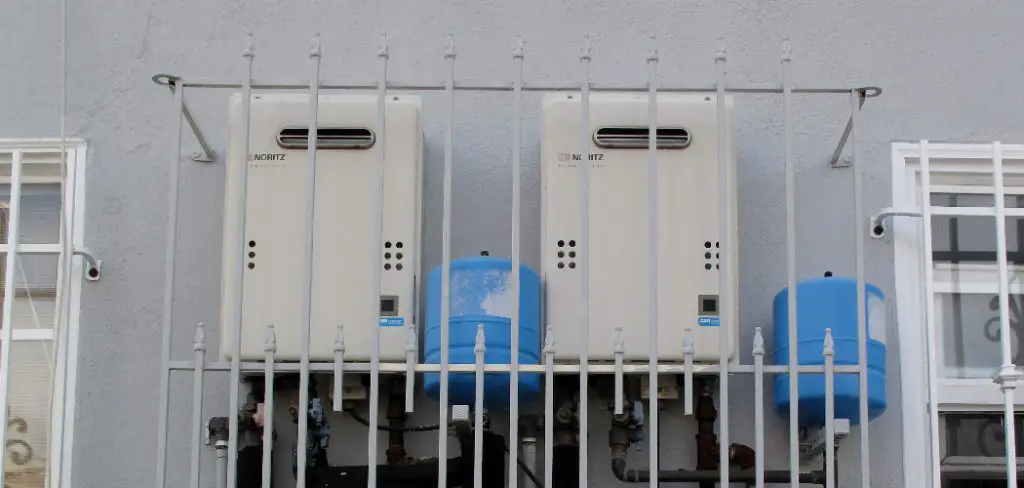
Converting to a tankless water heater offers numerous advantages, including increased energy efficiency, an endless hot water supply, and more available space. Additionally, tankless water heaters tend to have a longer lifespan, resulting in savings on replacement costs over time.
Assessing Your Home’s Compatibility
Evaluating Water Demand:
- Hot Water Usage: To choose the right size tankless unit for your home, you must determine your household’s peak hot water usage. This involves assessing how many hot water appliances and fixtures might be used simultaneously. For instance, running a shower, dishwasher, and washing machine at once will require a higher capacity unit than a home that only uses one or two hot water outlets.
- Flow Rate Requirements: Understanding the flow rate, measured in gallons per minute (GPM), is crucial to ensure your tankless water heater can meet your household’s needs. Calculate the GPM required for each appliance and fixture during peak usage. This information helps in selecting a unit that provides an adequate flow of hot water without any interruptions.
Checking Electrical and Gas Supply:
- Electrical Requirements: For electric tankless water heaters, verify if your home’s electrical system can handle the load. This may involve checking the voltage and amperage ratings to ensure compatibility. Some models may require significant electrical upgrades or additional circuits, which should be factored into the installation planning process.
- Gas Line Capacity: If you opt for a gas tankless water heater, assess whether your current gas line can supply sufficient gas for the unit. Tankless water heaters often require a higher BTU (British Thermal Unit) output compared to traditional tank models. To avoid supply issues, consult with a professional to determine if your existing gas line and meter are adequate.
Ventilation Considerations:
- Proper Venting: Proper venting is paramount for gas tankless water heaters to ensure safe operation and prevent carbon monoxide buildup. Evaluate your home’s existing venting system to determine if it is compatible with the tankless model. Venting requirements may vary, and specific materials such as stainless steel or PVC might be needed for the exhaust system.
- Installation Space: Confirm that there is enough space to install the tankless unit and its ventilation components. Unlike traditional tank heaters that often reside in basements or utility rooms, tankless units can be installed in more diverse locations. However, adequate clearance for airflow and maintenance access remains a key consideration to ensure the unit operates efficiently and safely.
Choosing the Right Tankless Water Heater
Types of Tankless Water Heaters:
- Electric vs. Gas:
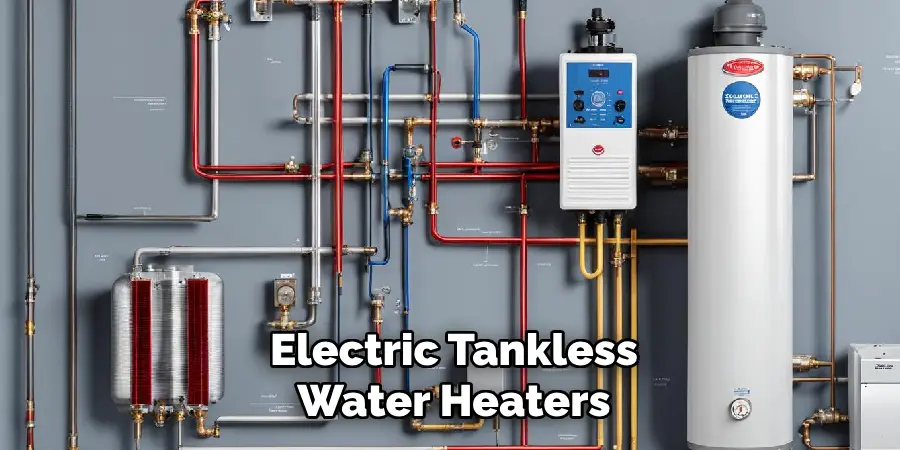
- Electric: Electric tankless water heaters are generally easier to install and require less maintenance than their gas counterparts. They are ideal for homes that do not have access to natural gas or prefer a cleaner energy source. However, they may require significant electrical upgrades and can produce higher operational costs due to electricity prices.
- Gas: Gas tankless water heaters are typically more powerful and can handle higher hot water demands, making them suitable for larger households. They tend to be more energy-efficient in terms of cost per unit of hot water produced. However, installation can be more complex due to the need for proper venting and gas line capacity, and they require regular maintenance to ensure safe operation.
- Indoor vs. Outdoor Models:
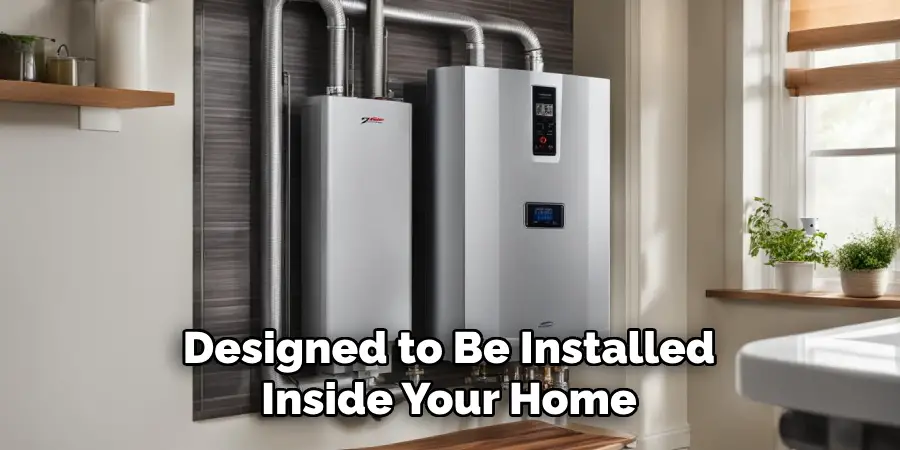
- Indoor: Indoor models are designed to be installed inside your home, typically in utility rooms, basements, or closets. These units require proper venting to the outside for gas models, and they occupy indoor space. However, they are protected from weather conditions and can be easier to maintain.
- Outdoor: Outdoor models are installed outside the home and are designed to withstand weather conditions. These units do not require indoor venting and can save indoor space. However, they might be exposed to potential damage from the elements, and additional protection against freezing temperatures may be necessary in colder climates.
Sizing the Unit:
- Calculating Flow Rate:
- To determine the required flow rate, list all the hot water fixtures and appliances that might be used simultaneously. Calculate these fixtures’ total flow rate in gallons per minute (GPM). For example, a shower may require 2.5 GPM, while a dishwasher may need 1.5 GPM. Add these rates together to determine the total demand during peak usage.
- Selecting the Right Model:
- Match your calculated flow rate and temperature rise with the specifications of available models. Choose a unit that can handle your household’s maximum hot water demand without compromising performance.
Energy Efficiency Ratings:
- Understanding Ratings:
- Energy efficiency ratings, such as the Uniform Energy Factor (UEF), help in comparing the efficiency of different tankless water heaters. A higher UEF indicates better energy efficiency. Selecting an energy-efficient model can lead to significant long-term savings on energy bills.
- Checking for Rebates:
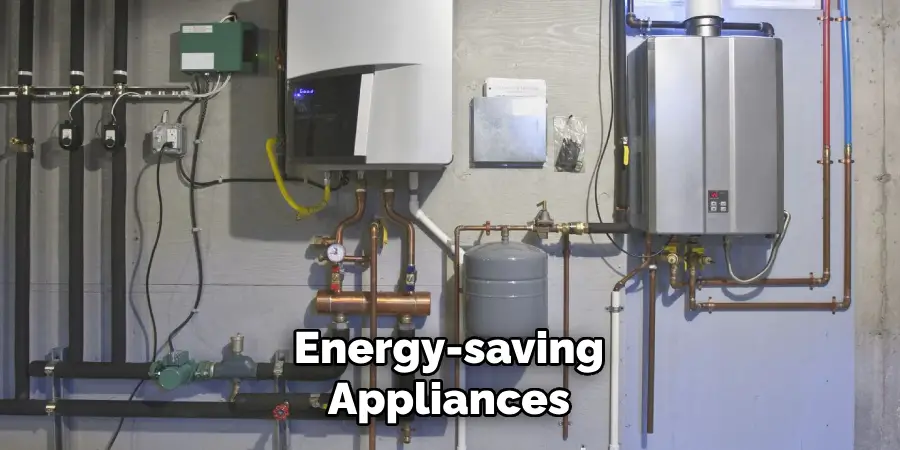
- Explore the availability of rebates and incentives for installing energy-efficient tankless water heaters. Many utility companies and government programs offer financial incentives to encourage the adoption of energy-saving appliances, which can help offset the initial investment cost.
Preparing for Installation
Removing the Old Water Heater:
- Draining and Disconnecting:
Safely draining and disconnecting the old water heater involves a few essential steps. First, ensure the power supply to the water heater is turned off, either by unplugging it for electric models or switching off the gas supply for gas units. Next, connect a garden hose to the drain valve at the bottom of the tank and direct the other end to a suitable drainage spot.
Open the drain valve and a hot water faucet in the house to let air into the system, allowing the heater to drain completely. Once drained, use a pipe wrench to disconnect the water lines and, if applicable, the gas line. Finally, remove any electrical connections following safety protocols to avoid any risks of electric shock.
- Proper Disposal:
Properly disposing of the old unit is crucial to ensure environmental safety and compliance with local regulations. Contact your local waste management facility to determine if they accept old water heaters for recycling. Many areas provide designated drop-off locations or scheduled pickup services for large appliances. Some professional plumbing services may also offer disposal services when installing the new unit. Ensure that any remaining water is fully drained and all connections are securely capped before transporting the old heater.
Gathering Necessary Tools and Materials:
- Tools Required:
- Pipe wrench
- Screwdrivers (Philips and flathead)
- Adjustable wrench
- Drill with appropriate bits
- Tubing cutter
- Teflon tape
- Level
- Pliers
- Hammer
- Materials Needed:
- Appropriate piping (copper, PVC, or stainless steel)
- Venting materials (as specified by the tankless unit manufacturer)
- Electrical wiring (for electric models)
- Gas piping (for gas models)
- Mounting brackets
- Pipe insulation
- Tankless water heater unit
- Shut-off valves
Turning Off Utilities:
- Safety First:
Turning off all relevant utilities prior to beginning the installation process is essential to ensure a safe working environment. Shut off the main water supply to prevent accidental leaks. For gas models, turn off the gas supply at the meter or close the isolation valve closest to the water heater. Switch off the circuit breaker dedicated to the water heater for electric models. Verifying that all utilities are completely off before starting the installation will prevent hazardous situations and ensure a smooth and safe installation process.

How to Convert Hot Water Heater to Tankless: Installation Process
1. Mounting the Tankless Unit:
Selecting a Location:
Choosing the best location for mounting a tankless water heater is crucial for optimal performance and safety. Look for a spot that meets the manufacturer’s clearance requirements, provides easy access for maintenance, and is close to the water fixtures to minimize heat loss in the pipes.
For indoor models, ensure that the chosen location has adequate ventilation and complies with local building codes. Outdoor models should be installed in a sheltered area to protect the unit from extreme weather conditions while still allowing efficient airflow. Avoid places prone to flooding or where the unit could be exposed to corrosive substances.
Mounting Instructions:
- Marking the Wall: Using a level, mark the locations for the mounting brackets on the wall based on the mounting holes on the tankless water heater.
- Installing Brackets: Drill pilot holes into the wall at the marked locations. Secure the mounting brackets to the wall using appropriate screws and anchors, ensuring they are level and can support the unit’s weight.
- Mounting the Unit: Lift the tankless water heater and carefully align it with the mounted brackets. Ensure it is securely fastened and hangs level on the wall.
2. Connecting the Water Lines:
Inlet and Outlet Connections:
- Cold Water Inlet: Connect the cold water supply to the inlet side of the tankless water heater using the appropriate piping material. Ensure that all connections are tightly sealed with Teflon tape to prevent leaks.
- Hot Water Outlet: Connect the hot water outlet to the hot water distribution system. Again, use Teflon tape to secure the connections and avoid leaks.
Installing Shut-Off Valves:
Installing shut-off valves on the water heater’s inlet and outlet sides is essential for easy maintenance and servicing. These valves allow you to isolate the unit without interrupting the water supply to the rest of the house. Position the shut-off valves within easy reach and clearly label them for quick identification during maintenance tasks.
3. Connecting the Gas Line (for Gas Models):
Gas Line Connection:
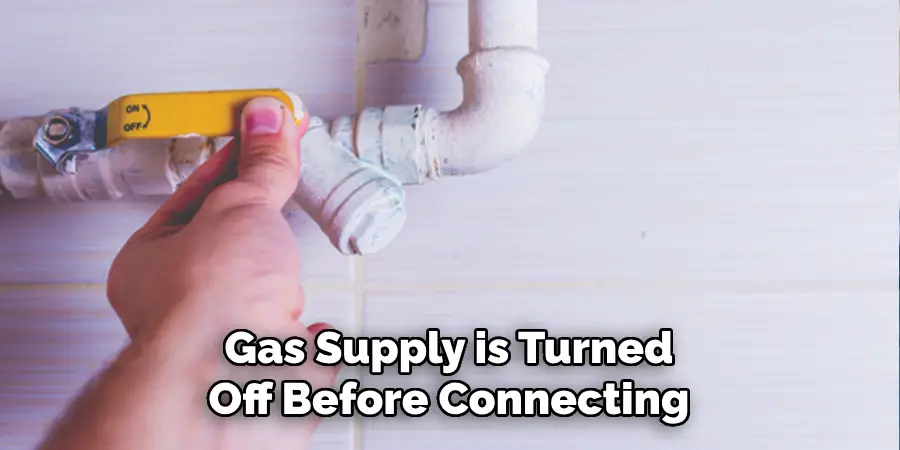
- Preparation: Ensure the gas supply is turned off before connecting.
- Connection: Use a pipe wrench to connect the gas supply line to the gas inlet on the water heater. Apply thread sealant or joint compound to the threaded connections to ensure a leak-free seal.
- Securing: Tighten all connections securely, ensuring no loose fittings could cause gas leaks.
Leak Testing:
- Soap Solution Method: Mix a solution of water and a small amount of dish soap.
- Application: Apply the soap solution to all gas connections and joints using a brush or spray bottle.
- Inspection: Turn on the gas supply and observe the connections for any bubbles forming, indicating a gas leak. If leaks are detected, immediately turn off the gas and tighten the fittings before retesting.
4. Electrical Connections (for Electric Models):
Wiring the Unit:
- Preparation: Ensure the power supply is turned off at the circuit breaker panel.
- Connection: Following the manufacturer’s wiring diagram, connect the electrical supply wires to the unit’s terminals. Use wire connectors to secure the connections and insulate them properly.
Ensuring Proper Voltage:
Using a multimeter, verify that the electrical system meets the unit’s voltage requirements. Check the voltage between the hot wires and the neutral to ensure it matches the specifications outlined in the installation manual. If necessary, consult a licensed electrician to ensure the electrical system is adequate.
5. Vent Installation (for Gas Models):
Venting Requirements:
- Venting Type: Determine the appropriate venting type (direct vent or power vent) as specified by the manufacturer.
- Installation: Follow the manufacturer’s guidelines for vent pipe length, diameter, and material. Attach the vent pipe to the unit’s exhaust outlet and secure it using approved fittings and clamps. Ensure the vent pipe runs to the outside of the building and terminates according to local building codes.
Safety Considerations:
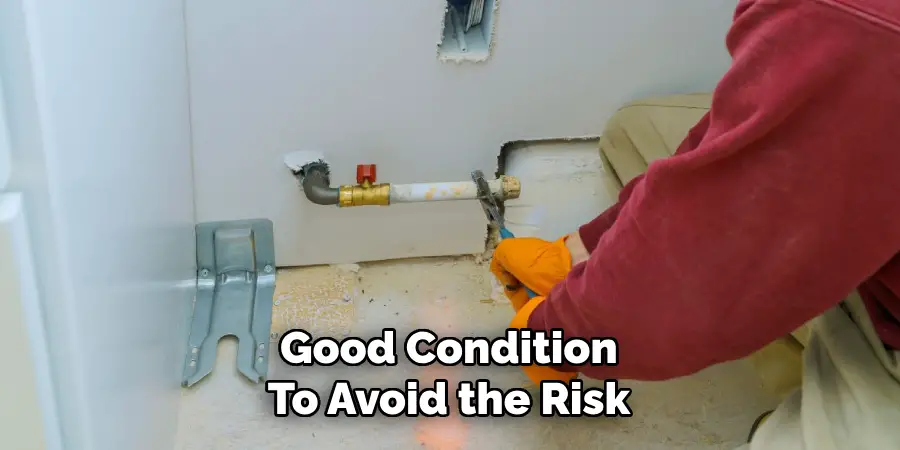
- Prevention of Carbon Monoxide Buildup: Ensure that all vent joints are sealed properly to prevent any exhaust leaks. Avoid using improper venting materials that could degrade over time.
- Regular Inspection: Perform regular inspections of the vent system to ensure it remains clear of obstructions and in good condition to avoid the risk of carbon monoxide buildup.
System Setup and Testing
Filling the System:
Turning On the Water Supply:
- Opening the Valves: Begin by opening the shut-off valves on the cold water inlet and hot water outlet lines. This action will allow water to start flowing into the tankless water heater.
- Checking for Leaks: As the system fills, inspect all water connections for any signs of leaks. Tighten any fittings as needed to ensure a secure, leak-free seal.
- Pressure Testing: Allow the water to flow for a few minutes to ensure that the entire system is filled and pressurized. This will help you identify any potential leaks that may require further attention.
Flushing the System:
- Initial Flushing: To remove any debris or installation residues, fully open a hot water faucet located farthest from the unit and let the water run for several minutes. This process helps clear out any particles that might have accumulated during installation.
- Checking Clarity: Monitor the water clarity during the flushing process. Once the water runs clear, close the hot water faucet and proceed with the next steps in the setup process.
Powering Up:
Turning On Power/Gas:
- Power Supply (Electric Models): Switch on the circuit breaker dedicated to the electric tankless water heater and verify that the unit’s power indicator is operational.
- Gas Supply (Gas Models): Open the gas supply valve slowly to ensure a controlled gas flow to the unit. Using the soap solution method described earlier, recheck the gas line connections for any indication of leaks.
Initial Startup:
- Starting the Unit: Refer to the manufacturer’s instructions to initiate the first startup sequence. This typically involves turning on the main power switch and setting the initial operating parameters.
- Testing Functionality: Allow the unit to run through its startup diagnostics. Check for any error codes or issues displayed on the unit’s control panel. Ensure that the unit begins heating water effectively.
Adjusting Temperature Settings:
Setting the Desired Temperature:
- Temperature Adjustment: Access the temperature control settings either through the unit’s onboard controls or a connected remote control. Set the system to the desired temperature as recommended by the manufacturer.
- Safety Precautions: Do not set the temperature too high, as this can pose a scalding hazard. A commonly recommended setting is around 120 degrees Fahrenheit (49 degrees Celsius).
Testing Hot Water Flow:
- Verification: Open a hot water faucet and allow the water to run. Use a thermometer to measure the temperature of the water to ensure it matches the set point on the unit.
- Consistency Check: Check multiple faucets to ensure consistent hot water delivery throughout the system. Make any necessary adjustments to maintain the desired temperature.
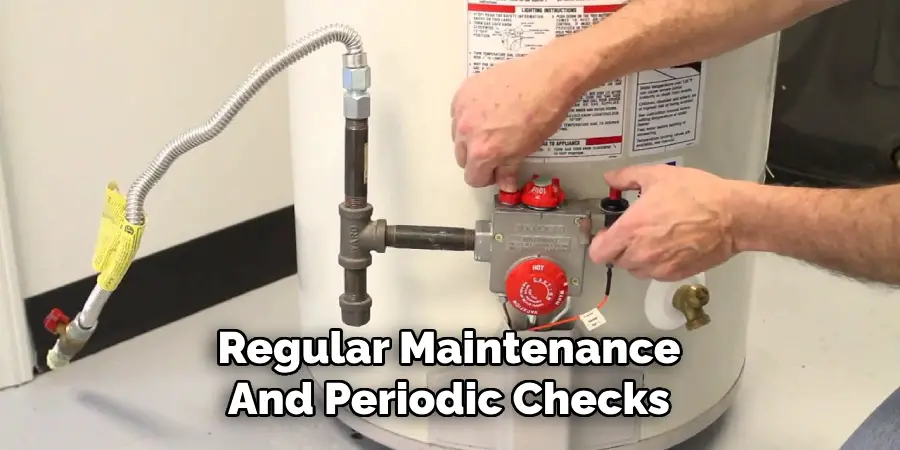
By carefully completing these steps, you ensure that the tankless water heater system is correctly set up and tested, providing reliable and efficient hot water for your household needs. Regular maintenance and periodic checks will help keep the system running optimally.
Conclusion
Converting to a tankless water heater involves several critical steps. First, assess your household’s hot water needs to select the appropriate unit. Next, ensure adequate ventilation and proper gas or electrical connections. Descale the unit regularly, clean the filter, and schedule annual professional inspections to maintain the system’s efficiency.
Switching to a tankless water heater offers numerous advantages. These units provide unlimited hot water on demand while conserving energy, leading to significant long-term savings. They also have a smaller footprint, freeing up valuable space in your home.
Considering “how to convert hot water heater to tankless” can lead to substantial benefits. The initial investment may seem high, but the enhanced efficiency, cost savings, and extended lifespan make it a wise choice. Embrace the future of home water heating for a smarter, more economical solution.
You can check it out to Tell if Boiler Circulator Pump Is Working

