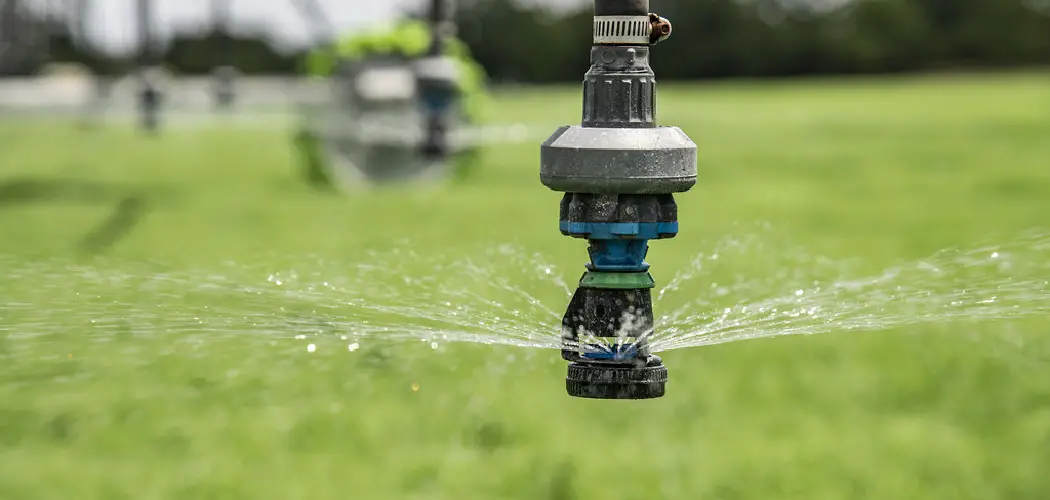
Consider converting your sprinkler system to a drip irrigation system for several reasons. Converting from sprinklers to drip irrigation can save water, reduce runoff and evaporation, promote plant growth, and decrease maintenance costs.
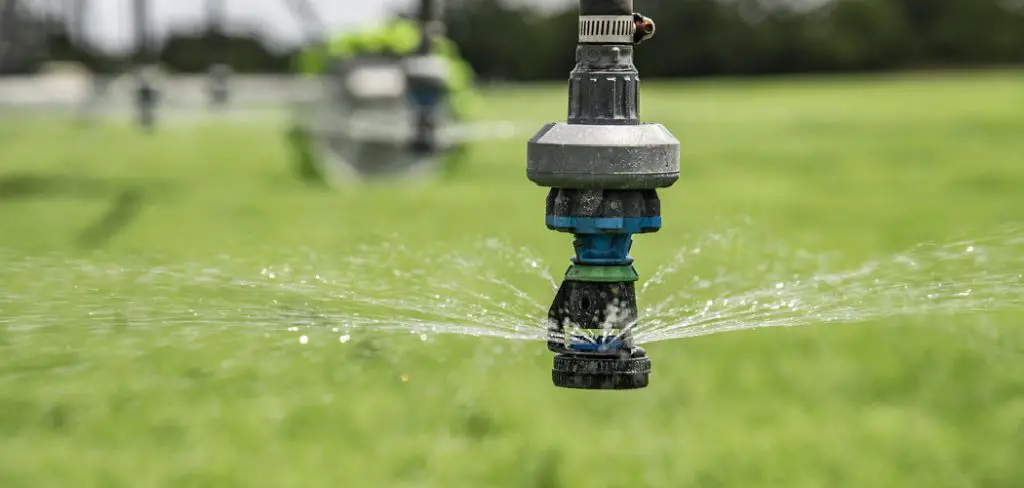
The main advantage of converting your sprinkler to drip irrigation is that it will save you a lot of water in the long run. Drip irrigation delivers water directly to the roots of your plants, minimizing evaporation and overspray. This efficient delivery system means less waste and more savings on water bills. In this blog post, You will learn in detail how to convert sprinkler to drip.
Planning the Conversion Process Before Converting Sprinkler to Drip
There are several factors to consider before converting a sprinkler system to drip irrigation. Proper planning is essential for a successful and efficient conversion process.
- Evaluate the Landscape: The first step in planning for a conversion is evaluating your landscape. Determine the type of plants, their water needs, soil conditions, and slopes. This information will help you determine the type and amount of drip irrigation needed for each area of your landscape.
- Determine Water Source: Next, you need to identify the water source for your drip system. This can be an existing sprinkler line or a new tap from the main water supply. It is important to consider the water pressure and flow rate from your chosen water source, as this will affect the design and layout of your drip system.
- Create a Map: Once you have gathered all the necessary information, create a map of your landscape and mark out the different zones with their corresponding water needs. This will serve as a guide for designing and installing your drip system.
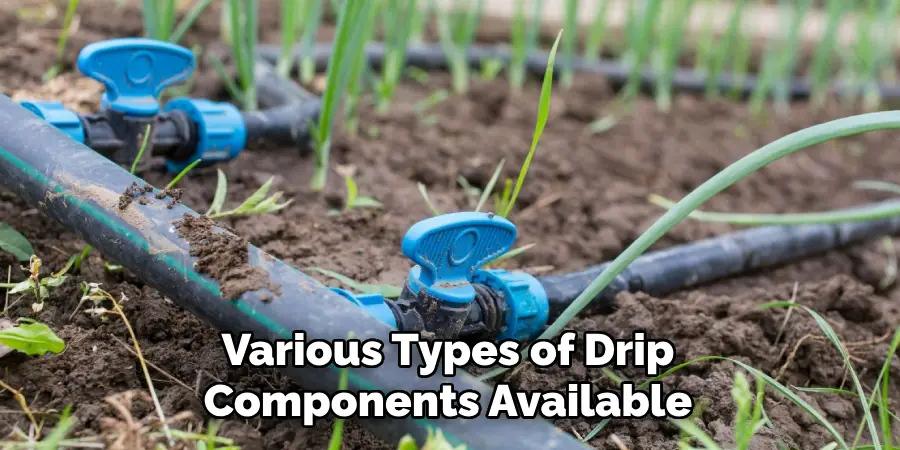
- Choose Drip Components: There are various types of drip components available, such as emitters, tubing, fittings, and filters. Choose components that are suitable for your particular landscape and water source.
- Consider Maintenance: Drip systems require regular maintenance, such as cleaning filters and checking for leaks. When planning your conversion, make sure to factor in the time and effort required for maintenance to ensure the longevity of your drip system.
- Get Professional Help: If you are unfamiliar with drip irrigation systems, it is best to seek the help of a professional. They can assess your landscape and recommend the best type of drip system to use.
- Budget Appropriately: Converting from sprinkler to drip irrigation may require upfront costs, such as purchasing new components and hiring a professional. It is important to budget appropriately and consider the long-term benefits of drip irrigation, such as water conservation and lower utility bills.
- Consider Timing: It is best to convert from sprinkler to drip during the off-season when plants are dormant or in early spring before new growth appears. This will minimize disruptions to your landscape and give the drip system time to establish itself before peak watering season.
- Educate Yourself: Before starting the conversion process, educate yourself on how to properly design, install, and maintain a drip system. This will ensure the success of your conversion and help you troubleshoot any issues that may arise in the future.
- Be Patient: Converting from sprinkler to drip irrigation is not an overnight process. Properly planning, installing, and adjusting a drip system takes time and patience. However, the long-term benefits make it worthwhile and will result in a healthier and more efficient landscape.
By following these steps and planning your conversion, you can ensure a successful transition from sprinkler to drip irrigation. Remember to continually monitor and adjust your system as needed, and enjoy the water-saving benefits of drip irrigation for years to come.
Step-by-step Instructions for How to Convert Sprinkler to Drip
Step 1: Inspect Sprinkler System
Inspect your current sprinkler system and identify any areas that can be converted to drip irrigation. Look for areas with low water pressure, uneven or excessive watering, and areas where plants are not growing well. Using a map of your yard, plan out the layout for your new drip irrigation system. Consider the location of plants, water sources, and any obstacles or structures in your yard.
Step 2: Gather Materials
In addition to a drip irrigation kit, you will need a few basic tools, such as scissors, pliers, and a hammer. Make sure you have all the necessary materials before starting the installation process. Before beginning any work, make sure to turn off the water supply to your sprinkler system. This will prevent any accidents or damage to the system.
Step 3: Remove Sprinkler Heads
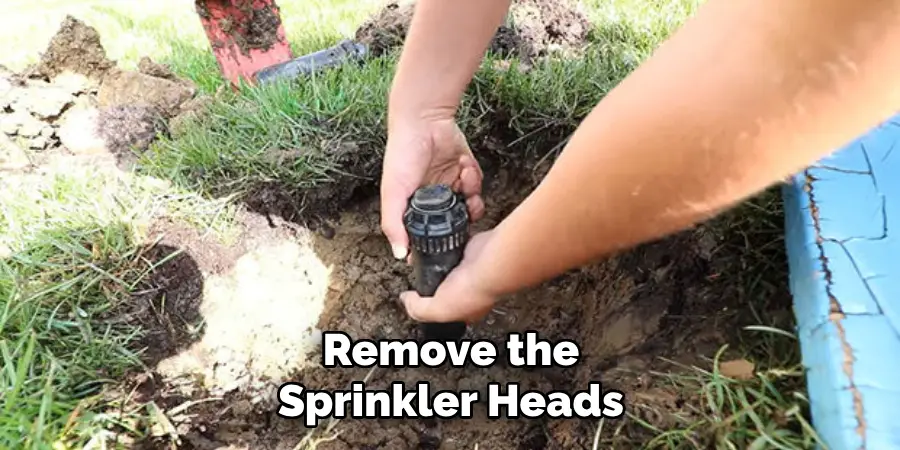
Using pliers, remove the sprinkler heads from the areas you plan to convert to drip irrigation. Save these for future use in case you need to switch back to a sprinkler system. Lay out the drip lines according to your planned layout.
Cut the lines to fit and connect them to the water supply using connectors or tees. Make sure to leave enough room for expansion and contraction of the lines, as temperature changes can affect them.
Step 4: Add Emitters
Attach emitters to the drip lines at appropriate intervals for your plants. Depending on the water pressure in your system, you can choose either pressure-compensating or non-pressure-compensating emitters. Secure the drip lines along their path with stakes or clips. This will prevent damage and ensure proper water distribution.
Step 5: Test and Adjust
Once installation is complete, turn the water supply back on and test the system. Ensure all areas receive adequate water and adjust emitter spacing if necessary. Regularly check for leaks or clogs in the drip lines and emitters. Flush out any debris that may have accumulated and make adjustments as needed. Also, adjust watering frequency and duration as weather conditions change.
By following these simple steps, you can easily convert your sprinkler system to a more efficient and water-saving drip irrigation system. With proper maintenance and adjustments, your plants will thrive while reducing water waste and ultimately saving you money on your water bill.
Safety Precautions for How to Convert Sprinkler to Drip
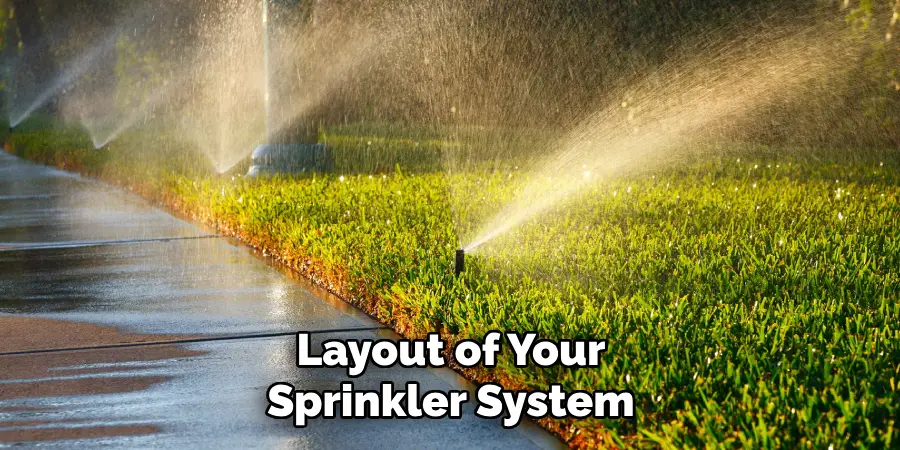
- Make sure to turn off the water supply before starting any work on your sprinkler system. This will prevent any accidents or injuries from occurring.
- Wear protective gear such as gloves and goggles when working with tools or chemicals. Safety should always be a top priority.
- Familiarize yourself with the layout of your sprinkler system before attempting to convert it. This will make the process smoother and prevent any mistakes.
- Use caution when digging around your sprinkler system. Be sure to avoid hitting any pipes or wires, as this can cause damage and lead to costly repairs.
- Test the water pressure before connecting your drip system. High water pressure can cause leaks or blowouts in your drip lines.
- Monitor the weather forecast before converting to drip irrigation. Heavy rain can render your drip system ineffective and wastewater.
- Check your drip system regularly for clogs or malfunctions. Maintaining it will ensure it continues to function properly and efficiently.
Following these safety precautions can safely and successfully convert your sprinkler system to drip irrigation. Remember to always prioritize safety and take the necessary precautions throughout the conversion process.
Environmental and Cost-saving Advantages of Drip Irrigation
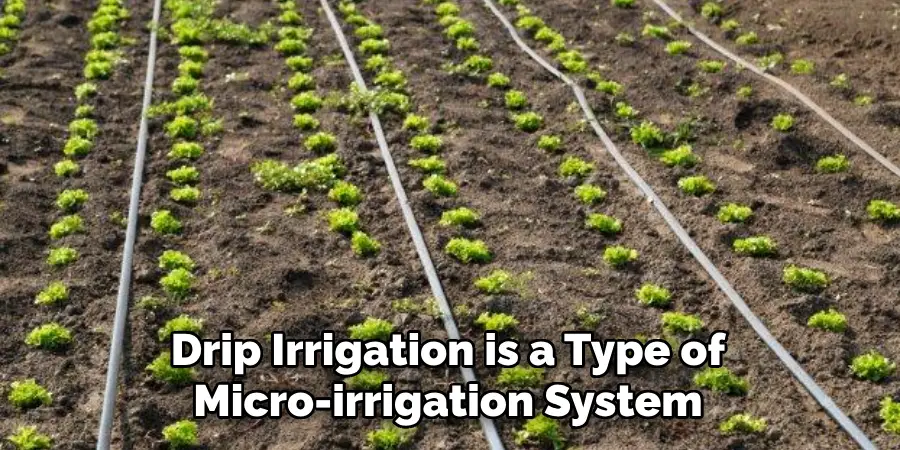
Drip irrigation is a type of micro-irrigation system that delivers water directly to the roots of plants through a network of tubes and emitters. This technology has gained popularity in recent years due to its many advantages over traditional irrigation methods. In this article, we will discuss drip irrigation’s seven environmental and cost-saving benefits.
1. Water Conservation
One of the main advantages of drip irrigation is its ability to significantly conserve water. Traditional irrigation methods, such as flood or furrow irrigation, can result in significant water loss due to evaporation and runoff.
Drip irrigation delivers water directly to the roots of plants in a slow and steady manner, minimizing evaporation and maximizing water absorption by plants. This saves water and reduces the need for frequent watering, making it an ideal choice for areas with limited water resources.
2. Reduced Soil Erosion
Traditional irrigation methods can cause soil erosion, especially in sloped areas where runoff occurs. With drip irrigation, water is delivered directly to the roots of plants and does not flow over the soil surface. This reduces the risk of soil erosion and helps to maintain the integrity of the soil structure. This is particularly important for agricultural areas where healthy soil is crucial for crop growth.
3. Energy Efficiency
Drip irrigation systems require less energy than traditional methods, using low-pressure water delivery systems. This reduces the need for large pumps that consume significant amounts of electricity, resulting in cost savings for farmers and decreased energy consumption.
4. Reduced Weed Growth
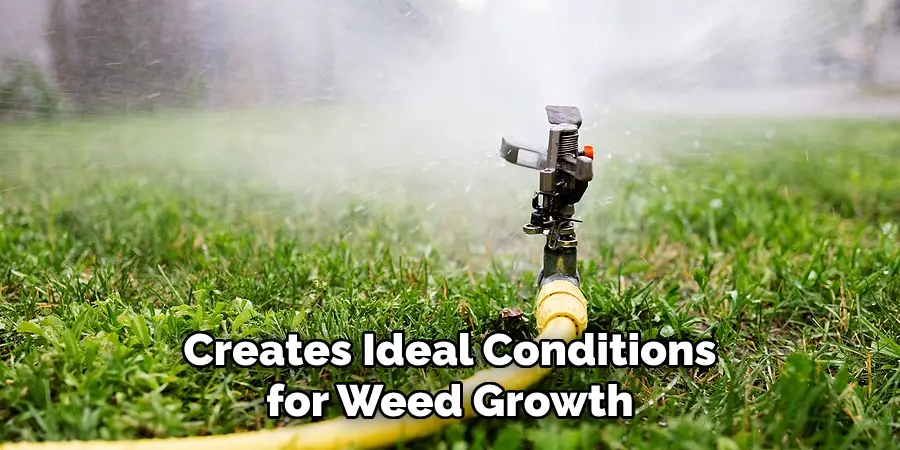
Conventional irrigation methods, such as sprinkler systems, can produce excess water on the soil surface. This creates ideal conditions for weed growth, which competes with crops for nutrients and water. Drip irrigation delivers water directly to the plant’s roots, eliminating excess moisture on the soil surface and reducing weed growth.
5. Customized Water Delivery
Drip irrigation allows for precise water delivery to each plant, as emitters can be placed strategically near the root zone of each plant. Farmers can tailor watering schedules based on crop type, soil conditions, and weather patterns. As a result, plants receive the optimal amount of water they need without any waste.
6. Improved Plant Growth and Quality
Consistent and precise water delivery in drip irrigation helps maintain ideal soil moisture levels for plants. This results in better plant growth and healthier crops, leading to increased yield and improved produce quality. Additionally, direct water delivery to the root zone reduces the risk of diseases caused by excess moisture on plant leaves.
7. Cost Savings
While the initial investment in drip irrigation systems may be higher than traditional methods, the long-term cost savings are significant. With reduced water and energy consumption, as well as decreased labor costs due to customized watering schedules, farmers can save money in the long run. Additionally, improved plant growth and quality can also lead to higher profits for farmers.
From water conservation and reduced soil erosion to energy efficiency and improved plant growth, this technology is a sustainable and efficient choice for farmers. As climate change continues to impact our water resources, drip irrigation will play an increasingly important role in ensuring food security while minimizing the negative impacts on
Testing and Adjusting the Drip System for Converting Sprinkler to Drip
Now that you have successfully converted your sprinkler system to a drip system, it is important to regularly test and adjust the system in order to ensure its efficiency and effectiveness. Here are some steps to follow to test and adjust your new drip system.
1. Check for Leaks
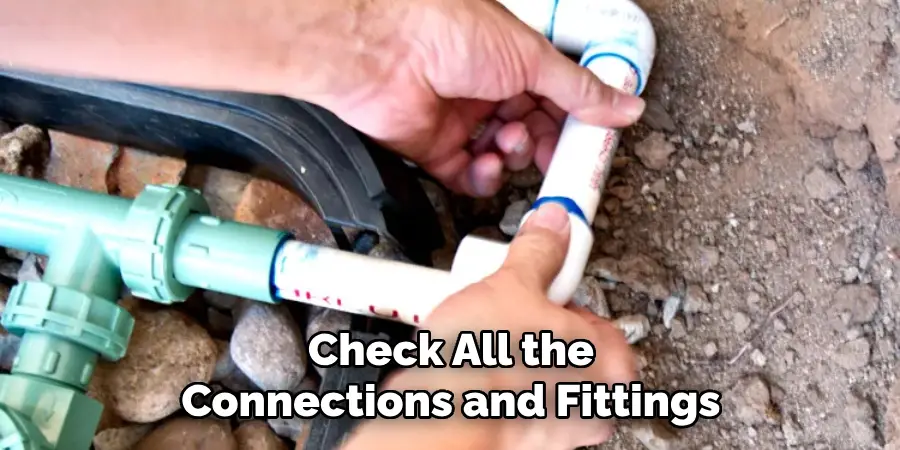
Before turning on the water supply, make sure to check all the connections and fittings for any potential leaks. In the long run, this can save you water and money, as even small leaks can add up over time.
2. Run a Water Test
Once you have checked for leaks, turn on the water supply to the drip system and let it run for a few minutes. This will allow you to see if there are any issues with water pressure or distribution. Look for any areas where the water is not coming out consistently, as this could indicate a clog or blockage in the system.
3. Adjust Drip Emitters
If you notice any uneven water distribution during the water test, it may be necessary to adjust the drip emitters. These are small devices that control the flow of water to each individual plant. By adjusting the drip emitters, you can ensure that each plant receives the right amount of water.
4. Monitor Soil Moisture
It is important to regularly check the moisture levels in your soil, as this will indicate whether or not your plants are receiving enough water from the drip system. Using a moisture meter or simply testing the soil by hand can help you determine if any adjustments need to be made.
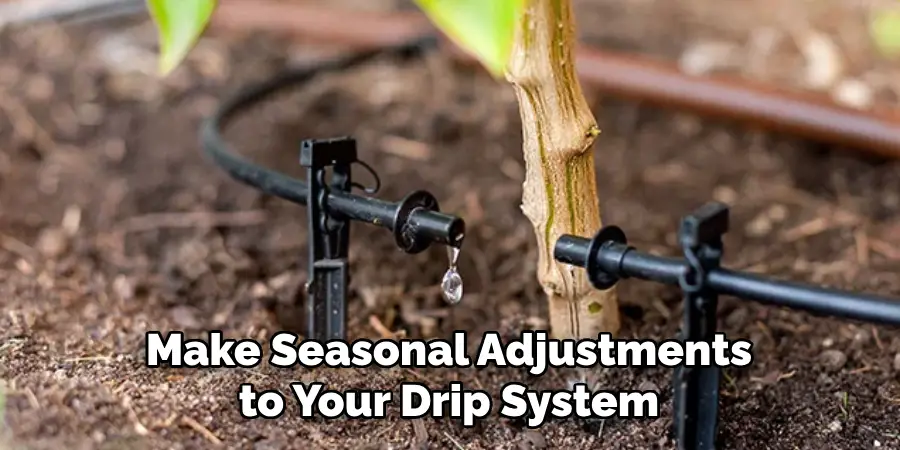
5. Make Seasonal Adjustments
As the seasons change, so do the water needs of your plants. It is important to make seasonal adjustments to your drip system to ensure that your plants receive the appropriate amount of water. During hot summer months, for example, you may need to increase the water flow or frequency of watering.
6. Clear Debris and Build-up
Over time, debris and mineral buildup can accumulate in your drip system, potentially causing clogs or reduced water flow. It is important to regularly clean and clear any debris from the system to ensure its effectiveness.
7. Consider Adding a Timer
Adding a timer to your drip system can help automate the process and ensure that your plants consistently receive water regularly. This can also save you time and effort in manually turning the system on and off.
Regularly testing and adjusting your drip system is important to maintaining a healthy garden or landscape. By following these steps, you can ensure that your plants receive the proper amount of water and that your drip system is functioning at its best. Remember to regularly check for leaks and debris and make seasonal adjustments as needed.
Conclusion
In conclusion, converting a sprinkler system to drip irrigation is a great way to improve watering efficiency and effectiveness. Switching to drip irrigation can save water, reduce maintenance costs, and promote healthier plant growth. Proper planning is an important factor to remember when converting from sprinkler to drip. This includes evaluating your current watering needs and creating a layout for your drip system.
By careful planning, you can ensure that your plants receive the right amount of water and that your system is efficient and effective. Another important aspect to consider is maintaining your drip irrigation system. This includes regularly checking for clogs or leaks, adjusting emitters as needed, and properly winterizing your system to prevent damage during colder months. This article has been beneficial for learning how to convert sprinkler to drip. Make Sure the preventive measures are followed chronologically.

