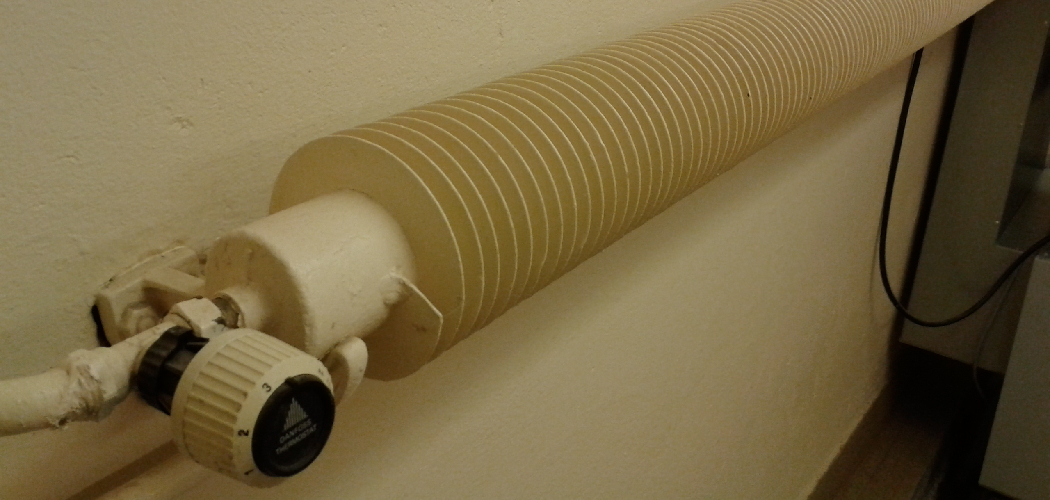
Are you tired of looking at your home’s hot radiator pipes? Don’t worry, you’re not alone. The exposed piping in a typical heating system can be an eyesore and ruin the overall aesthetic of your space. Luckily, there are several ways to cover hot radiator pipes and improve the look of your home.
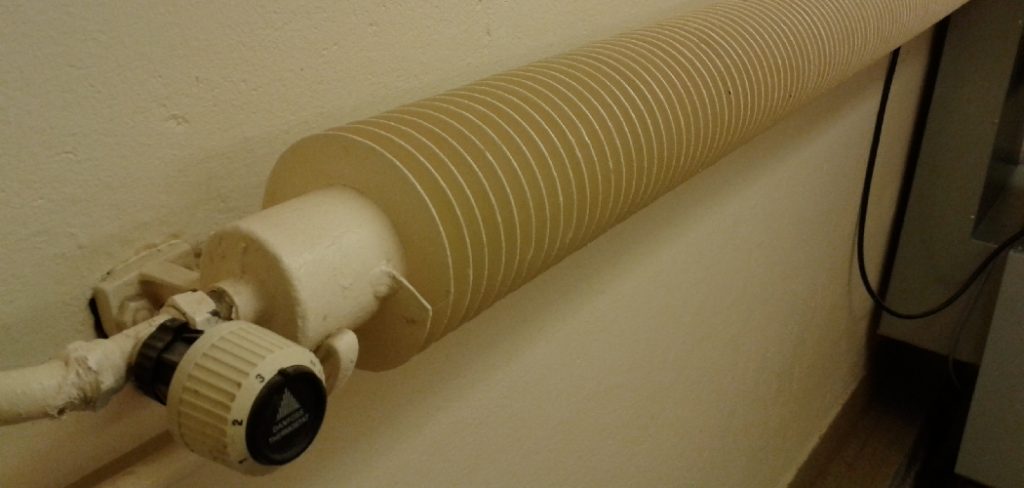
How to cover hot radiator pipes is an essential step in maintaining both safety and comfort within your home. Scorching pipes can pose a burn risk, especially for children and pets, while also contributing to heat loss, inefficiency, and discomfort in your living space.
This guide will explore various methods and materials for effectively covering radiator pipes, ensuring a safer environment and enhancing the overall aesthetic appeal of your home. From DIY solutions to store-bought options, we will provide practical insights to suit all preferences and skill levels.
What Will You Need?
Before we dive into the different ways to cover hot radiator pipes, let’s ensure you have everything you need. The materials required will vary depending on your chosen method, so reading through each option and gathering supplies beforehand is essential.
- Tape measure
- Scissors or utility knife
- Foam pipe insulation
- Pipe wrap insulation
- Radiator covers or enclosures
- Heat-resistant spray paint (optional)
Once you have all the necessary materials, you must decide which method best suits your specific needs and preferences.
10 Easy Steps on How to Cover Hot Radiator Pipes
Step 1: Measure the Pipes
The first step in successfully covering hot radiator pipes is to take accurate measurements. Use a tape measure to determine the length and diameter of each pipe that you wish to cover. Be sure to measure the distance between bends and any fittings, as these dimensions will impact your chosen coverage method.
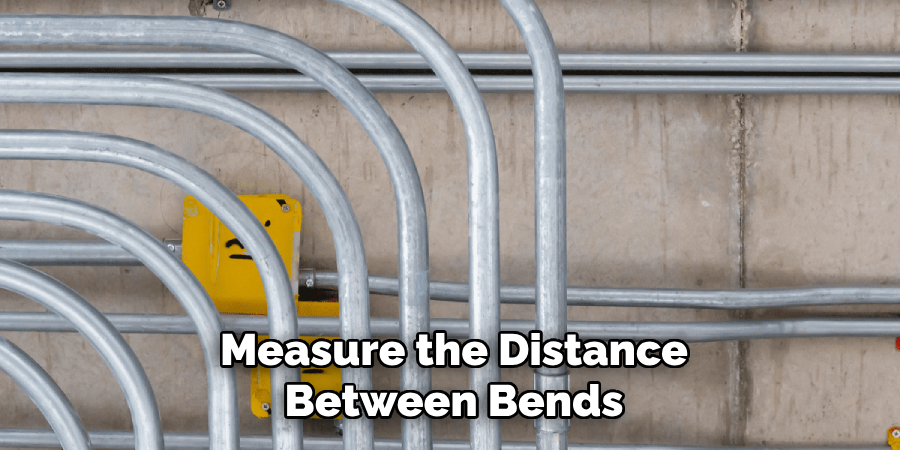
It’s also wise to account for any vertical piping and consider the height from the floor. Precise measurements will ensure that the coverings fit snugly and help you estimate how much material you will need to purchase. Remember, a well-measured project will lead to a cleaner and more professional finish, enhancing both safety and aesthetics in your space.
Step 2: Choose Your Covering Method
Once you have measured your pipes, the next step is to choose the covering method that fits your style and requirements. There are several options available:
- Foam Pipe Insulation: This easy and cost-effective method provides insulation and a clean look. Simply cut the foam insulation to size and wrap it around the pipes.
- Pipe Wrap Insulation: If you prefer a more professional finish, pipe wrap insulation can offer a sleek appearance while providing effective heat retention.
- Radiator Covers or Enclosures: Consider purchasing ready-made radiator covers for a more decorative approach. These come in various styles and can transform the exposed pipes into a stylish home feature.
- DIY Options: If you’re feeling crafty, you can create your coverings using materials you have at home, such as wood or fabric, tailored to your style.
Evaluate these options based on aesthetics, ease of installation, and effectiveness in covering the pipes, and select the method that best suits your home’s needs and personal preferences.
Step 3: Prepare the Area
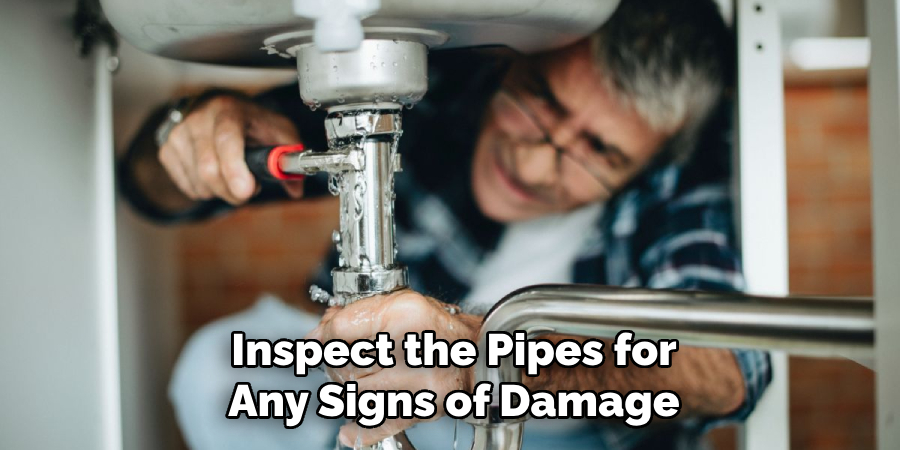
Before you begin the covering process, preparing the area around the radiator pipes is essential. Start by clearing away any furniture or obstacles that might impede your access to the pipes. This will allow for easier installation and ensure your safety while working. Next, inspect the pipes for any signs of damage or leaks. If you notice any issues, addressing them before proceeding to cover the pipes is advisable. Once the area is clear and the pipes are in good condition, you can move on to the actual covering process.
Step 4: Install the Chosen Covering
Now that you’ve selected your covering method and prepared the area, it’s time to install the chosen covering. If you’re using foam pipe insulation, simply clean the pipes and peel off the adhesive backing (if applicable) before firmly wrapping the insulation around each pipe, ensuring no gaps. For pipe wrap insulation, start at one end of the pipe and spiral it down, overlapping slightly to ensure complete coverage. If you opted for a radiator cover or enclosure, follow the manufacturer’s instructions for assembly and installation, securing it firmly against the wall for stability. Should you decide on a DIY solution, ensure all materials are securely fastened and finished to avoid sharp edges.
Step 5: Finishing Touches
After successfully installing your chosen covering, it’s time to add the finishing touches. If you’ve used foam or pipe wrap insulation, check for any visible seams and ensure everything is tightly secured. Consider applying heat-resistant spray paint to any exposed surfaces for a polished look, mainly if you’ve chosen a DIY option.
This enhances aesthetic appeal and provides additional protection against wear and tear. If you’ve opted for a radiator cover, take a moment to style the area by adding decorative elements like plants or decorative items on top of the cover, further integrating it into your home’s décor. Completing these steps will help ensure that your radiator pipes are safely covered and visually appealing, creating a harmonious environment in your living space.
Step 6: Regular Maintenance
Once your radiator pipes are covered and you have completed the installation, regular maintenance is critical to ensuring the longevity and effectiveness of your chosen covering method. Begin by periodically checking the insulation or coverings for signs of wear, damage, or moisture accumulation, as these can compromise efficacy. For foam and pipe wrap insulation, look for any peeling or gaps that may have developed over time and repair or replace them as needed.
If you have a radiator cover, dust it regularly and ensure it remains securely fastened, mainly if it is a DIY structure. Additionally, be mindful of the heating system’s performance; any changes in heat distribution or efficiency may indicate the need for further inspection or maintenance.
Step 7: Monitor Temperature and Performance
After installing and maintaining your radiator pipe coverings, it’s essential to monitor your heating system’s temperature and overall performance. Ensure that the heat distribution is uniform across your space and that no cold spots could indicate issues with the system.
Use a thermometer to check that the surface temperature of the radiator pipes remains within a safe range, preventing overheating that can damage both the pipes and the coverings. If you detect any irregularities in heating or temperature fluctuations, consider consulting a professional to assess the radiator and the effectiveness of your pipe coverings. Maintaining awareness of these factors will help guarantee a comfortable and efficient heating system in your home.
Step 8: Evaluate Energy Efficiency
Having monitored the temperature and performance of your heating system, the next step is to evaluate its energy efficiency. Check your energy bills to determine if there has been a noticeable change in consumption since installing your radiator pipe coverings.
A significant decrease in energy usage can indicate improved efficiency due to better insulation. Additionally, consider using an energy monitor or smart thermostat to assess how the new coverings have impacted your heating strategy. By closely analyzing these factors, you can make informed decisions about future improvements or upgrades to your heating system, ensuring it operates at its best while keeping energy costs manageable.
Step 9: Seek Professional Assistance
After evaluating your energy efficiency, suppose you notice persistent issues with your heating system or have concerns about the effectiveness of your radiator pipe coverings. In that case, it may be time to seek professional assistance. A qualified heating technician can thoroughly inspect your system, identifying potential problems that may not be visible to the untrained eye.
They can also guide additional insulation methods or upgrades to enhance energy efficiency further. Engaging with professionals ensures that your heating system operates safely and effectively, providing peace of mind and comfort in your home. Don’t hesitate to ask for expert advice, especially if you plan on making significant alterations or improvements to your heating setup.
Step 10: Implement Upgrades
Once you have sought professional guidance and addressed any identified issues, the next step is implementing any recommended upgrades to your heating system. This could involve enhancing your radiator pipe coverings with more advanced materials, such as reflective foil insulation, or incorporating innovative technology into your heating system for better temperature control. Additionally, consider upgrading to a more efficient boiler or radiator that aligns with your energy efficiency goals.
By following these steps, you can successfully cover your radiator pipes while ensuring home safety, efficiency, and comfort.
Conclusion
In conclusion, how to cover hot radiator pipes involves a thoughtful approach that combines safety, efficiency, and aesthetics.
By assessing your covering options, carefully installing chosen materials, and maintaining regular checks, you can enhance the performance of your heating system while minimizing energy costs. Remember the importance of monitoring temperature and performance to ensure optimal operation. Should any issues arise, seeking professional assistance can provide peace of mind and facilitate necessary upgrades.
By following these guidelines, you can create a safer, more comfortable living environment while seamlessly integrating your radiator pipes into the overall décor of your home.
Check it out to Eliminate Air in Water Pipes

