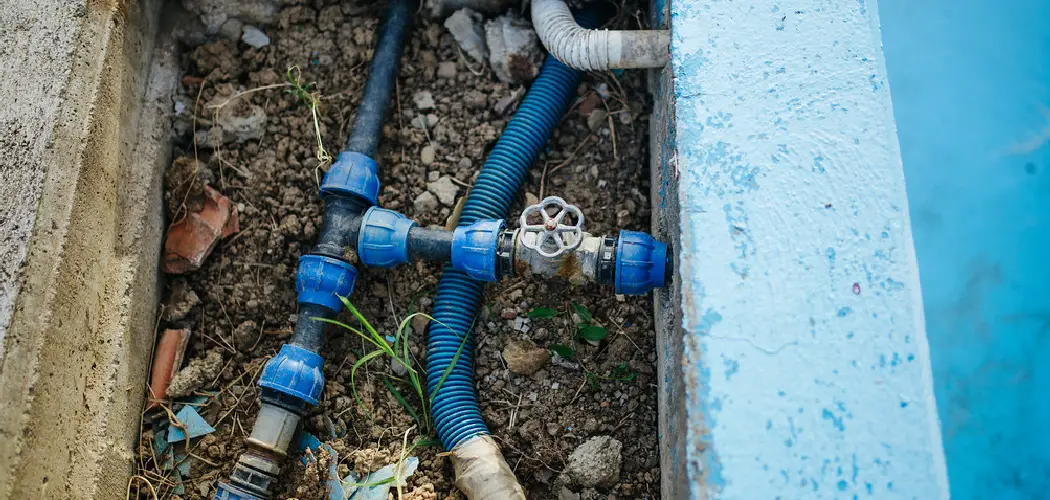
Are you a homeowner who needs to clean out your sewer line? If so, here’s what you need to know about how to cover sewer cleanouts. Understanding the proper techniques and taking the necessary precautions can safely and effectively clear your sewer line without putting yourself or your property at risk.
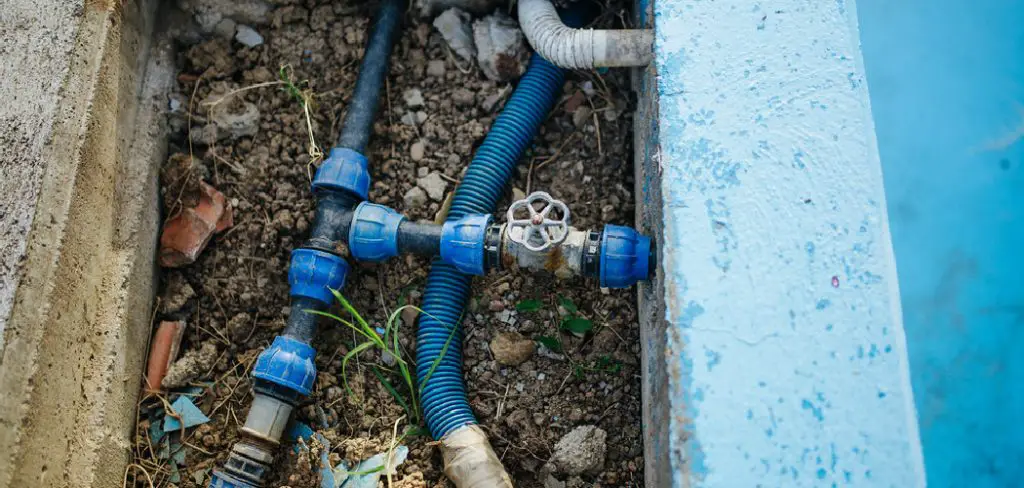
So in the guide, we’ll go through the process of covering your sewer cleanout, including what materials you’ll need and how to seal the cover properly. We’ll also touch on a few other important considerations, such as ensuring the area around your cleanout is well-ventilated and keeping children and pets away from the work area. Keep reading for more information.
Why It’s Important to Cover Sewer Cleanouts?
One often overlooked aspect of home maintenance is keeping sewer cleanouts covered. Sewer cleanouts are access points for the main sewer line and can be found outside or in the basement. Keeping them covered may seem inconsequential, but it actually serves several important purposes. First, a cover prevents debris and animals from entering and potentially clogging the sewer line. It also helps to prevent unpleasant odors from seeping into your home.
A covered cleanout makes it easier for professionals to access and fix the problem in case of a blockage or backup. Additionally, covering sewer cleanouts can improve the aesthetic appearance of a property and protect the cleanout itself from weather damage or vandalism. While some may see covering as an extra step, it ultimately protects our health and plumbing systems. So don’t let this small detail slip your mind – keep your sewer cleanouts securely covered.
How to Cover Sewer Cleanouts in 10 Steps
Step 1: Find the Sewer Cleanout
Regarding household plumbing, sewer cleanout is an essential component for proper maintenance. But before addressing any issues, it’s important to know where your cleanout is located. The first step in finding the cleanout is to determine whether it’s inside or outside your home. If it’s outside, it will typically be a round or square cap that can be lifted with a screwdriver or pliers.
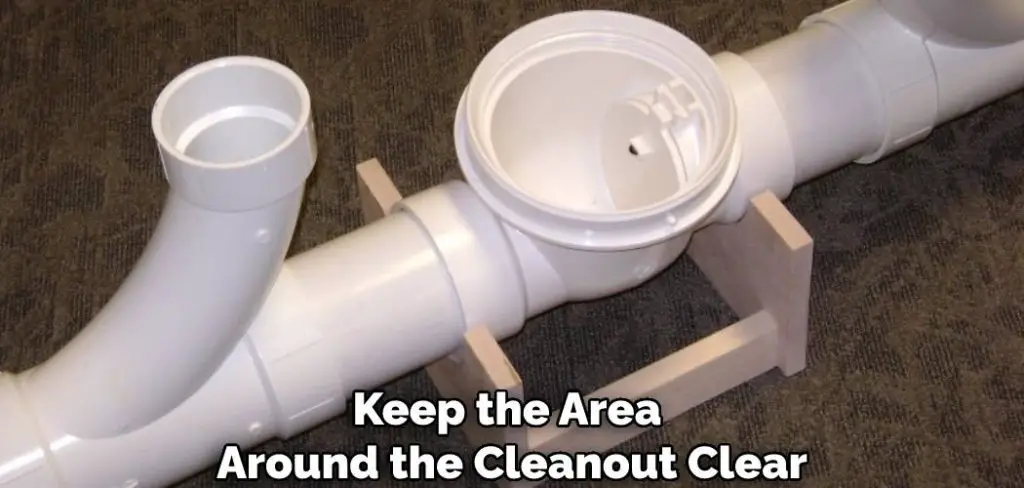
It may also have the word “sewer” written on top and should be located near the edge of your property closest to the street. If the cleanout is inside, it will likely be found in a basement or crawl space near a bathroom or laundry room. Once you’ve located it, make sure to keep the area around the cleanout clear and accessible in case of emergency.
Step 2: Dig a Trench
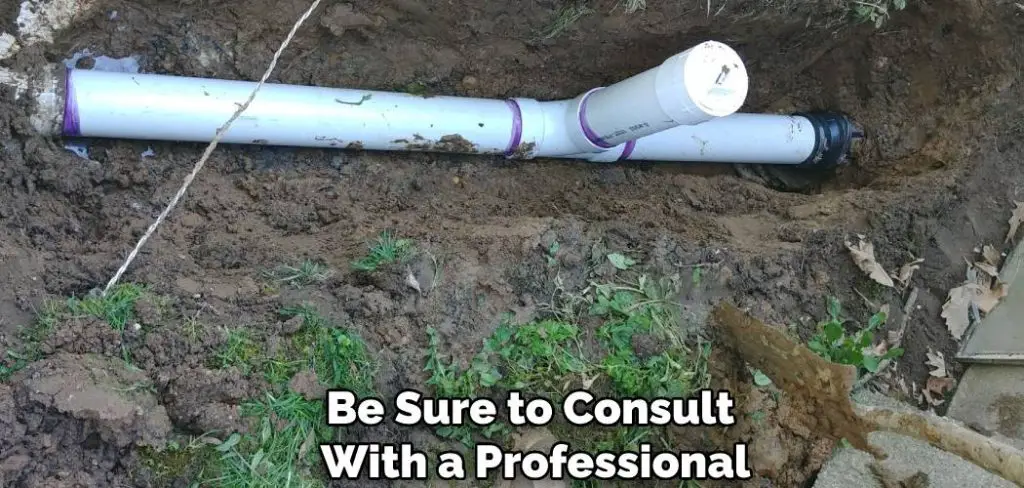
Once you have located the cleanout, you must dig a trench from the cleanout to the house. The trench should be at least 18 inches deep and 12 inches wide. If your cleanout is farther away from the house, you may need to dig a wider trench. Again, call your local utility company to avoid underground cables or pipes before digging.
Step 3: Place Gravel in the Trench
After digging the trench, you will need to place gravel in the bottom of it. The gravel will help drain any water entering the sewer line and support the pipe. If possible, use clean gravel that is free of any debris.
Step 4: Install the Sewer Pipe
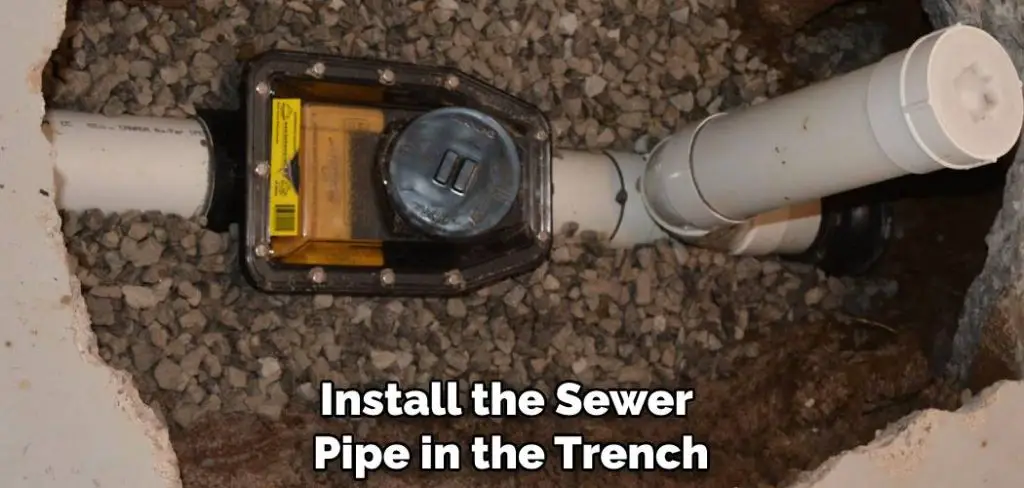
The next step is to install the sewer pipe in the trench. The pipe should be made of PVC or other durable material that can withstand years of wear and tear. It’s important to ensure the pipe is installed correctly to avoid leaks or other problems. If you’re not confident in your ability to install the pipe, it’s best to hire a professional. Once the pipe is installed, you can move on to the next step.
You Can Check It Out to Clean Kitchen Faucet Head without Vinegar
Step 5: Cover the Pipe with Soil
Once the pipe is installed, you will need to cover it with soil. Be sure to compact the soil around the pipe to secure it. If there is no soil available, you can use sand or gravel. Also, leave enough space around the cleanout for future access.
Step 6: Install the Sewer Cleanout Cover
The next step is to install the cleanout cover. The cover should be made of durable material that can withstand heavy traffic and weather damage. It’s also important to ensure the cover is the correct size for your cleanout. It would help if you made sure that the cover should not too large or too small. It could fall into the cleanout and cause problems if it’s too large. Too small, and it might not fit properly or securely.
Step 7: Connect the Sewer Pipe to the House
The next step is to connect the sewer pipe to the house. This can be done by hiring a professional or by doing it yourself if you’re confident in your abilities. Once the pipe is connected, you can move on to the next step.
Step 8: Cover the Trench
The final step is to cover the trench. Be sure to compact the soil around the pipe to secure it. If there is no soil available, you can use sand or gravel. You also need to ensure that the cover is level with the surrounding ground so that water will not pool on top of it. One way to do this is to use a layer of plastic sheeting. Cut the sheeting to the desired size, then place it over the trench. Use rocks or bricks to hold the sheeting in place.
Following these simple steps, you can easily cover your sewer cleanouts and avoid future problems. If you have any questions or concerns, be sure to consult with a professional. Thanks for reading!
6 Benefits of Covering Your Sewer Cleanout
1. Fewer Pests
One of the benefits of covering your sewer cleanout is that it can help to keep pests out. Pests such as rats and mice are attracted to the sewage that can build up around an uncovered cleanout, and they can pose a serious health risk if they gain access to your home. Covering the cleanout can help prevent pests from entering your home through the sewer system.
2. Less Sewage Buildup
Another benefit of covering your sewer cleanout is that it can help to reduce sewage buildup. When the cleanout is uncovered, sewage can seep and accumulate around the opening. This can create an unsightly mess and also lead to odors. Covering the cleanout will help to keep sewage contained so that it does not build up around the cleanout.
You Can Check It Out to Winterize Cabin Plumbing
3. Prevent Flooding
Covering your sewer cleanout can also help to prevent Flooding. If sewage were to build up around an uncovered cleanout and then flood your home, it would create a health hazard. Covering the cleanout can help prevent sewage from flooding your home during a backup.
4. Deter Vandals
Another benefit of covering your sewer cleanout is that it can deter vandals. Vandals may be attracted to an uncovered cleanout because they know that it contains sewage, which they could use to cause damage or create a health hazard. By covering the cleanout, you can help to deter vandals from targeting your home.
5. Save Money
Covering your sewer cleanout can also save you Money in the long run. If you do not cover the cleanout, you may have to pay for repairs if it becomes damaged by pests, Flooding, or vandals. Additionally, if someone were to become sick from coming into contact with sewage around an uncovered cleanout, you could be liable for their medical bills. Covering the cleanout can help to protect you from these potential costs.
6. Prevention of Soil Erosion
Covering your sewer cleanout can also help to prevent soil erosion around it. Sewage can erode the soil when allowed to seep into the ground, causing sinkholes or other problems. Covering the cleanout will help to keep the soil in place. As the ground around the sewer line is stabilized, it can help to prevent problems with the sewer line itself.
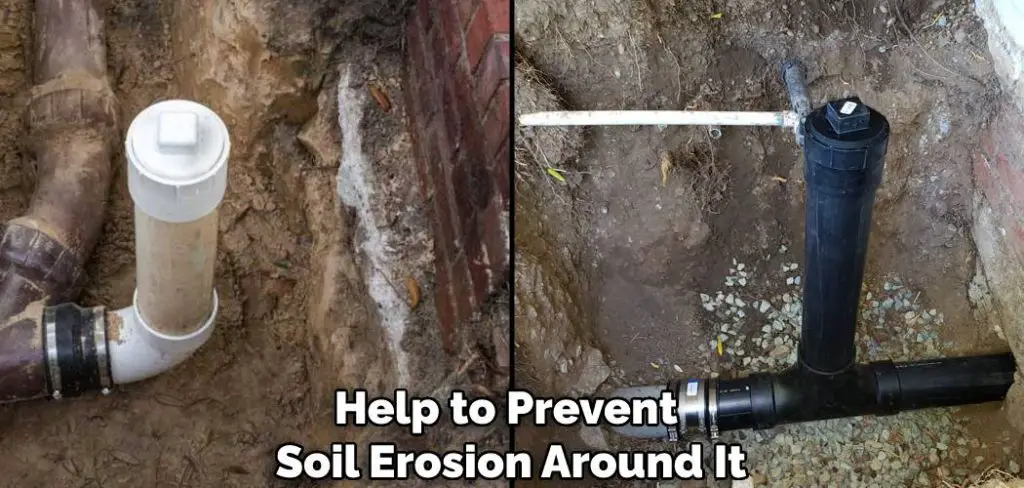
These are just a few of the benefits of covering your sewer cleanout. If you have an uncovered cleanout on your property, cover it to protect yourself, your home, and your plumbing system.
Final Words
Properly covering your cleanouts is important to maintain a safe and efficient sewer system. Repairing or replacing a damaged or missing cleanout cover can be simple and inexpensive, but it is crucial to preventing serious problems down the line. Following the tips in this article on how to cover sewer cleanouts, you can ensure that the job is done quickly and efficiently.
And most importantly, you can be sure your sewer will be back up and running in no time.
With a little knowledge and effort, you can ensure that your cleanouts are properly covered and prepared for whatever comes up. We hope that this article has helped provide you with that information. If you have any questions or would like to share your experiences on this topic, please leave a comment below. We would love to hear from you!

