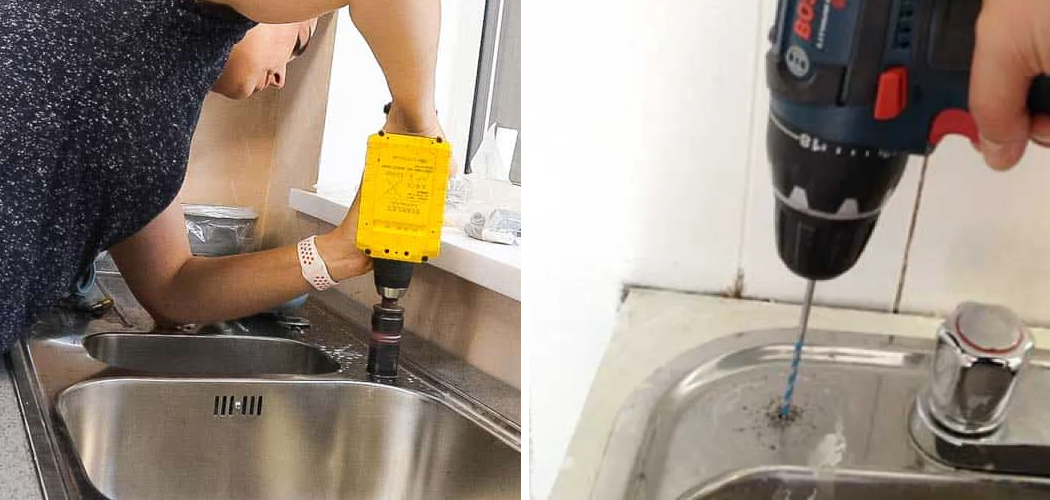
Cutting a hole in a stainless steel sink has many advantages. For example, it may be necessary to create an opening for a soap dispenser or spray hose attachment. Additionally, if you are looking to install faucets with pull-down spouts, the additional space can provide better access and use of the spout.
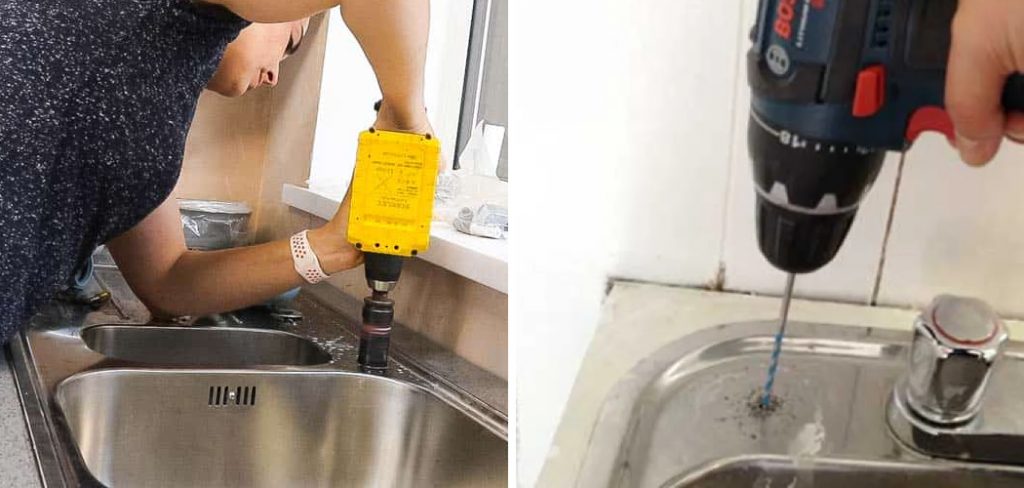
Cutting a hole in a stainless steel sink has several advantages.
Firstly, it allows you to install fixtures such as soap dispensers or spray nozzles easily. Secondly, it can also help to create a more efficient workspace and make the sink look more aesthetically pleasing. Lastly, cutting a hole in a stainless steel sink is much less expensive than purchasing a pre-drilled stainless steel sink. In this blog article, you can find step-by-step instructions on how to cut a hole in a stainless steel sink.
Step-by-step Instructions for How to Cut a Hole in a Stainless Steel Sink
Step 1: Inspect Your Sink Area
Before beginning the process of cutting a hole in your stainless steel sink, you must inspect the area. Make sure there are no cracks or chips in the sink, and make sure the surface is clear of any other objects that may get in the way. Take a marker pen and mark out an outline of the hole that you wish to cut. Make sure that this outline is clearly visible, so you can accurately measure the size and shape of the hole.
Step 2: Prepare Your Tools
Make sure that you have the right tools for the job. You will need a drill, a hole saw, and some lubricant. Make sure to check that all these tools are up to scratch and in good condition before beginning the process of cutting into your stainless steel sink.
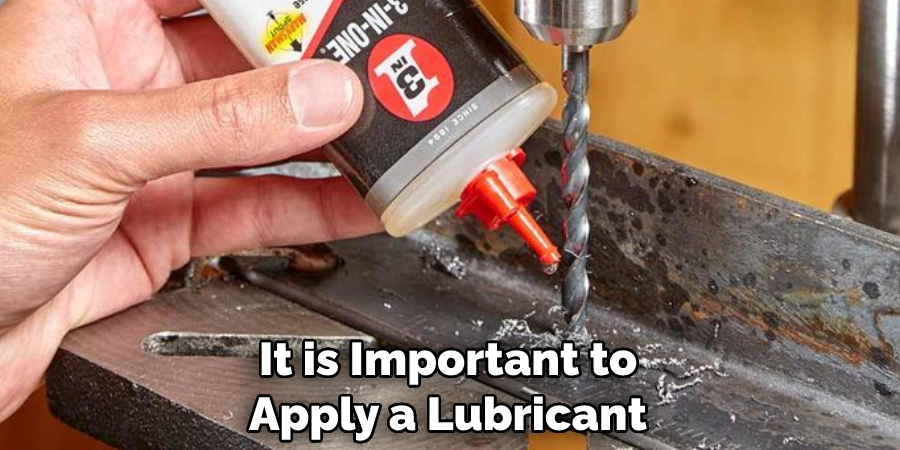
Step 3: Apply the Lubricant
Before drilling into the sink, it is important to apply a lubricant to help ensure that the drill does not become stuck due to friction. Make sure to cover the entire hole area and use plenty of lubricants so that the drill can move freely and without any unnecessary force.
Step 4: Drill the Hole
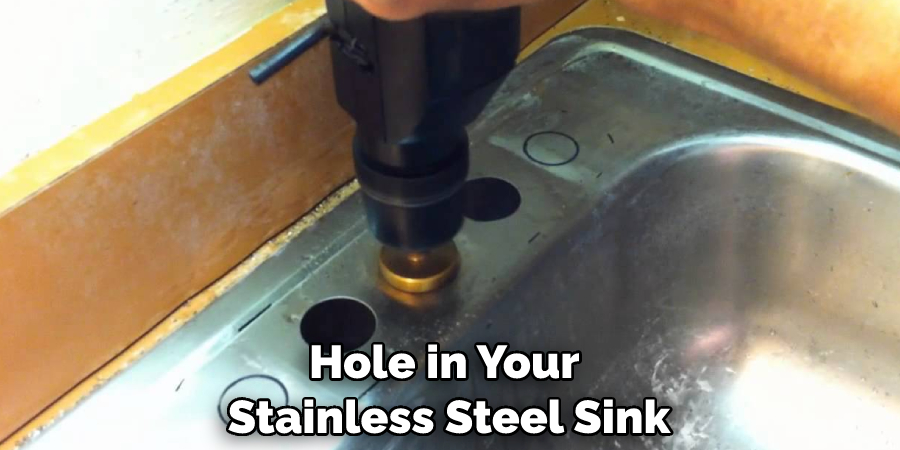
Once you are sure that the area is lubricated, use the drill to align and secure the hole saw correctly. Make sure to ensure that the hole saw is in place before turning on the drill, and be extra careful not to move or tilt it! Start drilling at a slow speed and gradually increase this as necessary. Be sure to keep the drill steady and make sure that the drilling is going in a straight line.
Step 5: Cut Out The Hole
Once you have made a pilot hole, use the hole saw to cut out the shape of your desired hole. Make sure not to go too fast when cutting, as this could damage your sink. Once you have finished cutting the hole, you will need to sand down the edges. Use fine-grit sandpaper and lightly go over the hole’s outer edge to smooth it off. This will also help prevent any sharp or jagged edges from occurring due to the cutting.
Step 6: Check for Accurate Measurements
After everything is smoothed off and sanded down, check once more to ensure that all measurements have been taken accurately. If necessary, slightly adjust any measurements that may be slightly off to get the perfect hole size and shape. Before completing the job, clean out any debris or dust from inside the hole and around the sink area. This will ensure that no particles left behind could potentially cause damage.
Step 7: Seal The Edge
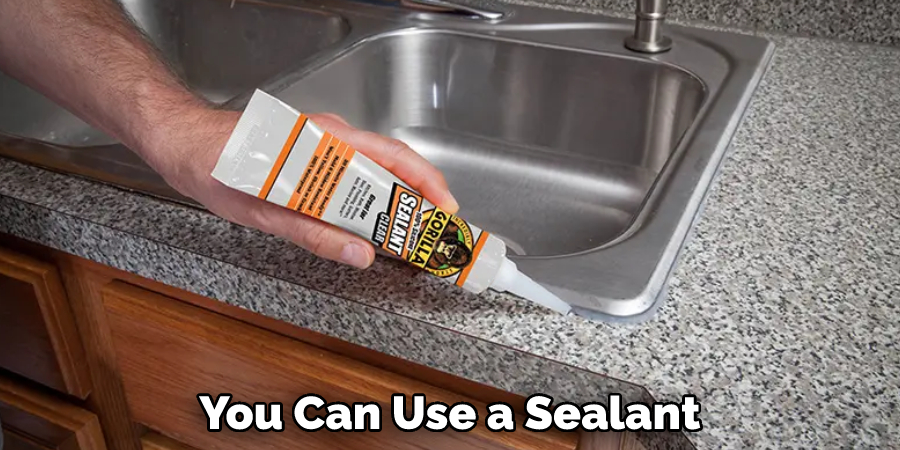
You can use a sealant to help provide an added layer of protection against any water damage. Applying the sealant is easy; simply apply it around the hole’s edges and let it dry before continuing with your sink project. Once you have finished all of the above steps, you must test out the hole. Run some water through the sink and ensure that it is draining correctly; this will help ensure that no further adjustments need to be made.
Precautions for How to Cut a Hole in a Stainless Steel Sink
- Wear safety glasses to protect your eyes from debris and dust generated during the cutting process.
- Wear gloves before handling the stainless steel sink, as its edges may be sharp.
- Ensure that you have a secure surface for working on the sink – a vice is ideal for this purpose, as it will stabilize the sink to ensure a clean and accurate cut.
- Use a sharp drill bit that is appropriate for use on stainless steel, such as carbide or diamond-tipped bits.
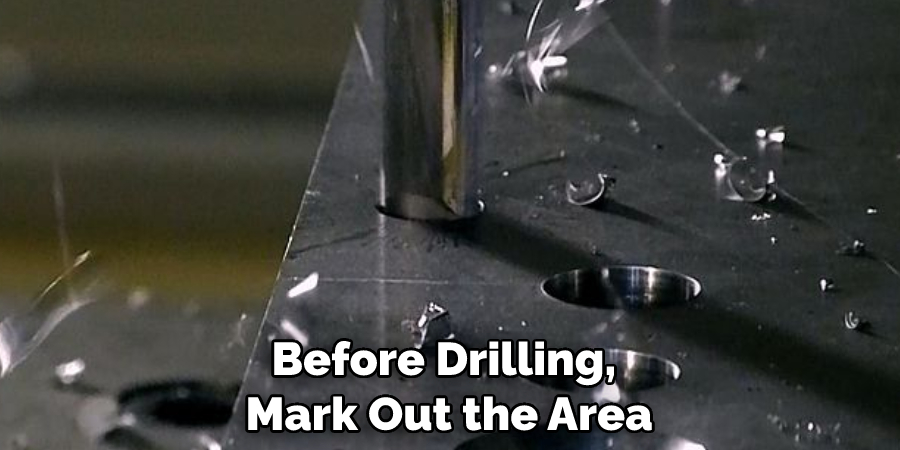
- Before drilling, mark out the area where you intend to cut – this will help you keep an eye on your progress during the cutting process.
- Begin drilling slowly and gradually increase the speed while applying light pressure to avoid any chipping or cracking of the steel.
- Remove any debris generated during drilling with a vacuum cleaner or brush to prevent it from clogging up your drill bit.
- Finally, ensure that all sharp edges are sanded down and smoothened so that there is no risk of injury.
By following these safety tips, you can ensure a safe and successful cutting process when working with stainless steel sinks.
How Long Does It Take to Cut a Hole in a Stainless Steel Sink Successfully?
Cutting a hole in a stainless steel sink requires special tools and techniques. It’s important to be patient and take your time when cutting the hole, as there is no room for error. Depending on the hole size you need to cut, it may take anywhere between 30 minutes to an hour or more. This timespan will include the time needed to gather the appropriate tools, mark out the area that needs to be cut, and make adjustments as needed.
When cutting a hole in stainless steel, it’s essential to use the right tools. A drill with a metal-cutting bit is recommended for drilling holes in stainless steel sinks. Additionally, some abrasive tools like a grinding wheel or a Dremel can be used for grinding and cutting away excess stainless steel.
How Should the Area Around the Hole Be Handled to Prevent Damage?
When cutting a hole in a stainless steel sink, it is important to take measures to protect the area around the cut. To prevent chipping or other damage, you should line the surface area with high-temperature tape and masking paper. Make sure all of the edges are sealed tightly with no gaps that could allow debris particles to enter the sink.
Once the tape and paper are in place, you can begin cutting the hole with a jigsaw. For best results, use a bi-metal blade specifically made for stainless steel, such as one made from cobalt or high-speed steel. You should also make sure to set the saw at a low speed to avoid creating too much heat. This will help reduce the risk of warping or burning the metal.
How Should You Clean the Area Around the Hole After It is Cut?
Once you have successfully cut a hole in your stainless steel sink, carefully clean the area around the hole. The best way to do this is by using a cloth, mild dish soap, or an all-purpose cleaner. Ensure you thoroughly rinse any excess residue before drying with a soft towel. If chlorine bleach has been used, it is important to rinse the area several times with clean water.
If the sink has been damaged during installation, such as scratches or dents, you can apply a stainless steel cleaner. This will help restore the original shine and luster of your sink. Make sure to follow any manufacturer instructions for proper application and safety precautions.
Conclusion
One of the major disadvantages of cutting a hole in a stainless steel sink is that it can be difficult, time-consuming, and dangerous. Stainless steel is much harder than other materials, so it can take longer to cut through.
If you are inexperienced or lack the right tools, you could damage your sink or even hurt yourself while trying to cut through it. Additionally, the cutting process creates a lot of metal dust and debris, which can be hazardous to your health if inhaled and should be disposed of properly.
In Conclusion, cutting a hole in a stainless steel sink isn’t as difficult as you may think. With the right tools, supplies, and instructions, you can easily cut a hole into your sink for any purpose. I hope reading this post has helped you learn how to cut a hole in a stainless steel sink. Make sure the safety precautions are carried out in the order listed.
You Can Check It Out to Get Jewellery Out of Sink Drain

