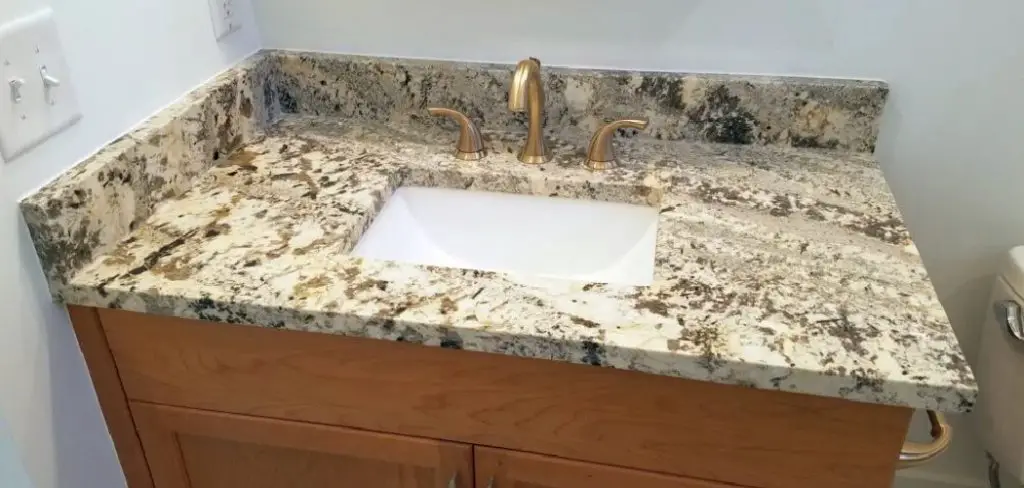
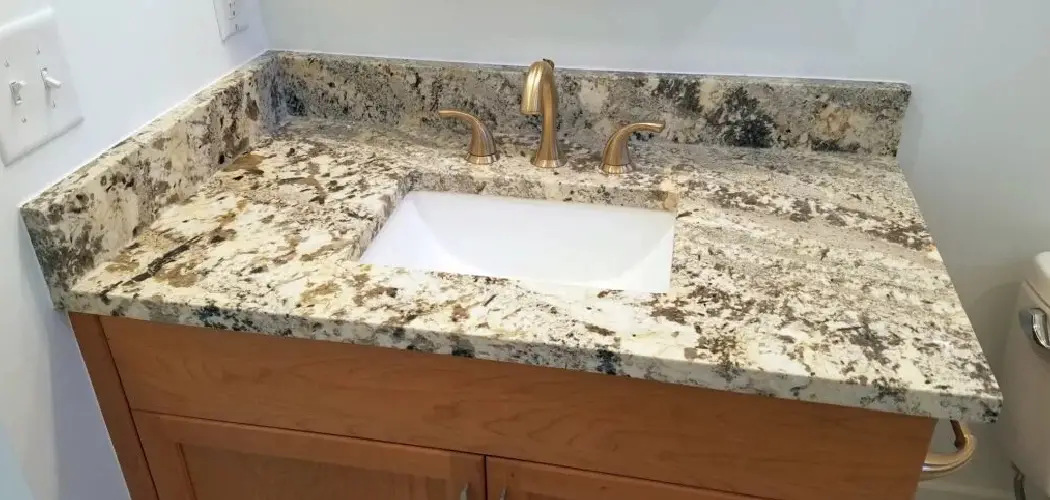
Embarking on a kitchen renovation or installing a new sink often requires the precision and care of cutting a countertop to accommodate the sink’s dimensions. This critical step ensures a seamless and aesthetically pleasing integration of the sink into the countertop surface. In this comprehensive guide, we will explore the step-by-step process of how to cut countertop for sink. From measuring and marking the cutout area to choosing the right tools, such as jigsaws or circular saws, we’ll provide valuable insights and practical tips.

Understanding the intricacies of this task empowers homeowners and DIY enthusiasts to achieve a professional-looking result, enhancing both the functionality and visual appeal of their kitchen space. Say goodbye to countertop installation concerns as we demystify the process of cutting a countertop for a sink, ensuring a successful and polished outcome.
Importance of Proper Countertop Cutting for Sink Installation
When it comes to installing a sink in your kitchen or bathroom, properly cutting the countertop is one of the most crucial steps. A poorly cut countertop can lead to an ill-fitting sink, which not only looks unattractive but also causes functional issues.
One of the main reasons why proper countertop cutting is important for sink installation is that it ensures a perfect fit. A sink that doesn’t fit snugly into the countertop can cause numerous problems, such as leaks and cracks in the surrounding area. This not only affects the aesthetics of your kitchen or bathroom but also poses a potential safety hazard.
Moreover, proper countertop cutting allows for efficient installation. A precise cut means that there won’t be any gaps between the sink and the countertop, making it easier to secure the sink in place. This also minimizes the risk of water leakage and damage to your cabinets or floors.
Another reason why proper countertop cutting is essential is that it ensures a smooth and seamless finish. A well-cut countertop provides a clean edge, which not only looks visually appealing but also makes cleaning and maintenance much easier.
On the other hand, a poorly cut countertop can have jagged edges or uneven surfaces, which can harbor dirt and grime, making it difficult to keep clean.
10 Methods How to Cut Countertop for Sink
1. Measure and Mark
Before cutting your countertop, it is important to accurately measure and mark where the sink will be placed. Use a pencil and ruler to create a template of the sink’s shape and size on the countertop. This will serve as a guide for cutting and ensure that the sink fits snugly into the opening.

2. Use a Jigsaw
A jigsaw is a versatile tool that can easily cut through most countertop materials. Place the marked template on top of the countertop and use a jigsaw with a fine-toothed blade to carefully cut along the lines. Make sure to use a jigsaw with variable speed and start by cutting at a slower pace, gradually increasing the speed as you progress. This will prevent chipping or splintering of the countertop material.
3. Drill Holes
If your sink has rounded corners, you may need to drill holes at each corner before using the jigsaw. This will allow you to make smoother cuts without damaging the countertop. Use a drill with a hole saw attachment to create the holes, making sure they are evenly spaced and in line with the sink template.
4. Sand Edges
After cutting, use sandpaper or an electric sander to smooth out any rough edges or uneven surfaces around the sink cutout. This will ensure a clean and professional finish. For the best results, start with a coarse grit sandpaper and gradually move to a finer grit for a smoother finish.
5. Use a Router
For more precise cuts, consider using a router with a flush-cutting bit to trim away excess material around the sink cutout. This method may take longer but can result in cleaner edges. Make sure to use a router with an adjustable depth setting and set it to the desired thickness of your countertop. You may want to practice on a scrap piece of wood before attempting to cut the actual countertop.
6. Consider Prefabricated Sink Cutouts
Some home improvement stores offer prefabricated sink cutouts that are already sized and shaped for specific sinks. This can save time and effort in cutting your own sink hole. However, keep in mind that these prefabricated cutouts may not perfectly match your sink or countertop dimensions. It is important to measure carefully and make sure the prefabricated cutout will fit properly.
7. Use Protective Gear
When cutting countertops, it is important to wear protective gear such as safety glasses and gloves to prevent injury from flying debris or sharp edges. Additionally, using a dust mask is recommended to avoid inhaling any dust particles that may be released during the cutting process.

8. Follow Manufacturer Instructions
If you are installing a new sink, be sure to follow the manufacturer’s instructions for cutting the countertop specifically for that type of sink. This will ensure that you make the correct cuts and achieve a proper fit for your sink. However, if you are cutting an existing countertop for a new sink, the following steps will guide you through the process.
9. Test Fit Before Finalizing Cuts
It is always recommended to test fit your sink before making final cuts on your countertop. This will ensure that everything fits properly and allows for any adjustments if needed. Although most sinks come with a template, it is still important to test fit as each sink and countertop can vary slightly in size and shape.
10. Seek Professional Help
If you are unsure or uncomfortable with cutting your countertop for a sink, it is best to seek professional help. This will ensure that the job is done correctly and safely. Professional contractors have the experience and tools necessary to cut a countertop precisely and efficiently.
Things to Consider When Cutting Countertops
Countertops have become the focal point of many kitchens and bathrooms, with homeowners opting for unique materials and designs to enhance their living spaces. However, installing a sink into your countertop can be a daunting task if you are not equipped with the right knowledge and tools.
Improperly cutting your countertop can lead to expensive mistakes, such as cracks and uneven edges, which can be difficult to repair. In this guide, we will discuss the important things you need to consider when cutting countertops for a sink.
Choosing the Right Countertop Material
The first step in cutting your countertop is choosing the right material. Different materials have different properties, which can affect how they are cut and installed. Some popular options include granite, marble, quartz, and laminate. It is essential to research the characteristics of each material before making a decision. For example, granite and marble are natural stones that require special cutting tools and techniques, while laminate can be easily cut with a circular saw.

Measuring and Marking
Before cutting your countertop, you must measure the exact dimensions of your sink and mark them on the countertop. This will help you ensure that the sink fits snugly and evenly in the cutout. It is important to use a straight edge and a carpenter’s square to create precise markings. Double-check your measurements before making any cuts to avoid mistakes.
Choosing the Right Cutting Tool
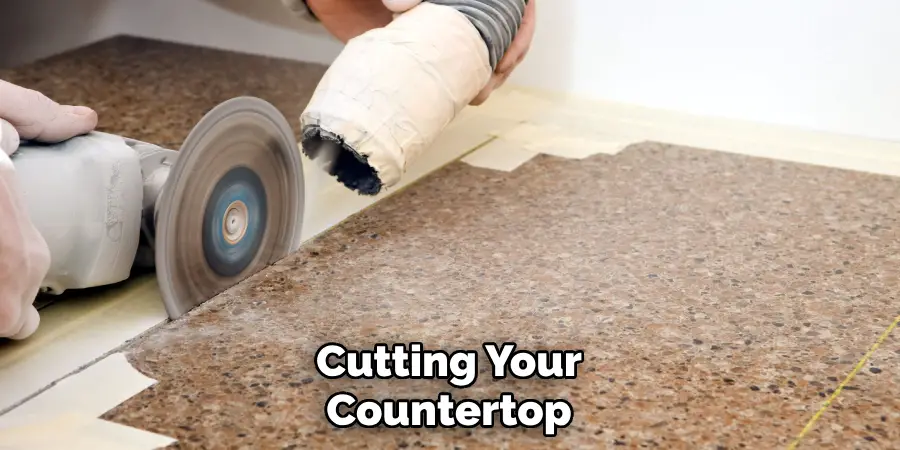
The type of cutting tool you choose will depend on the material of your countertop and the complexity of the cut. For natural stone countertops, a wet tile saw or angle grinder with a diamond blade is recommended for smooth and precise cuts. On the other hand, laminate countertops can be cut with a circular saw equipped with a fine-toothed carbide blade.
Safety Precautions
When working with power tools, it is crucial to prioritize safety. Wear protective gear, such as gloves and safety glasses, to avoid any accidents. Make sure to read the instruction manual of your cutting tool before use and follow all safety guidelines.
Making the Cut
Once you have measured and marked your countertop, it is time to make the cut. Start by drilling a hole at each corner of the sink cutout to create an opening for the blade. Then, carefully follow the marked lines while cutting with your chosen tool. Take your time and make slow, steady cuts to ensure accuracy.

Conclusion
In conclusion, now that you have learned how to cut countertop for sink, you are ready to take on any kitchen or bathroom renovation project with confidence. Remember to take the necessary safety precautions and follow the steps carefully to ensure a successful outcome. And don’t forget the importance of measuring twice and cutting once!
Maybe this tutorial has inspired you to take on more DIY projects in your home, or perhaps it has sparked a new interest in woodworking. Either way, I hope this guide has been helpful and informative. Now, go grab your tools and get started on creating the perfect countertop for your sink! Don’t forget to share your results and experiences with us in the comments below. Happy renovating!

