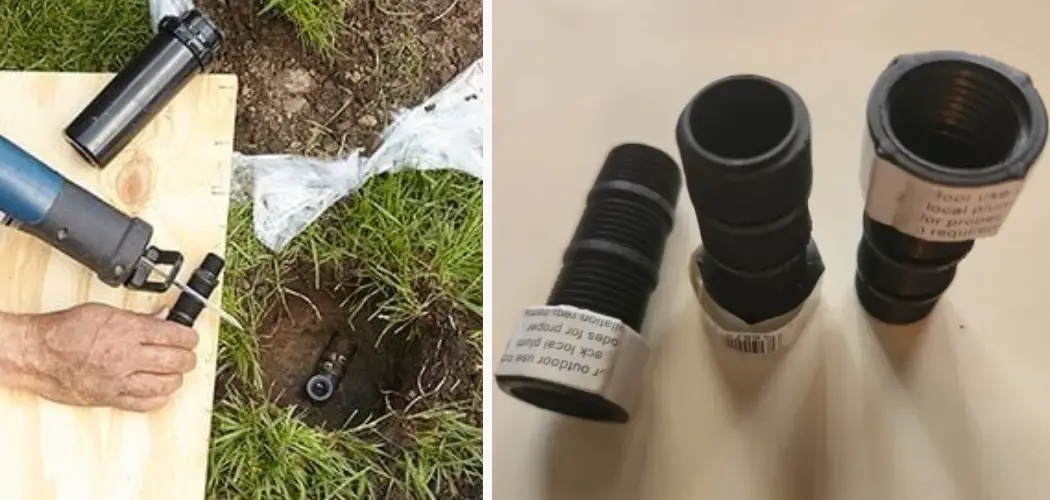
Sprinkler risers are an essential part of any irrigation system. They are vertical pipes that connect the underground mainline to the sprinkler heads, allowing water to flow from the mainline to the sprinklers. Over time, these risers may need to be cut or replaced due to wear and tear, changes in landscape design, or other reasons.
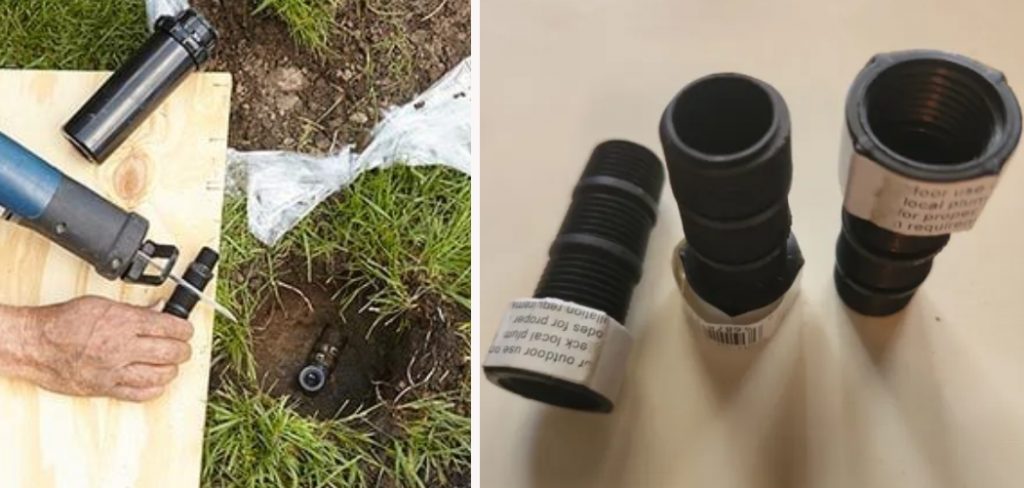
Cutting a sprinkler riser may seem like a daunting task, but with the right tools and techniques, it can be done quickly and easily. In this guide on how to cut sprinkler riser, we will walk you through the steps of cutting a sprinkler riser, from gathering the necessary materials to making a clean cut.
Gather Materials
Before you begin, make sure you have all the necessary tools and materials. These include:
- Safety glasses
- Gloves
- Pipe cutter or hacksaw
- Tape measure
- Marker or pencil
- Teflon tape (optional)
8 Things to Know Before You Start
1) Determine the Cutting Point
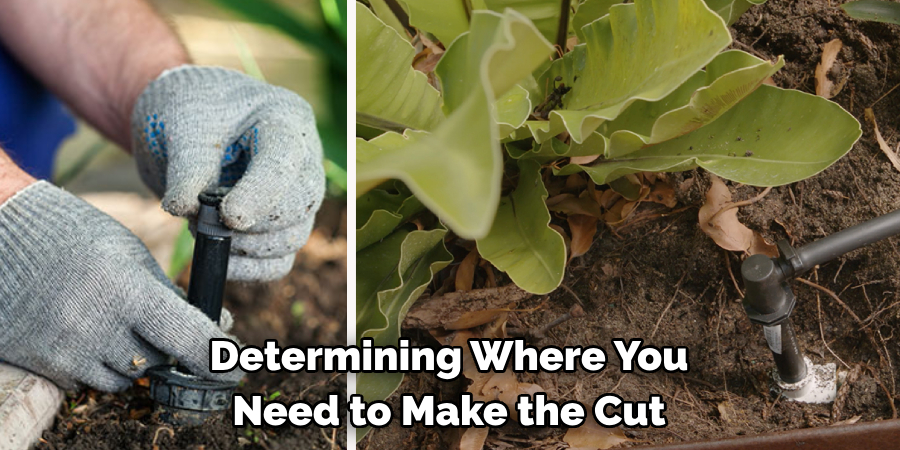
The first step in cutting a sprinkler riser is determining where you need to make the cut. This will depend on why you are cutting the riser in the first place. If you are replacing a damaged section of the riser, measure the length of the damaged section and add an extra inch on either side for fitting into connectors. If you are cutting the riser to adjust its height for changes in landscape design, determine how much shorter or taller you need it to be and mark this point on the riser.
2) Turn Off the Water Supply
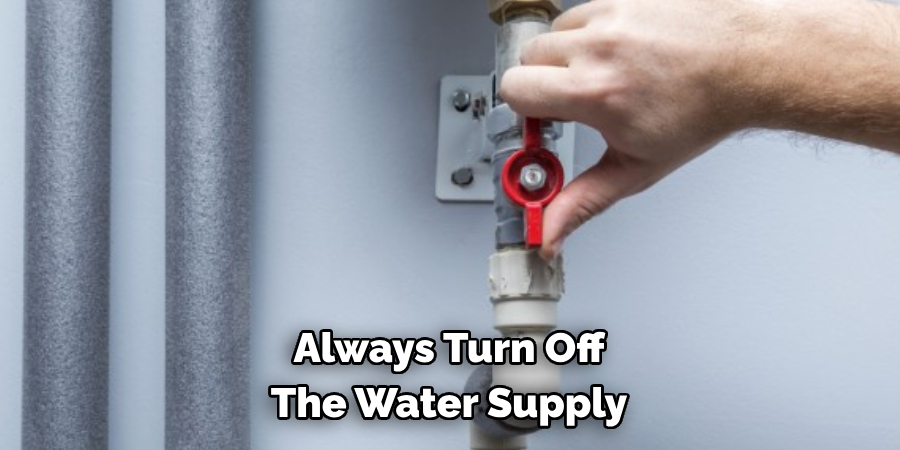
Before cutting any part of your irrigation system, it is crucial to turn off the water supply. This will prevent water from spraying out and causing a mess or potential damage. But more importantly, it will ensure your safety during the cutting process. Locate the main water shut-off valve for your sprinkler system and turn it off.
3) Drain the System
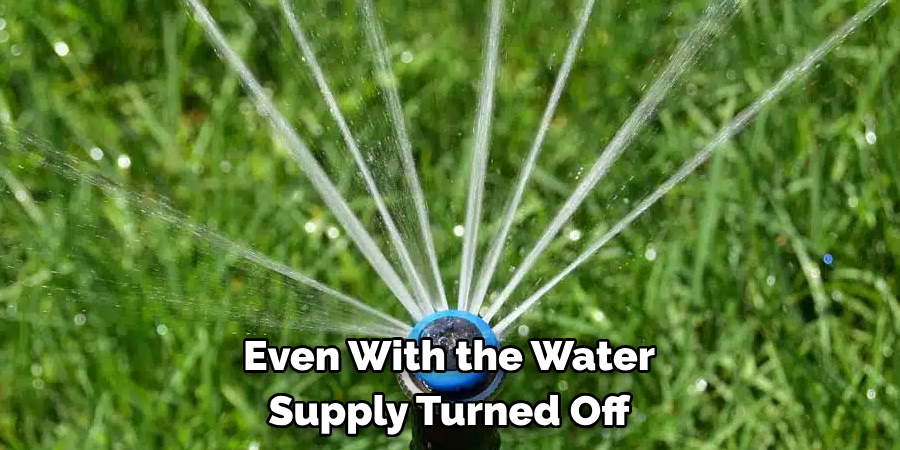
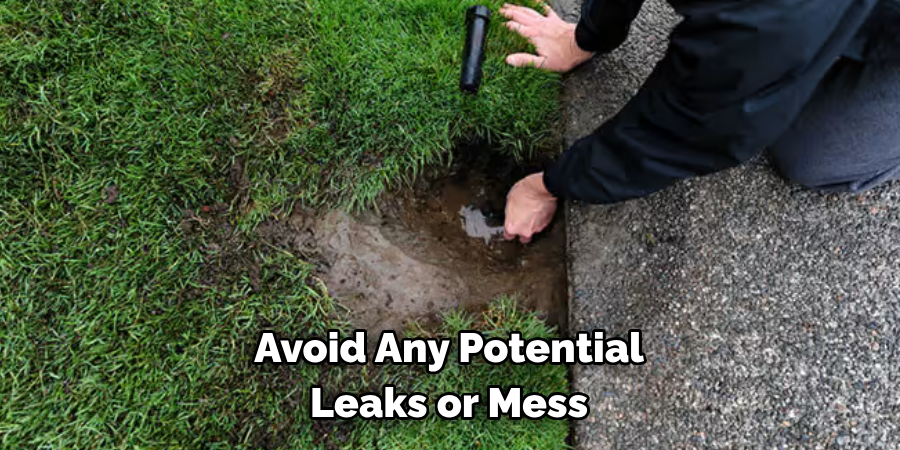
Even with the water supply turned off, there may still be some residual water in the pipes. To prevent any potential leaks or mess, drain the system by opening a nearby valve or running a zone of your sprinkler system until no water comes out.
4) Wear Protective Gear
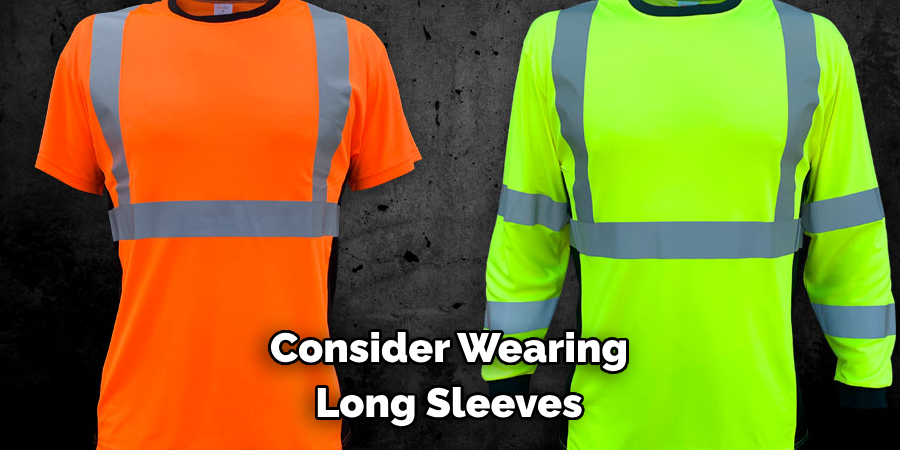
When working with pipes, it is always important to protect yourself. Wear safety glasses and gloves to prevent any potential injuries from sharp edges or debris. If you are using a hacksaw, consider wearing long sleeves to protect your arms from any metal shavings.
5) Use a Pipe Cutter or Hacksaw
There are two main tools you can use to cut sprinkler risers: a pipe cutter or a hacksaw. A pipe cutter is the preferred tool as it makes cleaner and more precise cuts, but a hacksaw will also do the job. Whichever tool you use, make sure it is sharp and in good condition.
6) Mark the Cutting Point
Using a tape measure and marker or pencil, mark the cutting point on the riser. Double-check that your measurements are accurate to ensure a clean cut. If you are using a pipe cutter, place the cutting wheel on the mark, and if you are using a hacksaw, use the mark as a guide for your saw.
7) Make the Cut
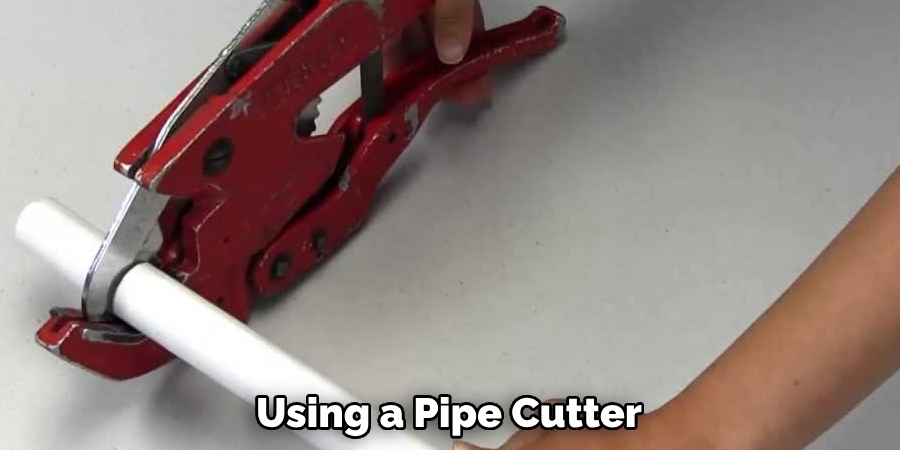
If you are using a pipe cutter, place it around the riser, tighten it until it locks onto the riser, and then rotate it in a back-and-forth motion until the cut is complete. If you are using a hacksaw, use long and smooth strokes to make the cut, applying pressure on the downstroke. Make sure to keep your saw blade perpendicular to the riser for a straight cut.
8) Clean Up
After making the cut, remove any burrs or sharp edges by filing them down with sandpaper or a deburring tool. This will prevent any potential leaks in the future. If you are using a pipe cutter, rotate the cutter back and forth to smooth out any rough edges.
12 Steps on How to Cut Sprinkler Riser
Step 1: Gather Materials
Before you start cutting, make sure you have all the necessary tools and materials within reach. This includes safety gear, a cutting tool, a tape measure, and Teflon tape (optional). As mentioned earlier, the preferred cutting tool is a pipe cutter, but a hacksaw will also do the job.
Step 2: Determine the Cutting Point
As discussed before, determine where you need to make the cut on the sprinkler riser. This will depend on your specific reason for cutting the riser. If you are replacing a damaged section, make sure to add an extra inch on either side for fitting into connectors.
Step 3: Turn Off the Water Supply
Before cutting any part of your irrigation system, always turn off the water supply. This will prevent potential damage or accidents and ensure your safety during the cutting process. Locate the main water shut-off valve for your sprinkler system and turn it off.
Step 4: Drain the System
Even with the water supply turned off, there may still be residual water in the pipes. To avoid any potential leaks or mess, drain the system by opening a nearby valve or running a zone of your sprinkler system until no water comes out.
Step 5: Wear Protective Gear
Always protect yourself when working with pipes by wearing safety glasses and gloves. Consider wearing long sleeves if you are using a hacksaw to avoid any potential injuries from metal shavings. As always, safety comes first.
Step 6: Use a Pipe Cutter or Hacksaw
As mentioned earlier, there are two main tools you can use to cut sprinkler risers. A pipe cutter is the preferred tool as it makes cleaner and more precise cuts, but a hacksaw will also get the job done. Choose whichever tool you feel most comfortable using. Just make sure it is sharp and in good condition.
Step 7: Mark the Cutting Point
Using a tape measure and marker or pencil, mark the cutting point on the riser. Double-check your measurements to ensure an accurate cut. If you are using a pipe cutter, place the cutting wheel on the mark, and if you are using a hacksaw, use the mark as a guide for your saw.
Step 8: Make the Cut
If you are using a pipe cutter, place it around the riser, tighten it until it locks onto the riser, and then rotate it in a back-and-forth motion until the cut is complete. If you are using a hacksaw, use long and smooth strokes to make the cut, applying pressure on the downstroke. Keep your saw blade perpendicular to the riser for a straight cut.
Step 9: Clean Up
After making the cut, remove any burrs or sharp edges by filing them down with sandpaper or a deburring tool. This will prevent potential leaks in the future. If you are using a pipe cutter, rotate the cutter back and forth to smooth out any rough edges.
Step 10: Apply Teflon Tape (Optional)
If you are replacing a damaged section of the sprinkler riser, it is recommended to apply Teflon tape to the threads before connecting them. This will create a tighter seal and prevent leaks in the future. And since you already have the riser cut, it is the perfect time to add this extra step.
Step 11: Connect the Riser
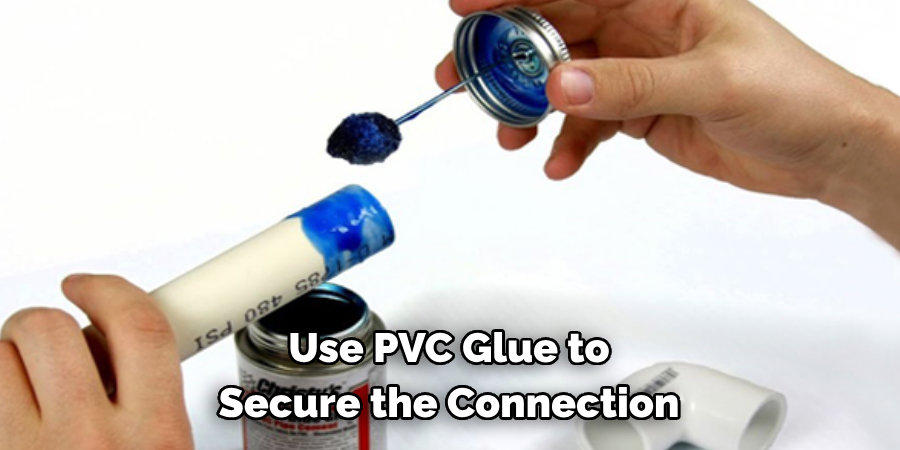
Once you have cut and cleaned up your sprinkler riser, it’s time to connect it. If you are using a replacement part, make sure to insert an extra inch of riser on either side to fit it into connectors. If you are connecting PVC pipes, use PVC glue to secure the connection.
Step 12: Test Your Work
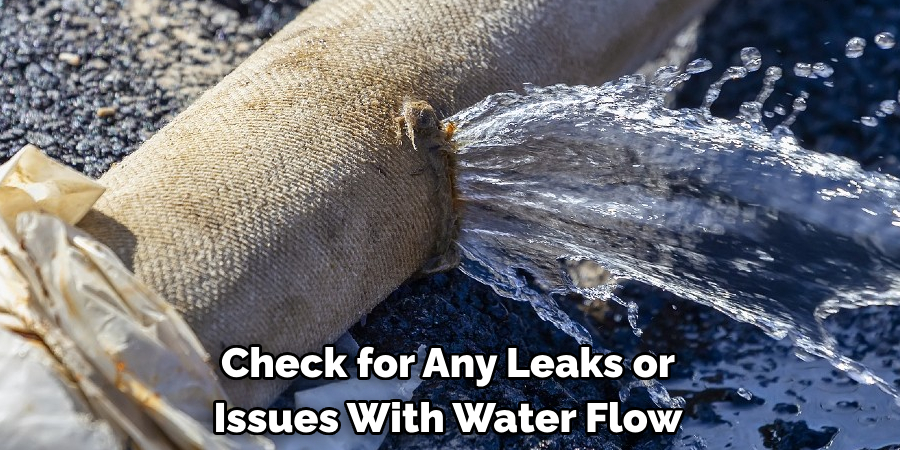
After completing all the steps, turn on your sprinkler system’s water supply and test your work. Check for any leaks or issues with water flow. If everything looks good, congratulations! You have successfully cut a sprinkler riser.
Now that you have learned how to cut a sprinkler riser, you can confidently make any necessary repairs or adjustments to your irrigation system. Remember to always prioritize safety and accuracy when working with pipes, and take the time to clean up properly and test your work afterward. With proper maintenance, your sprinkler system will continue to keep your lawn lush and green for years to come.
8 Things to Avoid When Cutting Sprinkler Risers
1) Cutting Without Turning Off the Water Supply
One of the most important steps in cutting sprinkler risers is to turn off the water supply before starting. Failing to do so can result in potential damage or accidents, and it is crucial for your safety. Forgetting to turn off the water supply can also lead to a messy cleanup and wasted time.
2) Not Measuring Accurately
It’s essential to take accurate measurements when determining the cutting point on your sprinkler riser. Failing to do so can result in an uneven or incorrect cut, which can cause issues with water flow or leaks. Always double-check your measurements before making a cut.
3) Using Dull Cutting Tools
Using a dull cutting tool can make the cutting process more difficult and result in an uneven or jagged cut. Make sure to use a sharp and properly maintained pipe cutter or hacksaw to ensure clean and precise cuts.
4) Skipping Safety Gear
Working with pipes can be dangerous, so it’s crucial to always wear the proper safety gear. This includes safety glasses, gloves, and long sleeves if using a hacksaw. Protecting yourself should always be a top priority when cutting sprinkler risers.
5) Rushing the Process
Cutting sprinkler risers requires patience and attention to detail. Rushing through the process can result in mistakes or accidents. Take your time and follow each step carefully to ensure a successful cut and prevent any issues down the line.
6) Neglecting to Drain the System
Even with the water supply turned off, there may still be residual water in the pipes. Failing to drain the system can result in leaks during or after cutting the riser. It’s essential to take the time to drain the system properly before beginning any cutting.
7) Applying Too Much or Too Little Teflon Tape
If you choose to use Teflon tape when connecting your sprinkler riser, it’s essential to apply the right amount. Applying too much can cause difficulties in fitting the parts together while applying too little can result in leaks. Follow the instructions for proper application or seek guidance from a professional.
8) Forgetting to Test Your Work
After completing the cutting and connecting process, it’s crucial to test your work before finishing up. This will ensure that there are no leaks or issues with water flow and give you peace of mind knowing that your sprinkler system is functioning properly. Don’t skip this important step. By avoiding these common mistakes, you can ensure a successful and hassle-free process when cutting sprinkler risers. With the right tools, techniques on how to cut sprinkler riser, and precautions, you can confidently maintain and repair your irrigation system for a healthy and vibrant lawn. So go ahead and tackle those pesky sprinkler repairs with ease!
8 Additional Tips for Cutting Sprinkler Risers
1) Consider Using a PVC Pipe Cutter
If you frequently work with sprinkler risers or irrigation systems, investing in a PVC pipe cutter may be worth it. This specialized tool can make cutting pipes quicker and easier while producing clean and precise cuts.
2) Use a Marker to Mark Your Cut Line
When measuring and marking your cutting point on the sprinkler riser, use a permanent marker instead of a pencil. This will ensure that the line doesn’t smudge or fade during the cutting process. As a bonus, you can easily see the line even when using a pipe cutter.
3) Cut Outside of the Marked Line
When using a hacksaw or pipe cutter, aim to cut slightly outside of your marked line. This will ensure that you have a clean and smooth edge after filing down any rough edges. It’s always better to start with more material and make small adjustments as needed.
4) File Down Rough Edges
After making your cut, use a file to smooth out any rough or jagged edges. This will prevent damage to O-rings or other parts when connecting the riser. It will also ensure a tight and secure fit when connecting PVC pipes.
5) Keep Spare Parts on Hand
It’s always a good idea to keep spare parts on hand, such as connectors or risers. This way, if you make a mistake or need to replace a damaged part, you’ll have everything you need without having to make an extra trip to the store.
6) Use Thread Sealant for Metal Connections
If you are connecting metal sprinkler risers, use thread sealant instead of Teflon tape. This will provide a tighter and more secure connection for the long term.
7) Consider Installing Drip Irrigation
If you are looking to save water and have more precise control over your irrigation system, consider installing drip irrigation. Drip irrigation delivers water directly to the roots of plants, reducing evaporation and waste. It can also be more precise and efficient for watering specific areas or plants.
8) Seek Professional Help if Unsure
If you are unsure about cutting sprinkler risers or encounter any issues during the process, don’t hesitate to seek professional help. DIY projects can save money, but safety and accuracy should always come first. Don’t hesitate to contact a professional if you need assistance or guidance. So there you have it, eight additional tips to help you cut sprinkler risers like a pro! With these tips on how to cut sprinkler riser and the proper precautions, you can confidently tackle any sprinkler repair or maintenance task. Remember to always prioritize safety and accuracy for the best results.
Frequently Asked Questions
How Do I Know if My Cutting Tool is Sharp?
There are a few ways to determine if your cutting tool is sharp. One way is to try cutting a piece of paper with it – if the tool cuts through the paper easily and without tearing, it’s likely sharp. Another way is to check for any visible signs of wear or dullness on the blade. If your tool is not sharp, sharpening it before use is highly recommended.
Can I Use a Different Type of Tape for Connecting Sprinkler Risers?
While Teflon tape is commonly used for connecting sprinkler risers, there are other types of tapes available that can serve the same purpose. However, make sure to check if they are suitable for use with PVC pipes and if they provide a tight and secure seal.
Is it Essential to Drain the System Before Cutting Sprinkler Risers?
Yes, draining the system before cutting sprinkler risers is crucial. Even with the water supply turned off, there may still be residual water in the pipes that can cause leaks or issues during and after cutting. Taking the time to drain the system properly can prevent these problems and ensure a smooth cutting process.
How Do I Test My Work After Cutting Sprinkler Risers?
To test your work after cutting sprinkler risers, turn on the water supply and check for any leaks or issues with water flow. You can also inspect the connection points and risers for any signs of damage or misalignment. If everything looks good, you’re all set! If not, make any necessary adjustments or seek professional help if needed. Remember to always test your work after completing any sprinkler repairs or maintenance tasks.
Conclusion
Cutting sprinkler risers doesn’t have to be a daunting task. With the right tools, techniques on how to cut sprinkler riser, and precautions, you can confidently maintain and repair your irrigation system for a healthy and vibrant lawn. Remember to always prioritize safety, accuracy, and testing when working with sprinkler systems. If in doubt, seek professional help for guidance.
Now go forth and keep those sprinklers running smoothly! So there you have it: eight additional tips to help you cut sprinkler risers like a pro! With these tips and the proper precautions, you can confidently tackle any sprinkler repair or maintenance task. Remember to always prioritize safety and accuracy for the best results. Now go forth and keep those sprinklers running smoothly!

