Are you looking for an efficient and sustainable way to collect rainwater? Look no further! Not only will it help you save water and reduce your utility bill, but it’s also easy to set up and maintain.
Rainwater harvesting is an effective way to conserve water, reduce utility bills, and promote sustainability. Daisy chaining rain barrels is a simple and efficient method to maximize your rainwater storage capacity by connecting multiple barrels. This setup allows for efficient water collection and distribution, ensuring that overflow from one barrel seamlessly fills the next.
Whether you’re an experienced gardener or someone looking to make eco-friendly changes, learning how to daisy chain rain barrels is an excellent step toward sustainable water management. Let’s explore the benefits of this technique and how to set it up.
What Are the Benefits of Daisy Chaining Rain Barrels?
Daisy chaining rain barrels has several benefits, both for your property and the environment. These include:
- Increased Storage Capacity: By connecting multiple rain barrels, you can significantly increase your water storage capacity. This is especially useful during droughts or when water restrictions are in place.
- Sustainable Water Use: Collecting and reusing rainwater helps reduce strain on municipal water supplies, which can be expensive and energy-intensive to treat and distribute.
- Cost Savings: By using rainwater instead of tap water for tasks like watering plants or washing cars, you can save money on your utility bill.
- Reduction of Stormwater Runoff: Stormwater runoff from impermeable surfaces can contribute to erosion, flooding, and water pollution. By collecting rainwater in a barrel or cistern, you can help reduce the amount of stormwater runoff that enters our waterways.
- Promotes Self-Sufficiency: Collecting rainwater allows you to become more self-sufficient and less reliant on external sources for your water needs. This is especially beneficial during emergencies or natural disasters when municipal water supplies may be disrupted.
What Will You Need?
To start harvesting rainwater, you will need the following materials:
- Rain Barrel or Cistern: This is the container where you will collect and store rainwater.
- Downspout Diverter: A device that redirects water from your downspout directly into the barrel or cistern.
- Mesh Screen: Placed over the top of the barrel or cistern to prevent debris and insects from entering.
- Overflow Hose: Used to redirect excess water away from the foundation of your home.
- Leveling Blocks: These are necessary if your chosen location for the rain barrel is not level.
9 Easy Steps on How to Daisy Chain Rain Barrels
1. Choose the Right Location
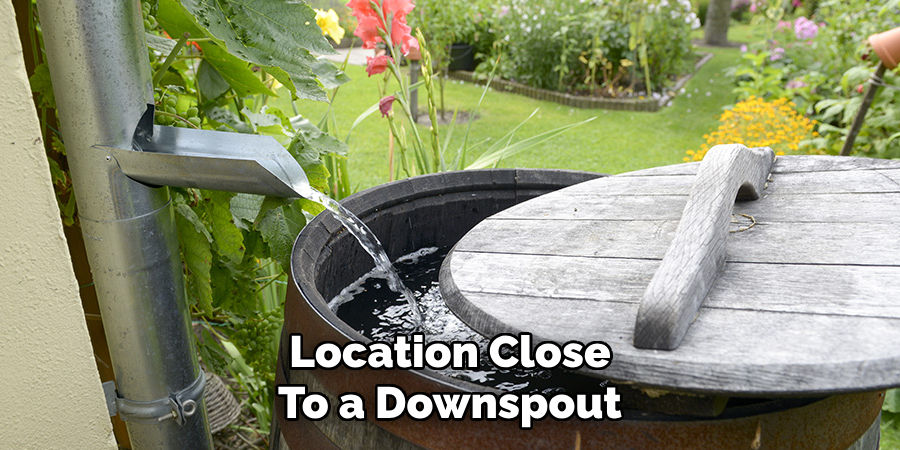
Select a location close to a downspout where rainwater naturally flows off your roof. Ensure this area is level or can be easily leveled using leveling blocks to keep the rain barrels stable and secure. The site should also provide enough space to accommodate multiple barrels in a row or in your chosen configuration for daisy chaining. Consider accessibility for routine maintenance and water usage when positioning the barrels. Lastly, make sure the barrels are placed far enough away from your home’s foundation to prevent water pooling, which can cause structural damage.
2. Prepare the Ground
Before setting up your first rain barrel, ensure the ground where it will sit is stable and level. Uneven ground can cause the barrels to tip over when they fill with water, posing a safety risk and potentially damaging the equipment. Use leveling blocks, bricks, or a sturdy platform to create a flat, secure base for the rain barrel. Ensure the chosen location is near a downspout for easy water collection and that there’s enough space to accommodate daisy-chaining multiple barrels. Properly preparing the ground will provide a strong foundation for your rainwater harvesting system.
2. Gather Materials
Once you’ve ensured a stable location for your rain barrel, it’s time to gather all necessary materials to set up your system. Start with the rain barrel itself, which can be a repurposed food-grade barrel or one specifically designed for rainwater collection. Make sure it includes a lid to prevent debris and insects from entering, as well as an overflow valve to direct excess water safely away. You’ll also need a diverter kit, which connects to your downspout and channels water into the barrel while preventing overflow from backing up into the gutter system.
3. Install the First Rain Barrel
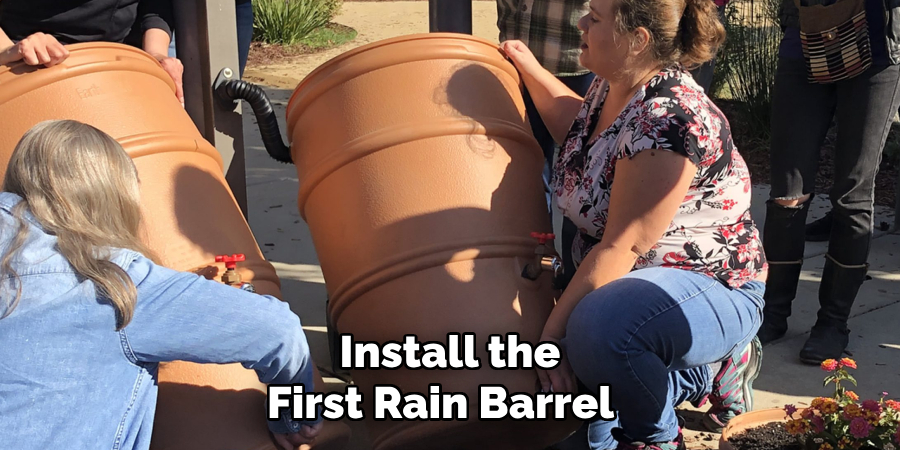
To install the first rain barrel, begin by selecting a level and stable surface near a downspout. A sturdy base is crucial to prevent tipping when the barrel is full of water, which can add significant weight. Concrete blocks or a wooden stand can be used to raise the barrel slightly off the ground, allowing better flow for water drainage and making it easier to access the spigot at the bottom.
Next, measure and cut the downspout to the appropriate height using a hacksaw, ensuring that it aligns perfectly with the inlet of the diverter kit. Attach the diverter securely, following the manufacturer’s instructions, and connect it to the rain barrel with the provided tubing. Double-check all connections for a snug fit to prevent leaks. Lastly, test the system by running water through the gutter to ensure that water flows effectively into the rain barrel, and make any necessary adjustments before sealing everything in place.
4. Choose Linking Hardware
When selecting linking hardware, it’s essential to consider both functionality and durability to ensure a reliable and long-lasting rain barrel setup. Look for high-quality materials, such as rust-resistant metals or sturdy plastics, that can withstand exposure to the elements, including sun, rain, and temperature fluctuations.
Additionally, evaluate the type of connection system that suits your setup, such as flexible tubing, spigot valves, or quick-connect fittings, which make assembly and maintenance more user-friendly. Properly chosen linking hardware not only ensures a secure connection between multiple rain barrels but also facilitates an efficient water flow between them.
5. Drill Connector Holes
To begin drilling connector holes, ensure you have the appropriate tools and materials ready. A power drill with a hole saw attachment or a drill bit of the correct size is essential for this step. Carefully measure and mark the spots on each rain barrel where the connector holes will be placed. It’s important to position these holes at a consistent height across all barrels to ensure an even flow of water between them.
Consider spacing the holes slightly above the barrel’s base to avoid clogging from sediment that may settle at the bottom over time. Before drilling, double-check your measurements to avoid errors that could compromise the connection. Once drilled, use sandpaper or a deburring tool to smooth the edges of the holes, ensuring a secure fit for the connectors and preventing potential leaks.
6. Install the Connectors
Carefully insert the connectors into the holes you’ve prepared, ensuring a snug and watertight fit. Depending on the type of connectors you are using, you may need to apply a threaded sealant or plumber’s tape to prevent leaks. Tighten the fittings securely, but be cautious not to overtighten, as this might damage the connectors or the barrel. For added stability and leak prevention, consider using rubber washers or gaskets on both sides of the barrel where the connectors are placed.
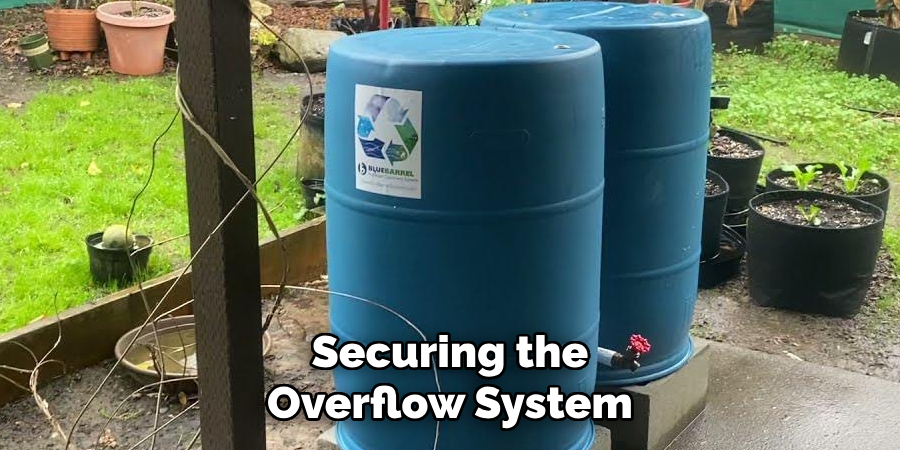
7. Secure the Overflow System
Securing the overflow system is a crucial step to ensure proper functionality and prevent water from pooling around the barrel during heavy rains. Start by attaching an overflow pipe or hose to the designated outlet near the top of the barrel. This overflow outlet should be slightly lower than the barrel’s top edge to prevent water from spilling over. Use a watertight fitting or adapter to connect the pipe or hose, ensuring it stays securely in place during use.
8. Test the System
Testing the system is an essential step to confirm that all components are functioning as intended and that there are no leaks or blockages. Begin by simulating rainfall or allowing water to flow into the barrel through your collection area, such as the connected gutter or downspout. Observe the water entering the barrel to ensure there are no leaks around the inlet, and check that debris is being filtered effectively by the mesh or screen.
9. Stabilize and Adjust
Once the system has been tested, focus on ensuring that it is stable and adjusted adequately for long-term use. Start by checking the stability of the rain barrel itself. Ensure that it is placed on a level and sturdy surface, such as a concrete slab or reinforced platform, to prevent tipping or shifting during heavy rain.
If necessary, secure the barrel with straps or supports to hold it firmly in place. Next, verify that the downspout or connected inlet is angled appropriately to direct water flow into the barrel and doesn’t cause any splashing or overflow outside the system. Adjustments to the positioning or connections might be needed for optimal performance.
By following these steps, you can effectively daisy chain rain barrels to maximize your rainwater harvesting efforts and reduce water waste.
Conclusion
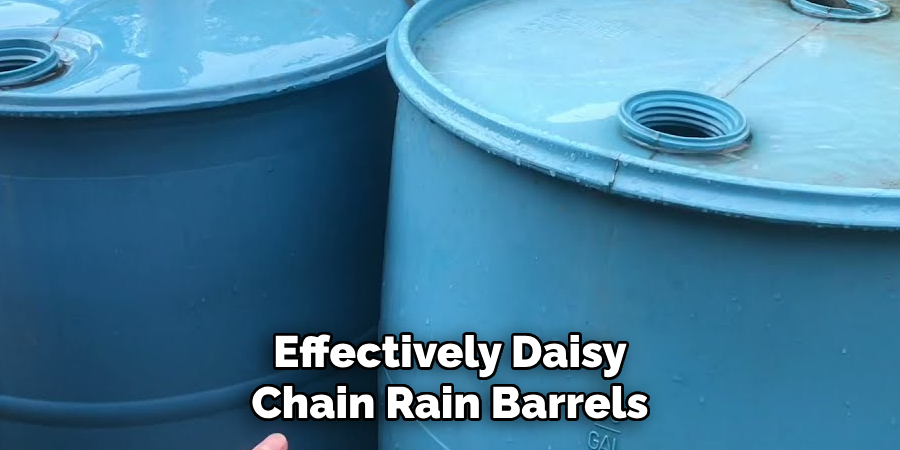
How to daisy chain rain barrels is a practical and efficient way to expand your rainwater collection system.
By connecting multiple barrels, you can significantly increase your water storage capacity without requiring additional downspouts. This method not only helps conserve water but also reduces dependency on municipal water supplies, making it an eco-friendly solution.
With proper setup and maintenance, a daisy chain system can provide a reliable source of water for tasks such as gardening, cleaning, or other outdoor uses, contributing to sustainable water management practices.

