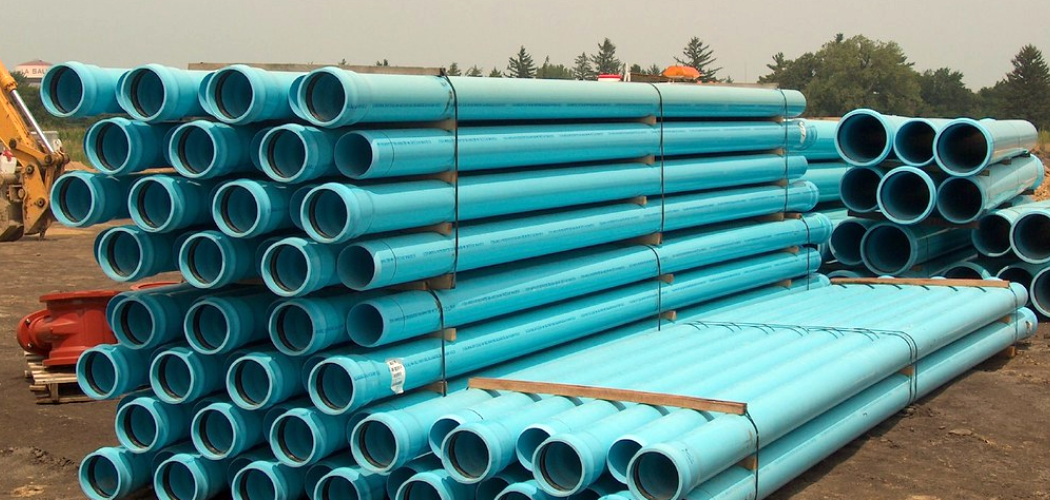
Are you tired of dealing with rough edges on PVC pipes? Deburring is the process of removing these rough edges and creating a smooth, clean finish.
Deburring PVC pipe is crucial in ensuring a smooth and reliable connection during plumbing or construction projects. When PVC pipe is cut, rough edges and burrs are often left behind, which can lead to poor fittings, leaks, or blockages if not adequately addressed. Removing these imperfections ensures that the pipe connections are clean and snug, promoting better performance and extending the system’s longevity. Fortunately, deburring is a straightforward process that requires only a few essential tools and a little attention to detail.
This guide on how to deburr PVC pipe will walk you through the proper steps to deburr PVC pipe effectively.
What Are the Benefits of Deburring PVC Pipe?
Deburring PVC pipe offers several benefits, including:
- Improved Functionality: By removing rough edges and burrs, the connections between pipes will be smoother and tighter, ensuring a more functional system overall.
- Better Aesthetics: Deburred PVC pipes look cleaner and neater, making them more visually appealing for projects that are visible.
- Reduced Risk of Leaks or Blockages: Rough edges on PVC pipes can cause obstructions or leaks in plumbing systems, leading to costly repairs. By deburring the pipes, you minimize this risk and ensure a smoother water flow or other materials through the system.
- Safer Handling: Removing sharp burrs from PVC pipes makes them safer to handle, reducing the risk of cuts or injuries during construction or maintenance.
- Cost Savings: By properly deburring PVC pipes, you can minimize the risk of costly repairs and replacements in the future, saving time and money in the long run.
What Will You Need?
Before you begin the deburring process, make sure you have the following tools on hand:
- Utility Knife or Pipe Cutter: You will need a sharp utility knife or pipe cutter to cut the PVC pipes to your desired length.
- File or Sandpaper: A file or sandpaper is necessary for removing rough edges and burrs from the cut ends of PVC pipes.
- Safety Gear: It is essential to protect yourself while working. Wear safety glasses and gloves throughout the deburring process to prevent any injuries.
10 Easy Steps on How to Deburr PVC Pipe
Step 1. Cut the PVC Pipe:
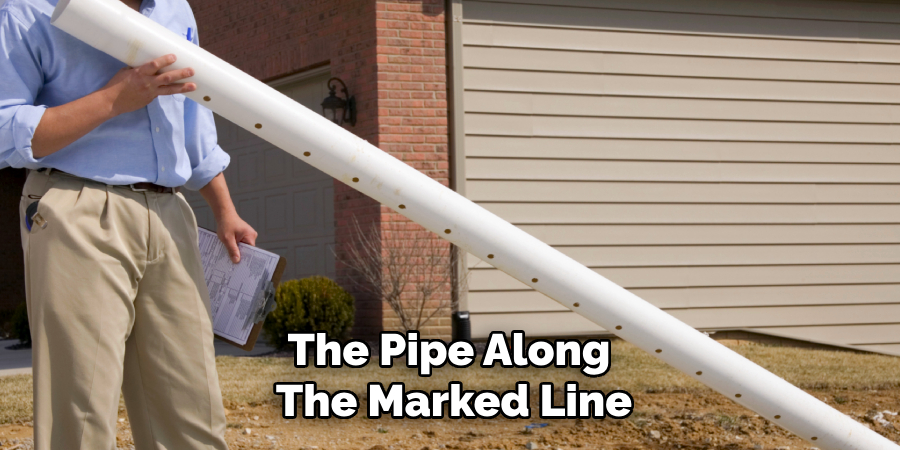
Begin by measuring and marking the PVC pipe to the desired length. Use a measuring tape to ensure accuracy, and mark the cutting point with a pencil or marker. Secure the pipe in place using a vise or pipe clamp to prevent it from moving during the cutting process. Carefully cut through the pipe along the marked line with a sharp utility knife or pipe cutter. Ensure a clean and straight cut to make the deburring process easier. Double-check the cut length to confirm that it matches your requirements before proceeding to the next step.
Step 2. Inspect the Cut Ends:
After cutting the PVC pipe, carefully inspect the ends to identify any rough edges, burrs, or uneven surfaces. These imperfections can hinder proper fitting and sealing in your project. Rotate the pipe and examine all sides to ensure no irregularities are overlooked. This step is essential for achieving a smooth finish and ensuring the pipe is ready for deburring.
Step 3. Deburr and Smooth the Edges:
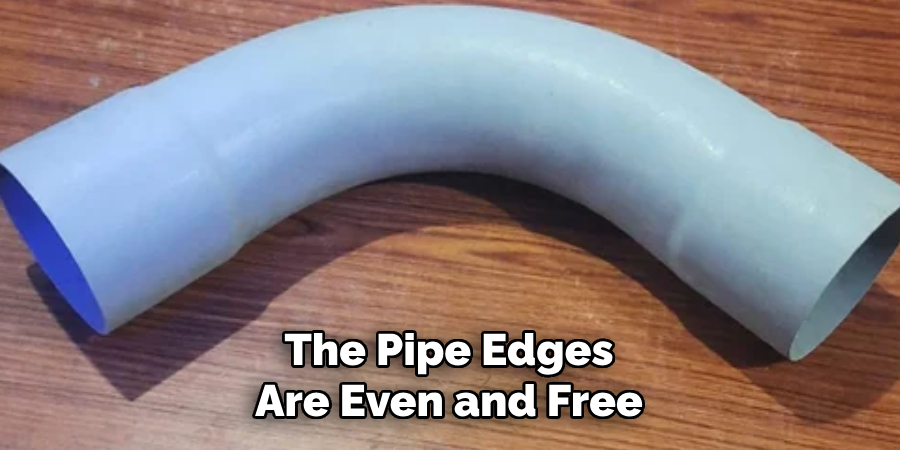
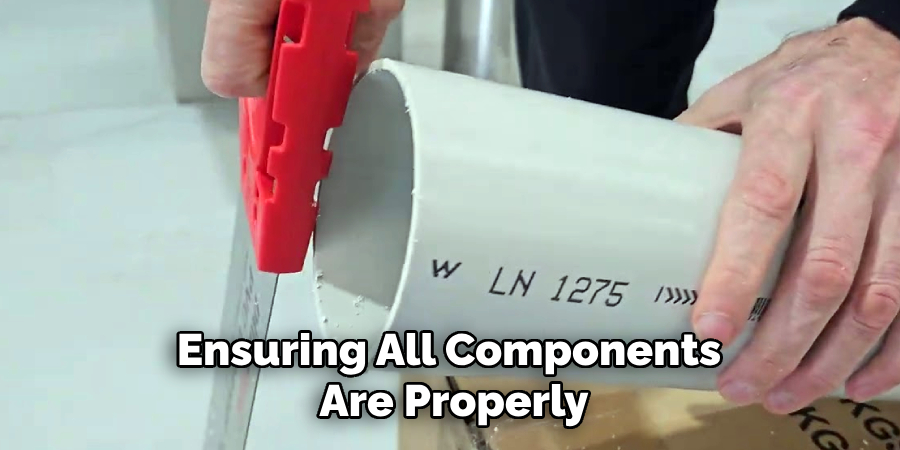
Use a deburring tool, sandpaper, or a utility knife to remove any burrs or rough edges from the cut ends of the PVC pipe. Work gently but thoroughly to achieve a smooth surface, ensuring the pipe edges are even and free of sharp fragments. This step is crucial to allow proper connections and to prevent potential leaks or damage to fittings. After deburring, clean the edges with a damp cloth to remove any debris or dust before continuing with your project.
Step 4. Test-Fit the Pipe and Fittings:
Before permanently joining the PVC pipe and fittings, it is crucial to test-fit them to ensure proper alignment and sizing. Begin by inserting the pipe into the fitting without using any adhesive. Check that the pipe slides in easily but fits snugly, creating a secure connection.
Rotate the pipe gently while inside the fitting to confirm there is no wobbling or looseness, as this could indicate an improper fit. Verify that all connections align with the intended layout of your project and that no gaps are present between the pipe and fittings. Adjust or re-cut the pipe to achieve a precise fit if any issues arise. Taking the time to test-fit ensures a seamless assembly and prevents complications during the adhesive application.
Step 5. Apply PVC Primer:
Once you have ensured a proper fit, the next step is to apply PVC primer to prepare the pipe and fittings for bonding. PVC primer is a chemical solution designed to clean and soften the surfaces, ensuring a stronger adhesive bond. Begin by using a clean applicator to apply the primer to the outside pipe and the inside of the fitting where they will connect.
Use even, consistent strokes to cover the entire surface area, avoiding excess buildup. Allow the primer to penetrate for a few seconds, but do not allow it to dry completely before moving to the next step. Proper priming ensures a secure and watertight connection, enhancing the durability of your final assembly.
Step 6. Apply PVC Cement:
After priming, the next step is applying PVC cement to bond the pipe and fitting securely. PVC cement is a fast-acting adhesive formulated explicitly for PVC materials. Using a clean applicator, evenly coat the outside of the pipe and the inside of the fitting with the cement, ensuring full coverage on all primed surfaces. Work quickly but carefully as PVC cement begins to set rapidly.
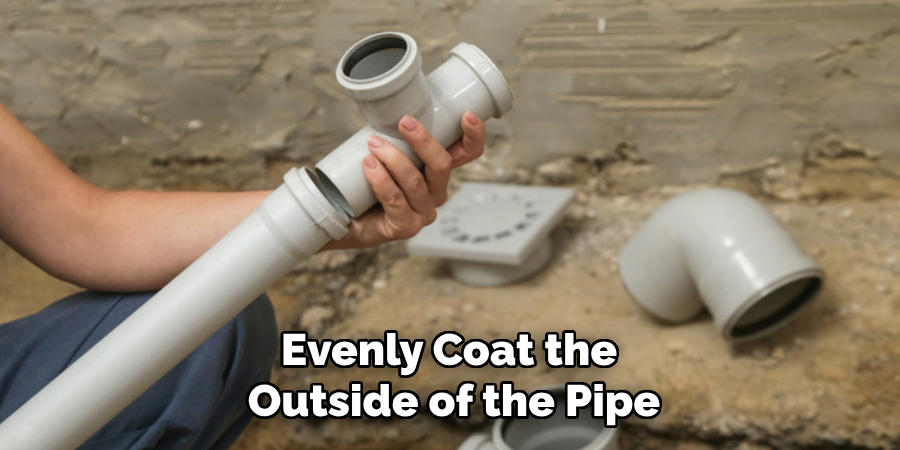
Once the cement is applied, insert the pipe into the fitting, twisting slightly to distribute the adhesive evenly. Hold the assembly firmly for 15-30 seconds to allow the cement to set. Proper application of PVC cement ensures a strong and leak-proof connection that will withstand the test of time.
Step 7. Allow the Joint to Cure:
After assembling the pipe and fitting, allow the joint to cure for the recommended amount of time specified by the PVC cement manufacturer. This curing period is critical to achieving maximum bond strength and ensuring a leak-free connection. Avoid applying any pressure or running water through the assembly during this time. Typically, a curing period of 15 minutes to several hours is recommended, depending on the cement used and environmental conditions. Following the curing instructions ensures the integrity and durability of your PVC assembly.
Step 8. Test the Connection:
Once the curing period has elapsed, it is time to test the connection for any leaks. Gradually introduce water or pressure into the system while carefully observing the joint. Look for any signs of dripping or moisture around the connection. Disassemble and repeat the process if leaks are detected, ensuring proper cement application and curing. A thorough testing step ensures that your PVC assembly is secure and ready for long-term use.
Step 9. Finalize the Installation:
After confirming that there are no leaks and the connection is secure, finalize the installation by ensuring all components are properly aligned and secured. Double-check for any loose fittings or connections throughout the system. Clean up any excess PVC cement or debris around the joints to maintain a tidy and professional appearance. At this stage, your PVC assembly is complete and ready for operation.
Step 10. Perform Regular Maintenance:
Establish a routine maintenance schedule to ensure the longevity and reliability of your PVC assembly. Periodically inspect the system for wear, cracks, or leaks. Clean the exterior of the pipes and fittings to prevent the buildup of dirt or debris that might compromise the integrity of the connections. Promptly address any issues that arise to avoid further damage or system failure. Regular maintenance will help your assembly perform efficiently for years to come.
By following these steps and taking the time to prepare and assemble your PVC project properly, you can achieve a sturdy and secure connection that will withstand various applications and environments.
5 Things You Should Avoid
- Using Excessive Force: Avoid applying too much pressure when deburring, as this can damage the pipe or remove more material than necessary, leading to improper fitment during assembly.
- Skipping Safety Gear: Never deburr a PVC pipe without wearing proper safety gear, such as gloves and protective eyewear, as sharp edges and fragments can cause injury.
- Using the Wrong Tools: Ensure you use the correct deburring tool designed for PVC pipes. Using inappropriate or dull tools can lead to uneven edges or damage to the pipe surface.
- Rushing the Process: Avoid rushing through the deburring process, as this can result in incomplete or uneven deburring, potentially causing leaks or a compromised seal in the final connection.
- Neglecting to Clean After Deburring: Always remove any leftover debris or shavings from the pipe after deburring. Leaving debris can obstruct flow or affect the integrity of the solvent or adhesive used during assembly.
Conclusion
How to deburr PVC pipe is an essential step to ensure a smooth and secure connection during assembly.
By taking the time to use the right tools, adhering to safety practices, and following a meticulous approach, you can achieve professional results. Avoid common mistakes such as applying too much pressure, rushing the process, or neglecting cleanup, as these can compromise the quality and functionality of the pipe connection.
With proper technique and attention to detail, deburring becomes a straightforward task that contributes significantly to the durability and efficiency of your pipe installations.

