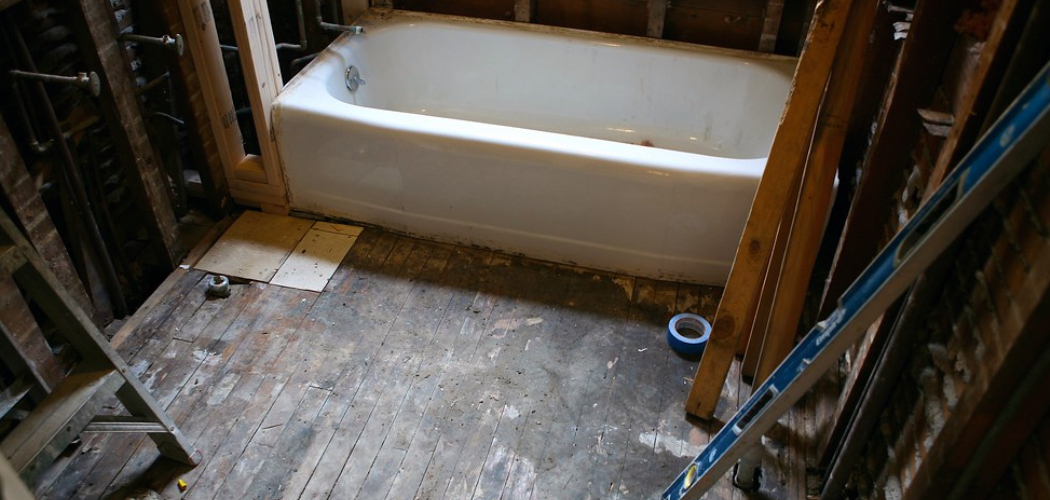
Are you planning to demolish your bathroom? You may want to give it a new look or repair it. Whatever the reason may be, demolition can seem like a daunting task.
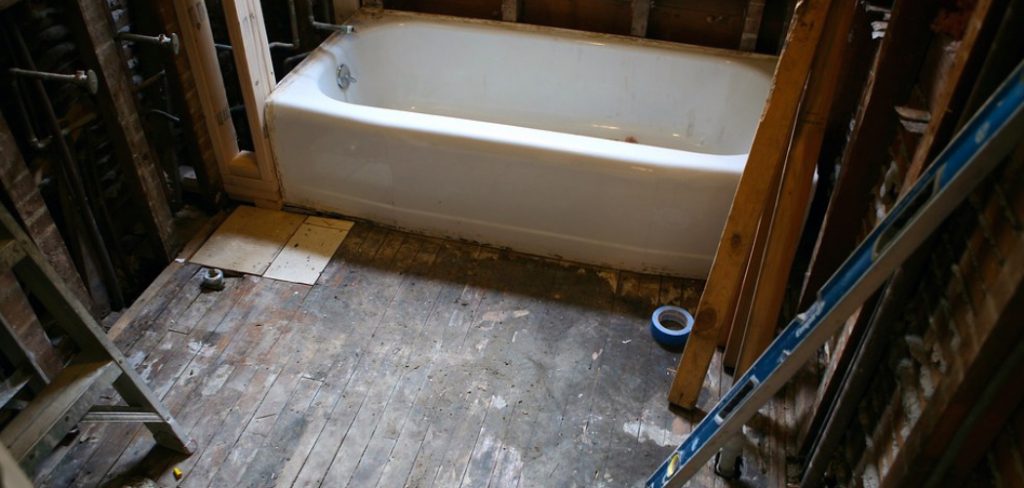
Demolishing a bathroom can be a challenging yet rewarding project, whether you’re preparing for an upgrade or simply removing old, outdated fixtures. Proper planning, tools, and safety precautions allow you to efficiently tear down the space without causing unnecessary damage to surrounding areas.
This guide on how to demolition a bathroom will walk you through the essential steps for a safe and effective bathroom demolition, ensuring you’re ready for the next phase of your renovation project. From removing fixtures to tearing out tiles, we’ll cover everything you need to know to get started.
What Are the Benefits of Demolishing a Bathroom?
Before we dive into how to demolish a bathroom, let’s talk about why you might consider demolition in the first place. Here are some benefits of demolishing a bathroom:
- Gives You a Fresh Start: Sometimes, it’s easier to rebuild from scratch rather than trying to fix an outdated or poorly designed bathroom.
- Allows for Customization: Demolition will enable you to make changes and customize your bathroom according to your preferences and needs.
- Increases Property Value: A new, modern, and functional bathroom can significantly increase the value of your home.
- Identifies Underlying Issues: During demolition, you may uncover hidden problems, such as water damage or faulty plumbing, that may have gone unnoticed.
- Opportunity for Upgrades: Demolition allows you to upgrade your bathroom with energy-efficient fixtures or trendy designs.
What Will You Need?
Before starting any demolition work, gather all the necessary tools and materials. Having the right tools will make the job easier and safer. Here are some essential tools you’ll need:
- Safety Gear: Safety should always be your top priority while demolishing a bathroom. Wear protective gear such as goggles, gloves, and a dust mask to protect yourself from flying debris and hazardous materials.
- Sledgehammer: This heavy-duty hammer is perfect for breaking up walls, flooring, and other stubborn materials. Choose a sledgehammer with a comfortable grip and adjustable handle for easier handling.
- Crowbar: A crowbar is a versatile tool that can help pry off tiles, remove fixtures, and break up stubborn materials.
- Pry Bar: Similar to a crowbar but smaller, this tool is perfect for removing baseboards or prying off small items like light fixtures and trim.
- Reciprocating Saw: This saw is ideal for cutting through pipes, drywall, and other materials. It’s also helpful for precision cuts in tight spaces.
- Wrecking Bar: This bar has a broad flat end designed to remove heavy fixtures like toilets or sinks.
Once you have all the necessary tools, it’s time to start the demolition process.
9 Easy Steps on How to Demolition a Bathroom
Step 1: Turn Off the Water Supply

Before starting the demolition, it’s crucial to shut off the water supply to the bathroom. Locate the main water valve, usually found near your water meter, or the local shut-off valves under the sink, toilet, or near the shower. Turning off the water prevents leaks, flooding, and potential water damage during removal. After shutting off the valves, turn on the faucets and flush the toilet to drain any remaining water from the pipes. Double-check to ensure no water is flowing before moving forward. This step provides a safer work environment and minimizes the risk of accidents during the demolition.
Step 2: Remove Fixtures
Begin by removing any removable fixtures in the bathroom. This includes items like towel bars, mirrors, and any detachable shelves. Use a screwdriver or appropriate tools to unscrew and detach these fixtures from the walls carefully. Be cautious to avoid damaging the surrounding surfaces, especially if you plan to reuse or donate the items. Place all removed fixtures in a safe area to keep the workspace clear and organized.
Step 3: Remove the Vanity
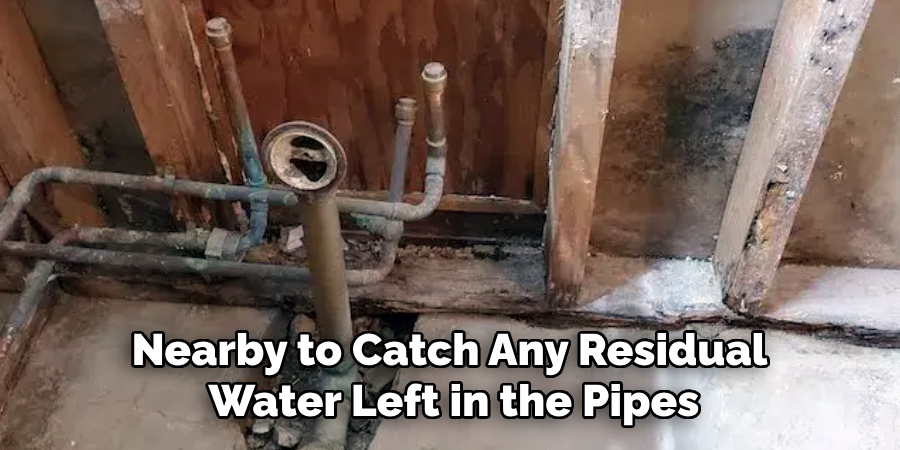
Next, focus on removing the bathroom vanity. Start by disconnecting any plumbing attached to the sink, including the water supply lines and drain pipe. Use an adjustable wrench to loosen the fittings carefully, keeping a bucket or towel nearby to catch any residual water left in the pipes. Once the plumbing is disconnected, check for screws securing the vanity to the wall and unscrew them systematically. Gently lift and remove the vanity from its position, taking care not to damage the wall or floor. If the vanity is in good condition, consider donating it or setting it aside for reuse.
Step 4: Prepare the Walls and Flooring
With the fixtures and vanity removed, it’s time to prepare the walls and flooring for the next phase. Start by inspecting the walls for damage, such as holes, cracks, or leftover adhesive. Use a putty knife and spackle to fill in holes and smooth out uneven surfaces. Sand the patched areas lightly for a consistent finish. Carefully remove any remaining debris or adhesive for the flooring with a scraper. If you plan to replace the floor, ensure the subfloor is clean, dry, and level before proceeding. Proper preparation at this stage will ensure a smooth and professional result for the upcoming installation.
Step 5: Install New Flooring
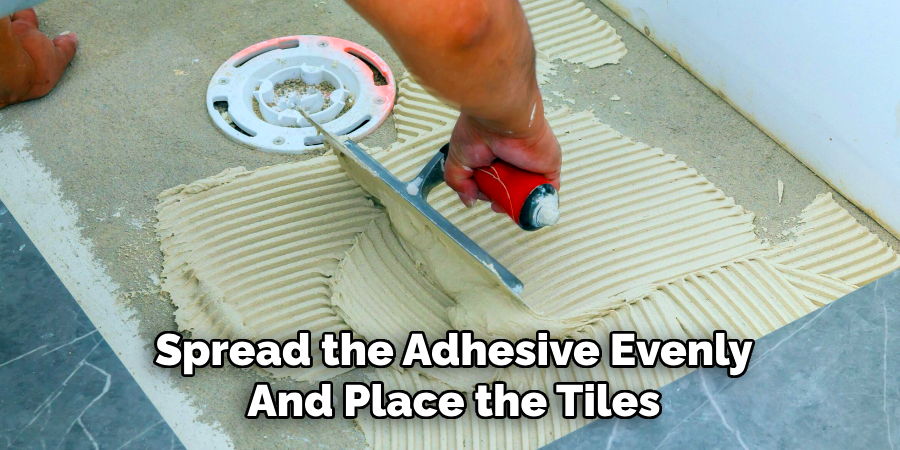
If replacing the flooring, begin by laying out the new material to ensure it fits properly. Follow the manufacturer’s instructions for installation, which may vary depending on the type of flooring, such as tile, laminate, or vinyl. For tile flooring, use a notched trowel to spread the adhesive evenly and place the tiles carefully, using spacers to create uniform gaps. After the glue has dried, apply grout to fill the gaps and wipe away any excess with a damp sponge.
For laminate or vinyl flooring, ensure the pieces are aligned and securely clicked or adhered into place. Once the flooring is installed, trim any excess material and reinstall baseboards to complete the look. Allow the flooring to settle before moving on to the next step.
Step 6: Clean Up and Inspect
Once the flooring installation is complete, take time to clean the area thoroughly. Remove any debris, dust, or adhesive residue that may have accumulated during the process. Use appropriate cleaning tools and methods suitable for the type of flooring to avoid damage. After cleaning, scrutinize the flooring to ensure everything is properly installed and aligned. Look for any gaps, uneven edges, or imperfections that might need adjustment. Address any issues promptly before considering the project complete. A final inspection ensures the quality and durability of the installation, giving you confidence in the finished result.
Step 7: Maintain Your New Flooring
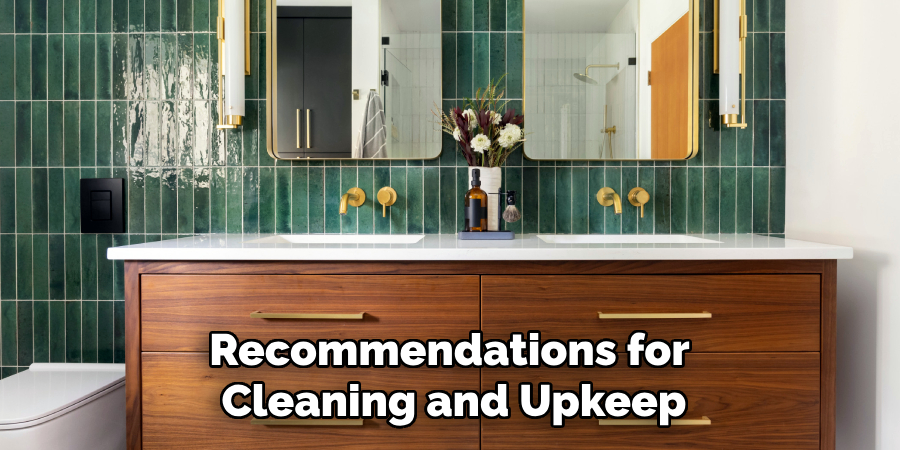
Proper maintenance is essential to ensure the longevity and appearance of your new flooring. Follow the manufacturer’s recommendations for cleaning and upkeep, including using appropriate cleaning products. Regular sweeping or vacuuming can help prevent dirt and debris from scratching the surface. For deeper cleaning, use a damp mop and avoid excessive water exposure to prolong the life of the material. Address any spills or stains immediately to prevent damage. Additionally, consider using felt pads under furniture and area rugs in high-traffic areas to protect the flooring. Consistent care and maintenance will keep your flooring looking its best for years.
Step 8: Monitor for Repairs and Updates
Over time, even with proper maintenance, your flooring may require minor repairs or updates to maintain its integrity and appearance. Inspect your floors regularly for signs of wear, such as scratches, dents, or loose planks. Address repairs promptly to prevent minor issues from developing into more significant problems. For example, replace damaged sections or refinish surfaces to restore their look and functionality. If you notice persistent problems, consult a flooring professional to assess and recommend solutions. Staying proactive with repairs and updates will help extend the lifespan of your flooring and keep it in excellent condition.
Step 9: Invest in Preventative Measures
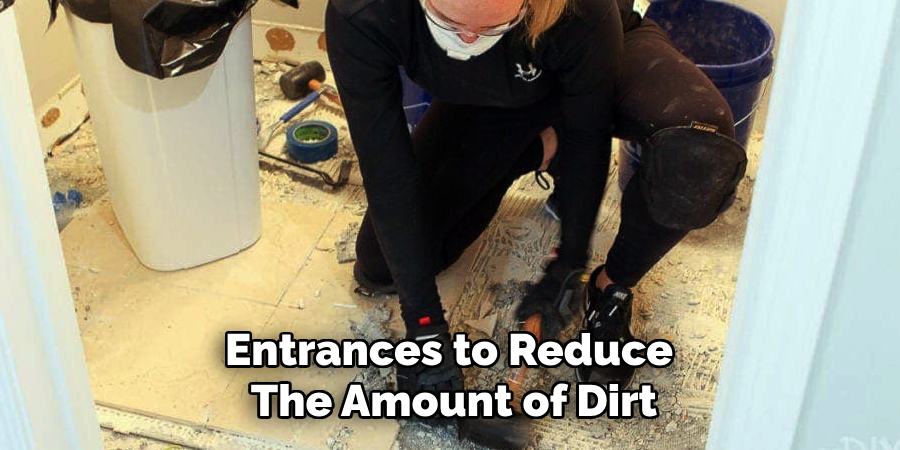
Consider investing in preventative measures to further protect your floors and prolong their lifespan. Use doormats at all entrances to reduce the amount of dirt, moisture, and debris being tracked onto your floors. Install window treatments to minimize UV exposure, which can fade or discolor certain types of flooring. Additionally, consistent indoor humidity levels should be maintained to prevent warping or shrinking on wood floors.
By following these steps, you can successfully remove old bathroom flooring and install new flooring for a refreshed and updated look.
5 Things You Should Avoid
1. Skipping Safety Precautions: One of the biggest mistakes is neglecting safety measures. Always wear protective gear such as gloves, safety goggles, and a dust mask to protect against debris, sharp objects, and potential hazards like mold or asbestos.
2. Forgetting to Turn Off Water and Power: Before starting demolition, ensure all water and electrical lines are shut off. Failing to do so can result in flooding, electrical shocks, or severe property damage.
3. Starting Without a Plan: Demolishing without a clear plan can lead to unnecessary damage. Identify which areas need to be demolished and in what order. This will prevent any confusion or accidents during the process.
4. Not Removing Fixtures Properly: When removing fixtures such as sinks, toilets, or cabinets, it’s essential to do so carefully to avoid damage to surrounding structures. Use proper tools and techniques to remove fixtures without causing additional destruction.
5. Skimping on Clean-Up: Demolition can create a lot of debris and dust, which can be hazardous if left unchecked. Clean up regularly throughout the process and dispose of all materials properly to maintain a safe working environment.
Conclusion
How to demolition a bathroom requires careful planning, attention to detail, and adherence to safety protocols.
By turning off utilities, having a clear plan, using the correct tools, and removing fixtures properly, you can ensure the process is efficient and damage-free. Additionally, maintaining proper clean-up throughout the demolition reduces hazards and keeps the workspace safe.
With patience and preparation, your bathroom demolition can be completed smoothly, paving the way for your renovation project.

