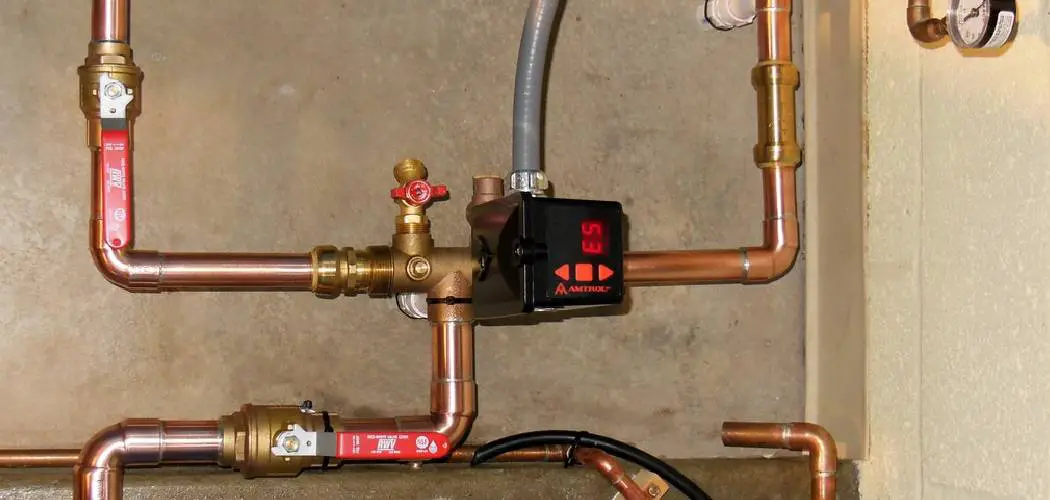
Discovering a pinhole leak in a copper pipe can be a daunting task for any homeowner. Pinhole leaks are typically small and difficult to notice, yet they can present major issues including structural damage and mold growth if left untreated. If you’re concerned that your plumbing system has fallen victim to this type of leak, then it’s time to take action!
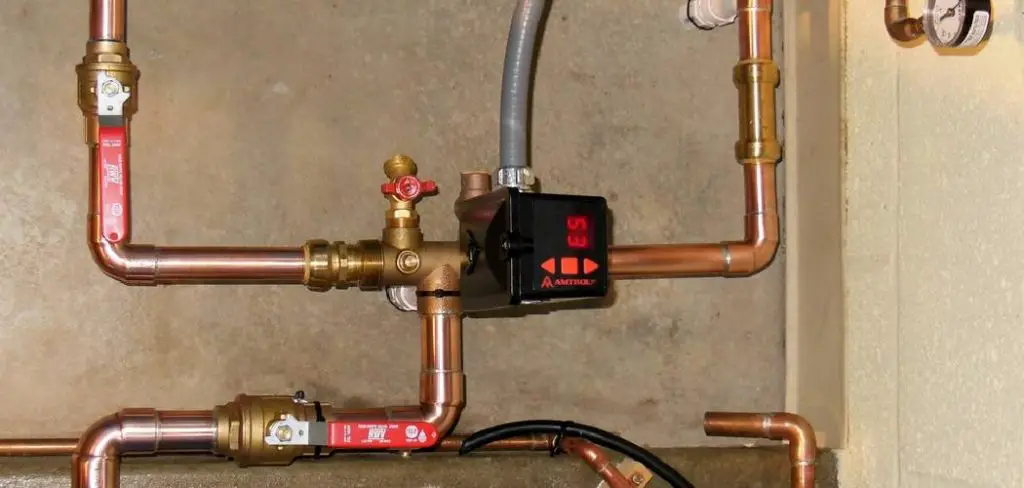
In this blog post on how to detect pinhole leaks in copper pipe, we’ll show you how to detect pinhole leaks so you can save yourself from potentially costly repairs in the future. Keep reading to learn all the insider secrets on how you can easily spot a pesky pinhole water leak once and for all!
Needed Tools
Before we dive into the steps for detecting pinhole leaks, it’s important to gather the necessary tools. You’ll need:
- A Flashlight
- A Ladder (if Your Pipes Are Located in a Hard-to-reach Area)
- A Damp Cloth or Paper Towel
- A Magnifying Glass (Optional)
11 Step-by-step Guides on How to Detect Pinhole Leaks in Copper Pipe
Step 1: Look for Visible Signs
The first step in detecting pinhole leaks is to look for any visible signs of a leak. This could include puddles of water, discolored areas on walls or ceilings, or even a musty smell. Pay attention to any changes in your home’s appearance or odor. It could be a sign of a hidden pinhole leak. But, if there are no visible indications of a leak, don’t worry. There are still other ways to detect pinhole leaks. You just have to be a bit more thorough.
Step 2: Turn Off All Water-Using Appliances
Before you start inspecting your pipes, turn off all water-using appliances in your home such as washing machines, dishwashers, and sprinkler systems. This will reduce the noise in your home and make it easier for you to hear the sound of dripping water from the pinhole leak. It’s also a good idea to turn off the main water supply to your home if possible.
Step 3: Listen for Dripping Sounds
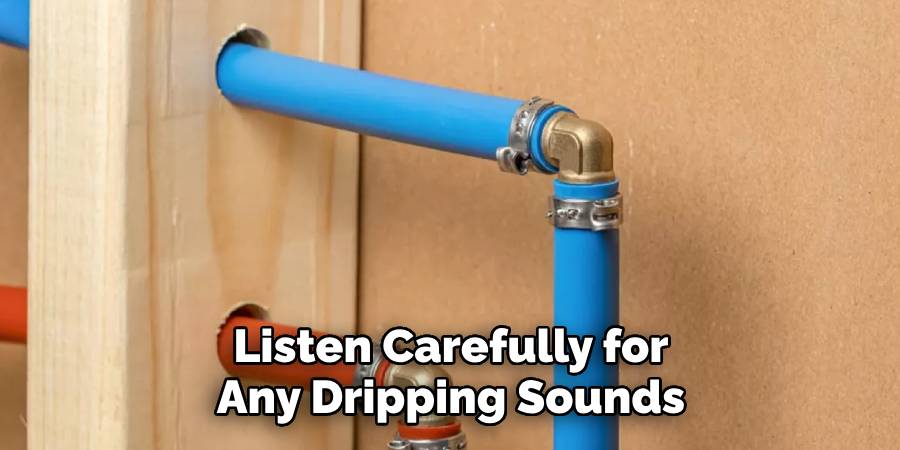
Next, you’ll want to listen carefully for any dripping sounds. Start by standing next to visible pipes and use your flashlight to inspect them closely. If there are no drips coming from these areas, move on to pipes that are hidden behind walls or ceilings. Carefully listen for any unusual sounds such as dripping or hissing noises. This could be a sign of a pinhole leak.
Step 4: Check for Wet Spots or Puddles
Using your damp cloth or paper towel, start wiping down the pipes and surrounding areas. Pay attention to any wet spots or puddles that may appear. If you find any, this could be an indication of a pinhole leak nearby. It’s important to act quickly if you find any wet spots, as they can lead to more serious issues if not addressed promptly.
It’s also a good idea to check for mold growth in these areas, as it could be a sign of a hidden pinhole leak. It’s important to note that mold growth can also be caused by other factors, so it’s always best to consult a professional if you have any concerns.
Step 5: Look for Corrosion or Discoloration
Another way to detect a pinhole leak is by inspecting the pipes themselves. Use your flashlight and magnifying glass to closely examine the pipes for any signs of corrosion or discoloration. Pinhole leaks are often caused by corrosion in copper pipes, so this step is crucial in detecting them.
You may also notice green or white buildup on the pipes, which is another indication of corrosion. It’s important to address any signs of corrosion as soon as possible, as it can lead to more serious issues if left untreated.
Step 6: Check Water Meter
If you suspect a pinhole leak but can’t find any visible signs, try checking your water meter. Turn off all water-using appliances and note the reading on your water meter. Wait for a few hours without using any water in your home and then check the meter again. If there is a change in the reading, it could be a sign of a hidden pinhole leak. This may require further investigation by a professional plumber.
Step 7: Perform a Pressure Test
You can also perform a pressure test to detect pinhole leaks. Turn off all water-using appliances and then turn on one faucet in your home. Check the pressure gauge on your water meter and note the reading. Repeat this process for each faucet in your home, including any outdoor faucets.
If there is a significant change in the pressure readings at any of these points, it could be an indication of a pinhole leak nearby. It’s important to note that this method is not always accurate and may require professional assistance.
Step 8: Use a Leak Detector
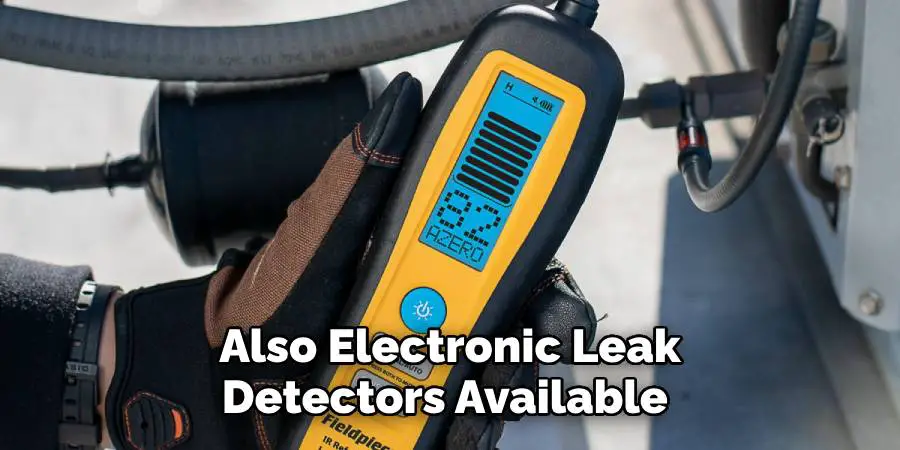
There are also electronic leak detectors available on the market that can help you pinpoint the location of a pinhole leak. These devices use sound waves or infrared technology to detect leaks in pipes.
While they can be useful, they may not work for all types of plumbing systems and can be expensive. It’s best to do your research and consult with a professional before investing in one of these devices. This method is also not always accurate and may require professional assistance.
Step 9: Utilize a Soapy Water Solution
If you suspect a pinhole leak in a specific area, you can try using a soapy water solution to detect it. Mix equal parts of dish soap and water in a spray bottle and then spray the solution onto the suspected area. If there is a pinhole leak, you should see bubbles forming where the leak is located. This method can be effective for smaller leaks but may not work for larger ones.
Step 10: Consult a Professional Plumber

If you’ve exhausted all other methods and still cannot locate the pinhole leak, it’s time to consult a professional plumber. They have specialized tools and knowledge to detect and repair pinhole leaks in copper pipes. It’s important to address any leaks as soon as possible to avoid further damage and costly repairs in the future.
Step 11: Regular Maintenance is Key
Lastly, regular maintenance is crucial in preventing and detecting pinhole leaks. Have your plumbing system inspected by a professional plumber at least once a year to catch any potential issues before they become bigger problems. Additionally, be mindful of what you put down your drains and avoid using harsh chemicals that can corrode pipes. Maintaining healthy pipes will help prevent pinhole leaks in the long run.
Following these steps on how to detect pinhole leaks in copper pipe can help you detect pinhole leaks in copper pipes and address them promptly. Remember to always prioritize safety and consult a professional if you have any concerns. With proper maintenance, you can keep your plumbing system running smoothly for years to come. So don’t wait until it’s too late, take action now and protect your home from potential water damage caused by pinhole leaks in copper pipes.
Frequently Asked Questions
Q1: What Causes Pinhole Leaks in Copper Pipes?
A1: Pinhole leaks are often caused by corrosion in copper pipes. This can be due to various factors such as chemical reactions, high water acidity, or poor installation techniques. It’s important to address any signs of corrosion as soon as possible to prevent pinhole leaks from occurring.
Q2: Can I Repair a Pinhole Leak Myself?
A2: While it is possible to repair a pinhole leak yourself, it’s always best to consult a professional plumber. They have the necessary knowledge and tools to properly fix the leak and ensure that it doesn’t happen again in the future. Additionally, attempting to fix a leak yourself can be dangerous and may cause more damage if not done correctly.
Q3: Are Pinhole Leaks Common in All Types of Plumbing Systems?
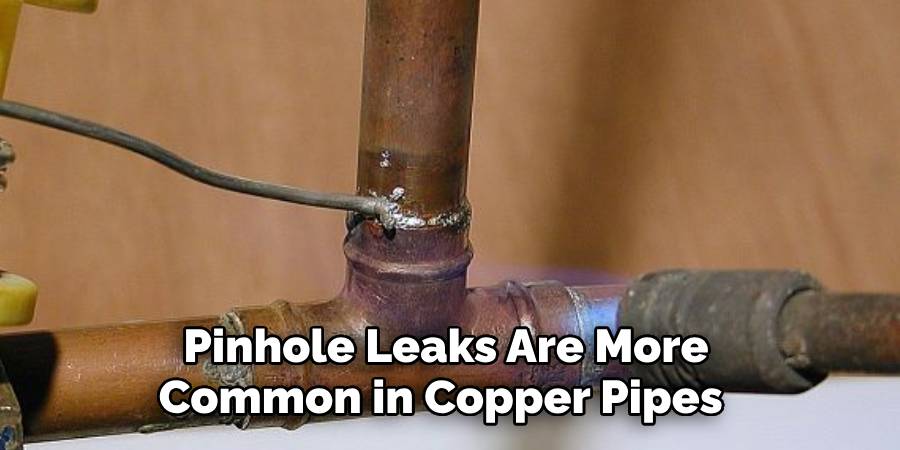
A3: Pinhole leaks are more common in copper pipes due to their susceptibility to corrosion. However, they can also occur in other types of plumbing systems if there is a buildup of minerals or other factors that cause corrosion. Regular maintenance and proper care can help prevent pinhole leaks in any type of plumbing system.
Conclusion
As you can see, it is important to stay on top of potential leaks in copper piping systems. Ignoring or postponing repairs can lead to small problems becoming large and expensive ones over time. Now that you have a better understanding of how pinhole leaks appear and the best ways to detect them, there’s no excuse for inaction! Make sure you remember the signs of leaking copper pipes so that you can start action immediately when needed.
Don’t forget to contact an experienced plumbing professional if, after inspecting your system, you are still unsure of a pinhole leak. They will be able to assess and repair any damage quickly and properly while giving advice on preventative measures in the future. Don’t let a pinhole leak be the cause of severe copper pipe corrosion; use these tips on how to detect pinhole leaks in copper pipe to detect them early and ensure your piping system remains in proper condition.

