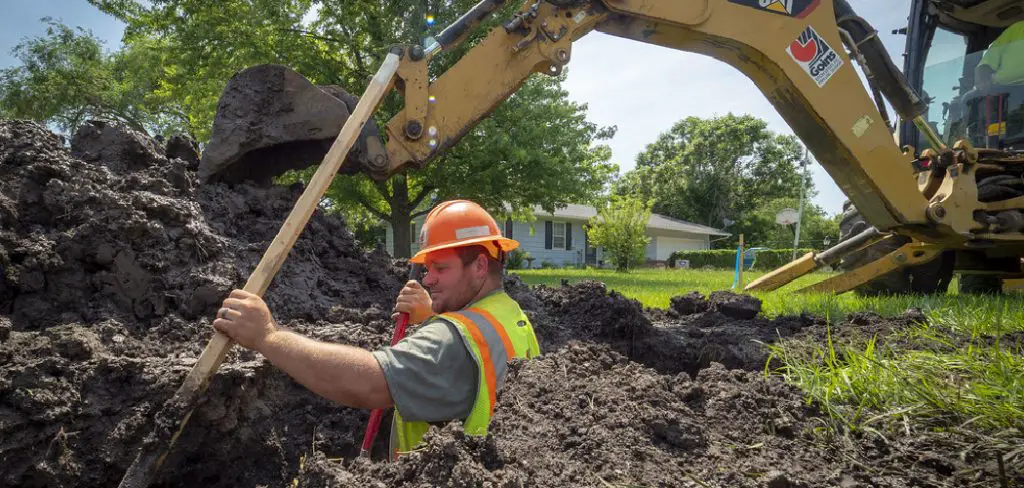
Digging a trench for a water line is a crucial step in ensuring a reliable supply of water to your home or garden. This process involves careful planning and precise execution to avoid damaging existing underground utilities and to ensure proper water flow.

Whether you’re upgrading your water system or installing a new line, understanding the best practices for trench digging can help you complete the task efficiently and safely.
In this guide on how to dig a trench for a water line, we will walk you through the essential steps and considerations needed to dig a trench effectively, from preparing your tools and materials to finishing the project.
Benefits of Digging a Trench for a Water Line
Digging a trench for a water line provides several key benefits that contribute to the overall efficiency and reliability of your water system. Firstly, it allows for the installation of water lines at an appropriate depth, ensuring protection from freezing temperatures and physical damage. Secondly, a dedicated trench leads to more efficient water flow, reducing the likelihood of leaks and pressure loss in the system.
Additionally, having a well-defined trench simplifies access for any future repairs or maintenance, making it easier to address potential issues without requiring extensive digging. Ultimately, properly excavating a trench can result in long-term savings by minimizing future repair costs and enhancing the reliability of your water supply.
Needed Materials
Before starting the trench digging process, gather all the necessary materials and tools to ensure a smooth and efficient workflow. These may include:
Shovels or Mechanical Excavators:
Depending on the size and depth of your trench, you may need either manual or mechanical excavation tools to dig through the soil. For small trenches, a shovel is usually sufficient, while larger projects may require a bobcat or backhoe.

Marking Tools:
It is crucial to accurately mark the planned route of your trench before starting digging. This can be done using spray paint, flags, or stakes to indicate the path and depth of the trench.
Safety Equipment:
Digging a trench involves working with heavy equipment and unstable ground, so it’s essential to prioritize safety. Wear appropriate gear such as gloves, sturdy boots, and eye protection to protect yourself from potential hazards.
8 Steps on How to Dig a Trench for a Water Line
Step 1: Plan and Mark the Trench Route
Before you begin digging, it’s essential to meticulously plan the route of your trench. Start by determining the optimal location for the water line, considering factors such as proximity to your water source and any obstacles that may require special attention, like trees or driveways. Once you’ve identified the path, use marking tools like spray paint or flags to outline the trench’s route on the ground.
Ensure that you also mark the locations of any existing underground utilities, as this step is critical for preventing accidental damage during excavation. Double-check your measurements and markings to ensure they align with your planned layout, as a well-marked trench route will facilitate a smoother digging process.
Step 2: Get the Necessary Permits
Before commencing with the actual digging, it’s crucial to check local regulations and obtain any required permits for your trench project. Depending on your location, digging a trench for a water line may be subject to zoning laws and safety regulations that could mandate specific permits. Contact your local building department or municipal office to inquire about the necessary documentation and guidelines.

Additionally, ensure you have performed any required notifications, such as notifying utility companies or marking out underground utilities, to comply with local laws and prevent potential hazards. Securing these permits not only helps you avoid fines and legal issues but also ensures that your project aligns with safety standards and best practices.
Step 3: Gather and Prepare Your Tools and Materials
With your project planned and permits secured, it’s time to gather your tools and materials. Make sure you have all the necessary equipment, marked trenches, safety gear, and any other required components before starting digging. Also, prepare a safe work area by removing any potential hazards or debris that may obstruct your digging path.
Ensure that your excavation tools are in good condition and appropriate for the job at hand. Consider renting larger mechanical excavators if needed to minimize physical strain on yourself and expedite the process.
Step 4: Begin Digging
With all preparations complete, you can now start digging the trench. If using manual excavation tools, start by removing the top layer of soil and placing it on a tarp or other designated area. As you dig deeper, continue to remove the loose dirt and rocks from the trench until you reach your desired depth. For larger trenches, consider using a mechanical excavator to speed up the process.
You can use a tape measure or other measuring device to ensure that the depth and width of your trench are consistent with your initial markings. Also, regularly check for any underground utilities and adjust your digging path accordingly if needed.
Step 5: Create a Stable Trench Bottom
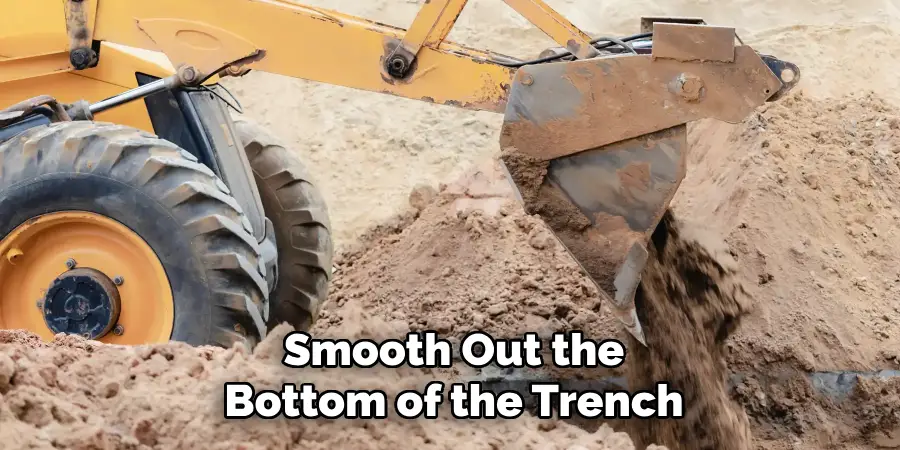
As you dig, it’s important to create a stable bottom for the trench by removing any rocks, roots, or debris. This will help prevent future settling of the water line and maintain proper water flow. Smooth out the bottom of the trench using a shovel or rake to create an even surface.

It’s also recommended to lay a layer of sand or gravel at the bottom of the trench to promote drainage and prevent potential damage from sharp objects in the soil.
Step 6: Lay the Water Line
Once you have reached your desired depth and created a stable base, it’s time to install the water line. Begin by gently placing the pipe into the trench, ensuring that it follows the marked path and is properly aligned with any fittings or valves. After laying out a section of pipe, use a level or measuring device to ensure it has been set at an appropriate slope for proper water flow.
Next, connect any necessary fittings and secure them using waterproof adhesive or clamps. If using multiple sections of pipe, make sure to overlap them and use appropriate connectors to prevent leakage.
Step 7: Backfill the Trench
After the water line is installed and properly connected, it’s time to backfill the trench. Use a shovel to carefully place the removed soil back into the ditch, making sure not to damage or disrupt the water line. It may be helpful to have someone compacting the soil as you fill in the trench, using tools like a tamper or hand compactor.
Ensure that there are no air pockets present in the soil around the water line, as this can cause future issues with settling and potential pipe damage. Continue filling until all of your excavated dirt has been returned to the trench.
Step 8: Test and Inspect
Once the trench has been refilled, it’s important to test and inspect your work. Turn on the water supply and check for any leaks or issues with water flow. If everything seems to be functioning correctly, use a soil compactor or hand tamper to even out the surface of the filled trench.
Finally, clean up your work area and dispose of any debris or unused materials appropriately. Congratulations, you have successfully dug a trench for your water line! Remember to backfill any remaining trenches from other projects and perform regular maintenance on your pipes to ensure they continue functioning properly.

Frequently Asked Questions
Q: Can I Dig a Trench for My Water Line Without Any Prior Experience?
A: While it is possible to dig a trench on your own, we highly recommend seeking professional assistance or guidance if you have no prior experience. This will help ensure that the job is done correctly and safely. Additionally, hiring a professional may also save you time and money in the long run.
Q: What Kind of Maintenance Do I Need to Perform on My Water Line?
A: Regular maintenance for your water line includes checking for leaks, clearing any debris or obstructions from the pipes, and occasionally flushing them out to prevent buildup. It’s also important to regularly check for any potential tree root growth near your water line that could cause damage. Remember to always consult with a professional if you are unsure about how to properly maintain your specific water line system.
Q: How Deep Should My Water Line Trench Be?
A: The depth of your trench will depend on local regulations, the type of soil in your area, and the depth at which your water line needs to be installed. It’s important to consult with local authorities or a professional plumber to determine the appropriate depth for your specific project.
With these steps and tips on how to dig a trench for a water line in mind, you are well on your way to successfully digging a trench for your water line. Remember to always prioritize safety and consult with professionals if needed. Good luck!
Conclusion
In conclusion, successfully digging a trench for a water line involves careful planning, precise execution, and adherence to safety regulations. By following the outlined steps on how to dig a trench for a water line—from assessing the pathway and securing necessary permits to laying the water line and performing thorough inspections—you can ensure a reliable water supply while minimising the risk of future complications.
Remember that regular maintenance and periodic checks are essential to the longevity of your installation. With proper preparation and diligence, your trenching project can lead to a well-functioning and efficient water delivery system for your needs.

