Disabling the humidity sensor on your bathroom fan can be a useful task for homeowners looking to gain more control over their ventilation systems. While humidity sensors are designed to activate the fan in response to moisture levels, there are situations where this feature may not be necessary or might interfere with personal preferences.
This guide on how to disable humidity sensor on bathroom fan will walk you through the process of disabling the humidity sensor safely and effectively, ensuring your bathroom remains well-ventilated while allowing you to manage fan operation manually.
What is a Humidity Sensor?
A humidity sensor, also known as a moisture sensor, is a device that measures the amount of moisture in the air. In a bathroom fan, the humidity sensor works by detecting an increase in humidity levels and activating the fan to help remove excess moisture from the room. This feature is especially useful in bathrooms where high levels of humidity are common due to activities such as showering or bathing.
It is important to note that disabling the humidity sensor does not mean your bathroom fan will no longer work. It simply means that the fan will not automatically turn on and off based on humidity levels, giving you more control over its operation.
Reasons for Disabling Humidity Sensor
While having a humidity sensor on your bathroom fan can be beneficial in most cases, there are certain situations where disabling it may be necessary or preferred. Some reasons why you might want to disable the humidity sensor include:
Noise Sensitivity:
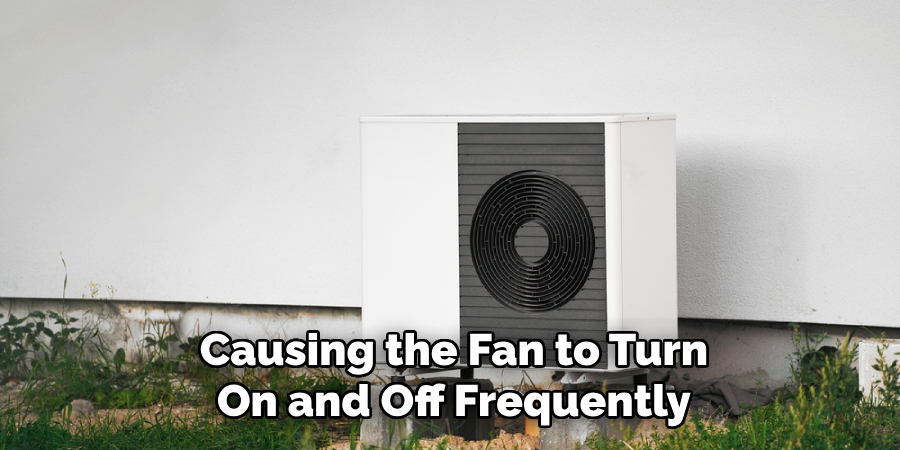
Humidity sensors can be sensitive to even small changes in humidity levels, causing the fan to turn on and off frequently. This can be bothersome for those who are highly sensitive to noise or have a fan that is particularly loud.
Energy Efficiency:
If you live in an area with low humidity levels, your bathroom may not produce enough moisture to activate the humidity sensor. In this case, disabling it can save energy by preventing the fan from running unnecessarily.
Personal Preference:
Some people may prefer to control their bathroom fan manually rather than relying on a humidity sensor. This could be due to personal comfort preferences or wanting more control over ventilation.
8 Simple Step-by-step Guidelines on How to Disable Humidity Sensor on Bathroom Fan
Step 1: Turn Off the Power Supply
Before beginning any work on your bathroom fan, it is crucial to ensure your safety by turning off the power supply. Locate the circuit breaker that controls the electrical current to the bathroom and flip it to the “off” position.
This step helps prevent any potential electrical shock or damage while you are disabling the humidity sensor. For added safety, it’s recommended to use a voltage tester to confirm that there is no electricity flowing to the fan before proceeding with the next steps.
Step 2: Locate the Humidity Sensor Switch
After ensuring that the power supply is turned off, the next step is to identify the humidity sensor switch on your bathroom fan. Typically, this switch can be found on the fan housing itself, often positioned near the control panel or wiring compartment. It may be labeled as a humidity sensor switch or something similar.
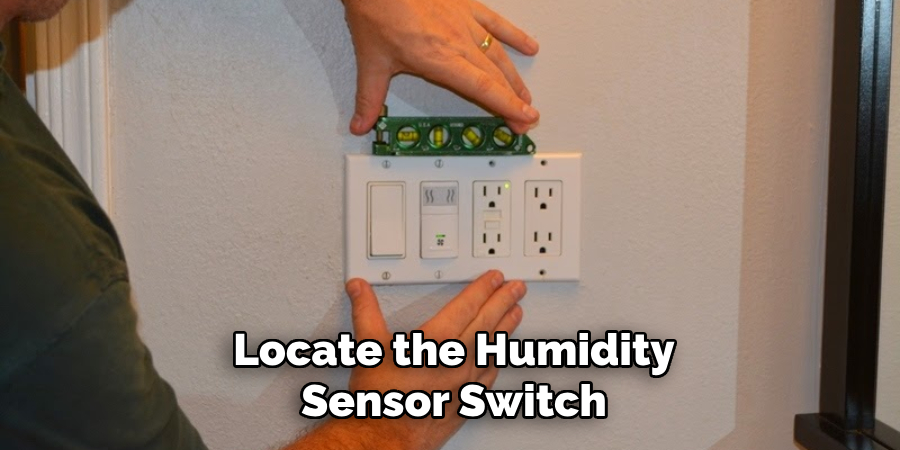
If you have difficulty locating it, refer to the fan’s user manual for specific diagrams or instructions detailing the humidity sensor’s location. Once you have identified the humidity sensor switch, you will be ready to proceed with disabling it.
Step 3: Remove the Cover Plate
With the humidity sensor switch located, the next step is to carefully remove the cover plate of the bathroom fan. This cover plate typically conceals the internal components of the fan and is usually held in place by screws or clips. Using a screwdriver, gently unscrew or unclip the cover plate, taking care not to damage it in the process.
If the screws are tight, you may need to apply a bit of pressure, but avoid using excessive force. Once the cover plate is removed, you will have access to the internal wiring and components, allowing you to proceed with the next steps for disabling the humidity sensor.
Step 4: Identify the Humidity Sensor Wires
With the cover plate removed, you should now be able to see a few wires connecting to various components inside the fan. Look for the wires that are connected to the humidity sensor switch and make a note of their colors. These wires may vary in color depending on the specific model of your bathroom fan, so it’s important to identify them correctly before proceeding.
You may also want to take a photo or make a diagram of the wiring arrangement for reference later on. This will help ensure that you can easily reconnect the wires and restore the humidity sensor function if desired.
Step 5: Disconnect the Humidity Sensor Wires
Once you have identified the humidity sensor wires, the next step is to disconnect them. Carefully grasp the connectors attaching the wires to the humidity sensor switch and gently pull them apart. It’s essential to handle these connections with care to avoid damaging the wires or connectors. If the wires are secured with screws, use a screwdriver to loosen and remove the screws holding them in place.

Ensure that you keep track of which wires connect to the humidity sensor, as this will be helpful if you decide to reconnect them in the future. After disconnecting the wires, you can tuck them away safely to prevent any accidental contact while you complete the process.
Step 6: Remove the Humidity Sensor Switch
With the humidity sensor wires successfully disconnected, the next step is to remove the humidity sensor switch itself. Begin by locating the screws or clips that secure the humidity sensor to the fan housing. Using a screwdriver, carefully unscrew the mounting screws or, if clips are present, gently unclip the sensor from its position.
Take care not to apply excessive force, as this could damage the switch or surrounding components. Once the switch is free, you can safely set it aside. This step completes the disconnection of the humidity sensor from your bathroom fan, allowing you to proceed with any additional adjustments or modifications as needed.
Step 7: Reconnect the Wires (Optional)
If you decide to restore the humidity sensor function in the future, this step will guide you on how to reconnect the wires. Begin by locating the wire connectors that were detached earlier and matching them with their corresponding colors. Gently connect each wire back to its original position, securing them in place with screws or clips if necessary.
Make sure that all connections are secure and check for any loose or damaged wires before proceeding to the last step of this process.
Step 8: Replace the Cover Plate and Restore the Power Supply
The final step is to replace the cover plate and restore the power supply to your bathroom fan. Carefully align the cover plate with the fan housing and screw or clip it back into place. Ensure that all connections are secure and in their proper positions before turning on the power supply.
Once the power is restored, you can test your bathroom fan to confirm that the humidity sensor function has been disabled. If successful, your bathroom fan will now operate manually, allowing for more control over ventilation and potentially saving energy.
Frequently Asked Questions
Q: Can I Disable the Humidity Sensor on Any Bathroom Fan?
A: While most modern bathroom fans come equipped with a humidity sensor, not all models may allow for easy disabling of this feature. It’s important to check your specific model’s user manual or consult an electrician for further guidance before attempting to disable the humidity sensor.

Q: Is It Safe to Disable the Humidity Sensor?
A: Yes, it is safe to disable the humidity sensor on your bathroom fan as long as you follow proper safety precautions and handle all components with care. Always ensure that the power supply is turned off before proceeding with any adjustments or modifications.
Q: Can I Reconnect the Humidity Sensor if Needed?
A: Yes, you can reconnect the humidity sensor to your bathroom fan at a later time if desired. Simply refer back to Step 7 for instructions on how to reconnect the wires and follow all safety precautions throughout the process.
Q: Will Disabling the Humidity Sensor Affect the Performance of My Bathroom Fan?
A: No, disabling the humidity sensor on your bathroom fan should not affect its overall performance. However, it may impact the automatic operation and energy efficiency of the fan. It’s best to consider alternative ventilation methods if you regularly use the bathroom for extended periods or require continuous ventilation.
With these steps on how to disable humidity sensor on bathroom fan, you can now make informed decisions about your home’s ventilation system. Remember to always prioritize safety and consult a professional if necessary.
Conclusion
Disabling a humidity sensor on a bathroom fan may be necessary for personal preference or energy-saving purposes. By following these simple step-by-step guidelines on how to disable humidity sensor on bathroom fan, you can safely and effectively disable the humidity sensor on your bathroom fan.
Remember to always exercise caution when working with electrical components and consult a professional if you have any doubts or concerns. So, make sure to follow each step carefully and enjoy your newly modified bathroom fan. Happy ventilating!

