Are you looking for a way to hide or disguise your gas meter? Don’t worry. Many homeowners want to conceal their gas meters for various reasons, whether it’s for aesthetic purposes or to keep it hidden from potential thieves.
Gas meters are a practical necessity for every home, but they often detract from the overall aesthetic of your outdoor space. Whether positioned in a front yard, backyard, or alongside your home, these devices can disrupt the visual appeal of an otherwise well-designed area. Fortunately, there are creative and effective ways to disguise a gas meter without compromising accessibility or safety. By blending practicality with design, you can transform this functional eyesore into a seamlessly integrated part of your home’s exterior.
This guide on how to disguise a gas meter will explore various methods to conceal a gas meter while keeping your space both functional and visually appealing.
What Are the Benefits of Disguising a Gas Meter?
Disguising a gas meter has several benefits, including:
- Enhancing Curb Appeal: A well-disguised gas meter can significantly improve the overall appearance of your home’s exterior. By incorporating it into your design, you can create a cohesive and attractive look for visitors and passersby.
- Improving Safety: Concealing a gas meter can also help prevent tampering or accidental damage, keeping your gas supply secure and reducing potential hazards.
- Maximizing Functionality: Disguising a gas meter does not mean sacrificing accessibility. In fact, with the proper methods, you can maintain easy access to your meter while keeping it out of sight. For example, you can install a hinged or removable cover that allows for quick and easy access when needed.
- Protecting the Environment: If your gas meter is located outdoors, concealing it can also have environmental benefits. It can protect the meter from harsh weather conditions, preventing damage and potential leaks. This ultimately helps conserve energy and reduces waste.
- Adding Value to Your Property: A well-designed exterior not only enhances your property’s curb appeal but also adds value. Concealing a gas meter is one way to improve the overall appearance of your home and increase its market value.
What Will You Need?
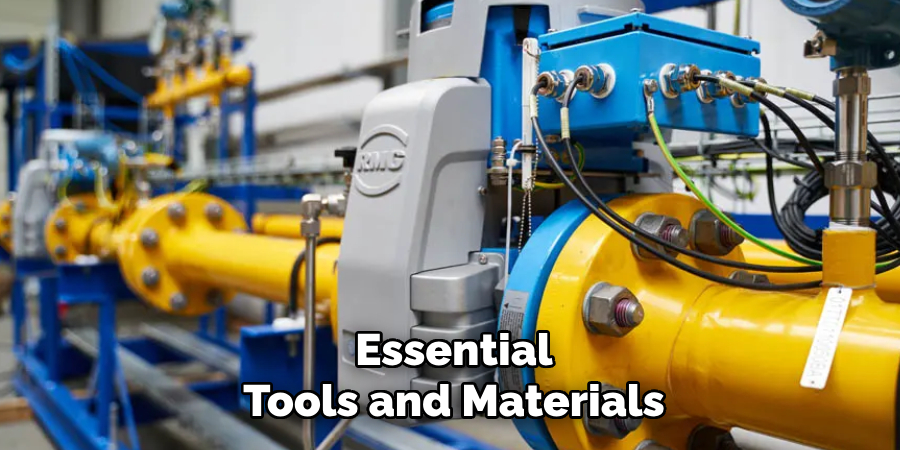
There are a few essential tools and materials you’ll need to effectively conceal your gas meter. These include:
- Measuring Tape: Accurate measurements are crucial for planning and building a cover that fits perfectly over your gas meter.
- Plywood or Lattice Panels: These materials can be used to construct the enclosure for your gas meter. Plywood is a durable option, while lattice panels provide ventilation and allow for design customization.
- Screws and Screwdriver: These will be needed if you choose to use plywood or lattice panels for your enclosure.
- Hinges and Latches: If you want your cover to open and close easily, these hardware pieces are essential for attaching the door to your enclosure.
9 Easy Steps on How to Disguise a Gas Meter
Step 1. Take Measurements:
Start by accurately measuring the dimensions of your gas meter, including its height, width, and depth, as well as any pipes or protrusions connected to it. Be sure to note any clearance requirements specified by your utility company to ensure that the gas meter remains accessible for maintenance or emergency purposes. It’s helpful to use a measuring tape for precision and to write down the measurements for reference. These measurements will help you design or choose the appropriate size and style of materials for your enclosure, ensuring a snug yet functional fit.
Step 2. Decide on the Design:
When choosing the design for your gas meter enclosure, several factors should be considered. First, evaluate the materials that suit your specific needs and environment. For outdoor enclosures, weather-resistant materials like treated wood, metal, or composite boards are ideal for protecting the gas meter from the elements.
Additionally, consider ventilation as an essential aspect of the design. Proper airflow is necessary to ensure gas can safely dissipate in case of a leak, avoiding potentially hazardous situations. Ensure the enclosure includes openings or vents that meet safety requirements.
Step 3. Gather All Materials:
Before beginning the construction of your gas meter enclosure, ensure that you have all the necessary materials and tools on hand. For the materials, you will need weather-resistant materials such as treated wood, metal, or composite boards, depending on the aesthetic and durability requirements of your enclosure. Additionally, gather appropriate screws, nails, hinges, or brackets for assembly, and ensure that they are corrosion-resistant if the enclosure will be exposed to the elements.
Step 4. Prepare the Location:
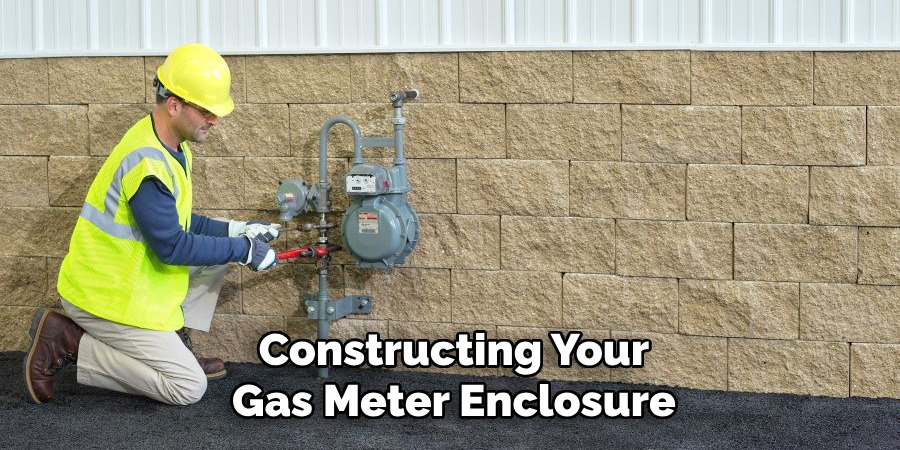
Before constructing your gas meter enclosure, it is crucial to prepare the site properly to ensure stability and functionality. Start by selecting a flat and stable area around the gas meter, ensuring there is enough clearance for utility workers to access the meter if needed.
Clear the location of any debris, vegetation, or obstacles that could interfere with the installation process. If the ground is uneven, consider leveling it by adding a layer of compacted gravel or soil to create a solid foundation for the enclosure. Additionally, verify that the chosen location complies with local regulations or utility guidelines regarding safe distances and accessibility for gas meters.
Step 5. Cut Materials to Size:
Begin by measuring the dimensions required for your gas meter enclosure and marking them clearly on the materials you plan to use. Use appropriate tools, such as a tape measure, pencil, and a square ruler, to ensure precision. Accurate measurements are critical for a sturdy and well-fitting enclosure.
Once marked, carefully cut each piece using a suitable cutting tool, such as a handsaw, circular saw, or jigsaw, depending on the material type. Always follow safety guidelines when handling sharp tools, including wearing protective gloves and eyewear. Double-check your cuts to ensure the pieces align seamlessly and that there are no discrepancies, as minor errors can compromise the stability and functionality of the enclosure.
Step 6. Assemble the Frame:
Carefully arrange the prepared pieces according to your design blueprint to begin assembling the frame. Start by connecting the main structural components, such as the corners and supporting beams, using the appropriate fasteners, such as screws, bolts, or brackets. Ensure each joint is secure and tightly fastened to prevent instability or gaps. It’s often helpful to use clamps to hold pieces in place temporarily while you align and attach them.
Regularly check the frame’s alignment with a level or square to ensure it remains true and straight as you work. If you are using adhesives in conjunction with mechanical fasteners, allow the recommended drying time as specified by the adhesive manufacturer.
Step 7. Add Decorative Elements:
Once the basic structure is complete, adding decorative elements is where your project can truly come to life. Consider the style and theme you want to convey—whether rustic, modern, or traditional—and choose materials and designs that match. This step can include features such as trim, molding, or ornamental carvings. For a personal touch, you could incorporate unique details like engraved patterns, painted accents, or hardware pieces, such as decorative handles or hinges.

When attaching decorative pieces, ensure they are securely fastened and align seamlessly with the overall design. Sand any rough edges to maintain a smooth and polished appearance. If you’re painting or staining, test the color or finish on a small, inconspicuous area to ensure it matches your expectations. Applying a protective sealant can enhance durability and preserve the look of your decorations over time.
Step 8. Install the Enclosure:
Carefully position the enclosure in its desired location, ensuring it is level and aligned with any surrounding structures or features. If the enclosure is freestanding, double-check that it stands securely without wobbling or instability. Use screws, anchors, or brackets as needed to firmly attach the enclosure to the floor, walls, or other supportive surfaces. Be sure to measure and mark all attachment points carefully before drilling or securing any fasteners to avoid misalignment.
Step 9. Secure the Enclosure:
Once the enclosure is securely positioned, it’s essential to double-check all attachment points to confirm they are firmly anchored. Inspect each screw, anchor, or bracket to ensure they have been tightened properly and are not loose. If the enclosure is connected to walls or other structures, ensure that the connections are flush and that the enclosure sits level, with no gaps or misalignments. For added stability, consider using additional brackets or supports at key stress points, especially if the enclosure will be subjected to significant weight or regular use.
By following these steps, you can ensure that your enclosure is properly installed and secure for its intended purpose.
Conclusion
How to disguise a gas meter requires a balance between functionality, accessibility, and aesthetics.
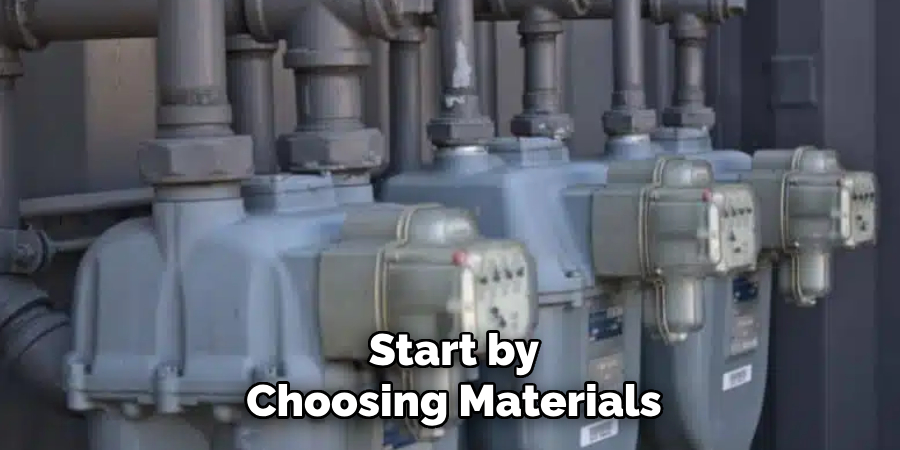
Start by choosing materials that match or complement the surrounding environment, such as wood, metal, or greenery, to integrate the meter cover into the overall design seamlessly. Ensure that the chosen disguise allows for easy access and proper ventilation, as maintenance and safety inspections are critical. Creative options, such as lattice panels, decorative cabinets, or planter boxes, can effectively conceal the meter without obstructing its functionality.
By planning carefully and using durable materials, you can achieve a solution that is both visually appealing and practical.

