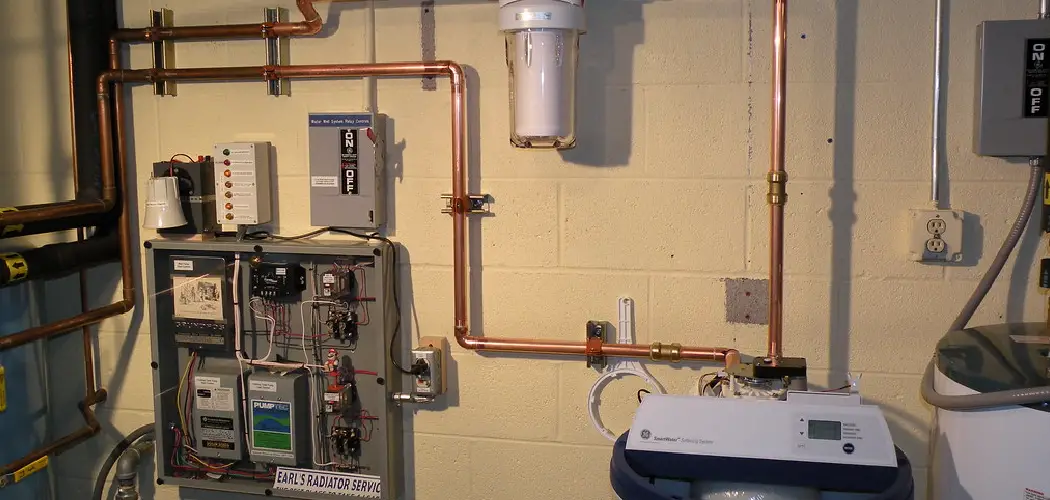
Sediment buildup in water heaters is a common problem that affects many households. Over time, minerals such as calcium carbonate and other particulates in hard water accumulate at the bottom of the tank, forming a layer of sediment. This sediment buildup acts as an insulator, reducing the heater’s efficiency by making it harder for the heating element to transfer heat to the water. Additionally, sediment can lead to overheating, strange noises, and potential damage to the tank, ultimately shortening the water heater’s lifespan.
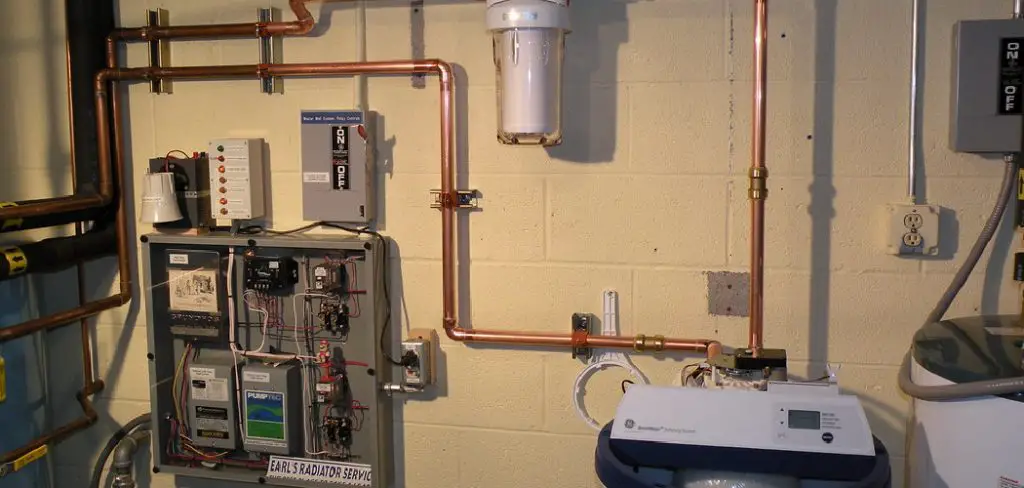
The primary aim of this guide is to provide a comprehensive, step-by-step process for addressing the issue of sediment buildup. By following these steps on how to dissolve sediment in water heater, you can ensure that your water heater operates efficiently and continues to provide hot water for many years to come. Safety precautions, necessary tools, and effective methods will be discussed in detail to ensure successful maintenance.
Understanding Sediment Buildup
What is Sediment?
Sediment refers to the collection of minerals and particulate matter that settle at the bottom of a water heater tank over time. The most common types of sediment found in water heaters include calcium carbonate, magnesium, and other minerals that are prevalent in hard water. Calcium carbonate is particularly notorious for creating a chalky, white buildup as water circulates through the heater.
Types of Sediment:
- Calcium Carbonate: This mineral is the primary sediment found in water heaters. It originates from hard water, which contains high levels of dissolved calcium and magnesium. When hard water is heated, calcium carbonate precipitates and forms a solid layer at the bottom of the tank.
- Other Minerals: In addition to calcium carbonate, other minerals, such as magnesium, can also form sediment. These minerals combine with impurities carried through the water supply, settling at the tank’s base.
Sources of Sediment:
- Hard Water: Hard water is the primary source of sediment buildup in water heaters. It contains a higher concentration of dissolved minerals, particularly calcium and magnesium. As the water is heated in the tank, these minerals precipitate out and deposit at the bottom.
- Municipal Water Supply: Some local water supplies naturally have high mineral content, leading to more significant sedimentation in household appliances.
Effects of Sediment Buildup:
Reduced Efficiency:
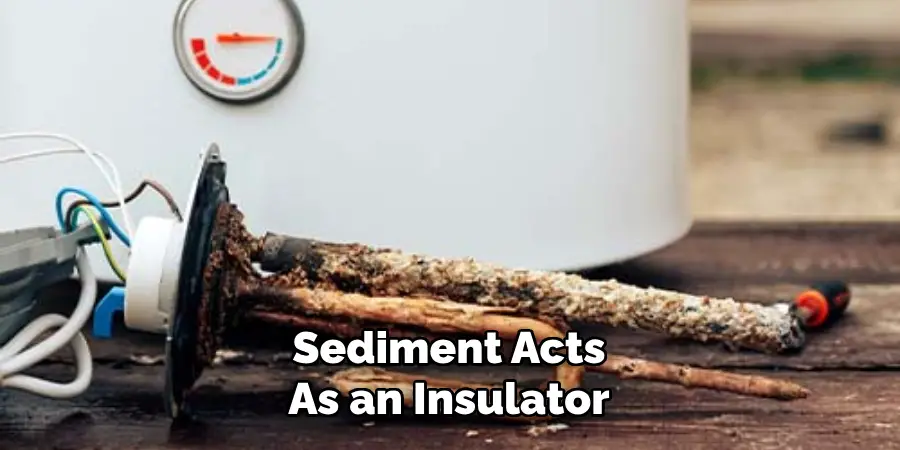
Sediment acts as an insulator, interfering with the heating element’s ability to efficiently transfer heat to the water. This results in increased energy usage, as the heater needs to work harder and longer to heat the same amount of water. Consequently, this can lead to higher utility bills and diminished performance.
Potential Damage:
- Overheating: A thick layer of sediment may cause the heater to overheat as it struggles to dissipate heat effectively. Overheating can eventually lead to the failure of the heating element or other critical components.
- Noise: Accumulated sediment can cause the water heater to produce a rumbling or banging noise, often called “kettling.” This occurs when trapped water beneath the sediment layer creates steam bubbles that erupt forcefully.
- Tank Damage: Over time, sediment buildup can cause internal corrosion and damage to the tank lining, potentially resulting in leaks or complete tank failure, which could necessitate costly repairs or replacement.
Safety Precautions
Turning Off Power and Gas:
Electric Heaters:
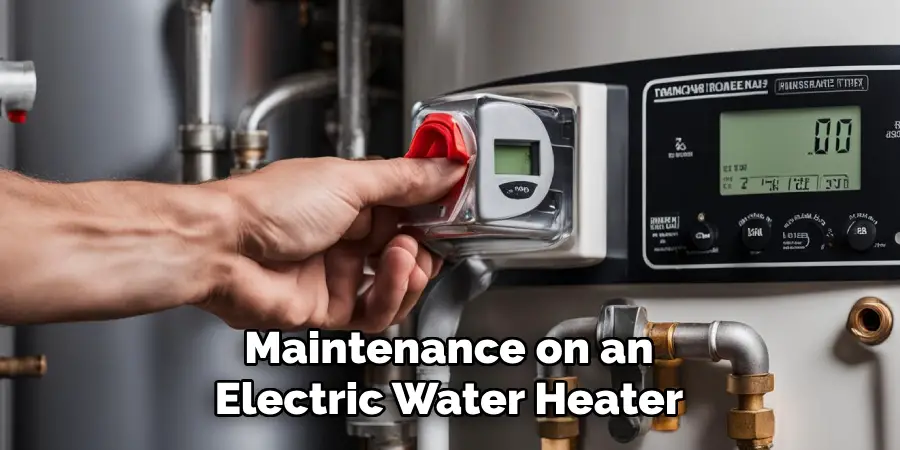
Before beginning any maintenance on an electric water heater, it’s crucial to turn off the power supply to avoid electrical shock or other hazards. Start by locating your home’s circuit breaker panel, typically found in a utility room, basement, or garage. Identify the breaker switch labeled for the water heater and switch it to the “Off” position. Verify that the power is indeed off by testing the water heater with a non-contact voltage tester.
Gas Heaters:
For gas water heaters, safely shutting off the gas supply is essential. Begin by locating the gas control valve on the water heater, usually near the unit’s bottom. Turn the knob to the “Off” position, ensuring no gas flows to the burner or pilot light. Additionally, it’s wise to close the manual gas shutoff valve along the gas line for extra safety. Always check for gas smells and ensure there are no leaks.
Allowing the Heater to Cool:
Safety Considerations:
Once the power or gas supply is turned off, allow the water heater to cool sufficiently before beginning any maintenance tasks. This step is necessary to prevent burns or scalds from hot water or heated surfaces. Cooling times can vary, but waiting at least an hour is generally safe. Using a temperature gauge to check the water temperature can add an extra layer of safety, ensuring that the heater is cool enough to handle.
How to Dissolve Sediment in Water Heater: Draining the Water Heater
Preparing to Drain:
Gathering Supplies:
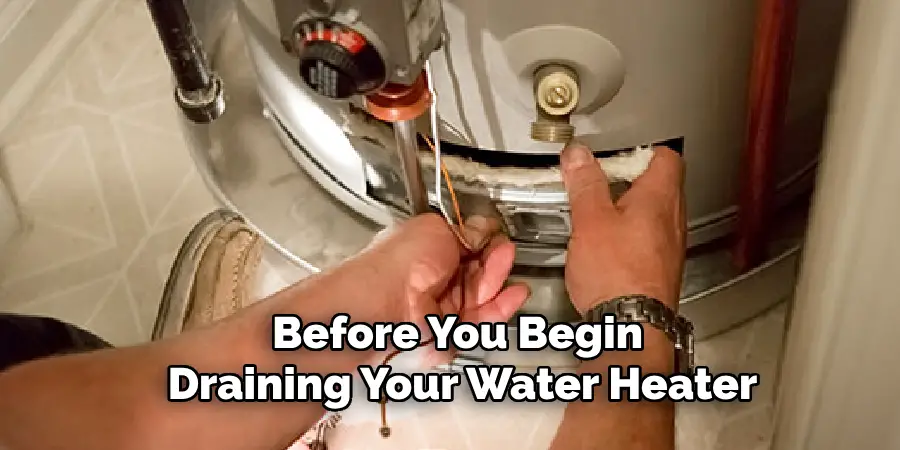
Before you begin draining your water heater, gather the necessary supplies to ensure a smooth and efficient process. You’ll need:
- A garden hose: preferably a durable one that reaches from the water heater to a suitable drainage area.
- A bucket: for collecting any residual water or sediment during disconnection.
- A wrench: to assist in loosening any stubborn valves or connections.
Connecting the Hose:
- Shutting Off the Cold Water Supply: Begin by locating the cold water supply pipe usually found at the top of the water heater. Turn the valve to the “Off” position to prevent more cold water from entering the tank.
- Attaching the Hose: Screw one end of the garden hose securely onto the drain valve located near the bottom of the heater. Ensure the connection is tight to prevent leaks.
- Positioning the Hose: Place the other end of the hose in a suitable drainage area, such as a floor drain, driveway, or an outside location that can handle the water volume and any sediment.
Draining Procedure:
Opening the Valve:
- Safety Check: Double-check to ensure the power or gas supply is turned off and the water heater sufficiently cooled.
- Opening the Drain Valve: Slowly open the drain valve using your hand or a wrench if necessary. Be cautious, as the first stream of water might be hot. Allow the water to start flowing through the hose into the drainage area.
Flushing the Tank:
- Creating Airflow: Open a hot water tap somewhere in your house, such as a sink or a tub, to allow air to flow into the tank. This helps facilitate the draining process by preventing a vacuum from forming.
- Inspecting for Sediment: As the water drains, keep an eye on the water quality that flows out. If you notice significant sediment, you may need to flush the tank multiple times.
- Flushing with Water Pressure: Once the water mostly stops flowing, turn the cold water supply back on briefly to stir up any remaining sediment. Let the water run through the tank and out the hose, repeating the process until the discharge runs clear. This step ensures that the majority of the sediment is effectively removed from the tank.
By thoroughly draining and flushing your water heater, you’ll help maintain its efficiency and prolong its lifespan, safeguarding your hot water supply for years to come.
How to Dissolve Sediment in Water Heater: Dissolving Sediment
Using Vinegar Solution:
Mixing the Solution:
Vinegar is an effective and natural solution for dissolving sediment in your water heater. Begin by mixing a vinegar solution in a clean, large container. Typically, a mixture of one part vinegar and one part water is sufficient for tackling sediment build-up. For example, mix four liters of white vinegar with four liters of water to create an adequate quantity for cleaning. Ensure that the solution is thoroughly mixed to maximize its efficacy.
Pouring Vinegar into the Tank:
After preparing the vinegar solution, you need to safely introduce it into the water heater. First, ensure the water heater is completely drained of water by following the draining procedure outlined earlier. Then, locate the anode rod or pressure relief valve opening on top of the heater – this is where you’ll pour the vinegar solution. Using a funnel may help prevent spills and make the pouring process easier. Gently pour the vinegar solution into the heater, avoiding any splashing or overflow.
Letting it Sit:
Once the vinegar solution is inside the tank, it needs time to work on the sediment. Allow the solution to sit in the water heater for at least six to eight hours. This duration ensures the vinegar has enough time to dissolve and effectively break down the sediment build-up. It might be beneficial to let the solution sit overnight for severe sediment accumulation. During this time, ensure the heater remains off and the tank is sealed.
Using Commercial Descaling Products:
Choosing a Product:
Commercial descaling products are specifically formulated to tackle stubborn sediment deposits. When choosing a descaler, look for products designed for water heaters with good effectiveness reviews. Common brands like CLR and Lime-A-Way are popular choices. Always select a descaler that is compatible with your water heater type and tank material to avoid any damage.
Application Instructions:
To use a commercial descaler, follow the manufacturer’s application instructions carefully. Generally, you will need to dilute the descaler with water to the recommended ratio. After draining the water heater, pour the solution into the tank through the same opening used for the vinegar solution. Let the solution sit for the period specified by the product guidelines, usually ranging from a few hours to overnight. After treatment, thoroughly flush the tank with clean water to remove any remaining descaler and dissolved sediment.
Alternative Methods:
Using Baking Soda and Water:
Baking soda is another effective and natural descaler. To prepare a baking soda solution, mix one cup of baking soda with one gallon of water. Mix well until the baking soda is fully dissolved. Pour the solution into the water heater tank, following the same pouring method as with vinegar. Allow the solution to sit for several hours, then flush the tank thoroughly with fresh water to remove any loosened sediment.
Lime Juice:
Lime juice can also be used to dissolve sediment in the water heater. Juice several fresh limes to produce at least two cups of lime juice. Mix the juice with an equal amount of water. Carefully pour the solution into the water heater tank. Lime juice is acidic, like vinegar, and can effectively break down mineral deposits. Let the solution sit for a few hours before draining and flushing the tank with clean water.
By using these methods, you can effectively dissolve and remove sediment buildup, maintaining your water heater’s efficiency and extending its lifespan.
Flushing the Tank Again
Second Flush:
Draining the Vinegar/Descaler:
After allowing the vinegar or commercial descaler solution to sit in the tank for the recommended duration, it’s essential to drain the tank to remove the dissolved sediment and clean the solution. Start by positioning a drainage hose to a suitable outlet and opening the drain valve carefully. Ensure the area is well-ventilated as there may be strong odors from the cleaning agents. Drain the tank entirely, allowing all the vinegar or descaling solution, along with any loosened sediment, to flow out. This process might need to be repeated if significant sediment remains.

Rinsing Thoroughly:
Once the tank is drained of the vinegar or descaler solution, performing a thorough rinse is crucial to remove all residues. Close the drain valve initially and turn the cold water supply back on, filling the tank partially. Then, open the drain valve again, letting the fresh water flush through the system and out the hose. This process helps dislodge any remaining sediment and clears out any vinegar or descaler remnants.
It’s advisable to repeat this rinsing step several times to ensure the tank is completely free of any residue from any cleaning solution. A clear and sediment-free discharge indicates that the tank has been successfully flushed. Multiple flushing cycles ensure that your water heater operates efficiently and prolongs its lifespan by maintaining a clean tank environment.
By carefully draining the cleaning solution and performing thorough rinse cycles, you maintain the effectiveness of your cleaning efforts and safeguard the performance of your water heater.
Cleaning the Heating Elements
Removing the Elements:
Electric Heaters:
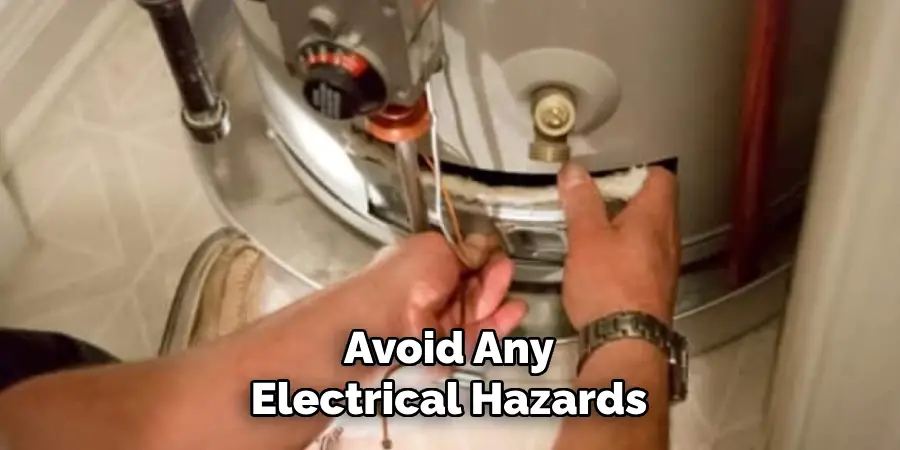
To clean the heating elements in an electric water heater, you must first ensure the power is completely turned off. Locate your water heater’s circuit breaker and switch it off to avoid any electrical hazards. Once the power is off, drain the water heater following the earlier described steps.
Next, you need to locate the heating elements near the tank’s bottom and middle section. Carefully unscrew and remove the access panels covering the heating elements. Using a suitable wrench or socket, disconnect the wires connected to the heating elements, then unthread and gently pull out the elements. Inspect them for any signs of corrosion or buildup that needs cleaning.
Gas Heaters:
For gas water heaters, the heating element to focus on is the burner assembly. Start by turning off the gas supply and ensuring the unit is cool to avoid any risk of burns. Remove the access door to the burner compartment, which is usually situated at the bottom of the heater. Carefully disconnect the burner assembly by loosening the screws or bolts holding it in place. Extract the burner assembly and inspect it for any debris, dirt, or carbon build-up.
Cleaning Procedure:
Descaling Elements:
Once you have removed the heating elements (for electric heaters) or the burner assembly (for gas heaters), you can proceed with the descaling process. For electric heating elements, immerse them in a solution of vinegar or a commercial descaling product designed to break down mineral deposits. Let them soak for a few hours, periodically scrubbing them with a soft brush to remove any remaining scale. For gas burner assemblies, clean any visible dirt or soot using a brush and, if needed, a vinegar solution to dissolve tougher deposits. Ensure all components are fully cleaned before moving on to the next step.
Reinstalling Elements:
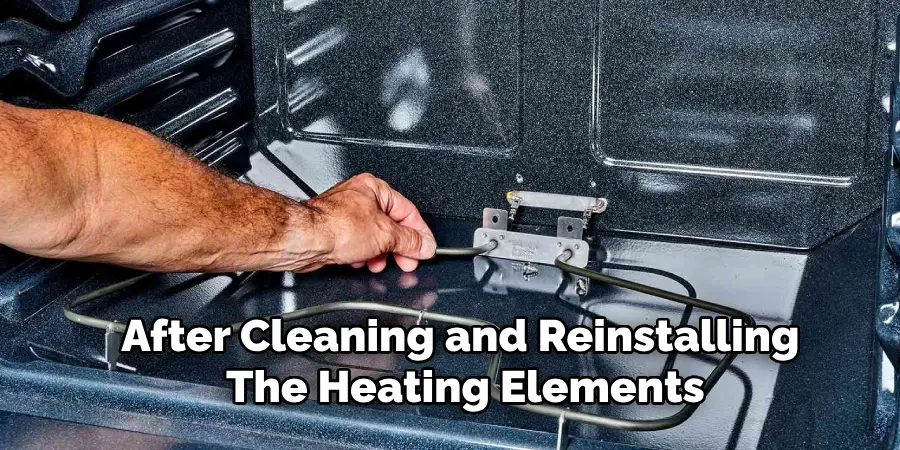
After cleaning, it’s essential to properly reinstall the heating elements to ensure the water heater functions correctly. For electric heaters, reinsert the heating elements into their respective positions and tighten them securely with the wrench or socket. Reconnect the wiring according to the original configuration, ensuring all connections are tight and secure. Replace the access panels and restore power to the heater by switching on the circuit breaker.
For gas heaters, carefully reattach the burner assembly, securing all screws or bolts tightly. Reconnect the gas supply and test the burner to confirm it ignites correctly. Reassemble the access door and ensure everything is secured properly before turning on the gas supply for normal operation.
By meticulously cleaning and reinstalling the heating elements, you ensure your water heater maintains peak efficiency and continues to provide reliable hot water.
Reassembling and Refilling the Water Heater
Closing the Drain Valve:
Ensuring a Tight Seal:
After cleaning and reinstalling the heating elements, the next crucial step is to close the drain valve securely. This step is vital to prevent any potential leaks that could reduce the efficiency of your water heater and cause water damage. Begin by double-checking that the drain valve is free from any residue or debris that could obstruct a proper seal. Gently but firmly turn the valve clockwise to close it until it is tightly sealed. You may use a wrench to ensure a snug fit, but take care not to over-tighten, as this could damage the valve and lead to future leaks.
Refilling the Tank:
Turning On the Water Supply:
With the drain valve securely closed, you are ready to refill the water heater. Start by turning the cold water supply back on. This is usually done by turning a specific valve located near the inlet pipe of the water heater. Allow the cold water to flow back into the tank, gradually filling it up. Monitor the process closely for any signs of leaks, particularly around the drain valve and connections.
Removing Air from the System:
As the tank fills with water, removing any trapped air is essential to avoid airlocks and ensure smooth water flow. To do this, locate a hot water faucet, preferably the one closest to the water heater, and turn it on. Allow the water to run until you notice a steady stream without sputtering, indicating that all the air has been purged from the system. This step ensures that your water heater is correctly primed and ready for normal operation. Once the air is completely expelled and you have a steady stream of water, you can turn off the faucet.
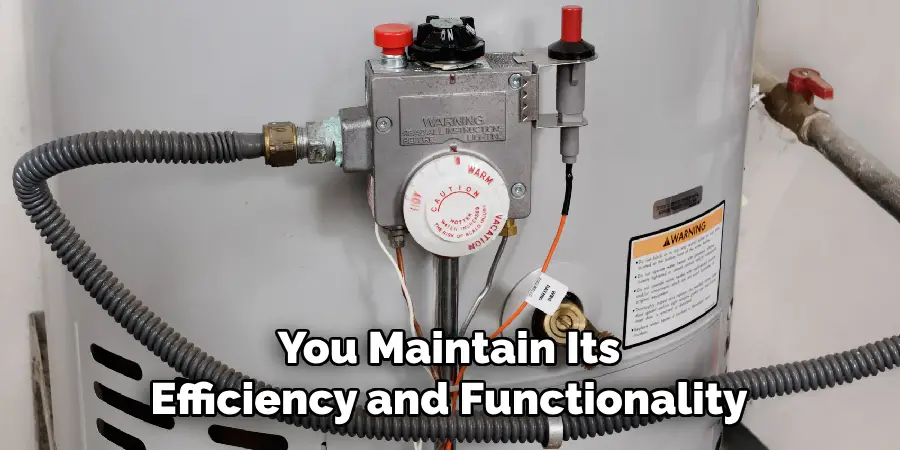
By carefully reassembling and refilling your water heater while ensuring no air is trapped in the system, you maintain its efficiency and functionality, guaranteeing a reliable hot water supply.
Conclusion
Successfully dissolving and removing sediment from a water heater involves several crucial steps. First, drain the tank to eliminate built-up debris, then carefully remove residual sludge using appropriate solutions or tools. Then, reassemble and ensure all components are securely placed before refilling the tank and removing trapped air for optimal operation.
Regular maintenance is key to efficient and long-lasting water heater performance. Routine checks, periodic flushing, and the timely installation of water softeners help prevent sediment build-up and ensure the unit operates at peak efficiency, thus saving on energy costs and extending the heater’s lifespan.
Safety and proper technique are paramount when maintaining a water heater. Following the correct procedures, such as knowing how to dissolve sediment in water heater systems, will minimize risks and ensure a dependable supply of hot water in your home.
You can check it out to Tell if Boiler Circulator Pump Is Working

