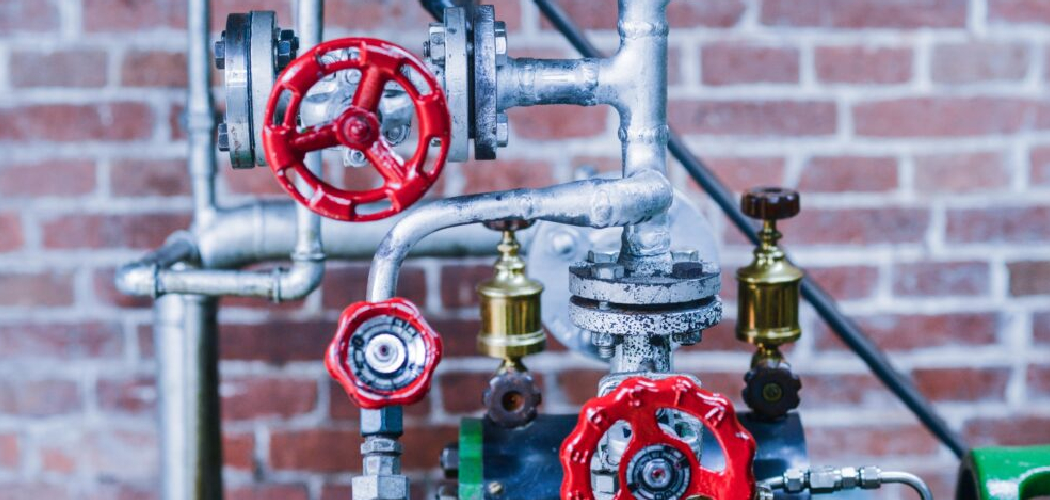
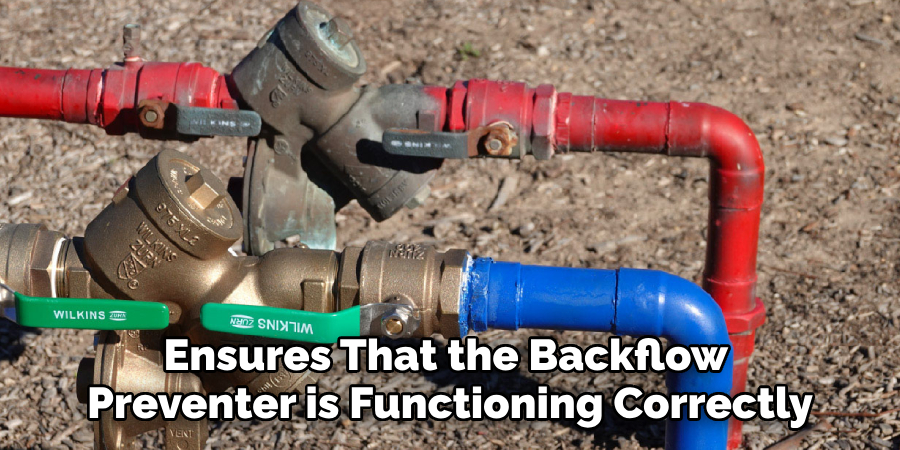
A backflow test is a critical procedure designed to ensure that potable water supply systems are protected from contamination. This test checks the functionality of backflow prevention devices, which are essential for preventing water from flowing backward through the plumbing system, potentially carrying pollutants back into clean water sources.
Regular backflow testing is not only a regulatory requirement in many areas but also an important practice for safeguarding public health and maintaining the integrity of water systems.
In this guide on how to do a backflow test, we will outline the steps involved in conducting a backflow test, the tools required, and the significance of ensuring compliance with local regulations.
Why Do You Need to Conduct a Backflow Test?
Backflow tests are essential for identifying and preventing potential cross-connections between potable water supply systems and sources of contamination.
This includes possible connections with irrigation systems, fire sprinkler systems, chemical feeders, or any other devices that may introduce pollutants into the drinking water system.
If left unchecked, these connections can have serious consequences, including illness or even death from exposure to contaminated water. Additionally, backflow incidents can cause significant damage to plumbing infrastructure and result in costly repairs.
Conducting regular backflow tests is crucial for ensuring that backflow prevention devices are functioning correctly and protecting the integrity of the water supply system.
Necessary Materials
Backflow Test Kit:
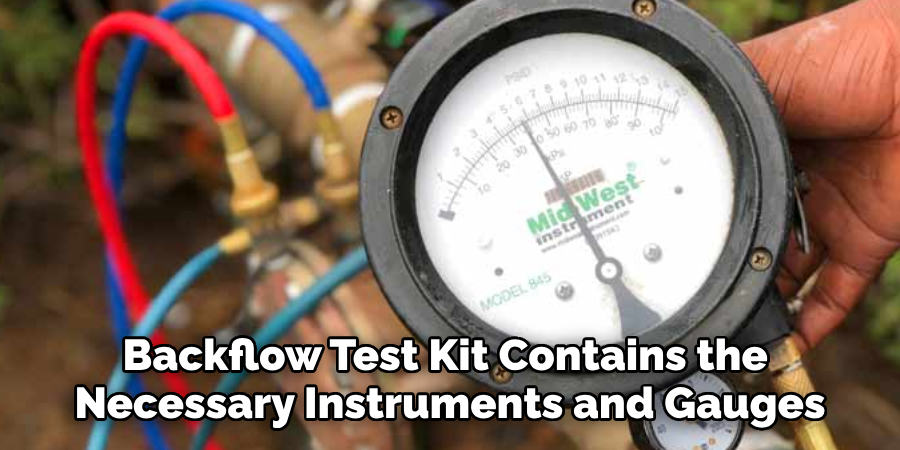
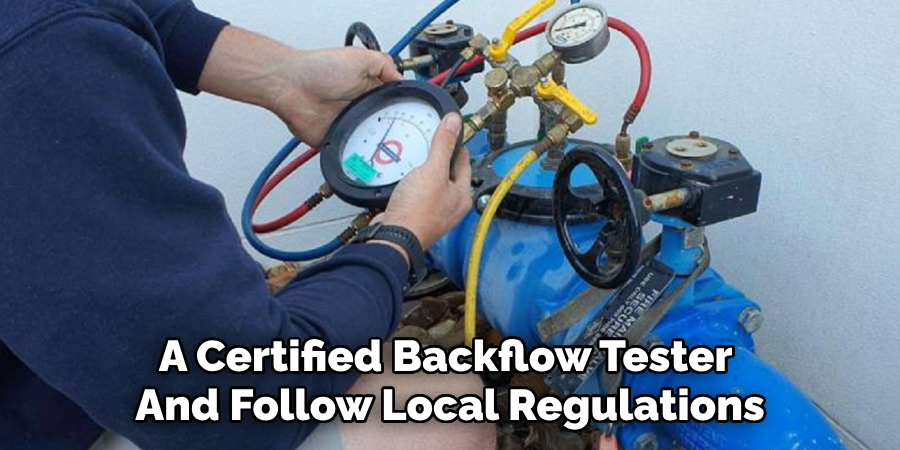
A backflow test kit contains the necessary instruments and gauges for conducting a backflow test. It typically includes a gauge assembly with hoses, valves, and fittings used to connect to the backflow preventer. The kit may also contain handy tools such as screwdrivers, wrenches, pliers, and other items required for completing the test.
Calibration Tools:
Calibration tools are crucial for ensuring the accuracy of the backflow test results. These tools include a pressure gauge calibration tool that is used to verify that the gauges in the test kit are reading correctly.
Water Pressure Gauge:
A water pressure gauge measures the water pressure before and after passing through the backflow prevention device. It comes in two forms: a dial gauge and a digital gauge.
Test Cock Adapters:
Test cock adapters are needed for connecting the backflow preventer to the test kit. They come in different sizes and configurations, so it is essential to have the correct adapter for the specific type of backflow preventer being tested.
7 Easy Steps on How to Do a Backflow Test
Step 1: Familiarize Yourself with Local Regulations
Before conducting a backflow test, it is essential to familiarize yourself with the local regulations that govern backflow prevention and testing.
Different regions may have specific requirements regarding the type of devices that must be used, the certification of testers, and the frequency with which tests must be performed. Understanding these regulations not only ensures compliance but also aids in the selection of appropriate testing methods and equipment.
To ensure you are adequately informed, consult with your local water authority or public health department, as they can provide valuable resources and information about any necessary permits and reporting requirements related to backflow testing.
Step 2: Prepare the Test Kit
Before you begin the backflow test, it is vital to prepare the test kit thoroughly. Start by gathering all necessary materials, including the backflow test kit, calibration tools, water pressure gauge, and test cock adapters. Inspect the equipment for any signs of damage or wear, ensuring that all components are functioning correctly.
Next, familiarize yourself with the layout of the test kit and its attachments to streamline the testing process. If applicable, calibrate the pressure gauge to guarantee accurate readings during the test. Once everything is assembled and in good condition, you will be ready to proceed with the actual testing procedures.
Step 3: Shut Off the Main Water Supply
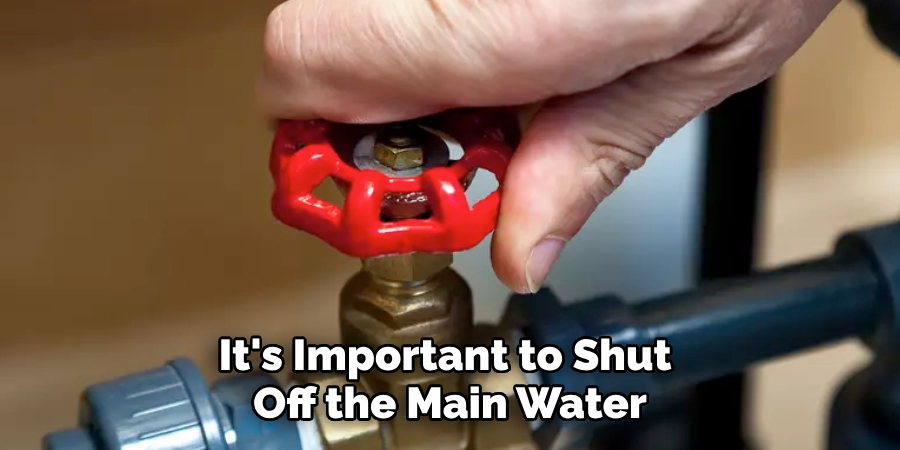
Before proceeding with the backflow test, it’s important to shut off the main water supply to prevent any water from flowing through the system during the testing process. Locate the main shut-off valve, typically found near where the water line enters the building or in the basement. Turn the valve clockwise to close it completely.
Once the main water supply is turned off, open the nearest faucet to relieve any remaining pressure in the pipes, which will help to avoid water spillage when you connect the test kit. Ensure that no water is flowing in the system before moving on to the next step in the testing procedure.
Step 4: Connect the Test Kit
After shutting off the main water supply, you’re ready to connect the test kit to the backflow preventer. Start by selecting the appropriate test cock adapter and attaching it to the appropriate ports on the backflow prevention device. Next, connect the hoses from the gauge assembly in your test kit to these adapters using a quarter-turn connection.
Once all connections are secure, slowly turn on the main water supply valve and watch for any leaks or other indications of malfunctioning equipment. If everything appears in good working order, allow water to flow through the system until it reaches a steady pressure before moving on to the next step.
Step 5: Record the Initial Pressure Reading
Once the water has reached a steady pressure, it’s time to record the initial pressure reading. Check the pressure gauge on your test kit and note the value displayed. This reading is crucial as it serves as a baseline for comparing against subsequent measurements during the test.
Be sure to document the reading accurately, along with the time and date of the test, as this information is essential for maintaining records and compliance with local regulations. After taking the initial reading, you can now proceed to the next step in the testing process.
Step 6: Conduct the Required Test Procedures
The specific procedures for a backflow test may vary depending on the type of backflow preventer being tested and local regulations. However, in general, the test will involve measuring pressure differentials before and after passing through the backflow prevention device at various flow rates.
This process ensures that the backflow preventer is functioning correctly under normal operating conditions. Some tests may also involve additional steps, such as checking for leaks or inspecting internal components of the device.
Step 7: Record the Final Pressure Reading and Clean Up
Once all required test procedures have been completed, it’s time to record the final pressure reading. Compare this value against the initial reading to determine if there is any pressure differential, which can indicate issues with the backflow preventer.
Be sure to document this final reading accurately and take note of any discrepancies or malfunctions that may have occurred during testing. Finally, disconnect the test kit and clean up any equipment or materials used during the testing process, ensuring a safe and tidy workspace for future use.
Frequently Asked Questions
Q: Is Backflow Testing Mandatory?
A: Yes, in most areas, backflow testing is required by law to protect the public’s health and safety. Regular testing helps ensure that backflow prevention devices are functioning correctly and preventing the contamination of drinking water. Failure to comply with testing requirements may result in fines or penalties. You should check with your local water authority or public health department to determine the specific regulations in your area.
Q: How Often Should Backflow Testing Be Performed?
A: This varies depending on local regulations, but in general, backflow testing should be performed annually. However, some areas may require more frequent testing, especially for high-risk facilities such as hospitals or factories. It’s essential to consult with local authorities to determine the specific requirements for your area.
Q: Who Can Conduct a Backflow Test?
A: Only certified backflow testers should perform backflow tests. Certification requirements vary by region and may include training and passing an exam. In some areas, only licensed plumbers can also conduct backflow tests, so it’s essential to check local regulations before beginning the testing process.
Q: What Happens if a Backflow Preventer Fails the Test?
A: If a backflow preventer fails the test, it must be repaired or replaced immediately. Failure to address any malfunctions or issues can result in contamination of the water supply and may pose health risks. It’s crucial to consult with a certified backflow tester and follow local regulations when addressing failed tests.
Following these testing procedures and guidelines on how to do a backflow test can help ensure that backflow preventers are functioning correctly, preventing contamination of drinking water and protecting public health. Regular testing and maintenance is crucial for the proper operation of backflow prevention devices, and it’s essential to comply with local regulations for the safety of all.
Conclusion
Backflow prevention is an essential aspect of maintaining safe drinking water in our communities. Regular inspection and testing of backflow prevention devices are crucial for identifying potential hazards and ensuring their proper functioning.
By following these 7 easy steps on how to do a backflow test, you can help protect public health and comply with local regulations. Remember to always refer to the specific requirements in your area and stay up-to-date on any changes or updates in backflow prevention and testing practices.
So, it is essential to stay informed, prepare properly, and conduct thorough tests to ensure the safety of our water supply system. Happy testing!

