One of the main reasons for doing plumbing for a bathroom is that it can save you a lot of time and money. Instead of hiring a professional plumber every time there is an issue with your bathroom plumbing, you can do it yourself. Additionally, knowing to do plumbing for a bathroom can also help you identify potential problems before they become major issues.
The main advantage of doing plumbing for a bathroom is the ability to fix and maintain your own bathroom plumbing. This can save you money on costly repairs and give you peace of mind knowing that your bathroom’s water systems are in good working condition.
Another advantage is that you can customize your bathroom with certain fixtures or features, such as a high-flow showerhead or a modern faucet, without having to rely on a professional plumber. In this blog post, You will learn in detail how to do plumbing for a bathroom.
Tools You Will Need
- Adjustable wrench
- Pipe cutter
- Plunger
- Faucet and sink installer tool
- Basin wrench
- Hacksaw
- Teflon tape
- Pliers
- Pipe dope or joint compound
- Pipe wrenches (two sizes)
- Snake auger (to unclog drains)
By having these tools on hand, you will be prepared for any bathroom plumbing task that may arise.
Step by Step Processes for How to Do Plumbing for a Bathroom
Step 1: Inspect the Existing Plumbing System
Before beginning any work, it is important to inspect the existing plumbing system in your bathroom. This will give you a better understanding of how everything is connected and what areas may need to be replaced or repaired.
Step 2: Gather Necessary Tools and Materials
As mentioned earlier, having the right tools and materials is essential for successfully doing plumbing for a bathroom. Make sure you have all the necessary items before starting any work. Before making any changes to your bathroom plumbing, be sure to locate and shut off the main water supply. This will prevent any accidents or unexpected flooding.

Step 3: Remove Old Fixtures and Pipes
Use your tools to remove old fixtures such as sinks, toilets, and showers, as well as any old pipes that need to be replaced. This step can vary depending on your specific bathroom layout and needs. Follow the manufacturer’s instructions for installing new pipes and fixtures properly.
Step 4: Check for Leaks
Once everything is installed, turn on the water supply to check for any leaks. If there are any, make the necessary adjustments to fix them. For sinks and showers, you will need to install drain pipes to ensure proper drainage. Be sure to use the correct size and type of pipe for your specific bathroom setup.
Step 5: Connect Water Supply Lines
Using Teflon tape or joint compound, connect the water supply lines to your new fixtures. Be sure to tighten them securely. Turn on the water supply and check that everything is functioning properly. Make any necessary adjustments or repairs if needed. Once you have completed all the steps, clean up any tools or materials and enjoy your newly installed or repaired bathroom plumbing.
By following these steps, you can learn to do plumbing for a bathroom and handle any issues that may arise in the future.
Precautions for How to Do Plumbing for a Bathroom
- Always turn off the water supply before starting any work.
- Use caution when working with tools and equipment, especially if you are not familiar with them.
- Wear appropriate protective gear such as gloves and goggles to protect yourself from sharp or hazardous materials.
- Be mindful of electrical wiring and avoid contact with it while doing plumbing work. If needed, hire a licensed electrician to assist you.
- Double-check all connections and fittings to ensure they are tight and secure before turning the water supply back on.
- If you encounter a problem that you are unsure how to fix, do not hesitate to call a professional plumber for assistance.
- As with any DIY project, be patient and take your time. Rushing through the process can lead to mistakes or accidents.

By following the necessary steps and precautions, you can successfully install or repair your bathroom’s plumbing system. However, if at any point you feel unsure or uncomfortable with a task, it is always best to seek professional help.
What Are the Common Mistakes to Avoid While Doing Plumbing for a Bathroom?
- Not Turning Off the Water Supply: This mistake can lead to unexpected flooding and water damage. Always make sure to turn off the main water supply before starting any work.
- Using Incorrect Tools or Materials: Using the wrong tools or materials can result in a poor installation or repair, leading to further problems down the line. Make sure you have all the necessary items before beginning any plumbing work.
- Not Inspecting the Existing Plumbing System: Before starting any work, it is important to inspect the current plumbing system to identify potential issues or areas that need replacement or repair.
- Forgetting to Use Teflon Tape or Joint Compound: These items are essential for creating a tight and secure seal when connecting pipes and fittings. Skipping this step can result in leaks and water damage.
- Over-tightening Connections: While it is important to have secure connections, over-tightening can cause damage or cracks in the pipes or fittings. Use caution and follow manufacturer’s instructions for proper installation.
- Not Testing for Leaks Before Finishing: It is crucial to check for any leaks before completing the project. This will prevent any future damage and save you from having to redo the work.
- Rushing Through the Process: Plumbing for a bathroom takes time and patience. Rushing through the steps can lead to mistakes or accidents. Take your time and follow each step carefully.
By being aware of these common mistakes, you can avoid them and ensure a successful plumbing project in your bathroom. Remember, if you are unsure or uncomfortable with any task, it is always best to seek professional help.
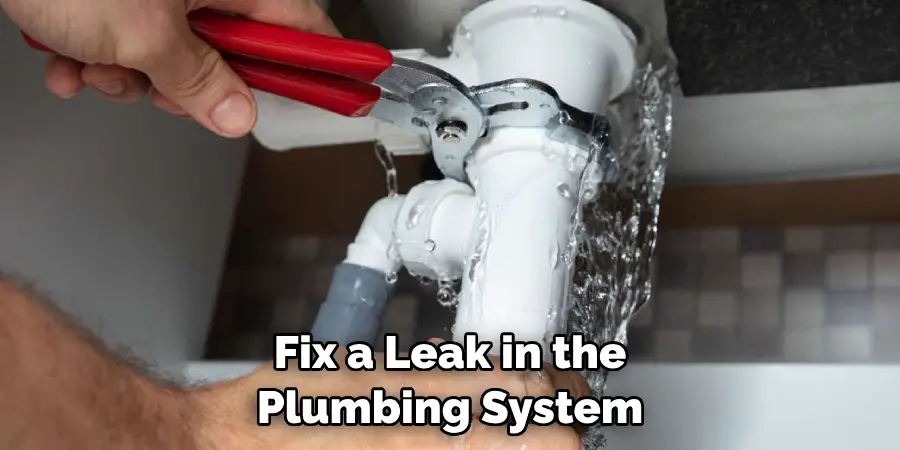
How Do You Fix a Leak in the Plumbing System of Your Bathroom?
- Shut Off the Water Supply: Before attempting to fix a leak, turn off the main water supply to prevent any further damage.
- Identify the Source of the Leak: Inspect all visible pipes and fittings to determine where the leak is coming from.
- Prepare Necessary Tools and Materials: Depending on the type and location of the leak, you may need a pipe cutter, replacement pipe or fitting, Teflon tape, and joint compound.
- Drain the Affected Area: If there is still water in the pipes or fixture, drain it completely before starting any repairs.
- Fix the Leak: For small leaks, simply wrapping Teflon tape around the pipe or using joint compound may be enough to stop the leak. For larger leaks, you may need to replace a section of pipe or fitting.
- Test for Any Remaining Leaks: Turn on the water supply and check for any additional leaks. Make necessary adjustments if needed.
- Clean Up and Turn the Water Supply Back on: Once the leak is fixed, clean up any tools or materials and turn the main water supply back on.
By following these steps, you can effectively fix a leak in the plumbing system of your bathroom. However, if the leak continues or if you are unsure of how to proceed, it is best to call a professional plumber for assistance.
Overall, staying cautious and being thorough with your work can help prevent any issues with your bathroom’s plumbing system and ensure its proper functioning.
What Are Some Tips for Maintaining the Plumbing in Your Bathroom?
- Regularly Check for Leaks: Keep an eye out for any signs of leaks, such as water stains or dampness, and address them promptly to prevent further damage.
- Use Drain Strainers: Placing a strainer over your drains can help catch hair and debris that can clog the pipes, preventing costly plumbing issues in the future.
- Avoid Flushing Inappropriate Items: Only flush toilet paper and waste down the toilet. Items like wipes, feminine hygiene products, and paper towels can clog the pipes and cause serious issues.
- Keep Drains Clean: Regularly pour hot water down your drains to help prevent buildup of grease and other materials that can lead to clogs.
- Insulate Exposed Pipes During Colder Months: Exposed pipes in colder climates can freeze and burst, causing significant damage. Insulating them with foam pipe sleeves can help prevent this.
- Schedule Regular Maintenance: Hire a professional plumber to perform routine maintenance on your bathroom’s plumbing system. They can identify any potential issues and address them before they become major problems.
By following these tips, you can maintain the plumbing in your bathroom and prevent any major issues from arising. Remember to always address any problems promptly and seek professional help if needed. Overall, regular maintenance and proper care can keep your bathroom’s plumbing system running smoothly for years to come.
Are There Any Eco-friendly Options Available for Plumbing Fixtures in a Bathroom?
Yes, there are several eco-friendly options available for bathroom plumbing fixtures. These include:
- Low-flow Toilets: These use significantly less water per flush compared to traditional toilets, helping conserve water and reduce your water bill.
- Water-saving Showerheads: Similar to low-flow toilets, these showerheads use less water without sacrificing water pressure or comfort during showers.
- Dual-flush Toilets: These have two flushing options – one for liquid waste and one for solid waste – allowing you to use less water for liquid waste.
- Sensor-activated Faucets: These faucets only turn on when needed, reducing water waste by automatically shutting off after use.
- Energy-efficient Hot Water Heaters: By using less energy to heat water, these heaters not only save money but also reduce your carbon footprint.
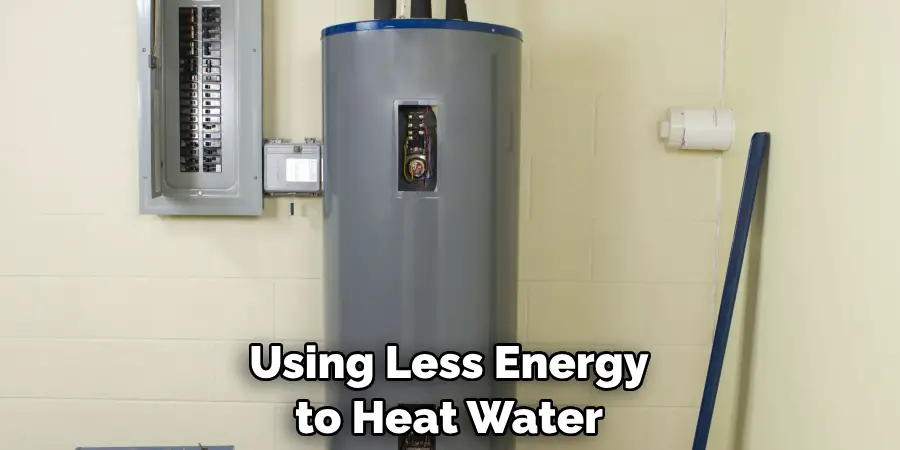
By choosing eco-friendly options for bathroom plumbing fixtures, you can contribute to a more sustainable and environmentally friendly home. Remember to also fix any leaks promptly to further conserve water and energy. Overall, making small changes in your bathroom’s plumbing can have a big impact on the environment.
What Are the Costs Associated With Doing Plumbing Work for a Bathroom?
The cost of plumbing work for a bathroom can vary depending on the scope and complexity of the project. Some common costs associated with bathroom plumbing include:
- Materials: This includes pipes, fittings, fixtures, and any other necessary tools or supplies.
- Labor: If hiring a professional plumber, labor costs will be included in the total cost.
- Permits: Depending on your local regulations, you may need to obtain permits for certain plumbing work.
- Repairs: In addition to the initial costs, there may be additional expenses if any issues arise during or after the project.
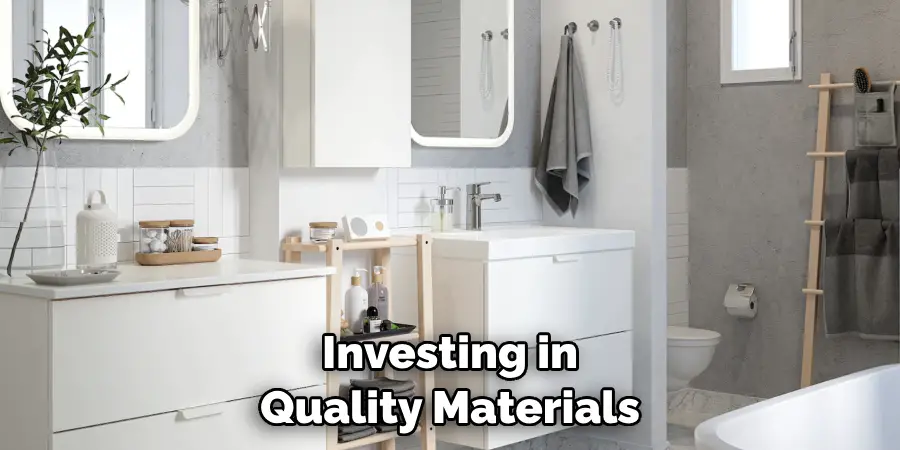
It is important to budget and research beforehand to get an accurate estimate of the costs associated with your specific bathroom plumbing project. It is also recommended to get a few quotes from different plumbers to compare prices and find the best deal. Remember, investing in quality materials and professional labor can save you money in the long run by preventing future issues and repairs.
Conclusion
In conclusion, knowing to do plumbing for a bathroom is an essential skill for any homeowner. By following the steps outlined in this guide, you can tackle common issues such as leaks and maintain the overall health of your bathroom’s plumbing system. While it may seem intimidating at first, with some caution and thoroughness, you can successfully complete basic plumbing tasks on your own.
However, if you encounter any major issues or are unsure of how to proceed, it is always best to seek professional help. Remember to also incorporate eco-friendly options for plumbing fixtures and budget accordingly for the costs associated with bathroom plumbing work.
I hope this article has been beneficial for learning how to do plumbing for a bathroom. Make Sure the precautionary measures are followed chronologically.

