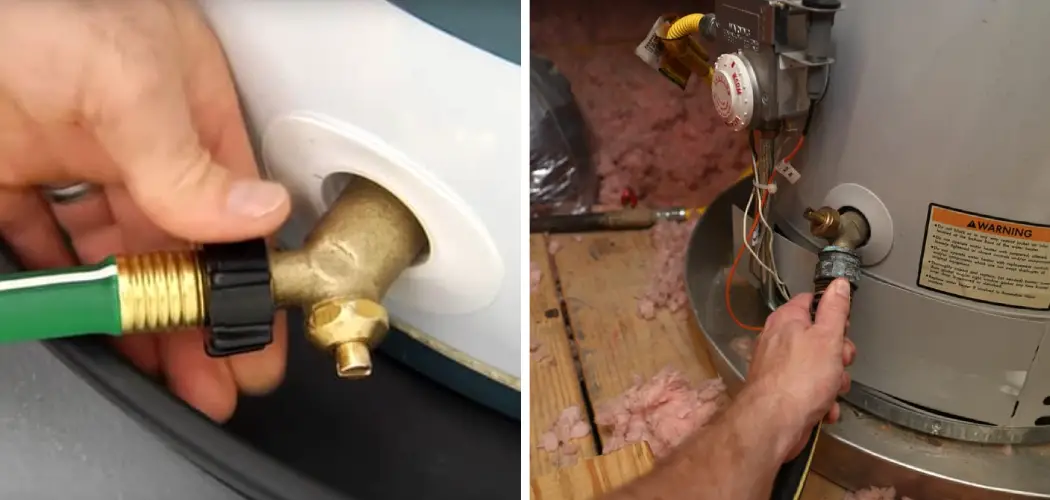
When a water heater becomes clogged, it can cause major issues like decreased efficiency, higher energy costs, and even complete failure of the unit. This is why learning to drain a clogged water heater is important to prevent further damage or costly repairs.
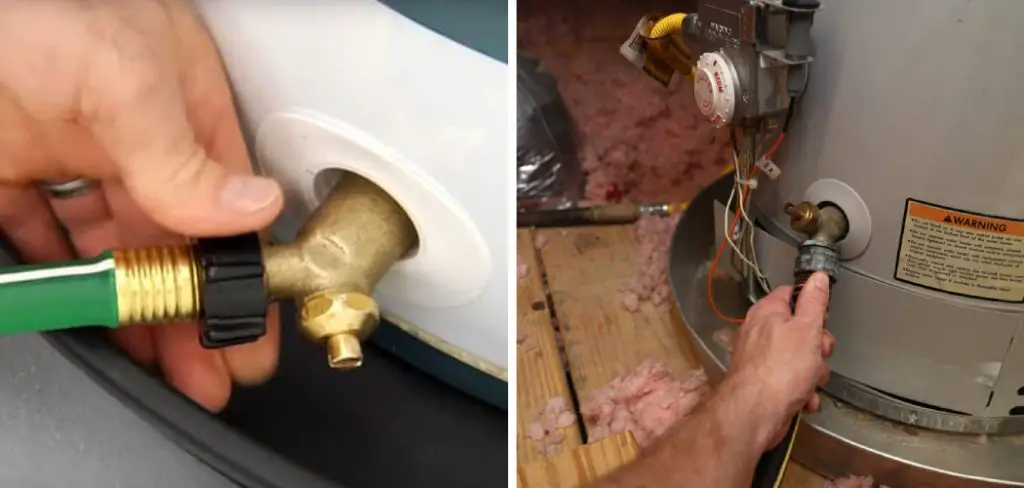
Draining a clogged water heater can provide many advantages. First, it can help to reduce the risk of damage caused by sediment build-up in the tank. Sediment buildup in the bottom of the tank reduces efficiency and can lead to costly repairs over time. By draining your water heater on a regular basis, you can help ensure that the system remains operating efficiently and free of costly repairs. You can find step-by-step instructions on how to drain a clogged water heater in this blog article.
How Often Should You Drain Your Water Heater?
Most homeowners should drain their water heater once a year to keep it running efficiently. Sediment builds up over time in the bottom of the tank, which can reduce its efficiency and cause it to rust more quickly. Draining your water heater annually will help extend its lifespan and ensure that it runs as efficiently as possible.
If you live in an area with hard water, it’s important to be extra vigilant about draining your water heater. Hard water can contain high concentrations of minerals like calcium and magnesium, which will build up faster than usual in the tank. These mineral deposits can cause clogs or corrosion if left unattended for too long.
Step-by-step Instructions for How to Drain a Clogged Water Heater
Step 1: Inspect the Water Heater
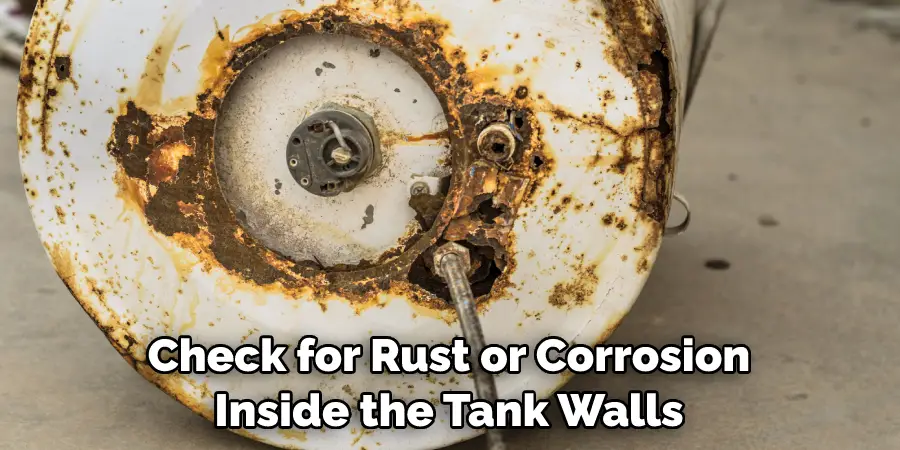
Before draining the water heater, inspect it for signs of corrosion or rust. If there is visible damage, do not attempt to drain the clogged water heater yourself, and contact a professional to investigate further.
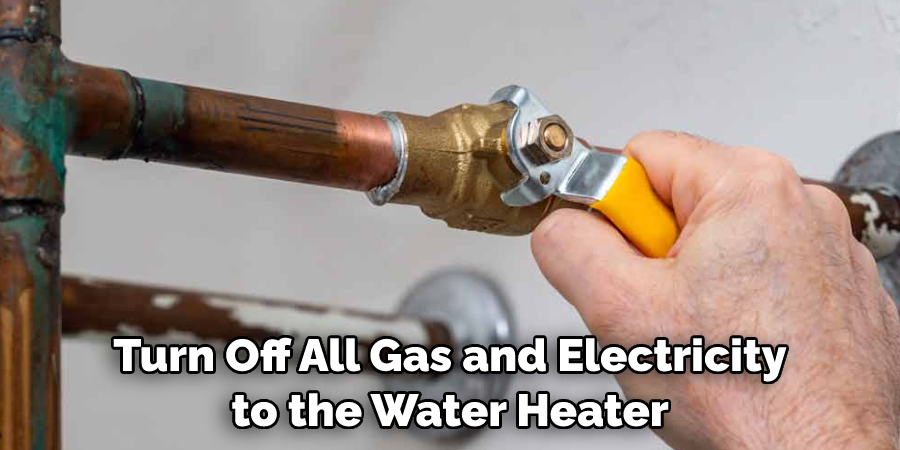
Step 2: Shutoff the Gas/Electricity
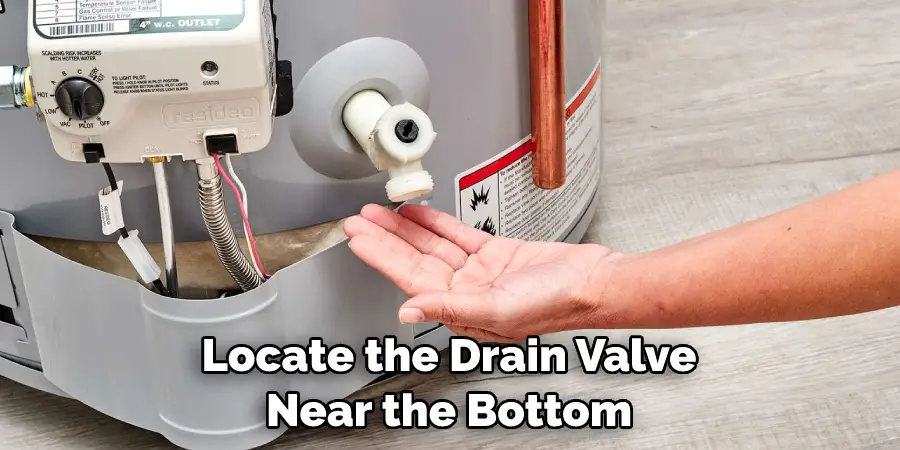
To prevent major accidents during the process, turn off all gas and electricity to the water heater. This could be done by switching off the power at the circuit box or turning off the valves feeding gas to the heater. Attach one end of a garden hose to the drain valve located on the bottom of the water heater and feed it outside, away from any drains or other water sources.
Step 3: Open the Water Heater Drain Valve
Use a wrench to open the drain valve and allow the hot water stored in the tank to be released. Once all of the hot water has been released, you can turn off the valve. Turn on all the hot water faucets in your home to help clear out any clogs or sediment that is blocking the drain.
Step 4: Flush Out Sediment From the Water Heater Tank
After all of the stored water has been drained, use a bucket to scoop out any sediment build-up from the bottom of the tank. Use a wrench to close the drain valve, ensuring that it is tightly sealed and not leaking any water. Turn on all your hot water faucets to fill the tank with cold water. Once the tank is full, turn off the faucets to prevent them from overflowing.
Step 5: Restore the Gas/Electricity Supply to Water Heater
After refilling the tank, turn on all gas and electricity supply to restart your water heater. Let the water heater run for a few minutes before testing it. Observe if the temperature is hot enough or if there are any other malfunctions that need to be addressed. If all seems to work fine, then you have successfully drained your clogged water heater.

If you feel uncomfortable or uncertain about what you’re doing at any point during this process, contact a professional for help.
Precautions for How to Drain a Clogged Water Heater
- Before starting any work, it is important to cut off all power supplies and shut down the electricity or gas that powers your water heater.
- Make sure to wear protective equipment, including safety goggles and gloves, while working on the water heater.
- Locate the drain valve near the bottom of your water tank and open it carefully. Take caution when handling the drain valve as it is made of metal and may be hot to the touch due to residual heat in the tank.
- Connect a garden hose to the drain valve and place the other end in an area suitable for water drainage, such as a sink or outdoors.
- Once connected, open the nearest hot water faucet (at the same time) to provide an exit for air that may be trapped in your tank. This will also help with water drainage.
- Open the drain valve and allow all the remaining water to exit your tank. It may take several minutes for all of the contents to drain from your heater.
- Once all the water has drained, close the hot water faucet, turn off the drain valve on your water heater, and then turn the power back on.
By following these precautions when draining a clogged water heater, you can ensure your safety and keep your home protected from any damages that may arise during this process.
How Can You Prevent Clogs in Your Hot Water Heater in the Future?
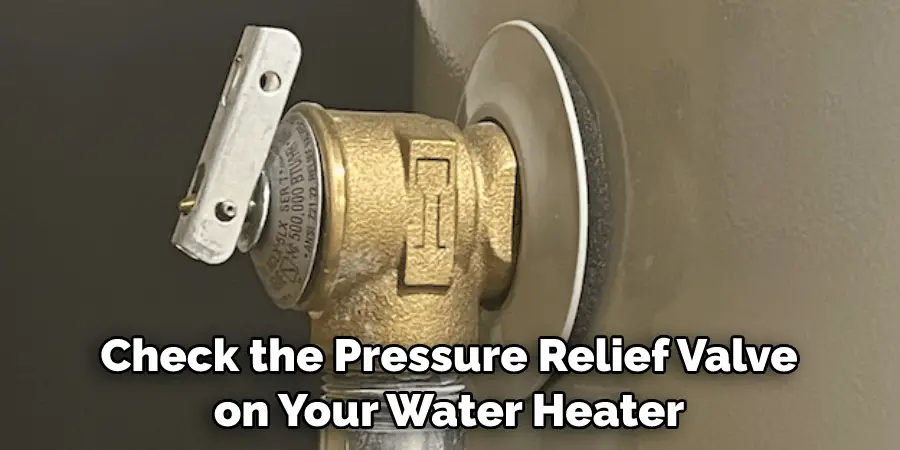
The best way to prevent clogs in your hot water heater is to ensure that you keep up with regular maintenance. This includes flushing the tank from time to time, checking for any rust or corrosion, and replacing the anode rod if needed. It’s also important to check the pressure relief valve occasionally and ensure it is operating properly. Additionally, make sure that you use water softener if your area has hard water, as this can cause buildup and clogs in the tank. Finally, avoid pouring any grease or other liquids down the drain near your hot water heater as these can cause clogging issues over time.
Following these tips should keep your hot water heater running optimally and help prevent clogs. When done properly, flushing your water heater can be beneficial to the overall health of your hot water system and extend its life. If you follow these tips, you should have a much better chance at avoiding a clogged water heater in the future.
How Should You Inspect and Maintain the Interior of Your Hot Water Heater After It Has Been Drained?
Once you’ve drained the water from your clogged hot water heater, inspecting and maintaining the interior is important. First, use a vacuum cleaner to remove any remaining dirt or sediment from within your tank. This will help prevent further build-up of debris. Next, check for rust or corrosion inside the tank walls. If necessary, scrub lightly with steel wool or a brush, and use a rust treatment to help protect against corrosion. Finally, check the anode rod for wear and tear. If it needs replacing, do so according to the manufacturer’s instructions.
It is also important to check all of the plumbing fittings on your hot water heater for any signs of leakage. If you find any, contact a professional plumber to make repairs as soon as possible. Once all of these steps have been completed, be sure to refill the tank with clean water and turn it back on according to the manufacturer’s instructions. Regularly scheduled maintenance is essential for the optimal performance of your hot water heater. Check your manufacturer’s instructions for the recommended maintenance schedule and make sure you complete it. Your hot water heater can provide many years of reliable service with regular care.
How Long Will It Take for Your Water Heater to Refill and Heat Up After It Has Been Drained?
Once your clogged water heater has been drained, the amount of time it takes for the tank to refill and reheat depends on various factors. Depending on the size and capacity of the tank, as well as how cold the incoming water is, it can take anywhere from one to several hours for your water heater to refill and heat up. It is also possible that your water heater may be unable to heat up the incoming water fast enough, so it will take longer for hot water to flow out of the taps. Checking your thermostat and temperature setting on the tank can help determine how quickly your water heater will refill and reheat.
If you keep the temperature higher than 120 degrees Fahrenheit, your water heater will take less time to refill and reheat. Keeping the thermostat set below 120 degrees Fahrenheit will take longer for the tank to heat up. It is also important to check the pressure relief valve on your water heater, as this can affect how quickly your water heater refills and reheats. If the valve is not working properly, it can impact the flow rate of the incoming water and cause a delay in the tank filling up or heating up.
How Can You Prevent Future Clogs in Your Hot Water Heater?
Once you have successfully unclogged your water heater, it is important to maintain the appliance in order to prevent future clogs. Here are some tips to keep your hot water heater running effectively:
- Regularly check and clear mineral deposits from the tank. Mineral deposits can build up over time and reduce efficiency.
- Install a water softener. Water softeners help to reduce the number of minerals in your water and thus reduce the chances of a clogged tank.
- An annual inspection can help identify any potential problems before they become serious.
- Change the anode rod every few years. This rod helps to prevent corrosion in the tank and can become depleted over time, resulting in clogs and other issues.
- Inspect all connections regularly for leaks or blockages. If you find a blocked fitting or leaking connection, make sure to replace or repair it as soon as possible before it causes any further damage.
Following these tips can help keep your hot water heater running smoothly and avoid costly repairs.
How Often Should You Inspect Your Water Heater for Any Signs of Clogs or Blockages?
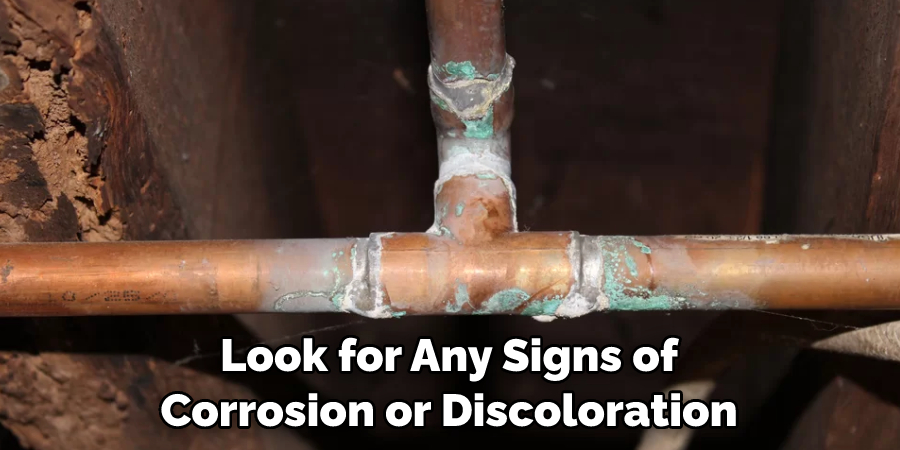
Inspecting your water heater for any signs of clogs or blockages regularly is important. Any sign of a blocked or clogged water heater should be addressed as soon as possible. Checking your system on a regular basis gives you the opportunity to spot any potential problems before they become too severe. When inspecting your water heater, look for any signs of corrosion or discoloration in the tubes. Also, pay close attention to any loud noises coming from the unit when it is running and if there are any unusual odors present.
If you notice a decrease in hot water pressure during use, this could also be a sign of a clogged or blocked water heater. To prevent a clog or blockage from occurring, it is important to keep on top of any maintenance you may need to perform. Make sure you flush out the system at least once every few months. Additionally, replacing sediment filters and checking for calcium deposits in the tank can help keep your water heater in good condition. Taking the time to inspect and maintain your water heater on a regular basis will save you money in the long run by preventing clogs or blockages from forming.
Conclusion
The main disadvantage of draining a clogged water heater is the potential for further damage. The sediment build-up in the water heater can cause it to overheat and even become damaged if allowed to build up too much. Additionally, improper drainage can lead to flooding your home or office due to increased pressure when attempting to drain the tank. It is also possible to damage the pipes or other components of the system due to improper drainage.
In conclusion, draining a clogged water heater is not difficult, although it requires some knowledge and preparation. Preparation includes gathering the necessary tools, turning off the power source to the water heater, shutting off the incoming water supply, opening nearby taps to release pressure from the system, and having buckets on hand for catching any spilled liquid. You will also need to locate the drain valve, which is located at the bottom of your water heater. I hope reading this post has helped you learn how to drain a clogged water heater. Make sure the safety precautions are carried out in the order listed.

