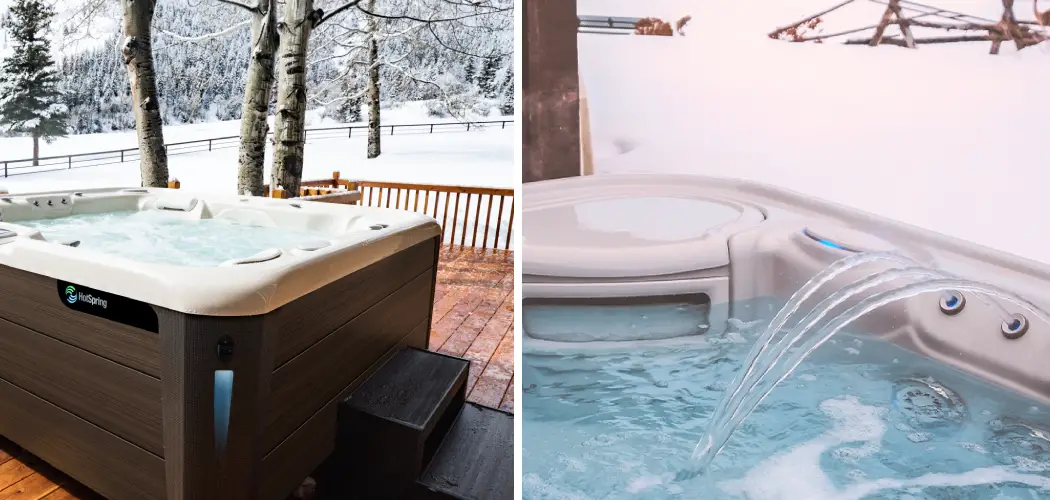
Are you getting ready for the cold winter months and need to prepare your hot tub? Hot tub ownership involves more than just sitting back and enjoying the soothing benefits of a hot hydrotherapy spa. Proper maintenance procedures, including draining your hot tub for winter, are essential to keeping the appliance in top working condition.
Whether you have an indoor or outdoor hot tub, regular maintenance of your home hot tub is key to increasing its lifespan and preserving optimal performance over time – such as draining it for winter!
To ensure a successful drain session that will help keep your investment in great shape all year round, we’ll walk you through how to properly drain a hot tub and provide some valuable tips on how to drain a hot tub for winter along the way. Keep reading to learn how to complete this task properly and ensure your investment stays protected during the winter season!
Why Do You Need to Drain a Hot Tub for Winter?
1. To Prepare for Winter
When the temperatures start to drop, it’s especially important that you take the necessary steps to adequately prepare your hot tub for winter. This includes draining any remaining water from the appliance in order to prevent possible damage due to freezing and cracking of hot tub components that could occur if left unmaintained during colder weather conditions.
2. To Remove Contaminants
Draining a hot tub for winter also helps to remove any built-up contaminants that have formed in the water, including lotions and oils from bathers and chlorine or other chemicals used to treat the water. Removing these contaminants prevents them from causing further damage to your hot tub’s components and interior structure over time.
3. To Refresh and Maintain the Water
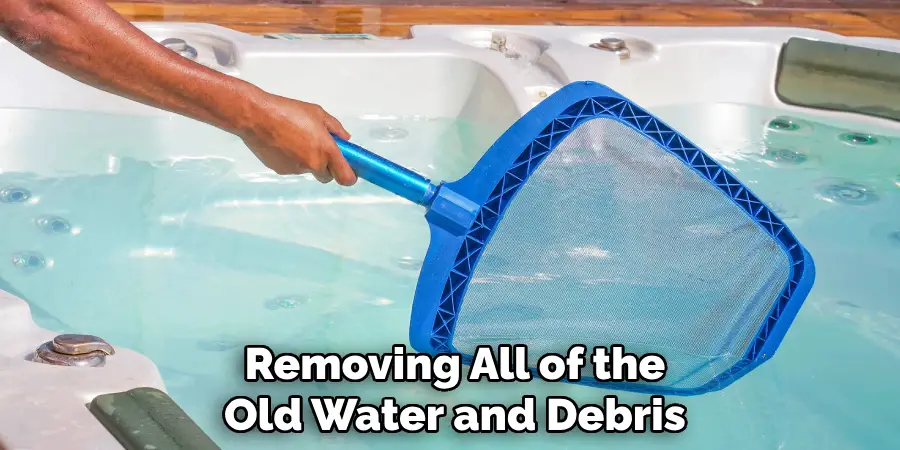
Draining a hot tub for winter also serves as an opportunity to give your appliance a complete refresh. Removing all of the old water and debris allows you to start with cleaner, fresher water that is free of any impurities or contaminants. Refreshing your hot tub’s interior through this method will help maintain its cleanliness and efficiency over time.
Things to Remember While Draining a Hot Tub for Winter
1. Unplug the Appliance
Before draining a hot tub for winter, make sure to unplug it from its power source. This is a necessary step in order to avoid any electrical accidents that could occur while the hot tub is drained and in use.
2. Use a Submersible Pump
Using a submersible pump can be helpful when draining a hot tub for winter. Submersible pumps are typically easy to install and operate, making them ideal for draining large amounts of water quickly and efficiently.
3. Have Appropriate Drainage Equipment
Make sure you have the necessary items on hand before attempting to drain your hot tub for winter. This includes items such as garden hoses, buckets, towels, etc., that can be used to help successfully drain the appliance and clean up any messes that might occur along the way.
Draining a hot tub for winter is an essential task for maintaining its optimal performance and lifespan over time.
Required Items to Drain a Hot Tub
Before you get started, make sure that you have all of the necessary items for draining your hot tub. Here is a checklist of what you’ll need:
- Garden hose
- Shutoff valves
- Towels or buckets (for collecting water)
- Disinfectant cleaner (optional)
10 Ways How to Drain a Hot Tub for Winter
1. Shut off the Power and Heater
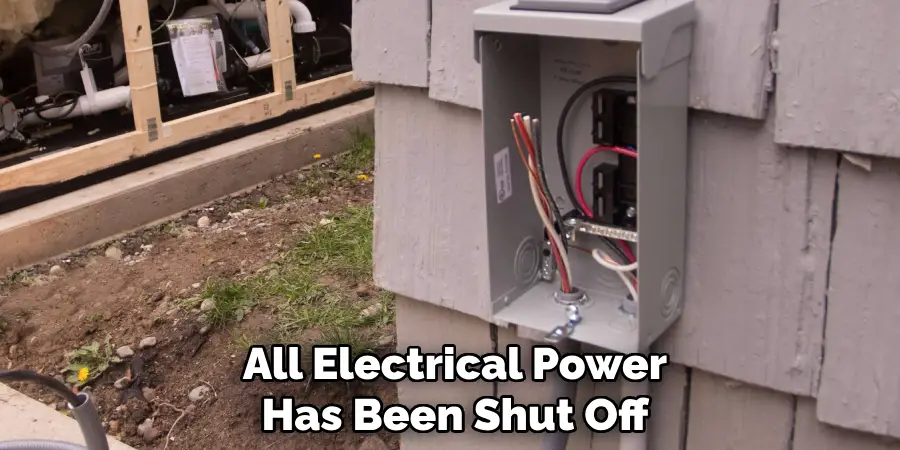
Before draining your hot tub for winter, it is important to ensure that all electrical power has been shut off from the appliance. Additionally, if you have an electric heater, be sure to turn this off as well in order for the heating element to cool down and prevent potential damage.
2. Open Suction Valve
Open the hot tub suction valve in order to begin draining the water from the appliance. While opening the valve, make sure to use caution as water may come out quickly and forcefully. Also, be sure to wear protective gear and goggles if necessary.
3. Connect Garden Hose
Connect the garden hose to the hot tub drain valve so that the water will run out of the appliance and into a designated area like a grassy lawn or rain barrel. Make sure to secure the end of the hose in order for all of the water to be completely removed from the hot tub.
4. Open Drain Valve
Once the garden hose is securely connected to the drain valve, open the valve and allow all of the water to exit from your hot tub and into a designated area. Make sure that you keep an eye on the draining process until it’s complete in order to ensure that no water is left behind or spilling onto surrounding areas.
5. Shut Off Suction Valve
Once the draining process is complete, make sure to shut off the suction valve in order to prevent any further water from exiting the hot tub. This will ensure that all of the remaining water has been removed.
6. Clean Interior
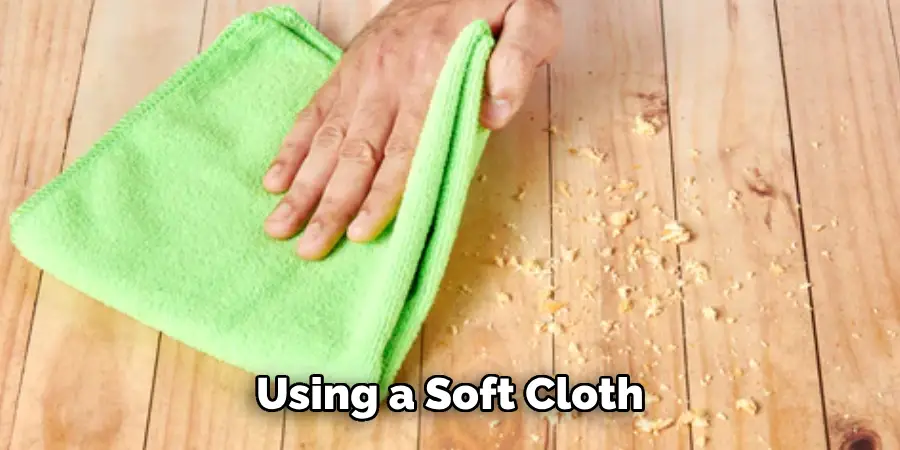
Now it’s time to clean out and dry the interior of your hot tub. Start by using a soft cloth and cleaning solution to wipe down the interior walls and floor of your appliance. Make sure to remove any remaining debris or contaminants from the hot tub before moving on to the next step.
7. Disinfect Interior
To sanitize your hot tub’s interior, you can use a chlorine cleaner that is designed specifically for hot tubs. This will help to remove any contaminants or bacteria that may be lingering in the water and on the interior surfaces of your hot tub.
8. Dry Interior
Once you have finished sanitizing your hot tub, use a soft cloth to dry the interior walls and floor completely. Make sure to get all of the nooks and crannies dry so that no moisture is left behind.
9. Close Drain Valve
Once all of the water has been drained from your hot tub, close the drain valve and ensure that it is completely shut off in order to prevent any further water from draining out. Drain valve caps may also be used for extra security.
10. Store Hot Tub Cover
Finally, store your hot tub cover in a safe and dry place until you’re ready to use it again for the next season. You can also use a winterizing product on your cover in order to protect it from any weather or temperature changes while not in use.

Taking the time to properly drain a hot tub for winter can help keep your appliance in top working condition and prevent any major damages or breakdowns from occurring.
8 Maintenance Tips to Prepare Your Hot Tub for Winter
Preparing your hot tub for winter is an important part of making sure it stays in good shape. In addition to draining and cleaning your hot tub, here are 8 maintenance tips to ensure that your hot tub is ready for the cold season ahead:
1. Clean the filter. Make sure you give the filter a thorough cleaning before draining and storing the hot tub for the winter. It’s best to use a filter cleaner, which will help remove any scale or residue from the filter material.
2. Clear out pipes and jets. Use a pipe brush to get rid of any debris or dirt in the water lines, as well as clear out any clogged jets that may be present.
3. Clean the cover. Make sure you thoroughly clean the hot tub and cover it with soap and water before storing it away for the winter. This will help prevent any mold or mildew from forming on the cover while in storage.
4. Rinse off accessories before storing them away. If you have any accessories that come with your hot tub, such as wooden steps or a chemical dispenser, make sure you give them a thorough rinse before storing them away.
5. Cover the hot tub with a tarp. If you don’t have a cover for your hot tub, you can use a tarp to protect it from the elements while in storage. Make sure to secure the tarp with bungee cords or weights to ensure it doesn’t blow away in the wind.
6. Inspect the hot tub for signs of damage. Before draining and storing the hot tub, inspect it for any cracks, chip,s or other signs of damage. If there is any damage present, make sure you get it fixed before storing your hot tub for the winter.
7. Test the pH balance of the water. If your hot tub is still filled, test the water to check the pH balance and make sure it’s safe for winter storage. If it’s not, you may need to adjust it before draining the hot tub or opt for a chemical flush instead.
8. Store any chemicals and other accessories in a safe place. Once you’ve drained the hot tub, make sure to store any chemicals or accessories in a safe, dry place where they won’t freeze. This will help ensure that they are ready for use once your hot tub is up and running again next spring.
Following these 8 tips will help make sure that your hot tub is ready for winter and in good shape when it’s time to use it again. Make sure you also drain the hot tub properly before storing it away, as this will help keep your hot tub clean and prevent any damage that could occur from freezing water.
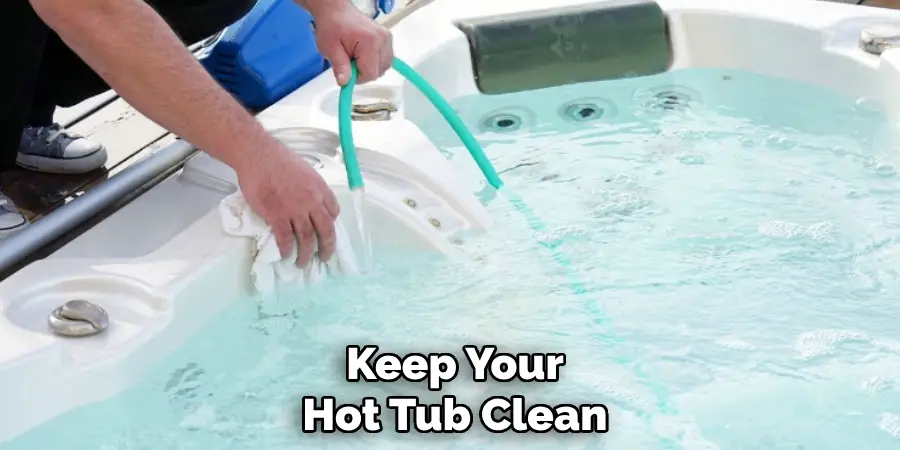
5 Safety Measures to Follow When Draining a Hot Tub for Winter
Taking the time to properly drain and store your hot tub in winter can help extend its life and save you money. Before draining your hot tub, it’s important to take several safety measures to ensure a safe and successful experience. Here are six essential safety measures when draining your hot tub:
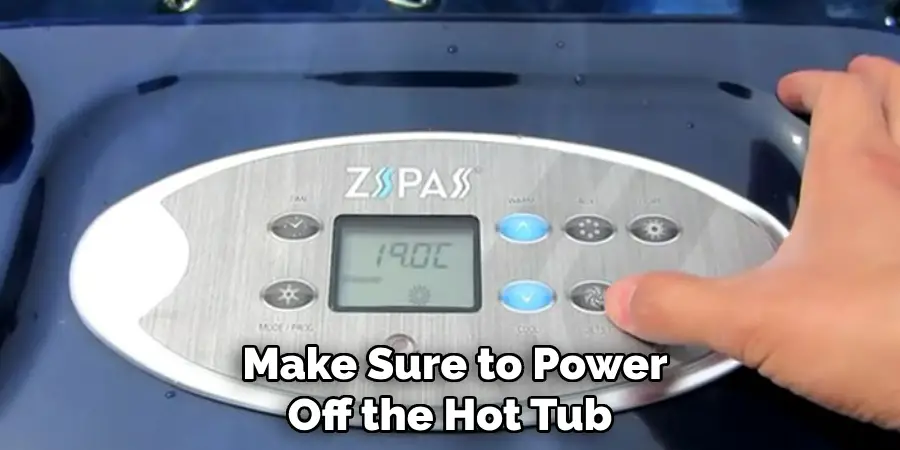
1. Power off the hot tub. To prevent any electrical hazards, make sure to power off the hot tub before draining it. Locate your breaker box and turn off the hot tub’s circuit before unplugging the unit. Powering off the hot tub also helps reduce any possible damage to its internal components.
2. Wear protective clothing and equipment. Before getting started, make sure to wear protective gloves, boots, and safety glasses to protect yourself from potential dangers. This is especially important when working with water near electricity or chemicals that could be harmful if exposed to your skin or eyes.
3. Clean and balance the water in your hot tub. Make sure to clean, filter, and adjust the pH level of your hot tub’s water before draining it. This will help ensure that the condition of the water won’t damage any internal components or affect its performance when you refill it in spring.
4. Disconnect any necessary hoses and wires. Once the hot tub is powered off, disconnect any hoses and wires connected to the unit. Additionally, make sure to double-check your connections for any loose fixtures before proceeding.
5. Prepare a drainage area. Make sure you have an adequate drainage system prepared that can effectively receive the water from your hot tub without creating flooding or water damage in the nearby area.
Conclusion
Now that you have successfully drained your hot tub for winter, it is time to prepare for the cool season ahead. Winterizing involves fully cleaning and inspecting all the components of your hot tub, including the shell, acrylic surface, water lines, filters, and pumps. Have a professional technician come in and inspect each component of your hot tub annually to ensure its longevity.
Additionally, if possible, store the cover in a safe place off the ground and away from any moisture or insects during winter months.
Taking these extra precautionary steps on how to drain a hot tub for winter will not only ensure you get more years out of your hot tub but will also save you money on maintenance costs down the road. So don’t wait and drain your hot tub today – taking good care of it now just might save you some money in the future!

