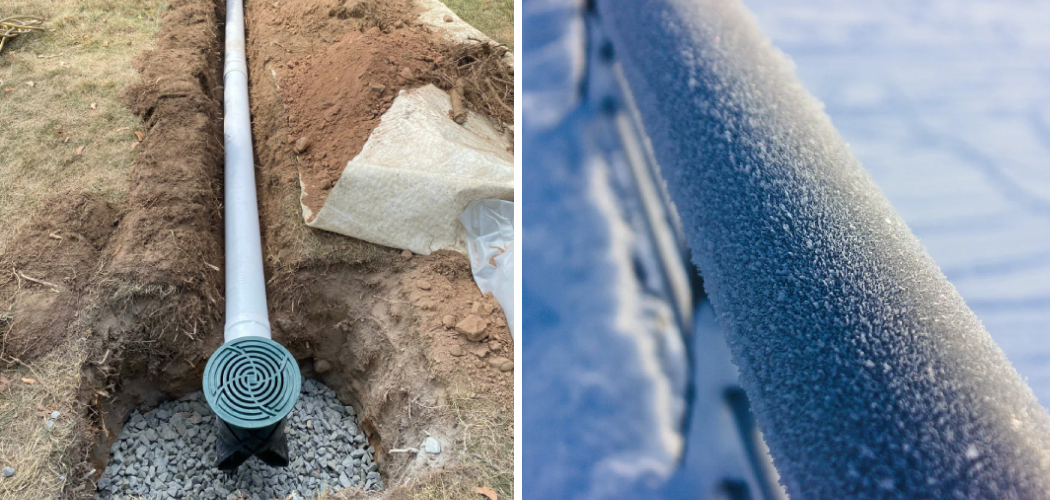
There are a few key reasons why you should learn to drain outdoor water pipes for winter. While it may seem like a daunting task, especially if you’re not familiar with plumbing or home maintenance, it is actually a simple and necessary process that can save you time, money, and potential headaches in the long run.
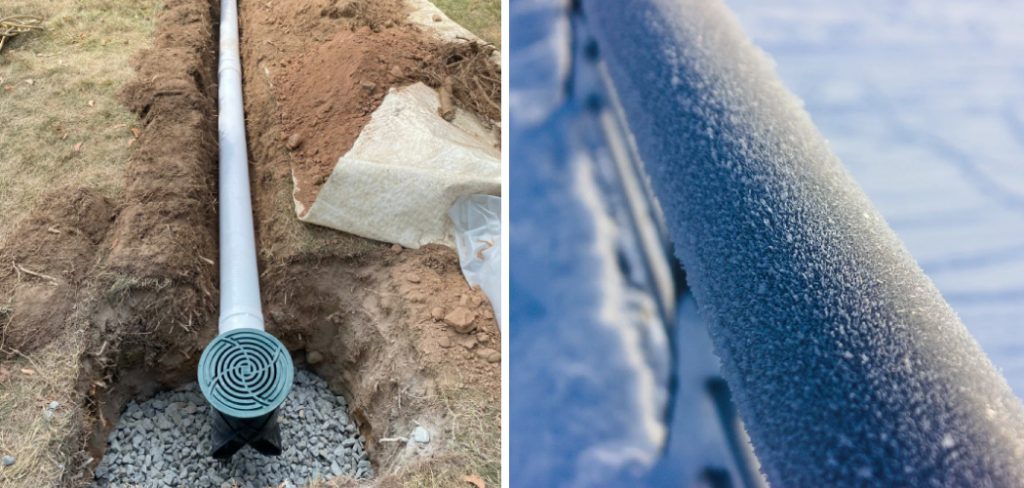
The main advantage of draining outdoor water pipes for winter is the prevention of damage caused by freezing temperatures. When water freezes, it expands and can cause pipes to burst, leading to costly repairs.
By properly draining the pipes before winter arrives, you eliminate this risk and ensure that your plumbing system remains intact. You can find step-by-step instructions on how to drain outdoor water pipes for winter in this blog article.
Step-by-step Instructions for How to Drain Outdoor Water Pipes for Winter
Step 1: Inspect & Locate all Your Outdoor Water Pipes
Before you start draining, make sure to take a walk around your property and identify where all your outdoor water pipes are located. This includes any faucets, sprinkler systems, and hoses that are connected to the main water supply.
Step 2: Shut Off the Main Water Valve
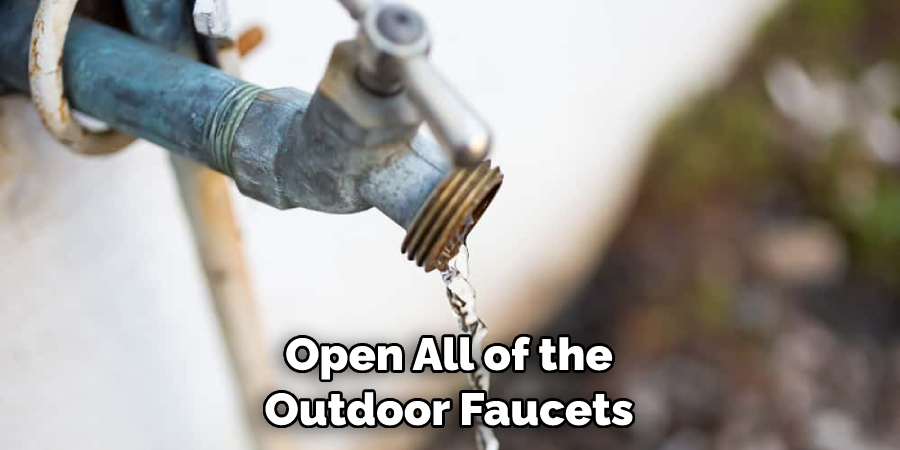
Once you have identified all your outdoor water pipes, locate the main water valve and shut it off. This is typically located inside your home near the water meter. Next, go outside and open all your outdoor faucets to release any remaining water in the pipes. Make sure to turn the handles to the “on” position so that any trapped water can escape.
Step 3: Disconnect Hoses and Store Them Indoors
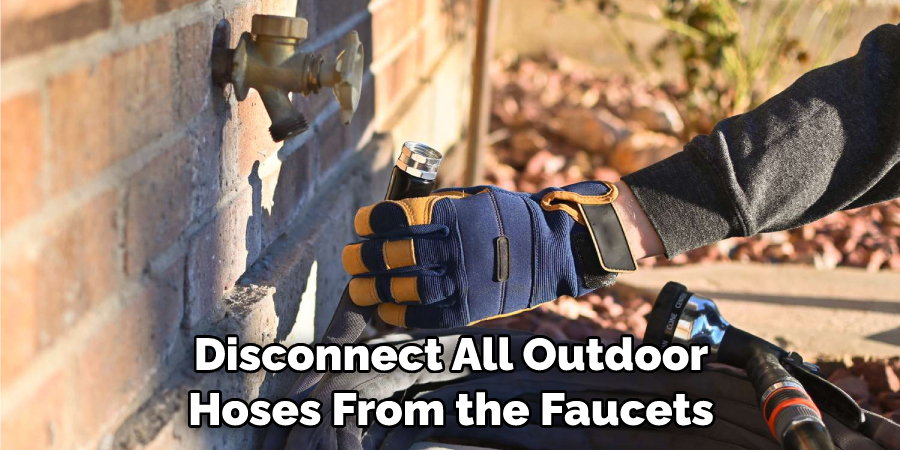
Disconnect all outdoor hoses from the faucets and drain any excess water. Once drained, make sure to store them in a dry indoor location for the winter. If you have a sprinkler system, now is the time to drain it before temperatures drop below freezing. This can usually be done by turning off the water supply to the sprinkler and then running it until no more water comes out.
Step 4: Open Drain Valves
Some outdoor water pipes may have a drain valve located near the main shut-off valve. Make sure to open these valves to allow any remaining water to drain out. For larger or more complex outdoor water systems, it may be necessary to use an air compressor to blow out any remaining water. It is important to follow manufacturer instructions and use the appropriate pressure for your specific system.
Step 5: Check for Leaks
Once you have drained all the outdoor water pipes, make sure to check for any leaks or areas where water may still be trapped. This can prevent costly damage during the winter months. If you live in an area with extremely cold temperatures, consider insulating your outdoor water pipes to provide extra protection against freezing. Foam pipe insulation can easily be purchased at most hardware stores.
Step 6: Mark all Shut-off Valves
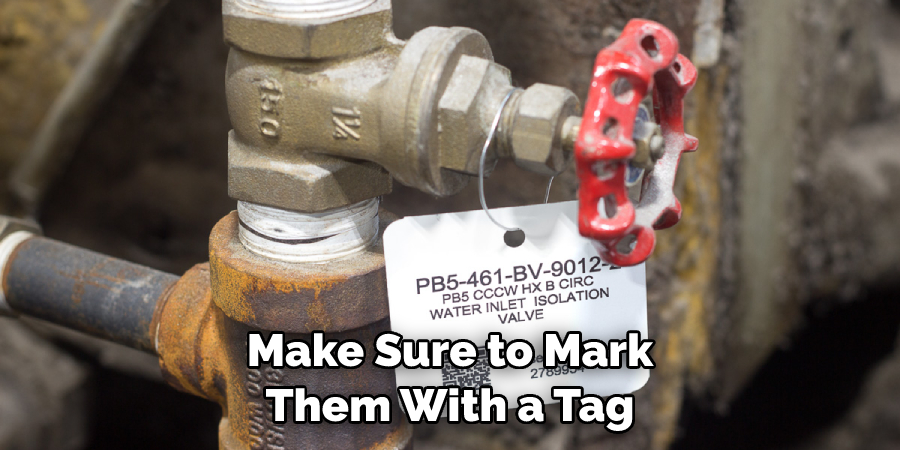
To make sure you know which valves need to be turned off for next winter, make sure to mark them with a tag or label. This will save you time and hassle when it comes time to drain your outdoor water pipes again.
By following these simple steps for draining your outdoor water pipes for winter, you can avoid costly repairs and damage caused by frozen pipes. It is important to take these precautions in order to protect your home’s plumbing system during the colder months.
Tips for How to Drain Outdoor Water Pipes for Winter
- Before you begin draining your outdoor water pipes, make sure to wear safety gear such as gloves and goggles to protect yourself from any potential hazards.
- The first step in draining your outdoor water pipes for winter is to shut off the main water supply. This will prevent any further water from entering the pipes while you are working on draining them.
- Next, open all of the outdoor faucets and let the remaining water drain out. This will help relieve any built-up pressure in the pipes.
- After draining the faucets, turn off all of the indoor valves connected to your outdoor water supply. This includes valves for sprinkler systems, hot tubs, or any other outdoor water sources.
- To ensure proper drainage, it is important to open the drain valve on your water heater if you have one. This will allow any remaining water in the pipes connected to the water heater to drain out.
- Once all of the above steps are completed, it is a good idea to use an air compressor or hand pump to blow out any excess water from your outdoor pipes. This will prevent any remaining water from freezing and causing damage during the winter months.
- Lastly, it is recommended to pour antifreeze into your outdoor drains to help prevent any potential freezing or damage. This can be purchased at most hardware stores and should be poured into all of your outdoor drains, including sprinkler system drain valves.
How Long Does It Take to Drain Outdoor Water Pipes?
The time it takes to drain outdoor water pipes for winter can vary depending on a few factors. These include the length and size of your pipes, the amount of water remaining in them, and the method you use to drain them. If your outdoor water pipes are quite long, it may take longer for all of the water to fully drain out. Additionally, if you have larger pipes with a greater capacity for holding water, this can also increase the time it takes to drain them completely.
The amount of water remaining in your pipes is another important factor to consider. If you have been using your outdoor water system recently, there may be more water present in the pipes that needs to be drained out. On the other hand, if you haven’t used your outdoor water system in a while, there may not be as much water to remove.
What Should Be Done With Outdoor Faucets After Draining the Pipes?
After draining the outdoor water pipes for winter, it is important to take proper care of the outdoor faucets in order to prevent any damage or freezing during the cold weather. Here are some steps that should be taken after draining the pipes:
1. Remove and Store Any Attachments
Before closing off the outdoor faucets, make sure to remove any attachments such as hoses, sprinklers or nozzles. These should be drained and stored in a dry place to prevent any damage from freezing temperatures.
2. Close Off the Water Supply
Once all attachments are removed, close off the water supply to the outdoor faucets. This can usually be done by turning off the main valve or using an indoor shut-off valve specifically for outdoor faucets.
3. Drain the Faucets
Even after draining the outdoor water pipes, there may still be some water left in the outdoor faucets. To prevent freezing and potential damage, make sure to completely drain all remaining water from the faucets.
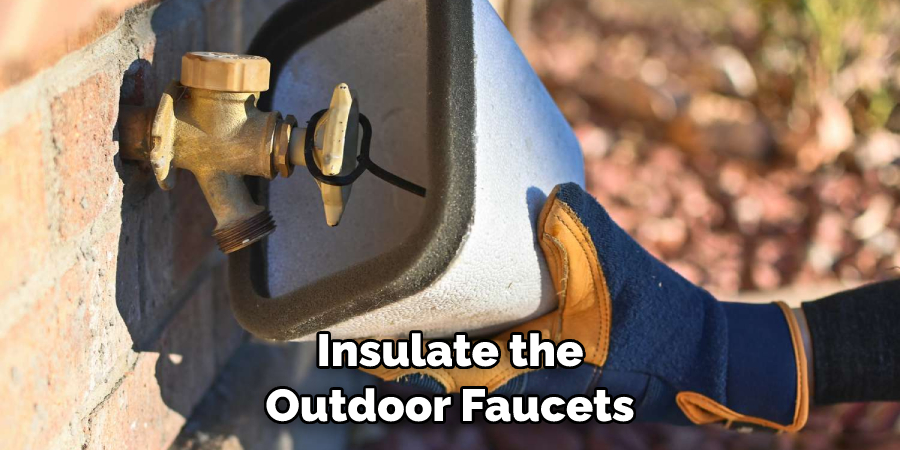
4. Insulate the Faucets
To provide extra protection against freezing temperatures, it is recommended to insulate the outdoor faucets with a faucet cover or foam insulation. This will help prevent any remaining water from freezing and causing damage.
5. Turn off Outdoor Faucets
If possible, turn off the outdoor faucets completely by using the shut-off valve inside your home. This will ensure that no water is able to enter the pipes and potentially freeze during winter.
6. Check for Leaks
After completing all of these steps, it is important to check for any leaks in the outdoor faucets or pipes. If any are found, make sure to address them before winter arrives.
Properly draining and taking care of outdoor water pipes and faucets for winter will help prevent any potential damage or freezing during the cold weather. By following these steps, you can ensure that your outdoor plumbing remains in good condition and is ready for use when warmer weather returns.
Are There Any Signs That Indicate a Need to Drain Outdoor Water Pipes for Winter?
There are a few signs that may indicate the need to drain outdoor water pipes for winter. These include:
1. Dropping Temperatures
As the temperature starts to drop, it is important to start thinking about draining outdoor water pipes. Freezing temperatures can cause damage to pipes and faucets if they are not properly drained.
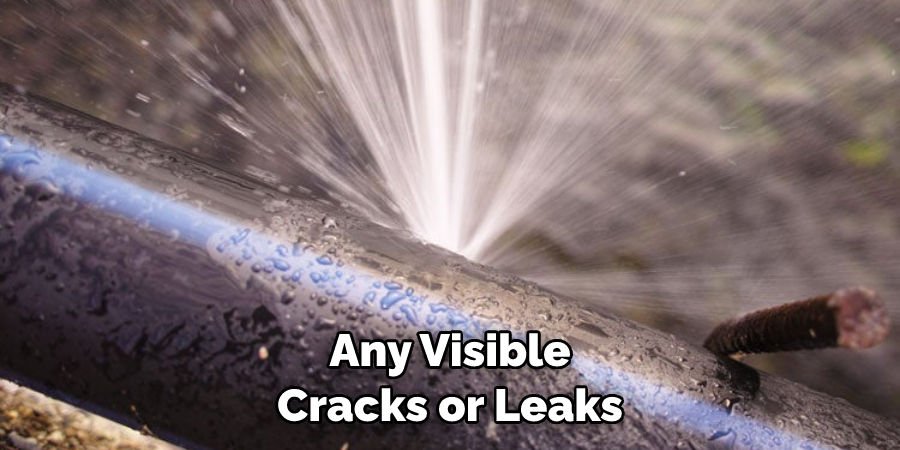
2. Cracks or Leaks in Pipes
If there are any visible cracks or leaks in your outdoor water pipes, it is important to address them before winter arrives. These can cause more serious problems if they are not resolved before freezing temperatures set in.
3. Visible Signs of Rust
If there is rust present on outdoor faucets or pipes, this may indicate that there is already some damage and they should be drained for the winter.
4. Previous Freezing Incidents
If you have had issues with frozen outdoor water pipes in the past, it is important to take extra precautions and drain them before winter this time. This will help prevent any damage or inconvenience caused by frozen pipes.
It is always better to be safe than sorry when it comes to draining outdoor water pipes for winter. By paying attention to these signs and taking proper precautions, you can prevent any potential problems and ensure that your plumbing is in good condition for the cold months ahead.
Conclusion
In conclusion, draining outdoor water pipes is an essential task that should not be neglected during the winter season. By following these simple steps, you can prevent costly damages to your plumbing system and preserve the lifespan of your pipes. Firstly, it is crucial to turn off the main water supply before starting the draining process. This step will ensure that no water continues to flow into the pipes while you are draining them.
Next, open all the faucets and valves connected to the outdoor water pipes. This will allow any remaining water to flow out of the pipes easily. Afterward, locate the lowest point in your plumbing system and attach a hose to it.
Make sure that the other end of the hose is placed in an area where the water can drain freely without causing any damage. I hope reading this post has helped you learn how to drain outdoor water pipes for winter. Make sure the safety precautions are carried out in the order listed.

