As the colder months approach, it’s essential to protect your outdoor plumbing from the harsh effects of freezing temperatures. Draining your outside faucet is a crucial step to prevent water from freezing in the pipes, which can lead to costly damage and inconvenient leaks.
This guide will walk you through how to drain outside faucet for winter, ensuring your plumbing system remains intact throughout the winter season. By taking these preventative measures, you can enjoy peace of mind and avoid potential headaches when spring arrives.
The Importance of Draining Outside Faucets
Draining outside faucets is vital for maintaining the integrity of your plumbing system during the winter months. When water is left in the pipes, it can freeze as temperatures drop, leading to expanded ice that can cause pipes to crack or burst. This not only results in costly repairs but can also lead to significant water damage in and around your home.
Furthermore, draining the faucet prevents water from accumulating in the spigot, which can also freeze and damage the faucet itself. By proactively draining your outside faucets, you safeguard your property and ensure that your plumbing is ready to function efficiently when warmer weather returns.
Tools and Materials Needed
Before you begin the process of draining your outside faucet for winter, gather the following tools and materials to ensure a smooth and efficient task:
- Adjustable Wrench: For loosening any fittings connected to the faucet.
- Garden Hose: To detach from the faucet, allowing for proper drainage.
- Bucket or Large Bowl: To catch any residual water that may drain out during the process.
- Towel or Rag: For cleaning up any spills or excess water.
- Frost-Proof Outdoor Faucet Cover (optional): To provide additional insulation during the winter months.
- Screwdriver: If there are screws that need to be removed for the process.
Having these items on hand will help you prepare your outdoor plumbing effectively and prevent potential issues during the winter season.
10 Methods How to Drain outside Faucet for Winter
1. Turn Off the Water Supply
The first step in draining an outdoor faucet is to turn off the water supply that feeds the faucet. Locate the shutoff valve for the outdoor faucet, which is usually found inside the house, often in the basement, crawl space, or utility room. This valve controls the flow of water to the outdoor faucet.
Turn the valve clockwise to close it and stop the water flow. Ensuring that the water supply is completely turned off is essential for preventing any remaining water in the pipes from freezing and causing damage.
2. Open the Outdoor Faucet
Once the water supply is turned off, go outside and open the outdoor faucet to allow any remaining water in the pipe to drain out. By opening the faucet, you create a pathway for the water to exit the pipe, reducing the risk of it freezing inside.
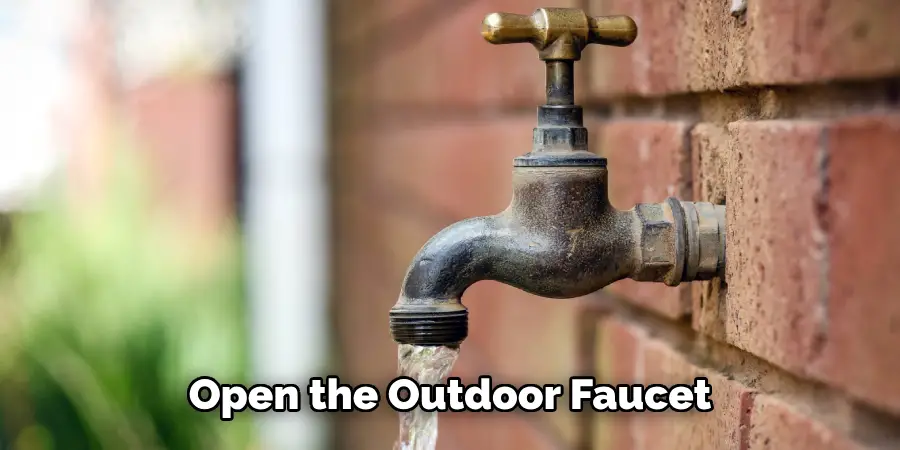
Leave the faucet open during the entire draining process to ensure that all water has been expelled. This step is crucial for ensuring that no residual water remains in the pipe, which could freeze and cause problems.
3. Use a Pipe Blower
For a more thorough draining, consider using a pipe blower or air compressor. A pipe blower is a specialized tool designed to force air through the plumbing system to remove any residual water. Attach the pipe blower to the outdoor faucet, and turn it on to blow air through the pipe.
This method helps to expel any remaining water from the line, reducing the risk of freezing. Be cautious with the pressure settings to avoid damaging the pipe or faucet. This step is particularly useful if you live in an area with very cold temperatures or if you want to ensure that all water is removed.
4. Install a Faucet Insulation Cover
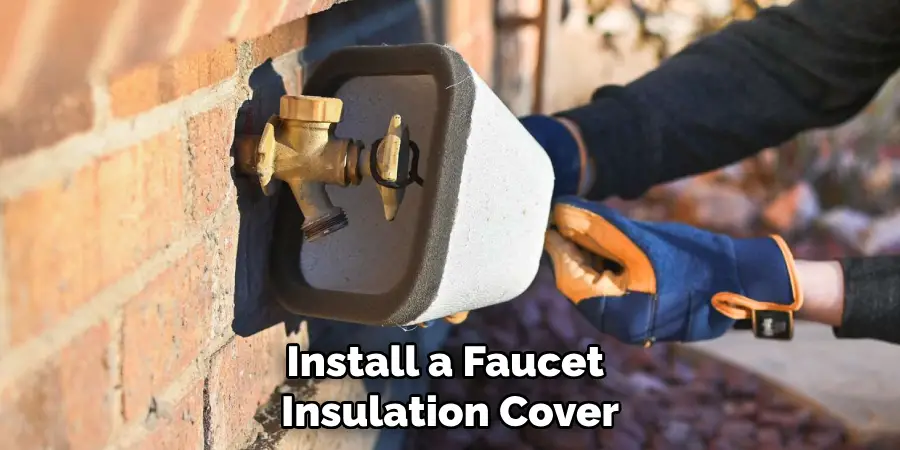
Installing a faucet insulation cover provides an additional layer of protection against freezing temperatures. These covers are designed to fit over the outdoor faucet and insulate it from the cold. Most faucet covers are made of foam or other insulating materials that help to keep the faucet and the pipe behind it warmer.
To install the cover, simply place it over the faucet and secure it with the provided straps or ties. Ensure that the cover fits snugly to prevent cold air from reaching the faucet. This step helps to protect the faucet during extremely cold weather.
5. Remove the Faucet Handle
In some cases, removing the faucet handle can facilitate the draining process and prevent freezing. Use a screwdriver to remove the handle, which will allow any trapped water inside the faucet assembly to drain more effectively.
After removing the handle, leave the faucet open to ensure that any remaining water can escape. Once the faucet is completely drained and the handle is removed, you can either leave it off for the winter or reinstall it when the weather warms up.
6. Flush the Pipe with Air
In addition to using a pipe blower, you can manually flush the pipe with air by using a bicycle pump or a similar device. Attach the pump to the outdoor faucet and pump air through the pipe to help push out any remaining water. This method can be particularly effective for clearing out any water that may be trapped in low points or bends in the pipe.
Ensure that the pump is properly connected and use moderate pressure to avoid damaging the pipe. Flushing the pipe with air provides an extra layer of assurance that the pipe is free of water.
7. Check for Leaks
Before concluding the winterization process, check the outdoor faucet and surrounding pipes for any signs of leaks or damage. Even small leaks can lead to water accumulation and freezing. Inspect the faucet connection, pipe joints, and the area around the shutoff valve for any signs of moisture.
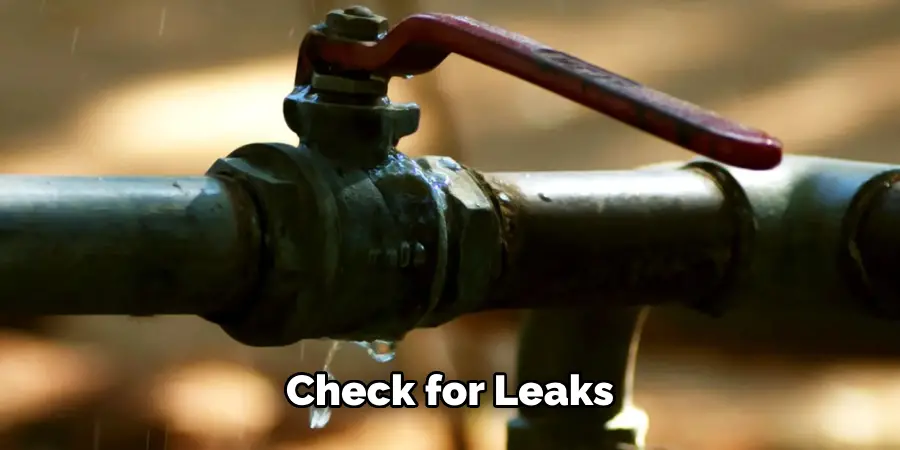
If you detect any leaks, address them promptly by tightening fittings or replacing damaged components. Ensuring that the faucet and pipes are leak-free helps to prevent water from accumulating and freezing over the winter.
8. Apply Heat Tape
Heat tape is a useful tool for preventing freezing in exposed pipes. It is an electric heating element that wraps around the pipe and provides warmth to keep it above freezing temperatures. Apply heat tape to the exposed sections of the pipe leading to the outdoor faucet, following the manufacturer’s instructions. Plug the heat tape into a power source and ensure that it is properly installed and functioning. Heat tape is particularly useful in regions with extreme cold and helps to maintain a safe temperature for the pipe.
9. Insulate the Pipe
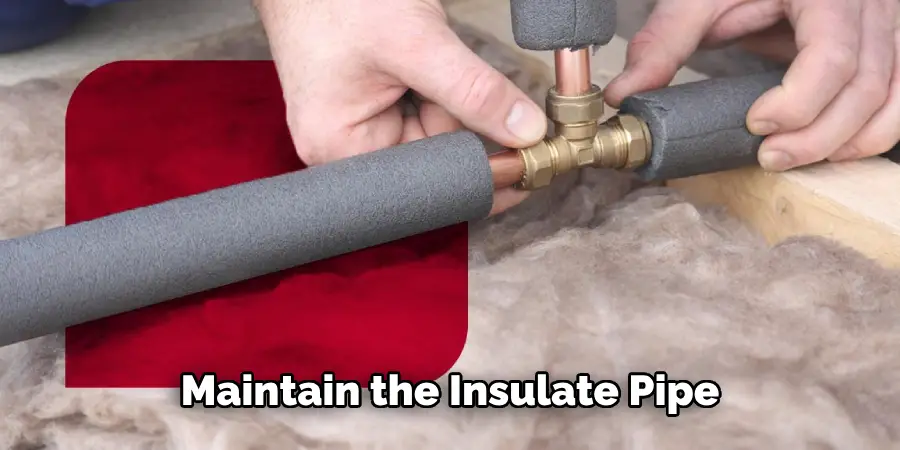
In addition to using a faucet cover and heat tape, insulating the pipe provides an extra layer of protection against freezing. Use pipe insulation sleeves or foam wraps to cover the exposed sections of the pipe.
These insulating materials help to retain heat and keep the pipe from reaching freezing temperatures. Measure and cut the insulation to fit the pipe, then secure it in place with tape or zip ties. Proper insulation ensures that the pipe remains protected and reduces the risk of freezing.
10. Monitor and Maintain
Even after completing the draining and winterization process, it’s important to monitor the outdoor faucet and surrounding area throughout the winter. Periodically check the faucet cover, insulation, and heat tape to ensure that they remain in good condition and are functioning properly. If you experience any unusual issues, such as water pooling or temperature fluctuations, address them promptly to prevent potential problems. Regular maintenance and monitoring help to ensure that your outdoor faucet remains protected and functional throughout the winter.
Things to Consider When Winterizing Your Outdoor Faucet
When preparing your outdoor faucet for winter, there are several important factors to consider to ensure long-term functionality and protection. First, evaluate the local climate—understanding the average winter temperatures in your area will help you determine the best methods for insulation and protection. Additionally, it’s wise to assess the layout of your plumbing system; pipes that are run through unheated areas, such as basements or attics, may require extra attention and insulation.
Another critical aspect is timing; ideally, you should winterize your outdoor faucet before the first hard freeze, which varies by location but often occurs in late fall. Lastly, consider any potential outdoor changes, such as landscaping projects or construction work that may impact your plumbing. Taking these factors into account will help you effectively prepare your outdoor faucet, minimise the risk of freezing, and avoid costly repairs in the spring.
Conclusion
In conclusion, draining an outdoor faucet for winter involves a combination of turning off the water supply, opening the faucet, using various methods to expel water, and applying protective measures. By following these detailed methods—ranging from using pipe blowers and insulation covers to monitoring and maintaining the faucet—you can effectively prepare your outdoor faucet for the colder months and prevent freezing and associated damage. Thanks for reading, and we hope this has given you some inspiration on how to drain outside faucet for winter!

