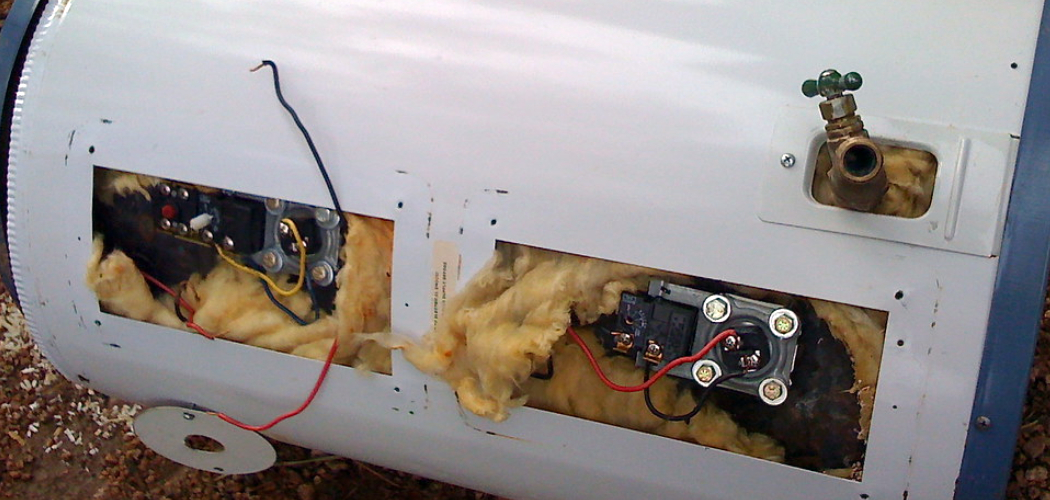
Are you planning a trip in your RV and want to make sure it’s in top condition? One essential task that often gets overlooked is draining the water heater tank.
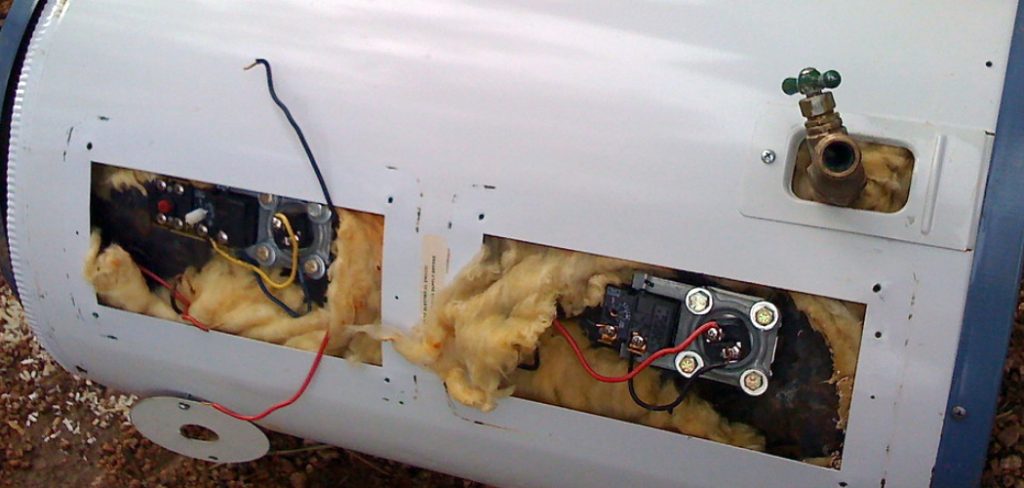
How to drain water heater tank in RV is an essential maintenance task that helps to ensure the longevity and efficiency of your water heating system. Over time, sediment and mineral buildup can accumulate inside the tank, potentially damaging the unit and reducing its performance. Regularly draining the tank prevents these issues and helps maintain clean and fresh water for your use.
Whether you are preparing your RV for long-term storage or performing routine upkeep, learning how to drain the water heater tank properly is a straightforward process that will save you time, money, and potential headaches down the road.
What Are the Benefits of Draining Your RV Water Heater Tank?
- Prevents mineral buildup and corrosion
- Maintains clean and fresh water for use
- Extends the lifespan of your water heater
- Improves overall performance and efficiency
Properly draining your RV water heater tank has several benefits, making it an essential part of regular maintenance for any RV owner. Removing the accumulated sediment and minerals from the tank can prevent damage to the unit and ensure that your water remains clean and safe.
What Will You Need?
To properly drain your RV water heater tank, you will need a few essential tools and supplies:
- A pair of pliers or wrench
- A garden hose (preferably non-toxic and drinking water safe)
- A bucket or large container to collect the drained water
- White vinegar or a specialized RV water heater cleaner (optional)
It is important to note that some RVs may have different types of water heaters, such as tankless or on-demand systems. In these cases, it is best to consult your RV’s owner manual for specific instructions on draining the unit.
8 Easy Steps on How to Drain Water Heater Tank in RV
Step 1. Turn Off the Power Supply

Before draining your RV water heater, it is essential to to the unit. Locate the breaker switch in your RV’s electrical panel for electric water heaters and set it to the “Off” position. If your RV water heater operates on propane, turn off the propane supply at the tank.
This step is crucial to prevent electrical or gas-related issues during draining. Additionally, confirm that the water heater’s switch (if present) is in the “Off” position as an extra precaution. These safety measures reduce the risk of accidental burns or damage to the water heater components.
Step 2. Relieve Pressure in the Water System
Before draining the water heater, it’s important to relieve the pressure in the RV’s water system. Start by opening one of the hot water faucets in your RV. This will allow any built-up pressure in the system to escape. Keeping a hot water faucet open during the draining process ensures a smooth flow of water and prevents potential damage to the plumbing components. Once the pressure is fully relieved and the water flow from the faucet slows to a trickle, you can proceed to the next step.
Step 3. Draining the Water Heater
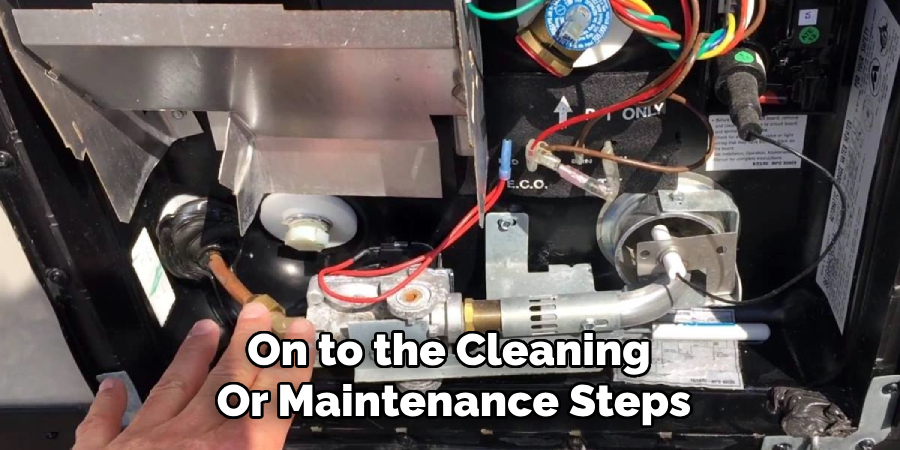
Locate the drain plug or anode rod on your RV’s water heater, typically near the unit’s bottom. Using the appropriate tool, carefully remove the drain plug or anode rod to drain the water. Be prepared for water to flow out quickly, so ensure the area is clear of any belongings or debris. Allow all the water to drain completely from the heater before moving on to the cleaning or maintenance steps. Inspect the anode rod for wear and replace it if it is significantly corroded, as this helps protect the water heater tank from damage.
Step 4. Clean the Tank
Once the water heater is fully drained, it’s time to clean the tank. Use a wet/dry vacuum or a long-handled brush to remove any sediment buildup from the bottom of the tank. This sediment can accumulate over time and reduce the water heater’s efficiency. If necessary, you can rinse the inside of the tank with clean water to ensure all debris is flushed out.
Inspect the tank for signs of rust or damage, as this could indicate the need for a replacement or further repairs. After cleaning, close the drain valve securely before refilling the tank.
Step 5. Refill and Test the Water Heater
Once the cleaning process is complete and the drain valve is securely closed, it’s time to refill the tank. Open the cold water supply valve to allow the tank to fill with water. While the tank is filling, open a hot water faucet in your home to release trapped air and ensure a steady water flow.
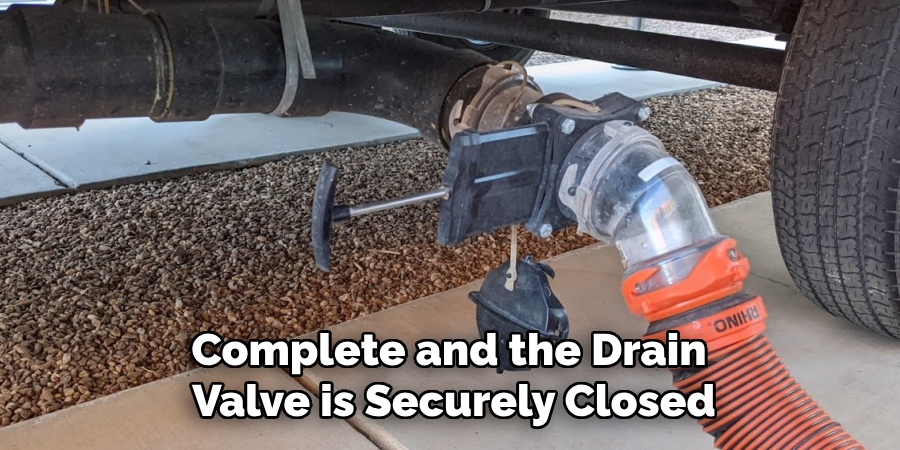
Once the tank is full and water flows smoothly from the faucet, close the faucet. Finally, power can be restored to the water heater or the pilot light for gas models relight. Allow the water to heat up, then check for proper operation and ensure no leaks around the connections.
Step 6. Perform Routine Maintenance
Performing routine maintenance on your water heater is critical to ensure it operates efficiently and lasts for its entire lifespan. Begin by flushing the tank at least once a year to remove sediment buildup, which can reduce heating efficiency and potentially damage the tank. To do this, turn off the power or gas supply, attach a hose to the drain valve, and empty the tank into a safe drainage area. Be cautious, as the water will likely be hot. Once drained, close the valve, remove the hose, and refill the tank.
Additionally, inspect the anode rod, a key component that prevents rust and corrosion inside the tank. If the rod is worn down to less than half an inch in diameter or is heavily corroded, replace it to maintain the tank’s integrity. Another essential step is checking the temperature and pressure relief (T&P) valve. Lift the valve’s lever slightly to ensure water flows through it and returns properly when the lever is released. If the T&P valve is not functioning correctly, it must be replaced promptly to prevent overpressure issues.
Step 7: Flush the Tank
Flushing the tank is an important part of water heater maintenance to remove sediment buildup that can reduce efficiency and damage the unit over time. To start, turn off the power supply or gas to the water heater and connect a garden hose to the drain valve at the bottom of the tank.
Direct the other end of the hose to a drain or a safe area outside. Open the drain valve and allow the tank to empty. For additional cleaning, briefly turn on the cold water supply to flush out any remaining sediment. Once the water runs clear, close the valve, disconnect the hose, and refill the tank. Don’t forget to restore power or gas to the unit and check for proper operation.
Step 8. Inspect the Anode Rod
The anode rod is a vital component of your water heater, preventing rust and corrosion from damaging the tank. To inspect the anode rod, locate it on the top of the tank, often secured with a hex head. Use a wrench or socket tool to loosen and remove it for examination.
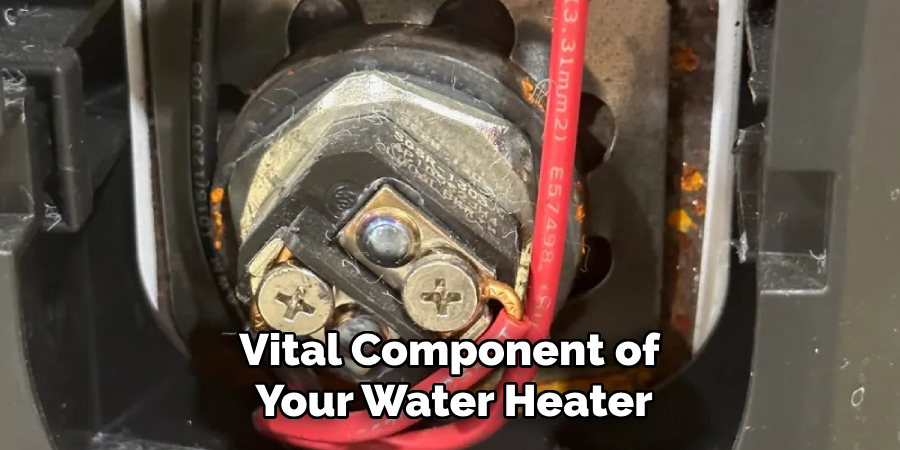
Inspect the rod closely for signs of significant wear, such as a thin or heavily corroded appearance. If the rod has eroded to less than half of its original thickness or is coated with calcium deposits, it’s time to replace it. A functioning anode rod sacrifices itself to protect the tank, so replacing it when necessary can significantly prolong the life of your water heater. Always ensure to reinstall the rod properly or replace it with a new one before closing the tank.
By following these simple maintenance tips, you can extend the life of your water heater and save yourself from costly repairs or replacements.
5 Things You Should Avoid
- Forgetting to Turn Off Power or Gas Supply: Always ensure that you turn off the power supply (electricity) or the gas supply to the water heater before beginning the draining process. Failing to do so can damage the heating element or other components, and it poses a significant safety risk.
- Draining Without Relieving Pressure: Never attempt to drain the water heater tank without first relieving the built-up pressure by opening the pressure relief valve or a nearby faucet. This step is crucial to prevent potential scalding or damage caused by sudden water pressure release.
- Skipping the Cool-Down Period: Do not drain the tank while the water is still hot. Always allow the water to cool down completely to avoid burns or injuries. Patience is key to safely completing the process.
- Using the Wrong Tools: Avoid using inappropriate tools or forcing fittings when loosening the drain plug or anode rod. Improper tools can strip the fittings, causing unnecessary damage or leaks that may require professional repair.
- Leaving Debris in the Tank: Don’t overlook the importance of flushing out any remaining sediment or debris once the tank is drained. Neglecting this step can reduce the water heater’s efficiency and lifespan, negating the maintenance activity’s purpose.
Conclusion
How to drain water heater tank in RV is a crucial maintenance task that ensures the longevity and efficiency of your system.
You can prevent costly repairs and maintain optimal performance by following the correct steps: turning off the power supply and water, allowing the tank to cool, and carefully removing the drain plug and flushing out debris. Avoid common mistakes like forgetting to relieve pressure, neglecting sediment removal, or using inappropriate tools, leading to damage and reduced efficiency.
With proper care and attention to detail, this routine maintenance will help keep your RV’s water heater functioning reliably for years.

