Drilling a hole in a stainless steel sink may seem like a daunting task, but with the right tools and techniques, it can be accomplished with precision and ease. Whether you are installing a new faucet, soap dispenser, or simply making room for additional plumbing, understanding the proper methods to drill through stainless steel is essential.
This guide on how to drill a hole in stainless steel sink will walk you through the necessary steps and equipment needed to ensure a successful and clean hole, allowing you to enhance the functionality of your kitchen while maintaining its sleek appearance.
Why is Stainless Steel Difficult to Drill Through?
Stainless steel is known for its strength and durability, which are key factors that contribute to its popularity in kitchen fixtures. However, these same properties make it challenging to drill through. One primary reason is its hardness; the material contains a high percentage of chromium and nickel, which enhances its corrosion resistance but also increases its toughness.
Additionally, the work-hardening effect is significant in stainless steel, meaning that as the drill bit penetrates the surface, the material becomes harder, making it increasingly difficult to drill further. To successfully drill through stainless steel, it is essential to use the correct drill bits, typically made of high-speed steel (HSS) or carbide, and to employ the right drilling techniques, including using adequate lubrication to reduce friction and heat build-up.
Tools Required
Before beginning the drilling process, make sure you have the following tools and materials:
Safety Glasses:
Protect your eyes from any flying debris or metal shavings by wearing safety glasses. It is crucial to wear them throughout the entire process.

Drill:
Although a standard electric drill can work, it is best to use a corded drill with high torque and variable speed settings for more control.
Drill Bits:
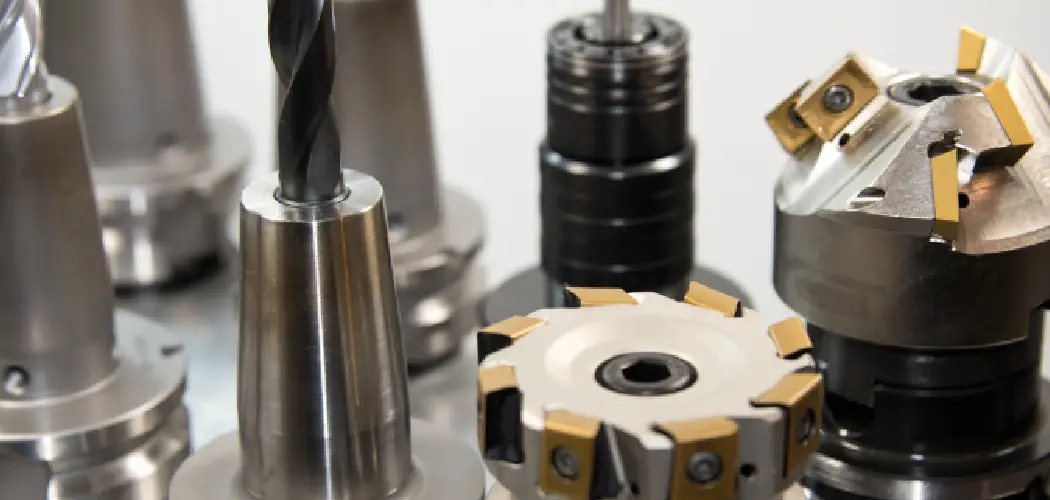
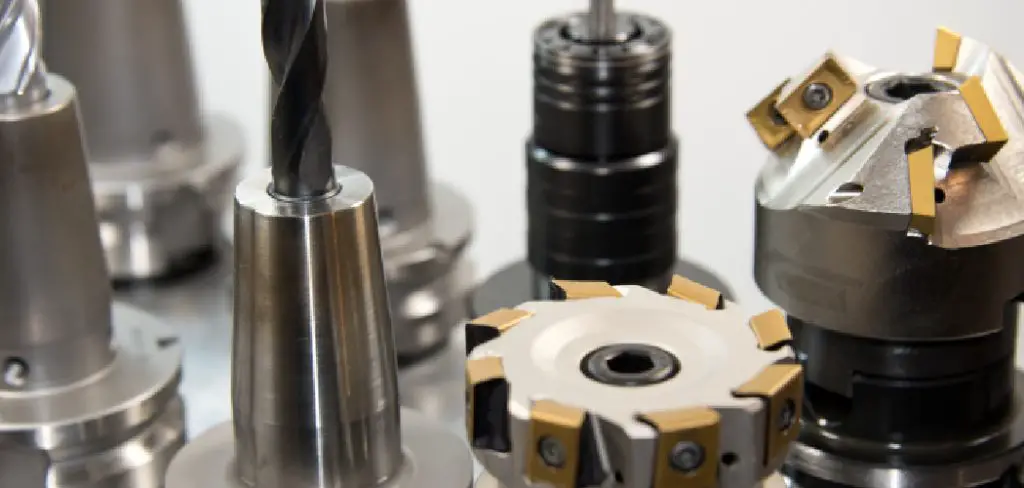
As mentioned earlier, HSS or carbide drill bits are recommended for drilling through stainless steel. These are harder and can withstand the tough material without dulling quickly.
Lubricant:
Using lubrication not only reduces friction but also helps dissipate heat generated during the drilling process, preventing damage to both the drill bit and sink surface. WD-40 or cutting oil are commonly used lubricants for drilling stainless steel.
Masking Tape:
Placing a piece of masking tape over the area to be drilled can help prevent the drill bit from slipping and also serves as a guide for marking the spot.
Center Punch:
Using a center punch to make an indentation on the marked spot will create a small dent that will serve as a starting point for the drill bit, preventing it from wandering off track.
8 Step-by-step Guidelines on How to Drill a Hole in Stainless Steel Sink
Step 1: Measure and Mark the Hole Location
Before you begin drilling, it’s crucial to accurately measure and mark the location where the hole will be made. Start by determining the dimensions and position for the new installation, such as a faucet or soap dispenser. Use a measuring tape to ensure the placement is symmetrical and in line with any existing fixtures.
Once you’ve established the exact location, use a marker or a pencil to make a small dot as a guide. To enhance precision and prevent slipping, place a piece of masking tape over the marked spot; this will also help you visually locate the area while drilling.

Step 2: Secure the Sink
Before you start drilling, it’s essential to secure the sink to prevent any movement during the process. If the sink is installed within a countertop, make sure it’s tightly fastened and stable. If it’s a removable sink, place it on a flat, sturdy surface, such as a workbench, and consider using clamps to hold it in place.
This will help ensure that any vibrations from the drill do not cause the sink to shift, leading to inaccuracies in your drilling. Additionally, double-check that the area surrounding the marked spot is clear of any obstacles to create a safe working environment.
Step 3: Wear Safety Gear
Before you begin drilling, it is essential to prioritize your safety by wearing the appropriate safety gear. In addition to safety glasses, consider wearing a pair of ear protection to guard against the noise generated during drilling, especially if you are using a corded drill or power tools. It’s also advisable to wear gloves to protect your hands from sharp metal shavings and any unintended slips while handling tools.
Finally, ensure you are working in a well-ventilated area to avoid inhaling any fumes from the lubricant or debris. By taking these precautions, you will significantly reduce the risk of injury and create a safer working environment.
Step 4: Selecting the Right Drill Bit
As mentioned earlier, using the right drill bit is crucial when working with stainless steel. High-speed steel (HSS) or carbide drill bits are highly recommended due to their hardness and ability to withstand tough materials.
The size of the hole will determine the size of the drill bit needed; ensure it matches your planned installation’s specifications. Using a smaller-sized drill bit can cause difficulties in drilling and may result in an uneven hole.
Step 5: Lubricate the Area
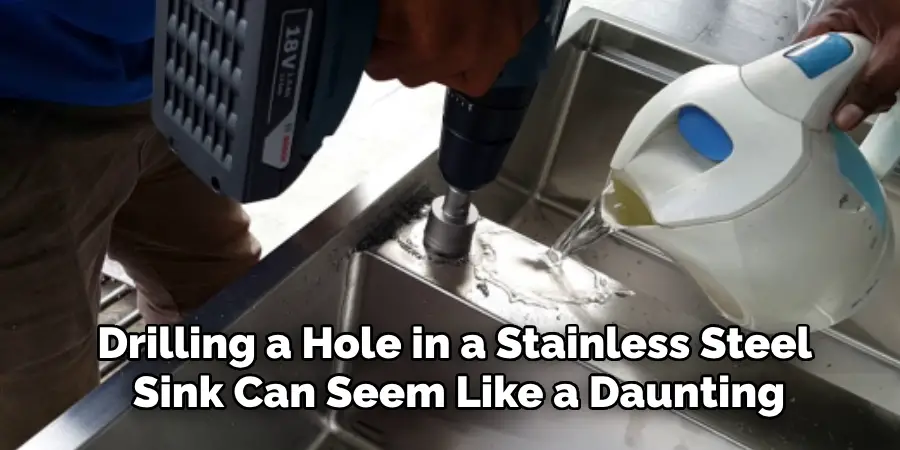
Before you start drilling, it’s important to apply lubricant to the marked spot. Generously spray or apply a small amount of WD-40 or cutting oil directly onto the area where you’ll be drilling. This lubrication will serve multiple purposes: it reduces friction between the drill bit and stainless steel, which helps prevent the drill bit from overheating and dulling prematurely.
Additionally, it assists in removing metal shavings that may accumulate during the drilling process. Ensuring adequate lubrication will lead to a smoother and cleaner hole, making it easier to complete your task without damaging the sink or causing the bit to get stuck.
Step 6: Begin Drilling
Now that everything is set up and protected, it’s time to start drilling. If you’ve never drilled through stainless steel before, it’s best to start at a slow-speed setting to get a feel for the material. Once you have enough experience, adjust the drill speed according to your comfort level and the type of drill bit being used.
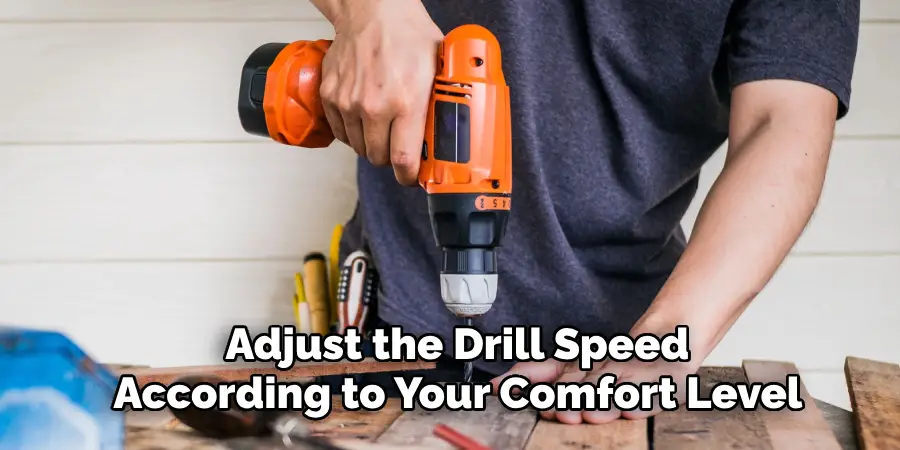
To prevent slipping or scratching the sink surface, apply gentle pressure on the drill while keeping it perpendicular to the sink. This will create a more precise hole and help maintain control over the drilling process.
Step 7: Add More Lubricant (If Necessary)
If you notice that the drill is starting to slow down or becomes harder to push through the sink, it’s an indication that more lubricant may be needed. Stop drilling and apply more WD-40 or cutting oil as needed before continuing. This will help prevent damaging both the drill bit and sink surface due to excessive heat and friction.
You may also need to add more lubricant if you notice a buildup of metal shavings around the drill bit or on the sink surface. Clearing away these shavings will help create a smoother and cleaner hole.
Step 8: Finishing Touches
Once you have successfully drilled through the stainless steel sink, it’s time to clean up any remaining debris and remove the masking tape. Use a damp cloth to wipe away any excess lubricant, metal shavings, and other debris from both the inside and outside of the sink.
Following these steps on how to drill a hole in stainless steel sink will help you create a clean and precise hole in your stainless steel sink, making it ready for any new installation. Remember to take breaks as needed to avoid fatigue and always prioritize safety while working with power tool equipment.
Frequently Asked Questions
Q: Can I Use a Regular Drill Bit on Stainless Steel?
A: It is not recommended to use a regular drill bit on stainless steel as it may lack the necessary hardness and strength to effectively drill through the tough material. High-speed steel (HSS) or carbide drill bits are the preferred options for drilling through stainless steel.
Q: How Can I Prevent Damaging My Sink While Drilling?
A: To prevent damaging your sink while drilling, ensure that it is securely fastened or clamped down to a stable surface. Additionally, use gentle pressure and keep the drill perpendicular to the surface to create a precise hole without slipping or scratching the sink.
Q: Do I Need to Use Lubricant When Drilling Through Stainless Steel?
A: Yes, it is highly recommended to use lubricant when drilling through stainless steel. This will reduce friction between the drill bit and the material, preventing overheating and dulling of the bit. It also helps in removing metal shavings and creating a cleaner hole. So, always remember to apply lubricant before and during the drilling process for better results.
Q: Can I Drill Through Stainless Steel Without Making Any Noise?
A: Unfortunately, no. Drilling through stainless steel will produce some noise due to the tough nature of the material. However, wearing ear protection can help reduce the noise level and protect your ears from potential damage.
Conclusion
Drilling a hole in a stainless steel sink can seem like a daunting task, but with the right tools, techniques, and safety precautions, you can achieve a clean and precise result. By following the outlined steps on how to drill a hole in stainless steel sink—selecting the appropriate drill bits, lubricating the area, and ensuring safety measures are in place—you can minimize the risk of damage to your sink and enhance the drilling experience.
Remember, patience and attention to detail are key to successfully completing this project. Equipped with the knowledge shared in this guide, you are now ready to tackle your drilling task confidently and effectively.

