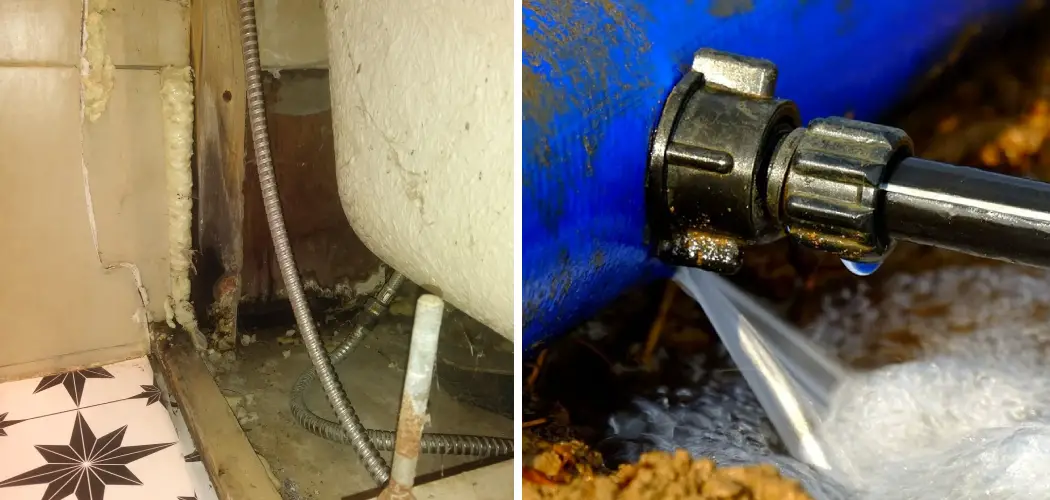
A leak under your bath can be a major headache and often goes unnoticed until it becomes a bigger issue. Not only does it waste water, but it can also cause damage to your bathroom floor or even lead to mold growth. So, if you find yourself in this situation, it’s important to take immediate action.
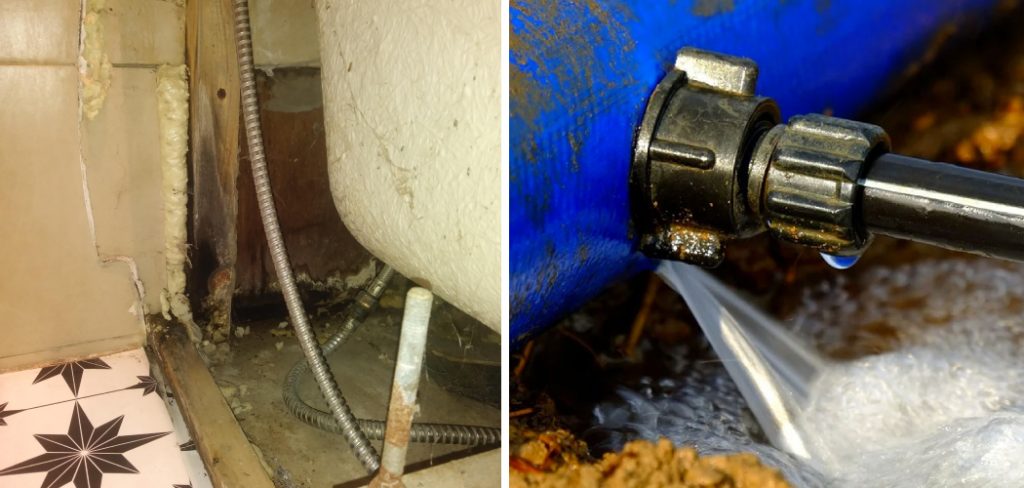
One of the first steps is to identify the source of the leak. It could be a cracked pipe, loose fitting, or even a worn-out seal. Once you have located the source, it’s time to dry out the area and make necessary repairs. This guide will walk you through the process of how to dry out leak under bath and prevent any further damage.
Understanding the Causes of Leaks
Before diving into the drying process, it’s important to understand the common causes of leaks under a bath. These include worn-out seals, loose fittings, and cracked pipes. In some cases, the leak may also be caused by improper installation or the age of the plumbing system.
You will need to do some detective work to determine the cause of your specific leak. Start by inspecting the fittings, seals, and pipes for any visible damage. You may also want to check if there is any water discoloration or mold growth around the bath area. This can give you a clue about where the leak is originating from.
Step-by-step Guidelines on How to Dry Out Leak Under Bath
Step 1: Shut Off the Water Supply
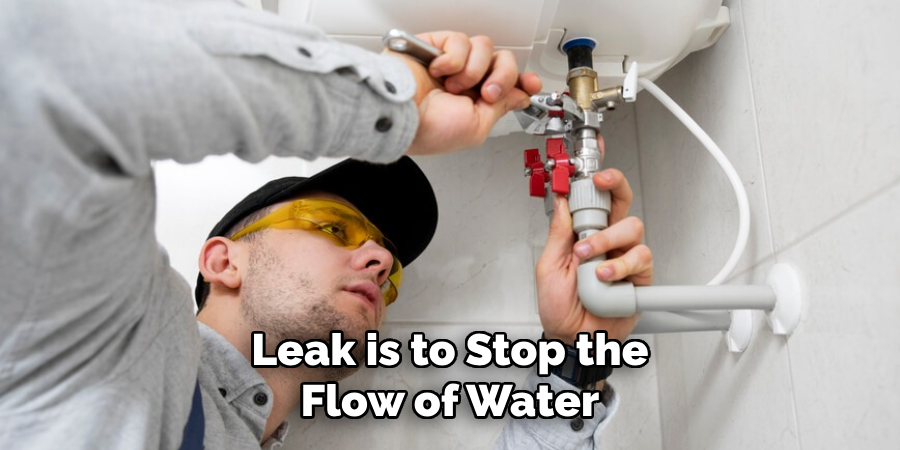
The first step to drying out a leak is to stop the flow of water. Locate the main shut-off valve and turn it off to prevent any further leakage. This valve is usually located near the water meter or in a utility room. If you can’t find the main valve, you may have individual shut-off valves for each fixture in your home. This will allow you to isolate the water supply to your bath without affecting other areas.
Step 2: Remove Excess Water
Once the water supply is shut off, it’s time to remove any excess water that may have accumulated under the bath. You can soak up the water with a wet/dry vacuum or towels. It’s important to eliminate as much moisture as possible to prevent any further damage or mold growth. While removing the water, be mindful of any electrical outlets or wires in the area.
Step 3: Use Fans and Dehumidifiers
After removing excess water, it’s essential to dry out the area as quickly as possible. This will prevent mold growth and minimize damage to your bathroom floor.
You can use fans and dehumidifiers to circulate air and absorb moisture from the room. Be sure to leave them running for a few hours or even overnight to ensure thorough drying. Using a portable heater can also help accelerate the drying process.
Step 4: Inspect and Repair
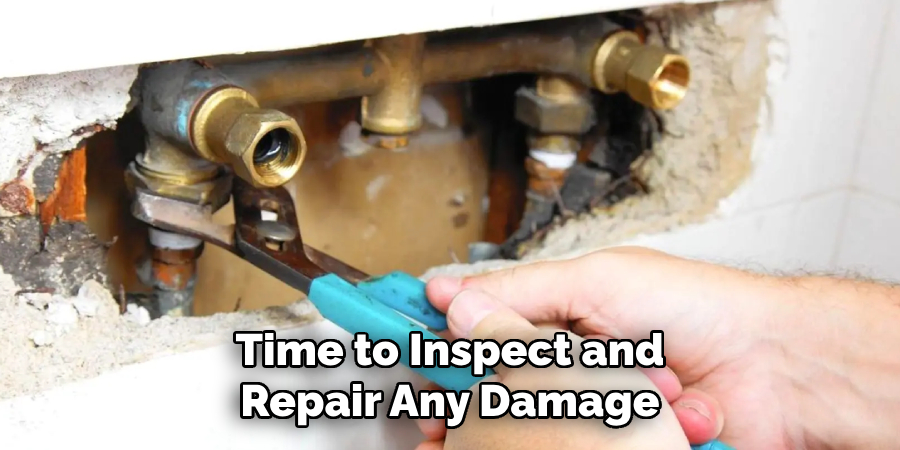
Once the area is dry, it’s time to inspect and repair any damage. Check for any cracks or damage in pipes, fittings, or seals. If you need more time to make repairs yourself, it’s best to call a professional plumber to fix the issue.
It’s important to address the source of the leak to prevent any recurrence. This may involve replacing worn-out seals or fittings, tightening loose connections, or repairing a cracked pipe.
Step 5: Reconnect Water Supply and Test
After completing repairs, it’s time to turn the water supply back on and test for any further leaks. If everything looks good, congratulations! You have successfully dried out a leak under your bath. However, if there are still signs of leakage, you may need to repeat the process or call a professional for further assistance. This may indicate a more serious issue requiring expert knowledge and equipment.
Following these steps can help you effectively dry out a leak under your bath and prevent any further damage. Remember to always address any plumbing issues promptly to avoid costly repairs in the future.
Regular maintenance and inspections can also help prevent leaks from occurring in the first place. Proper care lets you keep your bathroom free from leaks and enjoy a stress-free bathing experience. So, don’t let a leak under your bath dampen your day; take action and fix it! Happy drying!
Additional Tips and Tricks to Dry Out Leak Under Bath
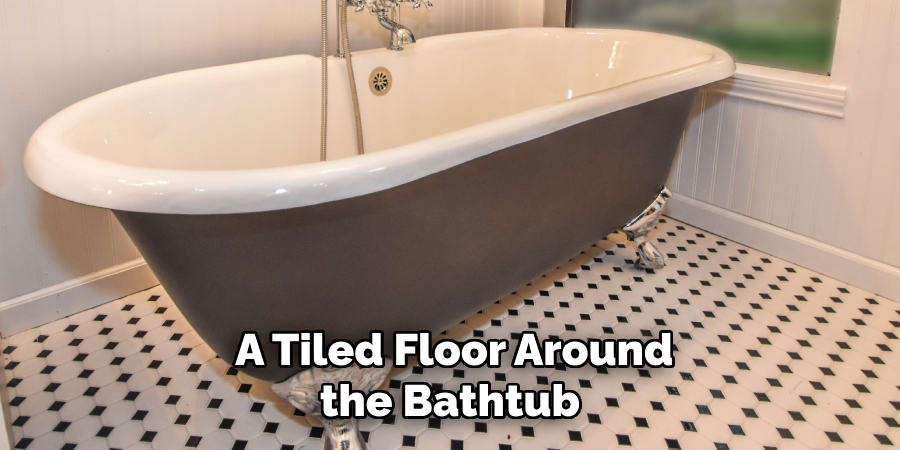
- If you have a tiled floor around the bathtub, it is important to check for any cracks in the grout or tiles. These cracks can allow water to seep through and cause a leak. You can fix these cracks by using a waterproof sealant or replacing damaged tiles.
- Another common area where leaks occur is around the bathtub drain. A worn-out gasket or a loose connection can cause this. You can replace the gasket or tighten the connections using a wrench to fix this.
- If your bathtub has a shower head attached to it, check for any leaks in the shower head itself. Oftentimes, leaks from the shower head can travel down and cause water to collect under the bathtub. You can replace the shower head or its gasket to fix this issue.
- It is important to regularly check the caulking around your bathtub. Over time, caulking can become cracked or damaged, allowing water to leak through and collect under the bathtub. You can replace the old caulk with a new one to prevent leaks.
- If you have a fiberglass bathtub, make sure to check for any cracks or damage in the fiberglass. These cracks can also allow water to seep through and cause leaks. You can repair these cracks using a fiberglass repair kit.
- A malfunctioning overflow drain is Another common cause of leaks under the bathtub. This drain prevents the bathtub from overflowing by allowing excess water to flow into the drain pipe, but if it is damaged or clogged, it can cause leaks. You can check and clean the overflow drain regularly to prevent any issues.
- To ensure that your bathtub is properly sealed, you can use a silicone sealant around the edges of the bathtub where it meets the wall. This will provide an additional layer of protection against leaks.
- Regularly inspecting and maintaining your bathtub plumbing can help prevent leaks under the bathtub. Make sure to check for any signs of damage or wear and tear and address them immediately to avoid more serious issues in the future.
- If you are unsure about how to fix a leak under your bathtub, it is best to consult a professional plumber. They will have the necessary tools, knowledge, and experience to properly fix the issue and prevent any further leaks.
- Lastly, prevention is key to avoiding leaks under your bathtub. Be mindful of what goes down the drain, and avoid pouring harsh chemicals or oils that can damage the pipes. Also, make sure to address any small leaks immediately before they turn into bigger problems.
Following these tips and tricks can help keep your bathtub dry and prevent any leaks from occurring. With regular maintenance and proper repairs, you can ensure that your bathroom remains a safe and comfortable space for years to come. Remember to always be cautious when dealing with plumbing issues and seek professional help when needed.
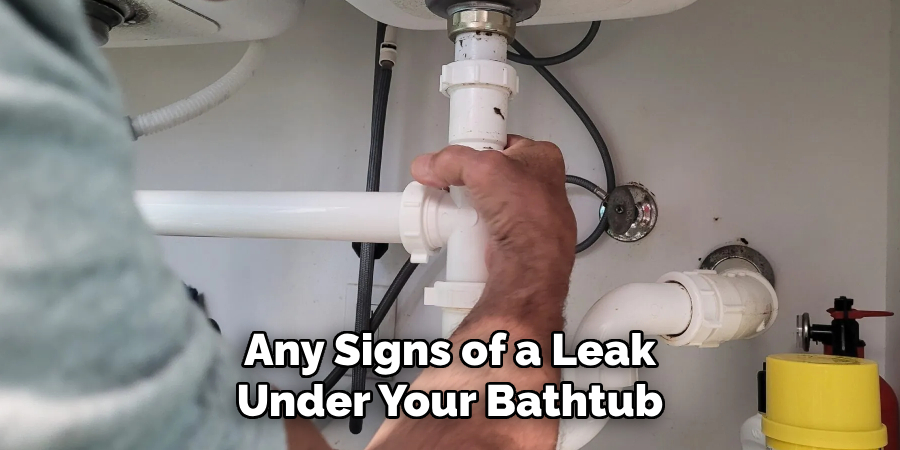
So, if you notice any signs of a leak under your bathtub, don’t hesitate to take action and fix it as soon as possible. The longer you wait, the worse the problem can become. Keep your bathroom in top shape and enjoy a leak-free bath every time. Happy fixing!
Preventing Tips for Avoiding Future Leaks in Under Bath
1. Regular Maintenance Checks:
One of the most important steps in preventing leaks is regular maintenance checks. It is recommended to have a professional plumber inspect all plumbing fixture connections and pipes at least once a year. This can help identify any potential issues before they turn into major leaks. Regular maintenance checks can also help prolong the lifespan of your plumbing system.
2. Proper Installation:
Another key aspect in preventing future leaks is the proper installation of all plumbing fixtures and connections. It is important to hire a licensed plumber who has experience in installing plumbing systems. Improper installation can lead to leaks and other issues in the future. This can end up costing you more money in the long run.
3. Use High-Quality Materials:
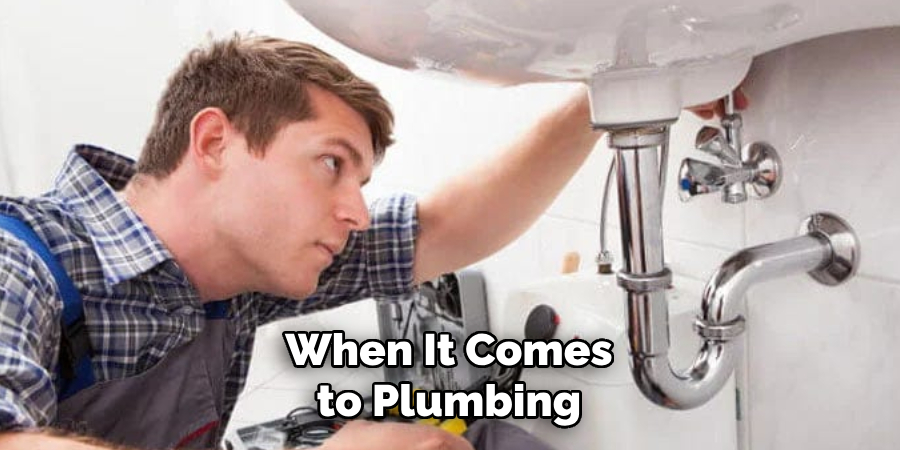
When it comes to plumbing, investing in high-quality materials is crucial. This includes pipes, fittings, and fixtures. Cheap or low-quality materials may wear out quickly and lead to leaks. By using high-quality materials, you can ensure that your plumbing system will last longer and be less prone to leaks. Using quality materials also means less frequent repairs and replacements, which can save you money in the long run.
4. Avoid Chemical Drain Cleaners:
Chemical drain cleaners may seem like a quick and easy solution for clogged drains, but they can actually cause more harm than good. These harsh chemicals can damage your pipes over time, leading to leaks and other plumbing issues. Instead of using chemical drain cleaners, opt for natural methods such as baking soda and vinegar or a plunger to clear clogs.
5. Monitor Water Pressure:
High water pressure can strain your pipes excessively and increase the risk of leaks. It is important to regularly monitor your water pressure and adjust it if necessary. You can use a water pressure gauge to check the pressure and a pressure regulator to adjust it. It is recommended to keep the water pressure between 40-60 psi for optimal plumbing system functioning.
6. Avoid DIY Repairs:
While it may be tempting to try and fix leaks or other plumbing issues yourself, it is best to leave it to the professionals. DIY repairs can often lead to further damage and end up costing more in the long run. It is always better to hire a licensed plumber with the knowledge and expertise to properly fix any plumbing issues.
7. Be Mindful of What Goes Down the Drain:
One of the most common causes of clogs and leaks is putting things down the drain that shouldn’t be. This includes grease, coffee grounds, and food scraps. Over time, these items can build up and cause clogs or damage to your pipes. To prevent this, be mindful of what goes down the drain and properly dispose of all waste in a garbage bin instead.
8. Insulate Exposed Pipes:
In colder climates, it is important to insulate any exposed pipes to prevent them from freezing and potentially bursting. This can cause major leaks and water damage to your home. Insulating your pipes with foam or heat tape can help keep them from freezing during colder months. This simple and affordable step can save you from costly repairs in the future.
Following these tips can help greatly prevent future leaks and ensure your plumbing system’s longevity. Remember, regular maintenance checks and proper installation are key to avoiding leaks. Using high-quality materials, monitoring water pressure, and being mindful of what goes down the drain can prevent clogs and other issues that may lead to leaks.
And when in doubt, always consult a professional plumber for any repairs or maintenance needs. Taking these precautions can save you time, money, and stress in the long run. So, make sure to follow these tips and keep your underbath area leak-free! Happy plumbing!
Precautions Need to Be Followed for Drying Out Leak Under Bath
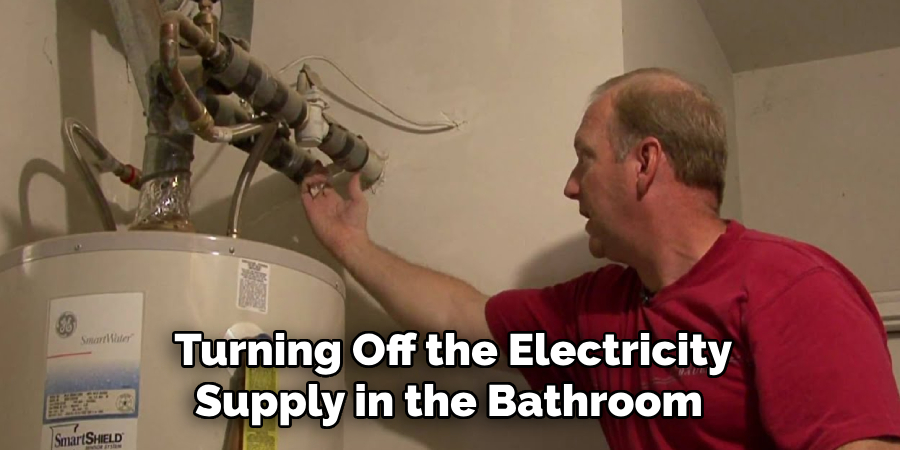
- First and foremost, ensure your safety by turning off the electricity supply in the bathroom. This is to prevent any accidents or injuries while dealing with water.
- Once you have turned off the power supply, remove all electrical items, such as hairdryers, electric razors, and other devices that may be plugged in near the leak. This will avoid any potential risks of electrocution.
- Take out any towels or bath mats that may have gotten wet and dry them separately. This is to prevent the dampness from spreading and causing further damage.
- Put on gloves and goggles before handling the leak, as this will protect you from any potential bacteria or chemicals that may be present in the standing water.
- If there is a significant amount of standing water, use a bucket or mop to remove as much of it as possible. This will make the drying process quicker and more effective.
- Use a wet vacuum cleaner or a dehumidifier to remove any remaining moisture from the floor and walls. You can also use fans to circulate air in the bathroom, which will aid in the drying process.
- Check for any signs of mold or mildew; if present, use a solution of bleach and water to clean the affected area. This will prevent further growth of these harmful substances.
- If the leak is coming from a pipe or fixture, make sure to fix it properly before starting the drying process. Contact a professional plumber if necessary.
Following these precautions will ensure your safety and prevent any further damage to your bathroom. It is important to act quickly and efficiently when dealing with a leak under the bath to avoid any potential hazards or costly repairs in the future. Remember to always prioritize safety first and seek professional help if needed.
Stay vigilant and regularly check for any signs of leaks or water damage in your bathroom to prevent any emergencies. Continue to regularly maintain and inspect your bathroom to catch any potential leaks early on and address them promptly. With proper precautions and maintenance, you can keep your bathroom safe and dry for years to come.
Frequently Asked Questions
How Do I Know if There is a Leak Under My Bath Drain?
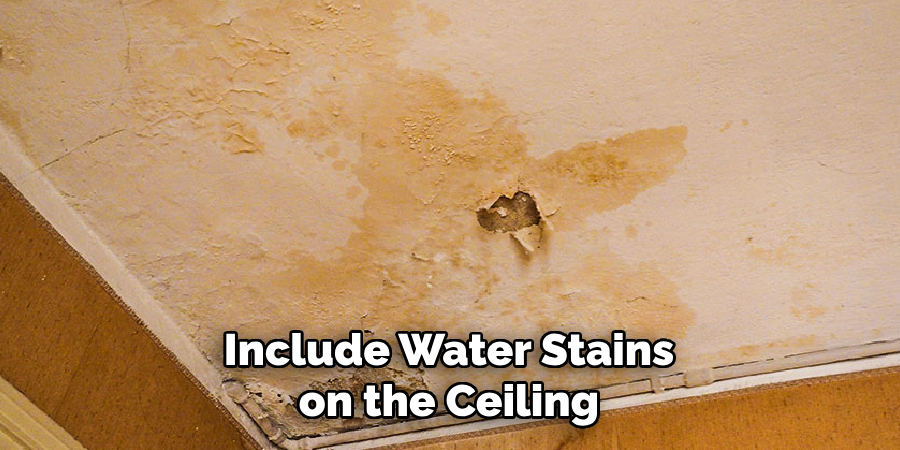
There are several signs that may indicate a leak under your bath drain. These include water stains on the ceiling or walls below the bathroom, musty odors, dampness or wet spots on the bathroom floor, and an increase in your water bill.
Can I Fix a Leak Under My Bath Drain Myself?
It is possible to fix a leak under your bath drain, but it can be complex and time-consuming. Hiring a professional plumber with the experience and necessary tools to properly fix the leak is recommended.
How Can I Prevent Leaks Under My Bath Drain?
One way to prevent leaks under your bath drain is by regularly checking for any signs of leaks or water damage in your bathroom. You should also avoid using harsh chemicals or drain cleaners, as they can corrode the pipes and cause leaks. Properly maintaining your plumbing system can also help prevent any potential leaks.
What Are Some Common Causes of Leaks Under a Bath Drain?
One common cause of leaks under a bath drain is old or deteriorating gaskets or O-rings. These can wear out over time and allow water to leak through. Another cause could be loose or damaged connections between the drain and pipes. It is important to regularly inspect these components for any signs of wear and tear.
How Do I Identify the Source of a Leak Under My Bath Drain?
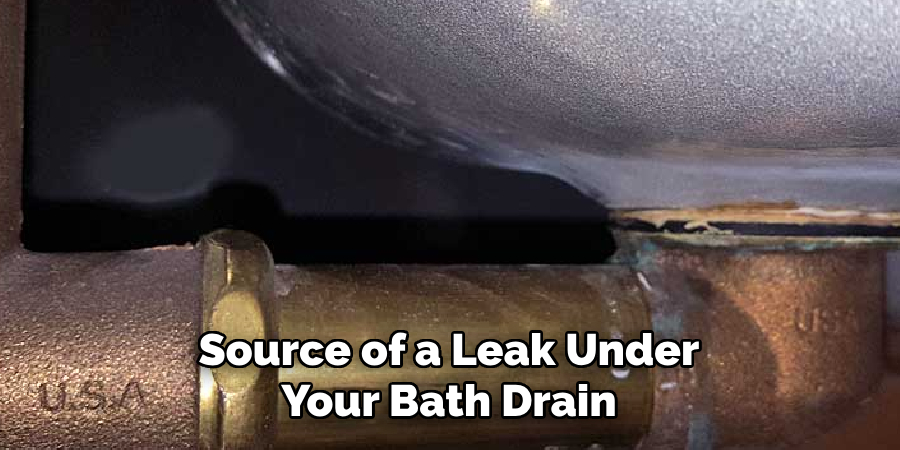
To identify the source of a leak under your bath drain, you can place paper towels around the area and check for any wet spots. You can also use a flashlight to inspect the pipes and connections for any signs of water or corrosion. If you are unable to locate the source, it is best to call a professional plumber for assistance.
Conclusion
Now you know how to dry out leak under bath and prevent them in the future. Regularly checking for signs of leaks and properly maintaining your plumbing system can go a long way in preventing costly repairs. If you do encounter a leak, it is best to call a professional plumber who can properly fix the issue and ensure it does not happen again.
Remember, taking care of small leaks now can save you from dealing with major water damage in the future. So, stay vigilant and take care of your plumbing system to avoid any potential leaks under your bath drain.

