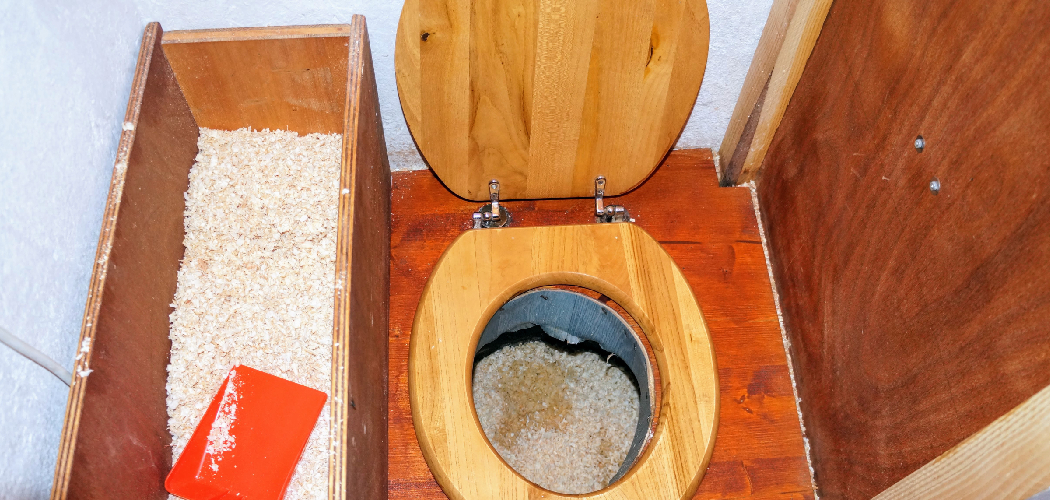
Composting toilets are an eco-friendly alternative to traditional waste disposal systems, designed to reduce water consumption and recycle organic waste into nutrient-rich compost. Properly emptying a composting toilet is essential to ensure its efficiency and hygiene.
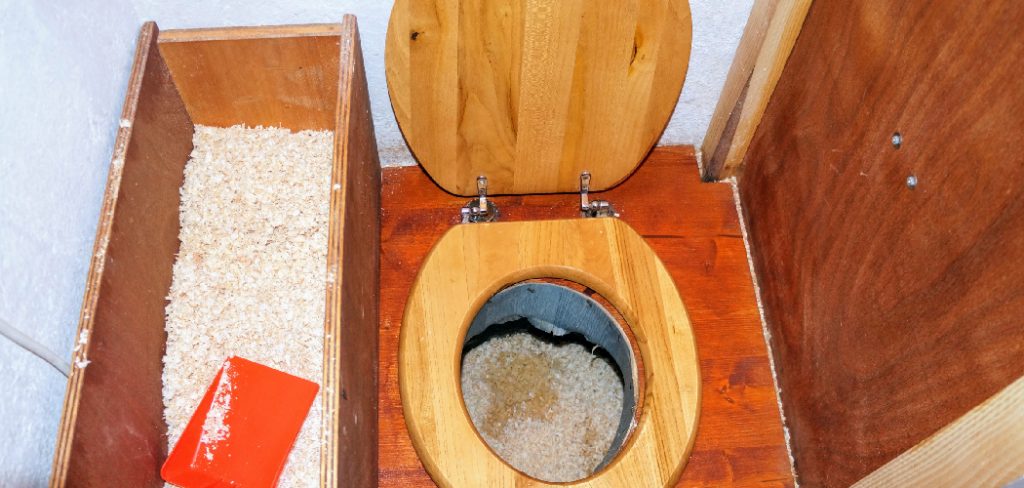
This guide will provide you with step-by-step instructions on how to empty a composting toilet safely and effectively while maintaining environmental responsibility.
Understanding Composting Toilet Components
To effectively empty a composting toilet, it is important to first understand its key components and how they function. Most composting toilets are composed of the following parts:
Composting Chamber:
This is the main compartment where waste is collected and broken down by natural processes. It often contains bulking agents like sawdust or coconut coir to aid decomposition.
Ventilation System:
A crucial component that includes a vent pipe and often a small fan to remove odors and enhance aerobic decomposition by providing airflow.
Liquid Diversion System:
Many composting toilets separate liquid waste from solid waste. A urine diverter directs liquid waste into a separate container or drain.
Access Door:
This is the panel or opening through which composted materials can be removed when they are ready.
Stirring Mechanism (Optional):
Some models feature an agitator or handle to mix the contents in the composting chamber, promoting even decomposition.
Having a clear understanding of these components will help you efficiently empty and maintain the system while ensuring its long-term performance.
Tools and Supplies Needed
- Gloves
- Trowel or Pitchfork
- Compost Thermometer (Optional but Recommended)
- Carbon-rich Materials (E.g., Dry Leaves, Straw, Shredded Paper)
- Nitrogen-rich Materials (E.g,. Kitchen Scraps, Grass Clippings)
- Water Source
9 Steps on How to Empty a Composting Toilet
Step 1: Choose the Right Location
Before emptying your composting toilet, it is crucial to select an appropriate location for disposing of the composted material. Ensure this spot complies with local waste disposal regulations and is situated away from water sources such as rivers, lakes, or wells to avoid contamination.
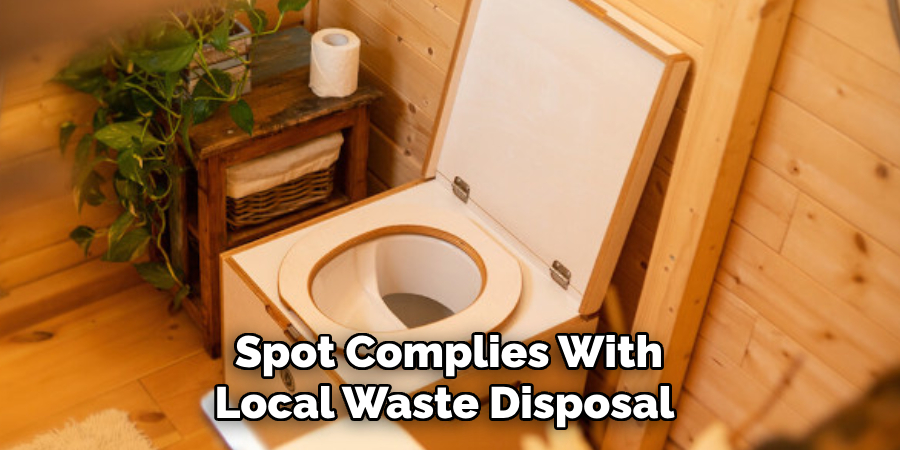
Ideally, the location should be a designated composting area, garden bed, or soil enrichment zone where the material can continue decomposing naturally and contribute to soil health. Mark the spot clearly to maintain organization and prevent accidental misuse.
Step 2: Put on Gloves
Before handling the composted material, it is essential to wear a pair of sturdy gloves. Gloves provide a layer of protection against potential contaminants, bacteria, or sharp objects that may be present in the compost.
This precaution not only ensures personal safety but also helps maintain hygiene during the process. Select gloves made of durable material, such as rubber or nitrile, that are resistant to moisture and easy to clean after use.
Step 3: Remove the Tumbler from the Base
Carefully lift the compost tumbler off its base to access the fully composted material inside. Ensure the tumbler is stable before attempting to remove it, and use proper lifting techniques to avoid strain or injury.
If the tumbler is heavy, consider asking for assistance to handle it safely. Place the tumbler on a flat, secure surface to prevent accidents during the next steps. Removing the tumbler allows you to easily transfer the finished compost or proceed with maintenance as needed.
Step 4: Use a Trowel or Pitchfork to Empty Contents
Once the tumbler is securely placed on a flat surface, use a trowel or pitchfork to carefully empty the contents. Start by scooping out the fully composted material and placing it into a wheelbarrow, bucket, or designated storage container for easy transport. Work systematically to ensure you remove all finished compost, checking for any uncomposted materials that may need additional processing.
Be mindful of your posture while scooping to avoid unnecessary strain. This step is crucial to make the compost ready for use and to prepare the tumbler for its next cycle.
Step 5: Clean and Sanitize the Tumbler
Once you have removed all the compost, it is essential to clean and sanitize the tumbler to maintain its efficiency and prevent the buildup of harmful bacteria or pests. Begin by rinsing the interior and exterior surfaces with water to remove any remaining debris. Use a mild detergent or a mixture of water and white vinegar to scrub the interior, paying special attention to the corners and crevices where residue may accumulate.
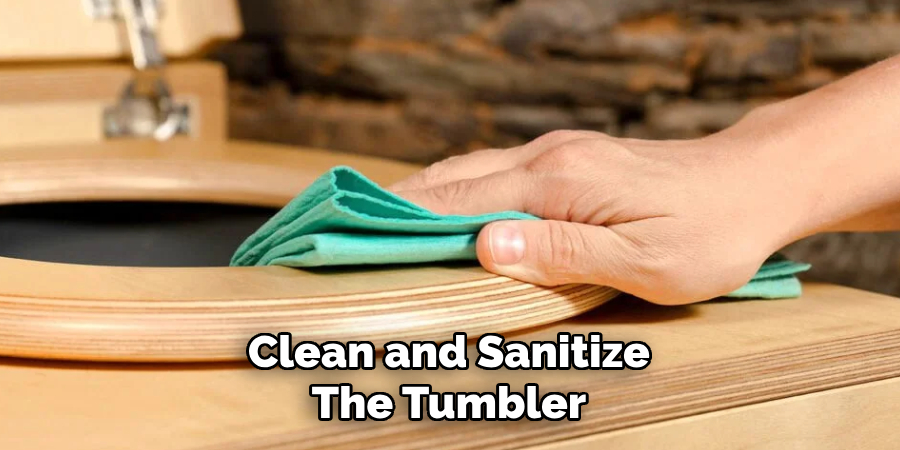
Rinse thoroughly to ensure no cleaning agents remain, as they could affect the next batch of compost. Allow the tumbler to dry completely before refilling to prevent mold or excess moisture. Regular cleaning helps extend the life of your tumbler and ensures a healthy composting environment.
Step 6: Add Fresh Bedding Material
Once the tumbler is clean and dry, it’s time to add fresh bedding material. Start with a layer of dry, carbon-rich materials such as shredded newspaper, straw, or dry leaves. These materials help absorb excess moisture and promote proper aeration within the compost.
Spread the bedding evenly across the bottom of the tumbler to create a balanced foundation. Adding fresh bedding not only helps maintain the ideal conditions for composting but also minimizes odors and ensures efficient decomposition of the organic waste.
Step 7: Reassemble and Secure Tumbler on Base
With the fresh bedding in place and the tumbler empty of any excess liquid, it’s time to reassemble and secure it on its base. Carefully align the tumbler with the base, ensuring all locking mechanisms or connecting points are properly engaged. Check that the tumbler rotates smoothly and remains stable when in motion.
This step is crucial to maintaining the tumbler’s functionality and ensuring it operates safely during the composting process. Once secured, your tumbler is ready to continue processing organic waste efficiently.
Step 8: Empty the Collection Tray
The collection tray at the bottom of your compost tumbler is designed to catch any liquid runoff, often referred to as “compost tea.” To empty the tray, carefully slide it out or lift it, depending on the model of your tumbler. Pour the collected liquid into a suitable container for storage or directly onto your garden as a natural fertilizer.
Compost tea is rich in nutrients and can help nourish your plants when diluted appropriately. Once emptied, clean the tray if necessary and securely reattach it to the tumbler. Regularly emptying the collection tray prevents overflow and ensures the efficient operation of your composting system.
Step 9: Maintain a Regular Maintenance Schedule
To keep your composting toilet functioning properly, it is important to maintain a regular maintenance schedule. This may include cleaning the tumbler every few weeks, adding fresh bedding material regularly, and emptying the collection tray as needed.
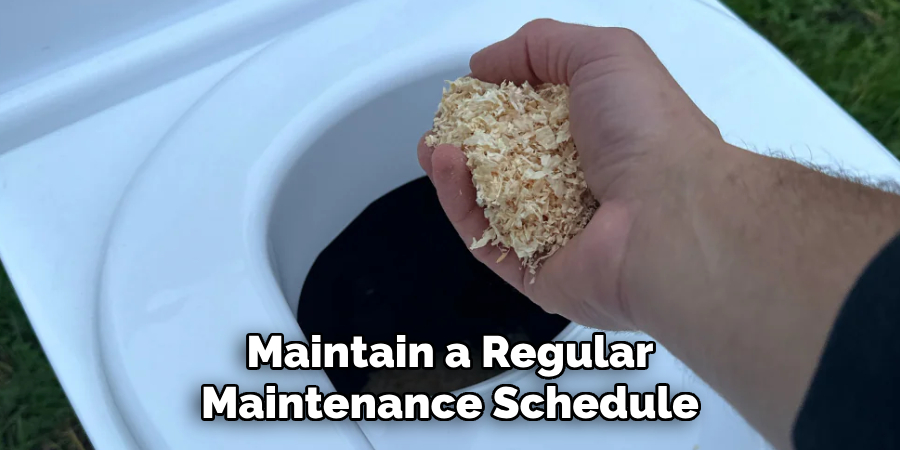
Following these steps on how to empty a composting toilet can help ensure the longevity and effectiveness of your system. Additionally, regularly monitoring and maintaining your composting toilet will also help prevent any potential odors or malfunctions.
Frequently Asked Questions
Q: How Often Do I Need to Empty My Composting Toilet?
A: This may vary depending on the size and capacity of your specific composting toilet, as well as how frequently it is used. However, a general rule of thumb is to empty the collection tray every 2-3 weeks and clean the tumbler every 4-6 weeks. It is important to regularly check the system and adjust the emptying schedule as needed.
Q: What Should I Do with the Compost from My Toilet?
A: The compost produced by your toilet can be used as a fertilizer for non-edible plants. It is recommended to let the compost cure for at least 6 months before using it on your plants. This will ensure that any potentially harmful bacteria or pathogens have been broken down.
Q: Can I Use My Composting Toilet in Cold Climates?
A: Yes, many modern composting toilets are designed to work in all types of climates. However, if you live in an extremely cold area, it is important to insulate and protect your toilet from freezing temperatures. This can be done by using an insulated cover or building an enclosed structure around the toilet. It is also important to regularly add a carbon-rich material, such as sawdust or peat moss, to help regulate the moisture levels in your composting toilet during colder weather.
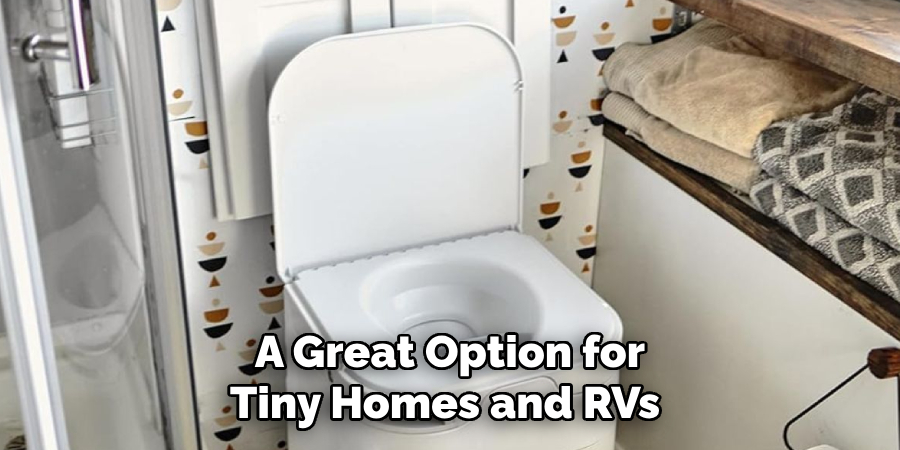
Q: Can I Use My Composting Toilet in a Tiny Home or RV?
A: Absolutely! Composting toilets are a great option for tiny homes and RVs as they do not require any plumbing or electricity. They also take up minimal space and can be easily installed in small living spaces. Just make sure to properly maintain your composting toilet according to the manufacturer’s instructions, especially if it will be used in a mobile setting.
Conclusion
By following these steps on how to empty a composting toilet and maintaining a consistent routine, your composting toilet can remain an efficient, eco-friendly solution for waste management.
Regular upkeep not only ensures the system operates smoothly but also extends its lifespan. With proper care and attention, you can reduce your environmental impact while enjoying the benefits of a sustainable and practical alternative to traditional waste systems.

