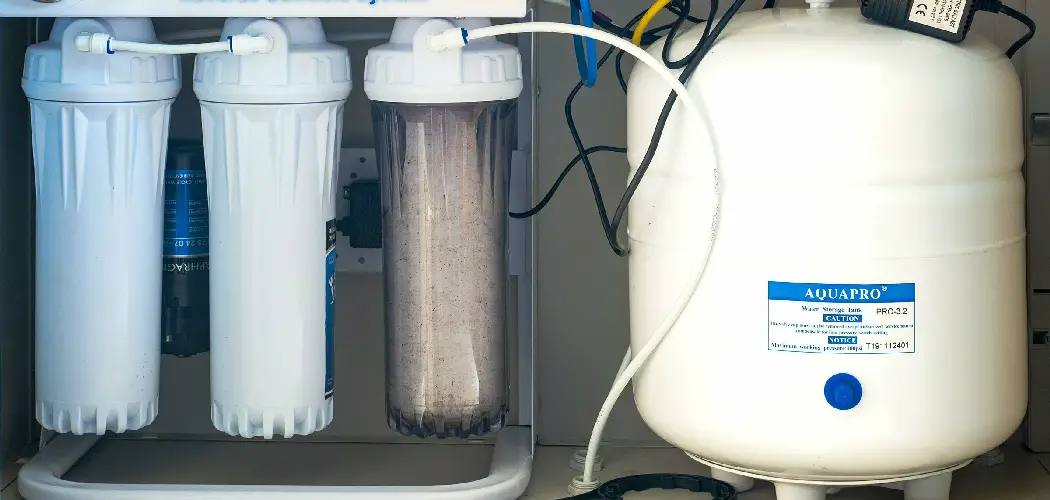
Reverse osmosis systems are an effective and reliable way to remove impurities and contaminants from water. These systems include a storage tank that holds the purified water until it’s needed.
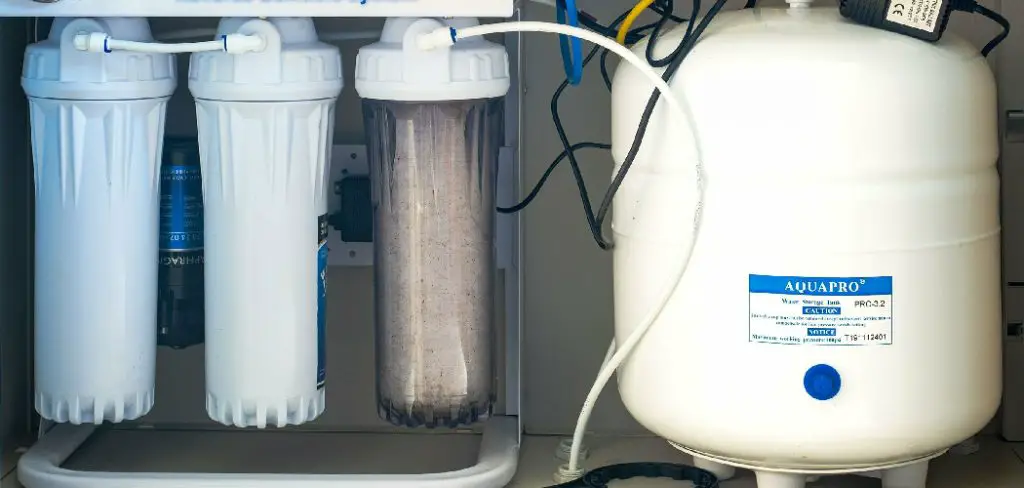
However, even the best reverse osmosis systems require occasional maintenance, and one of the tasks you may need to perform is emptying the storage tank. In this blog post, we’ll show you how to empty reverse osmosis tank easily and quickly.
Can You Empty Reverse Osmosis Tank?
If you’re curious about emptying a reverse osmosis tank, you’ll be happy to know it’s a simple process. Before getting started, make sure that you turn off the water supply and unplug or disconnect the system to avoid any accidents. Once that’s done, you can begin to drain the tank.
Simply locate the tank’s drain valve and attach a hose to it, directing the hose towards the drain. Next, open the valve to let the water drain out. It’s important to note that the tank may take some time to drain completely, so be patient.
Once it’s empty, you can turn the system back on and begin the process of filling it up again. You’ll easily maintain your water filtration system with a basic understanding of how to empty and refill your reverse osmosis tank.
Why Should You Empty Reverse Osmosis Tank?
Water is essential to many aspects of life, from drinking to cleaning to cooking. Reverse osmosis tanks are a popular method of purifying water, but ensuring they function properly is important. One key step in maintaining your reverse osmosis tank is to regularly empty it out.
Failure to do so can result in stagnant water, bacterial growth, and clogging of the system. By taking the time to empty your reverse osmosis tank regularly, you’ll not only ensure that your water is safe and clean, but you’ll also prolong the lifespan of your filtration system. Protect your health and investment with a simple maintenance routine today.
How to Empty Reverse Osmosis Tank Step-by-Step Guide
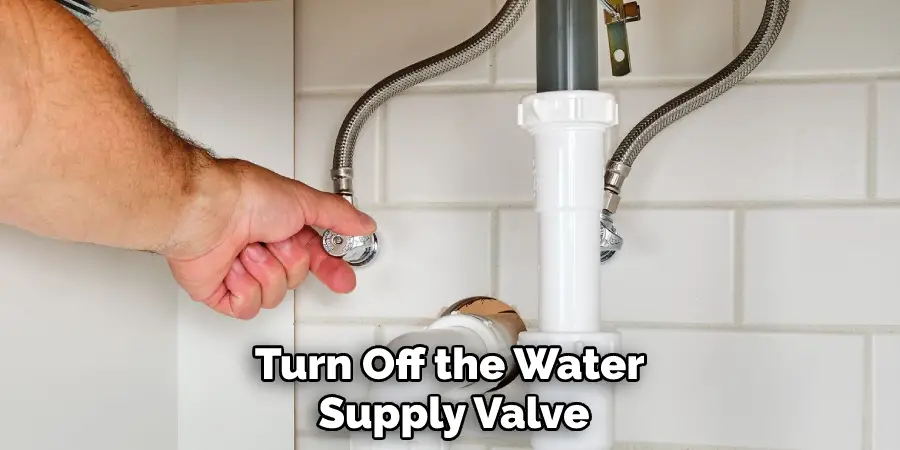
Step 1. Turn Off the Water Supply
Before emptying the tank, make sure to turn off the water supply valve to the reverse osmosis system. The valve should be located on the supply line that feeds water to the system. Turning off the valve will prevent any more water from entering the system while you’re working on it.
Step 2. Open the Faucet
Once you’ve turned off the water supply valve, open the faucet that’s connected to the reverse osmosis system. This will relieve any pressure in the system and allow the tank to empty quickly. Leave the faucet open throughout the entire process of emptying the tank.
Step 3. Disconnect the Tank
The storage tank on a reverse osmosis system is usually connected to the system using a quick-connect fitting. To empty the tank, you’ll need to disconnect it from the system. To do this, use a wrench to loosen the fitting and remove it from the system. Be careful not to damage the fitting or the tubing while you’re doing this.
Step 4. Drain the Tank
After disconnecting the tank, it’s time to drain it. You can do this simply by turning it upside down over a sink or other drain. If the tank is heavy and difficult to handle, you can empty it with a small hand pump. Once the tank is completely empty, you can clean it or perform any other maintenance tasks that you need to do.
Step 5. Reconnect the Tank
After you’ve drained and cleaned the tank, it’s time to reconnect it to the system. Make sure that the quick-connect fitting is securely in place and that there are no leaks. Open the water supply valve and wait for the tank to fill up again. This process can take several hours, so be patient.
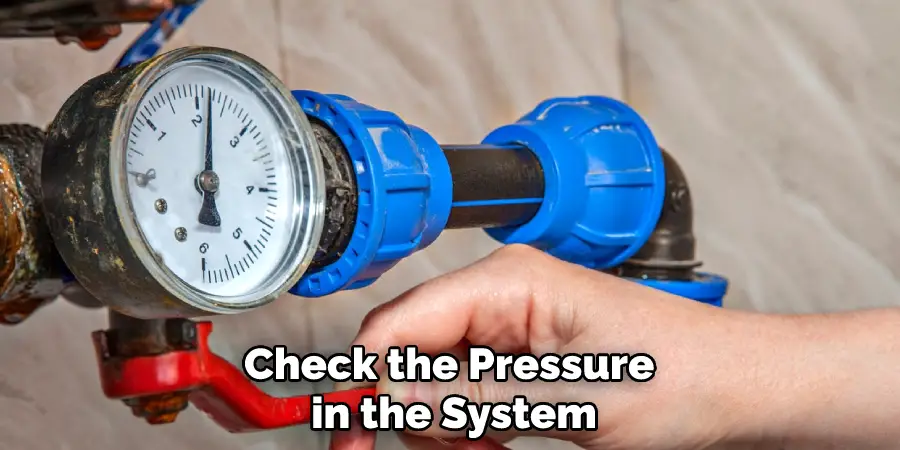
Step 6. Check the Pressure
Once the tank has finished filling up, you should check the pressure in the system. The pressure should be between 40 and 60 PSI. If it’s lower than that, you may need to adjust the water supply valve until you get the desired pressure.
Step 7. Turn On the Faucet
Once you’ve checked the pressure and adjusted it if necessary, it’s time to turn on the faucet. This will allow water to flow through the system and be available for use. Be careful not to overfill the storage tank when doing this. The tank should only be filled up about halfway for optimal performance.
Following these simple steps will help you empty your reverse osmosis tank quickly and safely. Remember to be patient when filling up the tank again, as this process can take several hours. Once it’s full, enjoy fresh, clean water from your reverse osmosis system!
5 Considerations Things When You Need to Empty Reverse Osmosis Tank
1. Frequency of Use
The frequency of use will be one of the primary things to consider when you need to empty your reverse osmosis tank. If you use your system on a daily basis, you will likely need to empty your tank more often than someone who only uses their system once per week.
2. Size of Tank
The size of your tank will also play a role in how often you need to empty it. A larger tank will obviously hold more water and thus will need to be emptied less often than a smaller tank.
3. Rate of Flow
The rate of flow is another important consideration when determining how often to empty your reverse osmosis tank. A higher flow rate means that more water is being filtered, and thus the tank will need to be emptied more frequently.
4. Water Quality
The quality of the filtered water will also affect how often the tank needs to be emptied. If you are filtering water that is particularly dirty or contains a lot of sediment, you will need to empty your tank more often than if you are filtering clean water.
5. Personal Preference
Ultimately, the frequency with which you need to empty your reverse osmosis tank will come down to personal preference. Some people prefer to empty their tanks more frequently to avoid any sediment buildup, while others are fine with emptying their tanks less frequently. It all comes down to what works best for you and your specific needs.
By considering these five factors, you can ensure that you are emptying your reverse osmosis tank at the right frequency for your particular situation. Proper maintenance will help keep your system running optimally and provide you with the cleanest water possible.

Remember: emptying your reverse osmosis tank is essential to the overall performance of your system and should not be overlooked. With the right approach, you can ensure that your reverse osmosis system works efficiently and provides clean, safe water.
So take the time to consider these five factors in order to properly maintain your system and get the most out of it. Doing so will give you peace of mind that your reverse osmosis system is performing at its best.
Benefits of Empty Reverse Osmosis Tank
If you’re looking for a way to save both money and time when it comes to your reverse osmosis system, an empty tank may be the way to go. With no water stored in the tank, there’s no need for extra maintenance or cleaning. Not only that, but an empty tank can potentially extend the life of your RO system’s membrane, which is responsible for removing impurities from your water.
Without constant pressure on the membrane, it’s less likely to wear down and require replacement. Finally, an empty tank means less water waste, as you won’t be constantly refilling the tank with fresh water. So not only is an empty tank convenient, but it’s also environmentally friendly. Overall, opting for an empty reverse osmosis tank may be a smart choice for those looking to optimize their system’s efficiency and longevity.
4 Common Mistakes People Make When Trying to Empty Reverse Osmosis Tank
1. Not Flushing the Tank Regularly
One of the most common mistakes people make when trying to empty their reverse osmosis tank is not flushing it regularly. The tank must be flushed every few weeks to prevent a build-up of sediment and bacteria. If the tank is not flushed, emptying will become increasingly difficult.
2. Not Draining the Tank Completely
Another mistake people make is not draining the tank completely when they do flush it. It is important to drain the tank until there is no water left in it. If there is still water in the tank, it will not be possible to empty it completely.
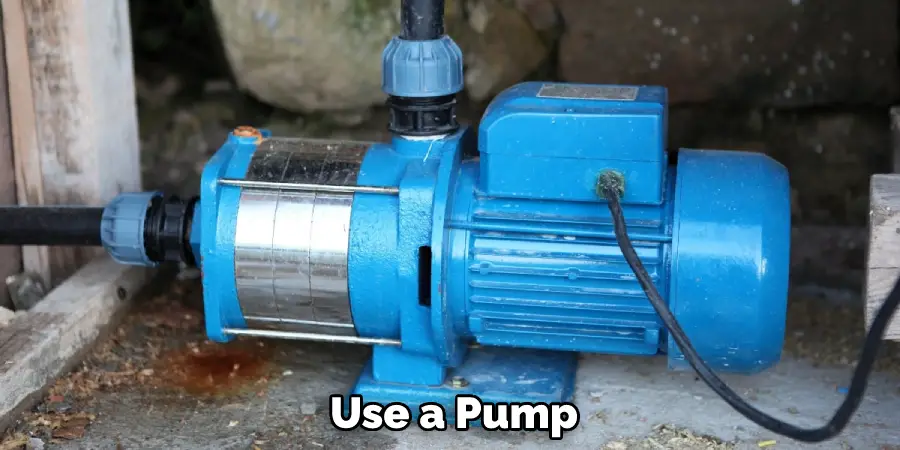
3. Not Using a Pump
If you are having difficulty emptying your reverse osmosis tank, you may need to use a pump. A pump can help remove any water left in the tank after you have drained it. You can purchase a pump at most hardware stores or online.
4. Not Cleaning the Tank Regularly
Another mistake people make is not cleaning their reverse osmosis tank regularly. The tank should be cleaned every few months in order to prevent a build-up of sediment and bacteria.
Conclusion
Emptying the reverse osmosis tank is an important maintenance task that you should perform regularly. You can do it easily and quickly by following the steps outlined in this blog post.
Remember to turn off the water supply valve, open the faucet, disconnect the tank, drain the tank, and reconnect the tank. With these simple steps, you can keep your reverse osmosis system running smoothly and ensure that you always have clean and fresh water available. Thanks for reading our post about how to empty reverse osmosis tank.

