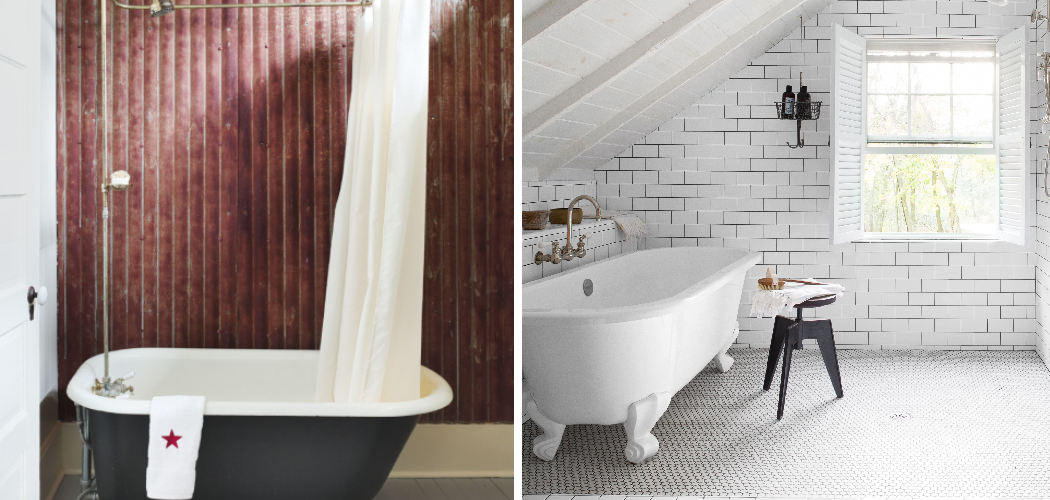
Enclosing a clawfoot tub can transform your bathroom into a stylish oasis while providing functional benefits. Whether you’re aiming to enhance privacy, improve heat retention, or simply elevate the aesthetics of your space, a well-designed enclosure can make a significant difference.
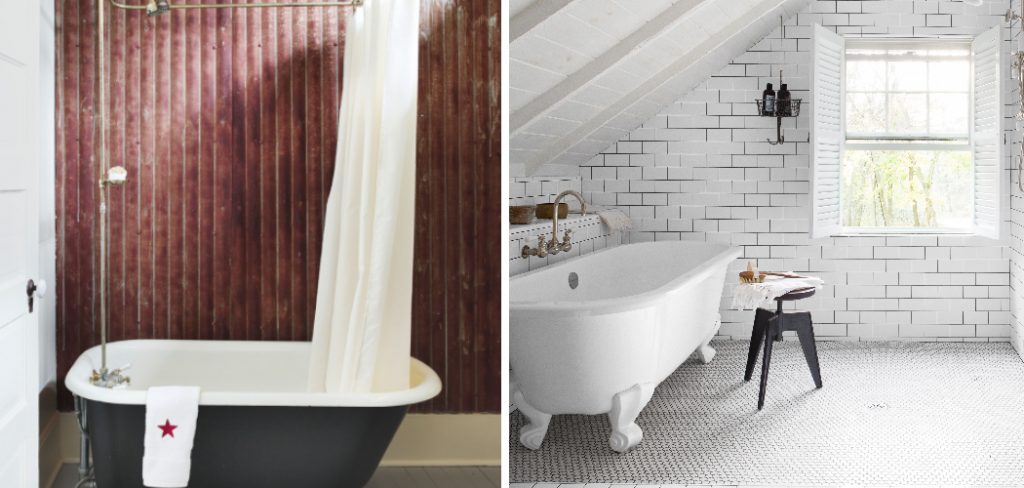
This guide on how to enclose a clawfoot tub will walk you through the various options available, materials to consider, and design tips to help you create a stunning and practical enclosure that complements your clawfoot tub and overall bathroom décor.
Why Enclose a Clawfoot Tub?
While some homeowners prefer the open and airy feel of a standalone clawfoot tub, others opt for an enclosure for various reasons. Here are some top benefits of enclosing your clawfoot tub:
Improved Privacy:
For those who value privacy while bathing, an enclosure can provide a sense of intimacy and seclusion. This can be especially beneficial for shared bathrooms or homes with multiple occupants.
Better Heat Retention:
Clawfoot tubs are notorious for losing heat quickly due to their exposed sides. By enclosing your tub, you can minimize heat loss and enjoy a longer and more comfortable soak.
Enhanced Aesthetics:
An enclosure can add a touch of elegance and sophistication to your bathroom, making it feel like a luxurious spa retreat. With various design options available, an enclosed clawfoot tub can also complement your existing décor and elevate the overall look of your space.
Needed Materials:
Before you start enclosing your clawfoot tub, make sure you have all the necessary materials on hand. You will need:
Measuring Tape:
To ensure a perfect fit, accurate measurements are crucial. Be sure to measure the width and length of your tub, as well as the height from the floor to the top of the tub.
Shower Curtain or Glass Panels:
You have two main options for enclosing your clawfoot tub: using a shower curtain or installing glass panels. Shower curtains offer a more budget-friendly solution and come in various designs, colors, and patterns. Glass panels provide a sleek and modern look but can be more expensive.

Rod or Frame:
If you’re using a shower curtain, you’ll need a rod to hang it from. For glass enclosures, you’ll need to install a frame around the tub area.
Hardware and Installation Tools:
Depending on the type of enclosure you choose, you may need screws, anchors, brackets, or other hardware. Make sure you have all the necessary tools for installation as well.
6 Step-by-step Guidelines on How to Enclose a Clawfoot Tub
Step 1: Measure Your Clawfoot Tub
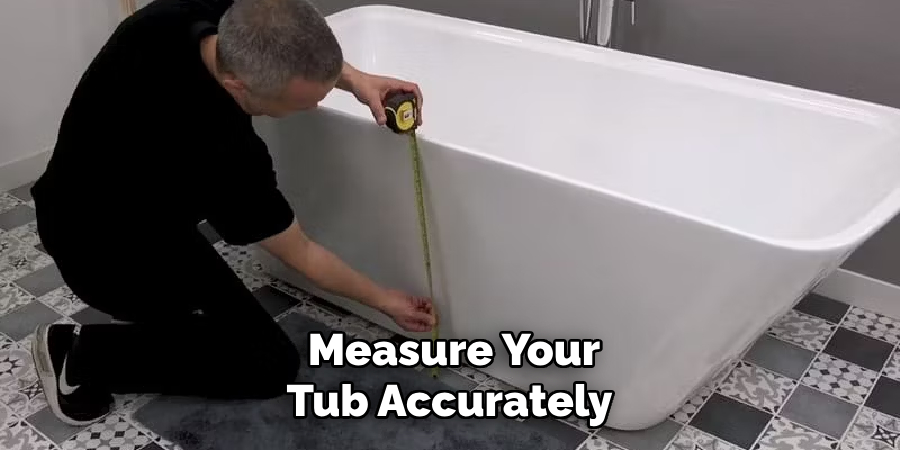
Before you begin the enclosure process, it’s essential to take accurate measurements of your clawfoot tub. Start by measuring the width and length of the tub at its widest points, ensuring you account for any curvature. Next, measure the height from the floor to the highest point of the tub.
These measurements will help you determine the size of the enclosure materials you’ll need, whether you opt for shower curtains or glass panels. It’s advisable to double-check your measurements to avoid any miscalculations, which can lead to complications during installation.
Step 2: Choose Your Enclosure Style
After measuring your clawfoot tub, the next step is to choose the enclosure style that best fits your bathroom and personal preferences. There are several styles to consider, each offering unique benefits and aesthetics.
Shower Curtain Enclosure:
If you’re looking for a flexible and cost-effective option, a shower curtain enclosure might be the perfect choice. Available in countless designs and colors, shower curtains can easily be changed out to refresh your space. They are ideal for smaller bathrooms where space is a concern, as they can be drawn back when not in use.
Glass Panel Enclosure:
For a more elegant and modern look, consider installing glass panels. These provide a sleek, minimalist aesthetic that showcases the beauty of the clawfoot tub while maintaining an open feel. Glass panels are also easy to clean and can be framed or frameless, depending on your style preference.
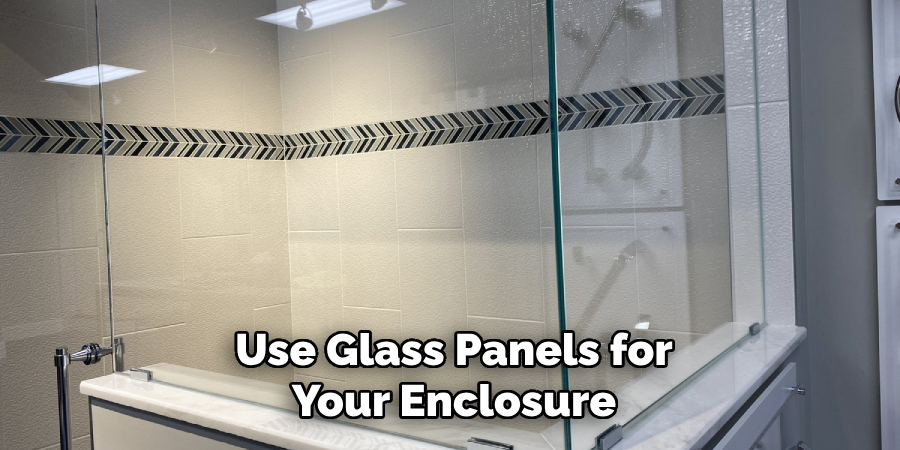
Half-Wall Enclosure:
A half-wall enclosure is another popular choice, offering a balance between visibility and privacy. This style can provide enough separation from the rest of the bathroom while still allowing light and airflow. It can also serve as a platform for added storage or decorative elements, such as plants or candles.
When selecting your enclosure style, think about the overall design of your bathroom, the level of privacy you desire, and your budget. Each option has its distinctive charm, so choose one that resonates with your vision for your bathroom sanctuary.
Step 3: Install Rod or Frame
Once you’ve decided on your enclosure style, the next step is to install the rod or frame to support your chosen materials. If you’re opting for a shower curtain, begin by locating the wall studs in your bathroom—this ensures a secure installation. Use a level to mark where you want the rod to be, typically just above the tub. Drill pilot holes and secure the curtain rod brackets to the wall, ensuring they are evenly spaced for stability. Once the brackets are in place, attach the rod and hang the shower curtain, adjusting it to your desired height.
For a glass panel enclosure, start by assembling the frame according to the manufacturer’s instructions. Make sure you have the necessary tools and brackets ready for a secure fitting. Position the frame accurately around your tub, using a level to ensure everything is straight. Once in position, drill holes for the anchors or screws, then carefully install the frame. Finally, attach the glass panels, ensuring they fit snugly within the frame and are properly sealed to prevent water leakage. Carefully check that everything is securely fastened before moving on to the next steps of your enclosure project.
Step 4: Consider Adding a Door
If you choose to use glass panels for your enclosure, consider adding a door for easier access to your clawfoot tub. The door can be hinged or sliding, depending on the design of your bathroom and personal preference.
A door also offers added privacy and helps contain any splashing during baths. Similar to installing the frame, carefully follow the manufacturer’s instructions and use proper hardware for secure installation.
Step 5: Add Finishing Touches
Now that your enclosure is in place, it’s time to add some finishing touches to complete the look. Shower curtains can be accessorized with curtain rings or hooks in various designs or colors that match your bathroom decor. For glass enclosures, you can add a handle or towel bar for convenience and aesthetic appeal.
The finishing touches are also an excellent opportunity to add personal touches to your enclosure, such as plants, candles, or artwork. These elements can help create a relaxing and inviting ambiance in your bathroom retreat. It’s essential to choose items that are water-resistant and won’t interfere with the functionality of your enclosure.
Step 6: Regular Maintenance
Maintaining your clawfoot tub enclosure is crucial to ensure its longevity and functionality. For shower curtain enclosures, routinely check for any signs of mildew or soap scum, particularly along the bottom hem where moisture accumulates. Regularly wash the curtain in accordance with the manufacturer’s instructions, either in the washing machine or by hand, to keep it looking fresh and clean.
For glass panel enclosures, it’s important to clean the panels frequently to prevent water spots and mineral build-up. Use a gentle glass cleaner and a soft cloth or squeegee after each use to maintain clarity and shine. Inspect the seals and fittings periodically for any signs of wear or damage, as any degradation can lead to water leakage. Address any maintenance issues promptly to avoid larger problems down the line. By incorporating these simple maintenance steps on how to enclose a clawfoot tub into your routine, you can keep your clawfoot tub enclosure in excellent condition for years to come.
Frequently Asked Questions
Q: Can I Install an Enclosure on My Existing Clawfoot Tub?
Yes, you can install an enclosure on your existing clawfoot tub. Depending on the style of your tub and bathroom, there are various enclosure options available that can fit seamlessly with your current setup. Be sure to measure your tub accurately before purchasing any materials to ensure a proper fit. If you’re unsure about installation, it’s best to consult a professional for assistance.
Q: How Can I Make My Clawfoot Tub Enclosure More Private?
If privacy is a concern, consider using half-wall or glass panels with frosted or tinted finishes. These options offer partial obscurity while still allowing light and airflow into the space. You can also incorporate curtains or blinds for added privacy when needed.
Q: What Type of Curtain Rod Should I Use for a Clawfoot Tub Enclosure?
For shower curtain enclosures, it’s recommended to use a circular or oval-shaped rod that can be secured to the wall studs for stability. These rods also come in various lengths and finishes, so choose one that best suits your bathroom design. You can also opt for a tension rod if drilling is not an option.
Q: How Long Does It Take to Install a Clawfoot Tub Enclosure?
The time it takes to install a clawfoot tub enclosure depends on the chosen materials and your level of experience with DIY projects. On average, installation can take anywhere from 1-3 days, including preparation and any necessary adjustments. If you’re unsure about installation, it’s best to consult a professional for assistance.
Conclusion
In conclusion, enclosing your clawfoot tub not only enhances the overall aesthetic of your bathroom but also improves functionality and privacy. Whether you choose a shower curtain or a glass panel enclosure, the installation process can be a rewarding DIY project that elevates your bathing experience.
By following the outlined steps on how to enclose a clawfoot tub and ensuring regular maintenance, you can enjoy a stylish and practical enclosure for years to come. Embrace your creativity with finishing touches and personal elements that reflect your style, transforming your bathroom into a serene retreat. Remember, taking the time to invest in your tub enclosure will pay dividends in comfort and beauty.

